I do not care, which media is the installation one in CLOVER.
I set the CLOVER-USB-Media at the first place in MB’s boot-sequence and the I start in MB’s boot-manager from my install-USB.
If you use the hint in post #90 (DefaultLoader and DefaultVolume) and the driver is in the right folder, so that the install-routine can see your NVMe-SSD, the OS will be installed on it and on the first reboot you can see on the screen "Boot Microsoft EFI from EFI" (normally is the second icon) and the counter (Timeout) counts down until windows boots from EFI (the EFI-partition).
I experienced that Win 10 for example calls this EFI-partition "SYSTEM", so it should stay "SYSTEM" in the "DefaultVolume"; but this is the case of W10.
Regards.
Thiersee
Thank you, my friend! Almost clear, 
Regards, Nick
I clone my old ssd to my new nvme, just i need to boot nvme by clover and i can’t do that.
I boot clover pendrive and click on the first option to start windows and it gets black screen.
Can anyone save me?
Someone please?
@lucasmsi Sure. Unless you ran GPT on your old SSD, you can’t clone straight from SSD (MBR) to NVMe (GPT).
Resaon : There is no boot sector UEFI can use.
IF your cloning software can compensate for that - You are good to go though 
What do you advise me then? Use 2 flash drives? (1 with Clover and another with Windows Installer?) I tried this before also and was unsuccessful.
I boot Clover with 1 pendrive but i can’t install windows with other pendrive.
Clover gives me no option, any of the 4 main menu options my screen goes black.
Have a look to my post #381, please!
regards
Hello guys
First, I want to thank you for the guidance I found in this forum.
After four days of fighting, I can finally join the group of resurrected Old computers with NVMe + Clover Bootloader Win 10 ![]()
I decided to share my case - I saw others with a similar configuration - if it can make it easier for others I will be glad!
Configuration:
Operating System: Windows 10 build 17763 (64-bit)
Motherboard Manufacturer: Gigabyte X79-UP4 v1.0 BIOS v F7 2014/03/19
Processor Information: Intel Core i7-3820 @ 3.60GHz Sandy Bridge-E Socket: LGA 2011 Speed Measured: 3600.3 MHz [Turbo: 3800.3 MHz]
Total Physical Memory: 16303MB 4 x 4GB DDR3 SDRAM PC3-14933 Golden Empire CL10-10-10 D3-1866 XMP
Drive information:
Physical Drive 0: TOSHIBA MK5055GSXN
Device Size: 465GB
Barriers: D: E:
Interface Type: SATA
Physical Drive 1: TS256GMTE110S
Device Size: 238GB
Shares: C:
Interface Type: NVMe
Sector Bytes: 512
RPM: solid state
The NVMe device is mounted in the M2 SSD to the PCI Express 3.0 4x adapter, then into the 8x PCI slot on the motherboard
https://www.dekada.com/makki-%D0%B0%D0%B…ve1-p-2707.html
My setup:
1. I followed the original guide
2. I used SATA device 0 instead of USB to set up Clover
3. I hit a brick with copy / paste files as the guide is for the old version of Clover
4. I followed the tips in # 330, so thank you Thiersee
5. Then I got a running Bootloader Clover, but hit the next brick
6. I`v build a new USB Win 10 Ent LTSC EFI Setup with RUFOS, I got Clover interface, I see USB Win 10 Ent LTSC EFI Setup in the Clover boot list, BUT when I select the Boot EFI USB CD the next I see is "Windows Setup - Press any key to boot from DVD … "I press a key and then NOTHING …
After a few days of being stuck on this point, I found somewhere on the web “Press F3 in Clover boot interface” AND VOALA THAT saved me ![]()
7. Put the USB Win 10 Ent LTSC EFI Setup after the Clover bootloader loads the interface, press F3 and you will see a HIDDEN new USB entry named "Windows EFI Boot or "…( or just hit the new entry ) select it and the Windows 10 Setup will load FINE
8. Install Win 10 over NVMe and after the first reboot the setup will load automatically and make a second reboot on the second boot
9. After all it automatically loads and Congratulations !!! You have just resurrected you OLD PC with Windows 10 over NVMe ![]()
And here is my ultimate goal - test and benchmarks ![]()

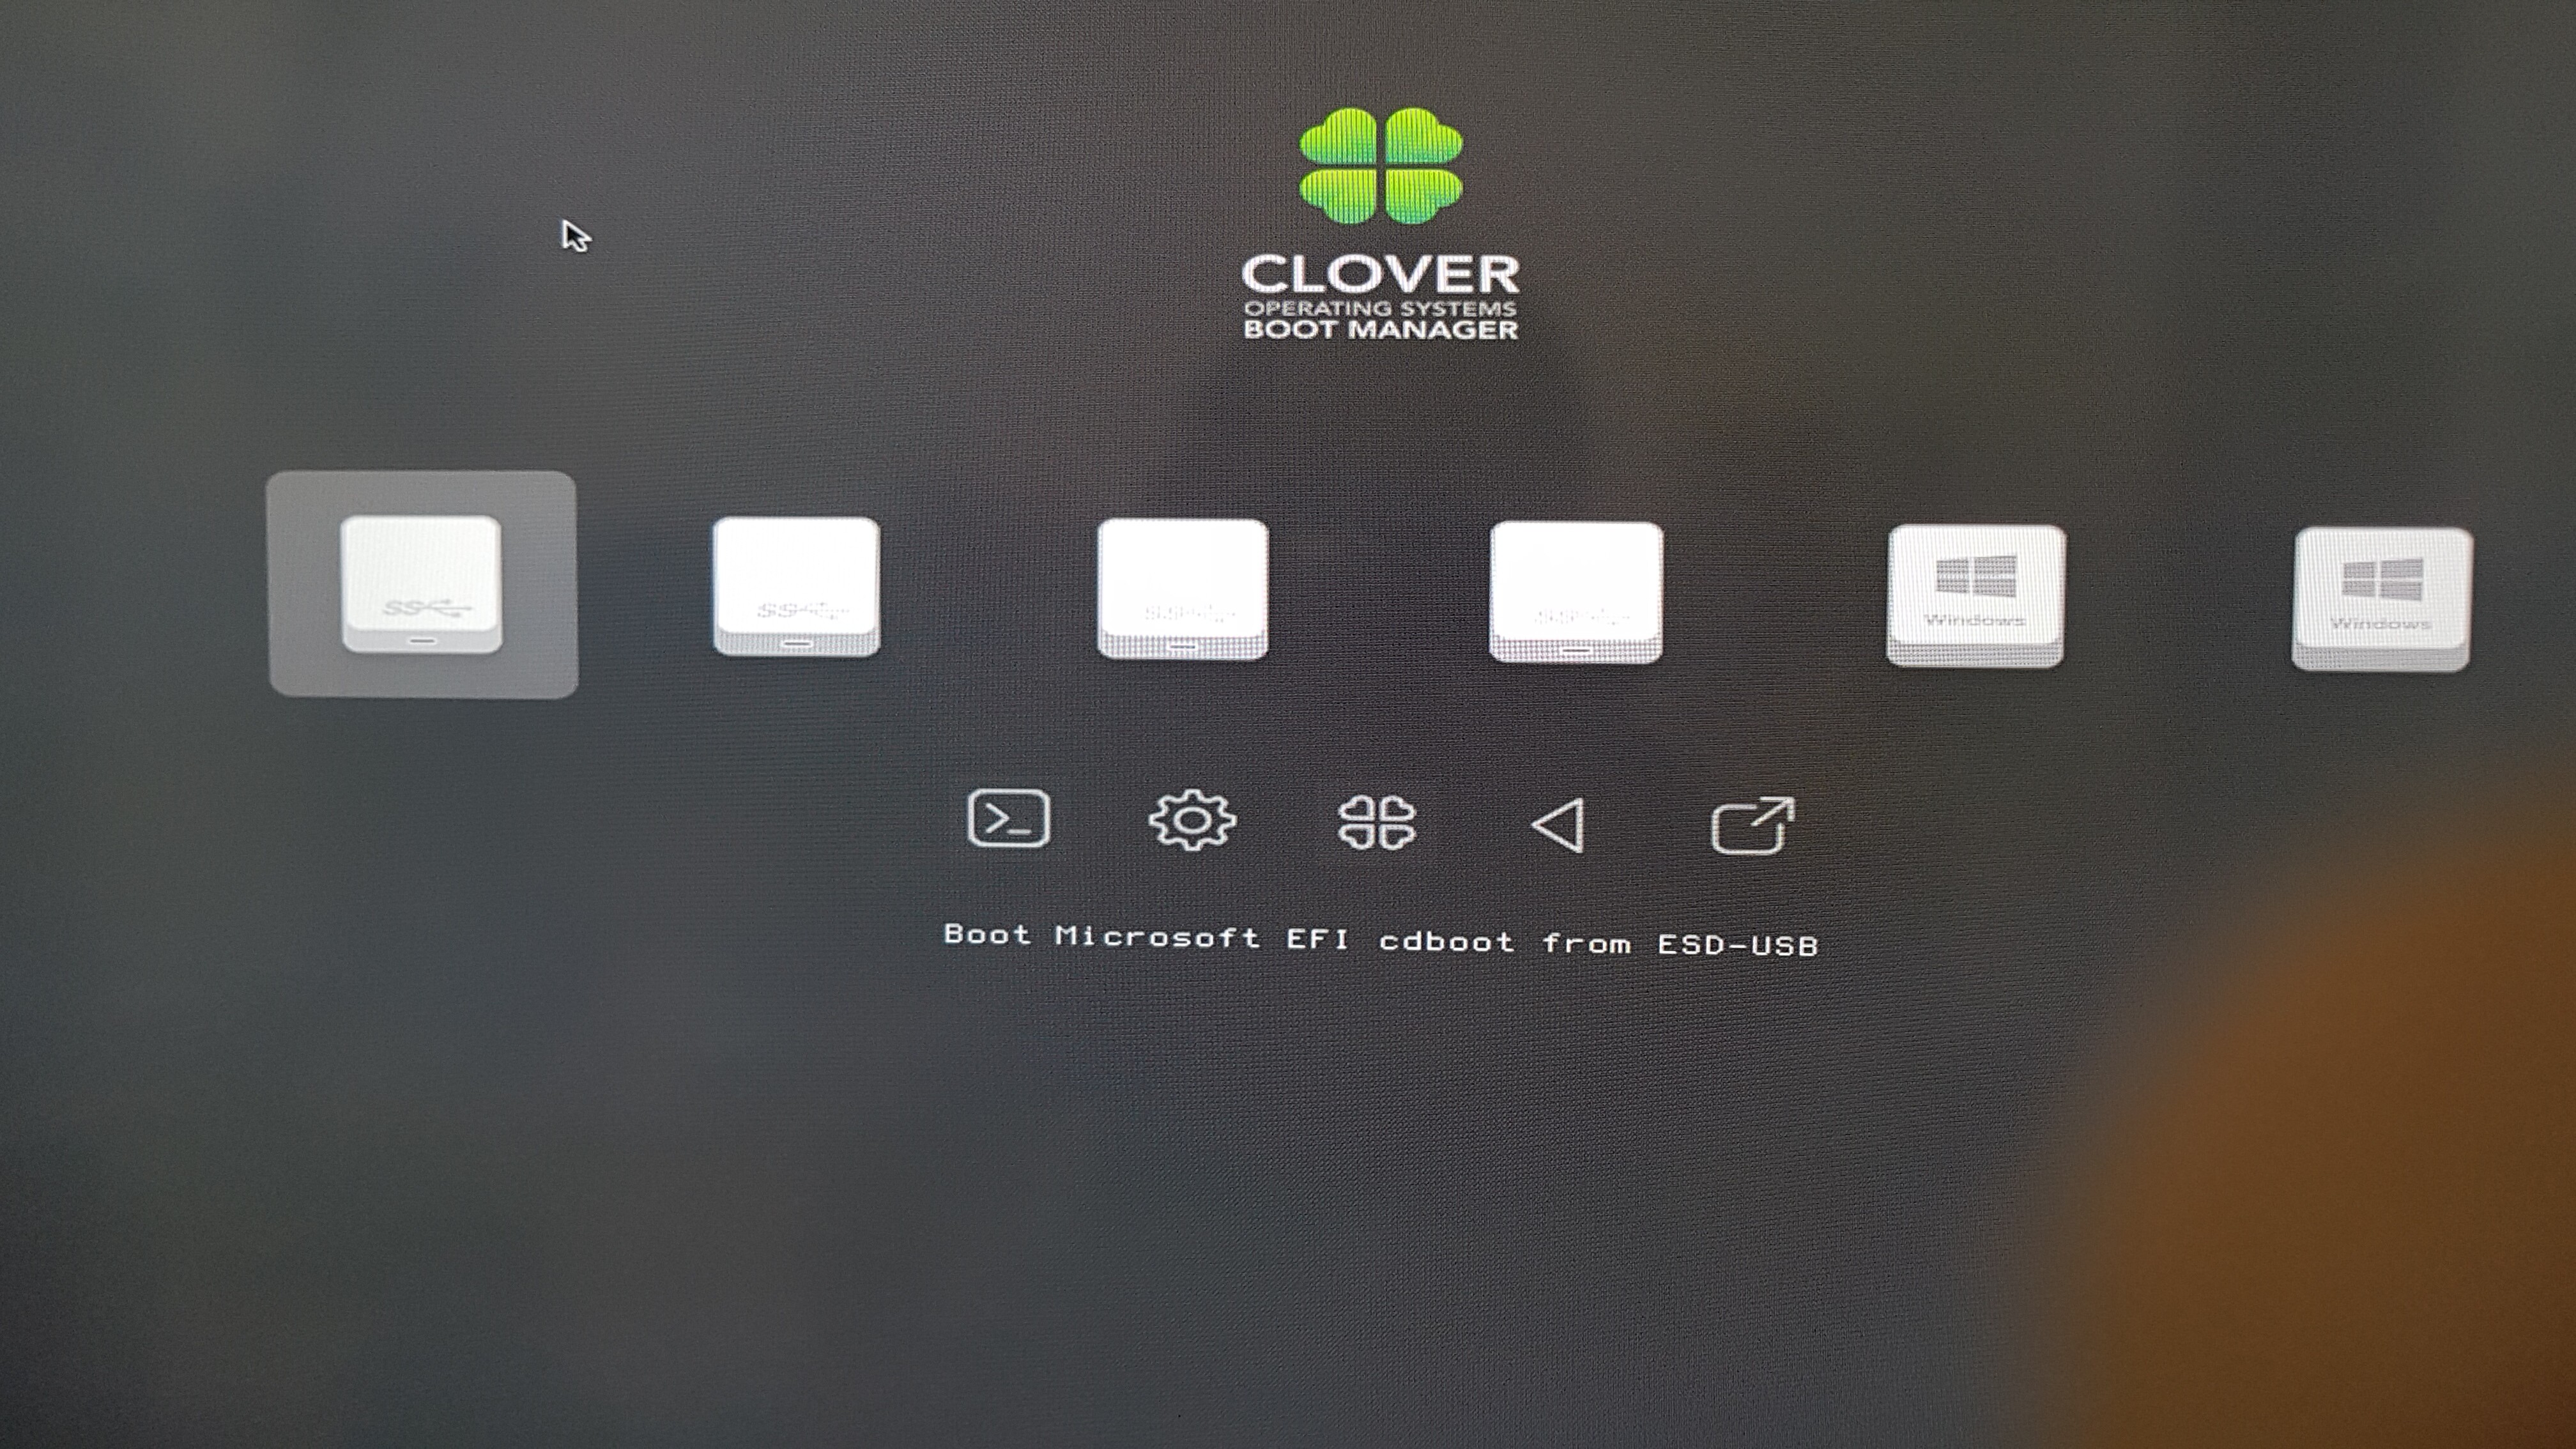
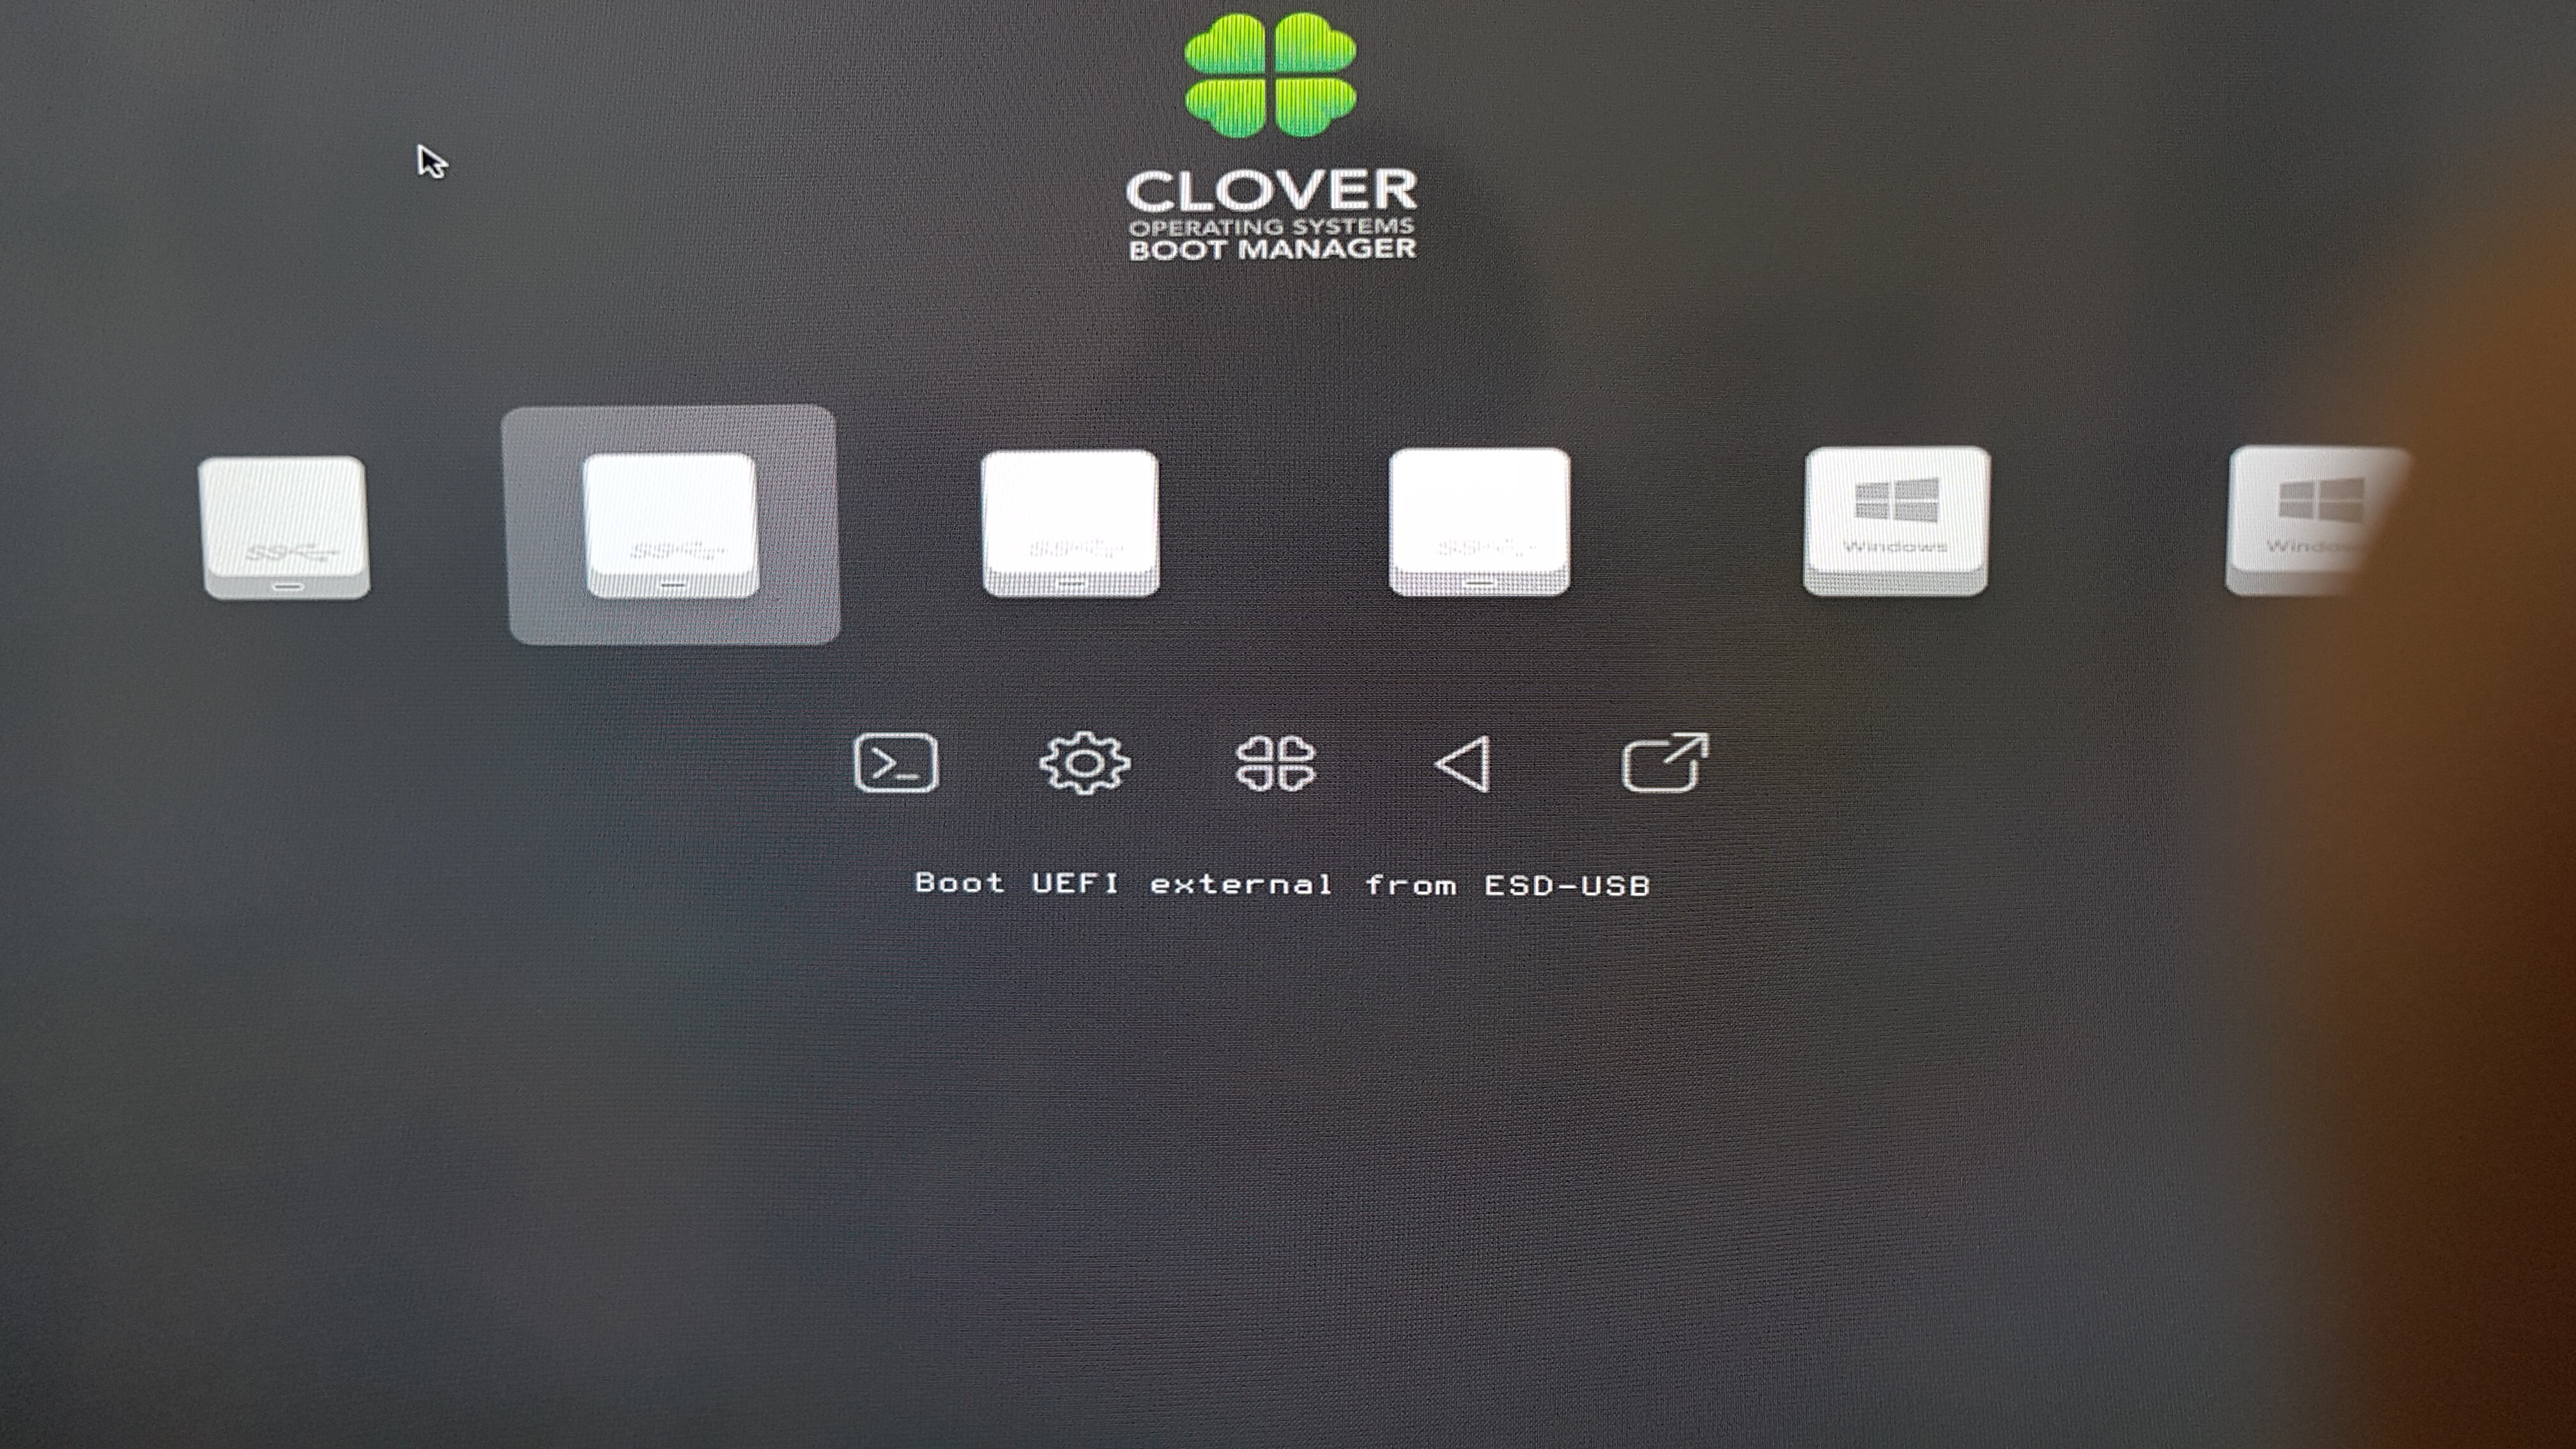
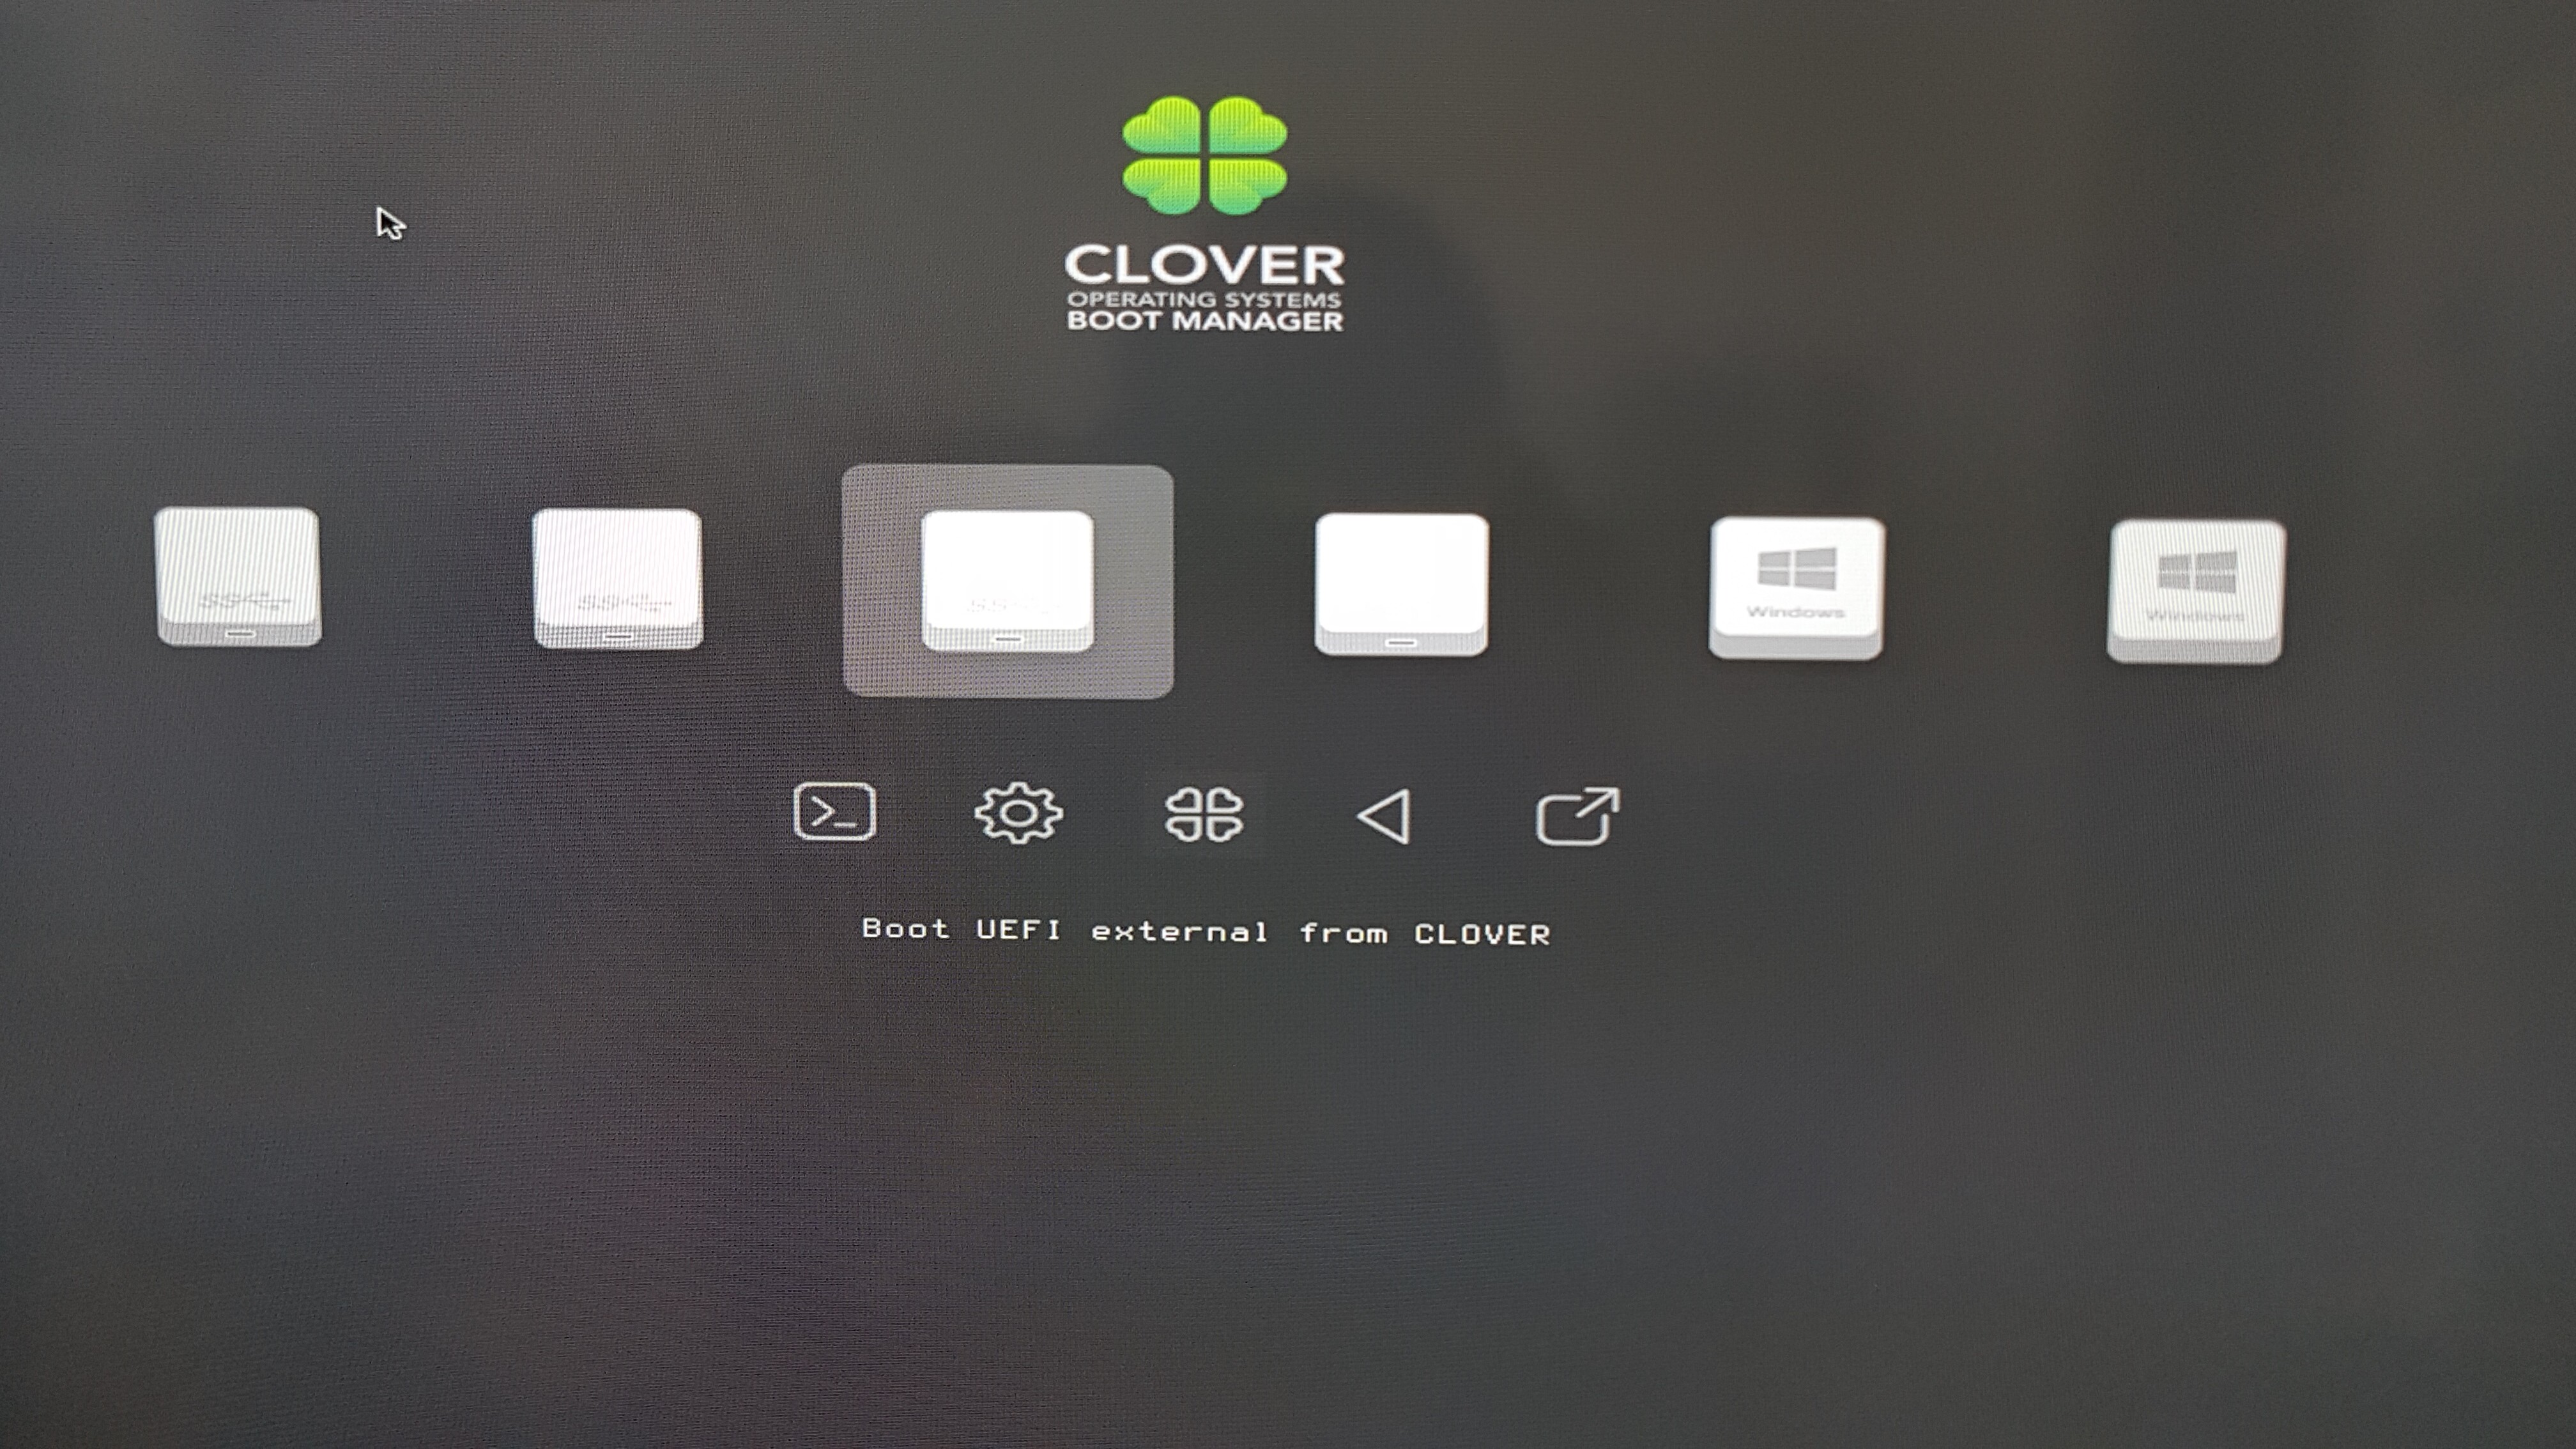
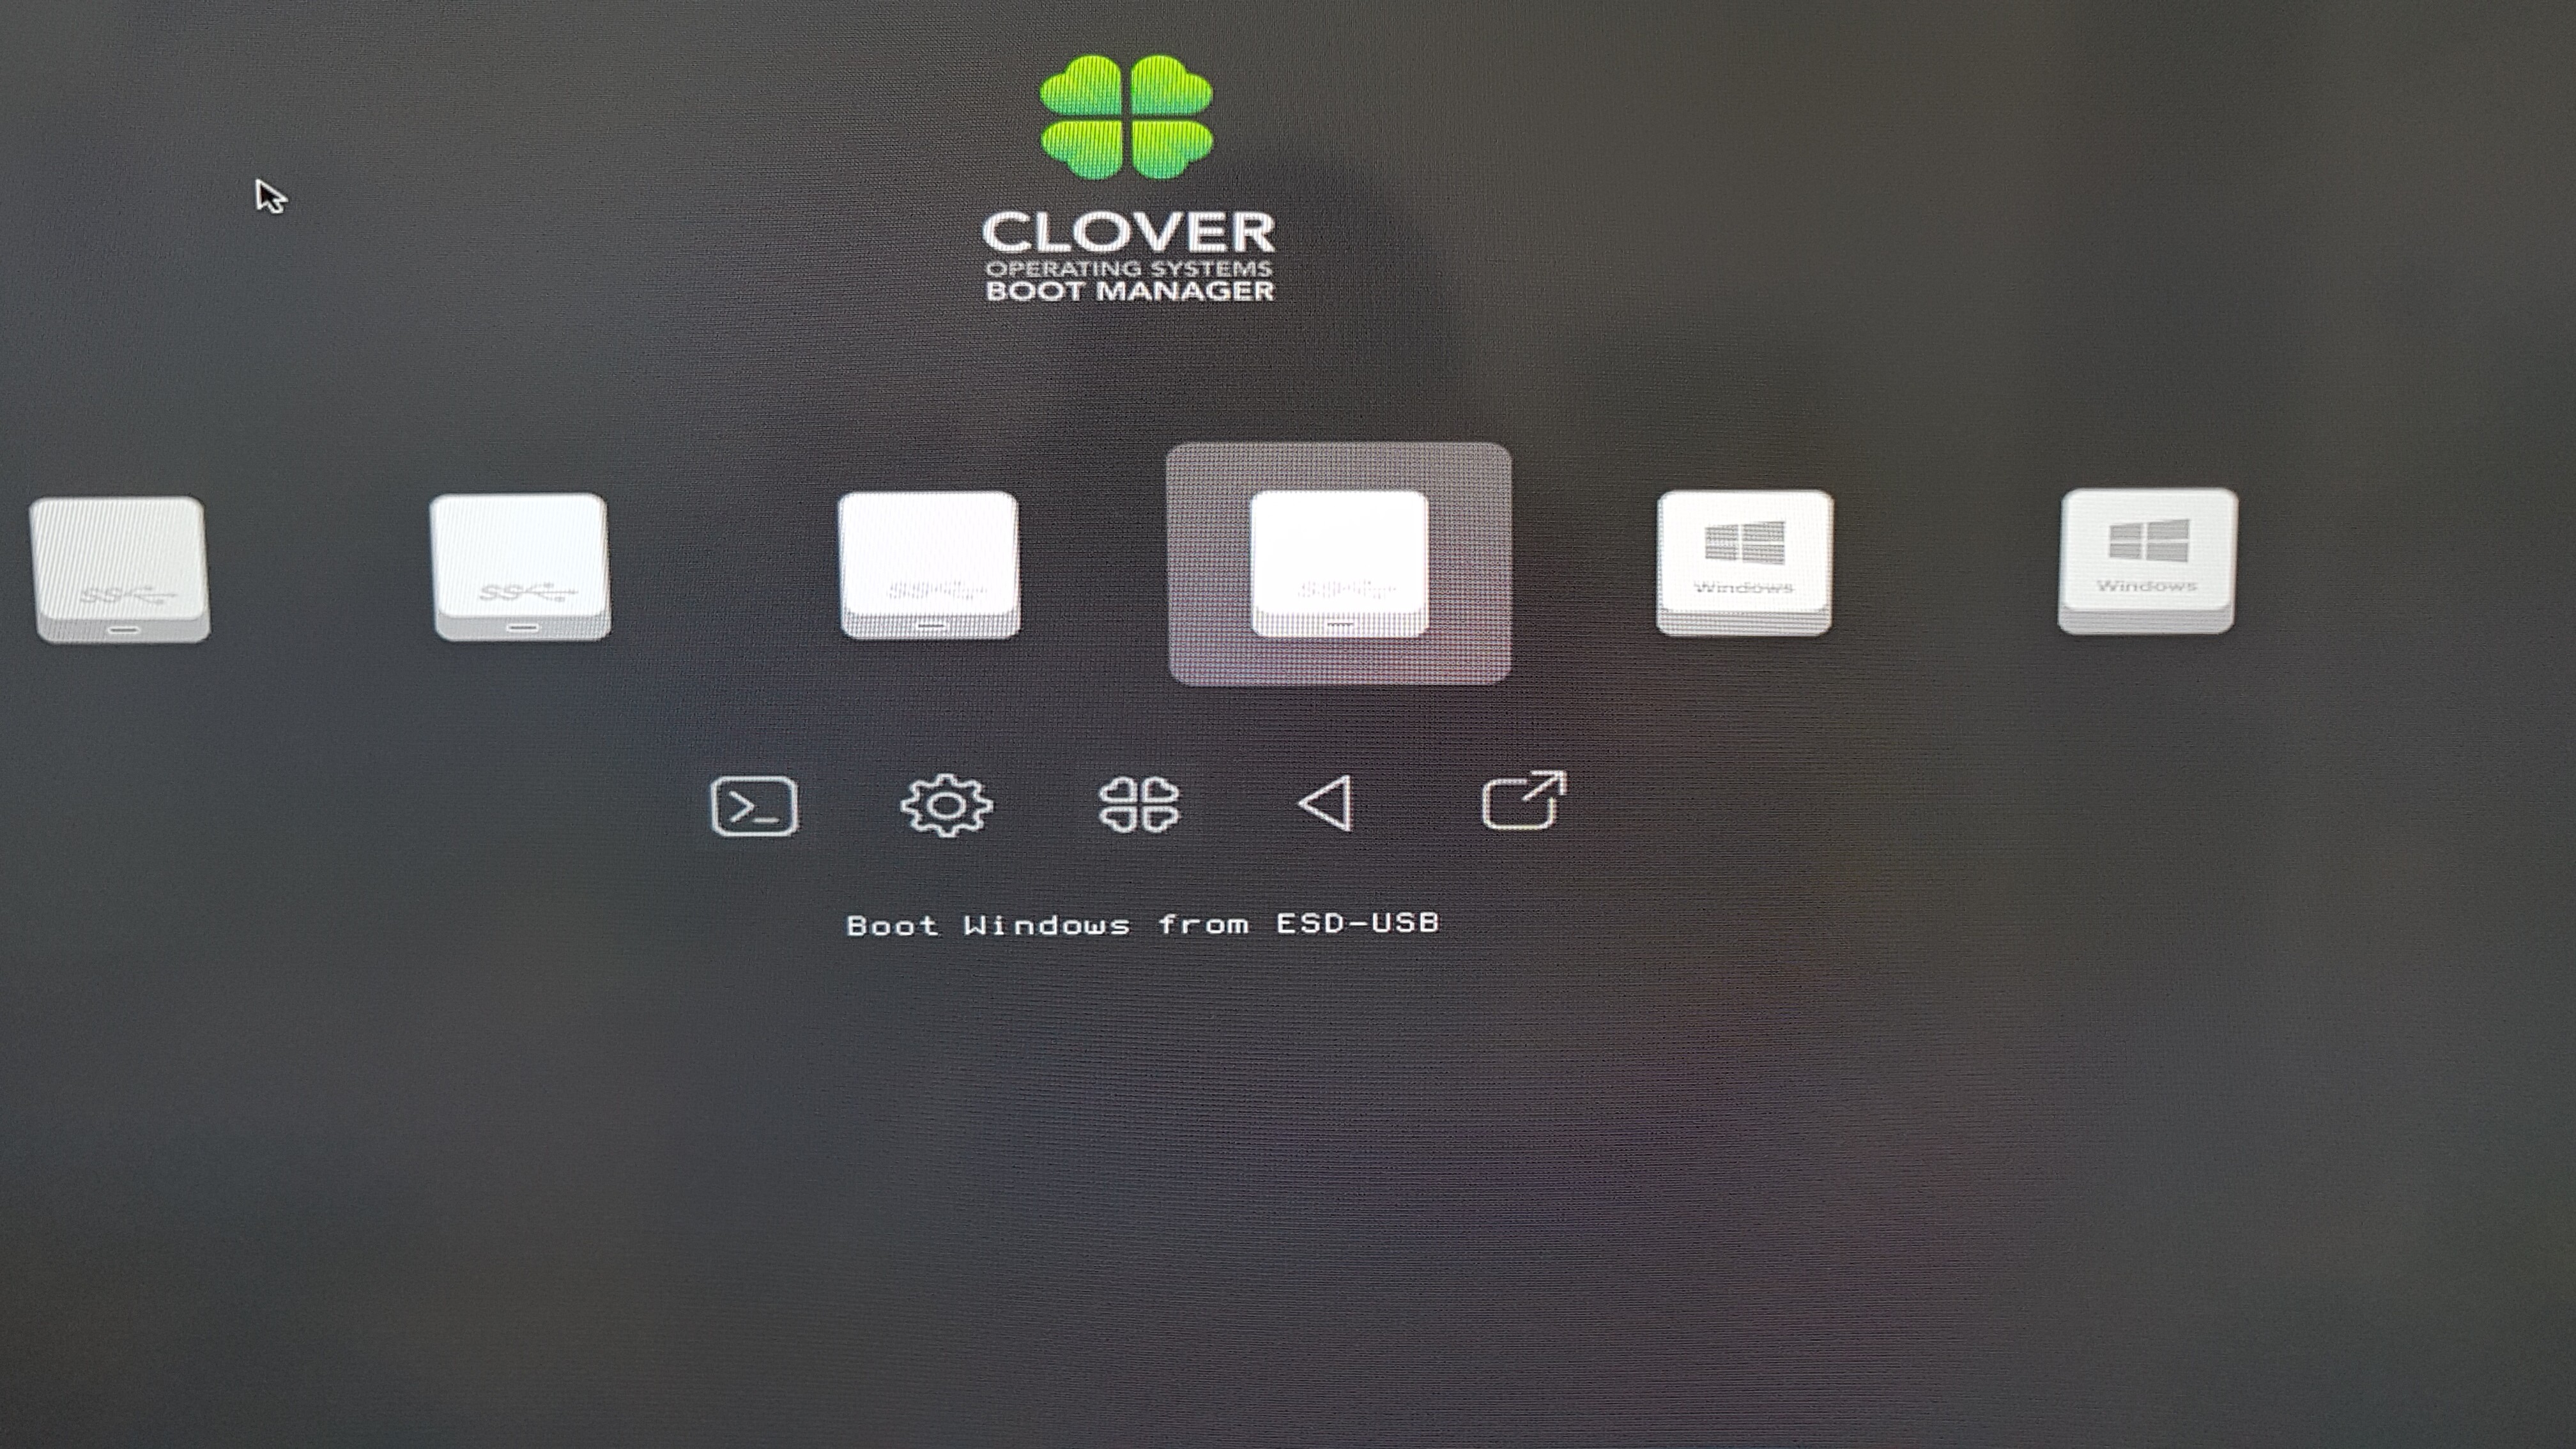
Hi, i registered to ask a few questions. I’m using Rampage II extreme ( 2101 bios), window 10 1903, 1 SSD, 1 HDD. R2E has PCIe 2.0 and capable of x16 x16 x1 or x16 x8 x8. I have read quickly through 26 pages and follow the intrusion from page 1 and page 25 where to find-copy the efi file, press f3 in Clover etc… I’m using 2 usb, one has clover and the other has window 10 installation media. My questions are:
1) Which one these options from attach files should i choose to install window 10 on nvme m.2 ssd?
2) Which nvme m.2 ssd do you recommend for my mobo?
3) I found the adapter from aliexpress and i wanna ask if it is able to use full bandwidth x16 from my mainboard PCie 2.0. Please advice better adapter for my mb if possible.
Link adapter: https://vi.aliexpress.com/i/32833383867.html
4) Assume i got everything done correct and successfully installed window 10 on my nvme ssd. Do i still need to boot to usb clover first or just prioritize "“Samsung 970 Evo nvme m.2 ssd” as first boot?
5) Lastly, what should i do if the usb clover decided to stop working? Do i have to do the whole process again? If i only need to make another usb clover with BDU then just prioritize it as first boot or have to do some configuration?
All in all, thank you all for the effort to make old system better in 2019.
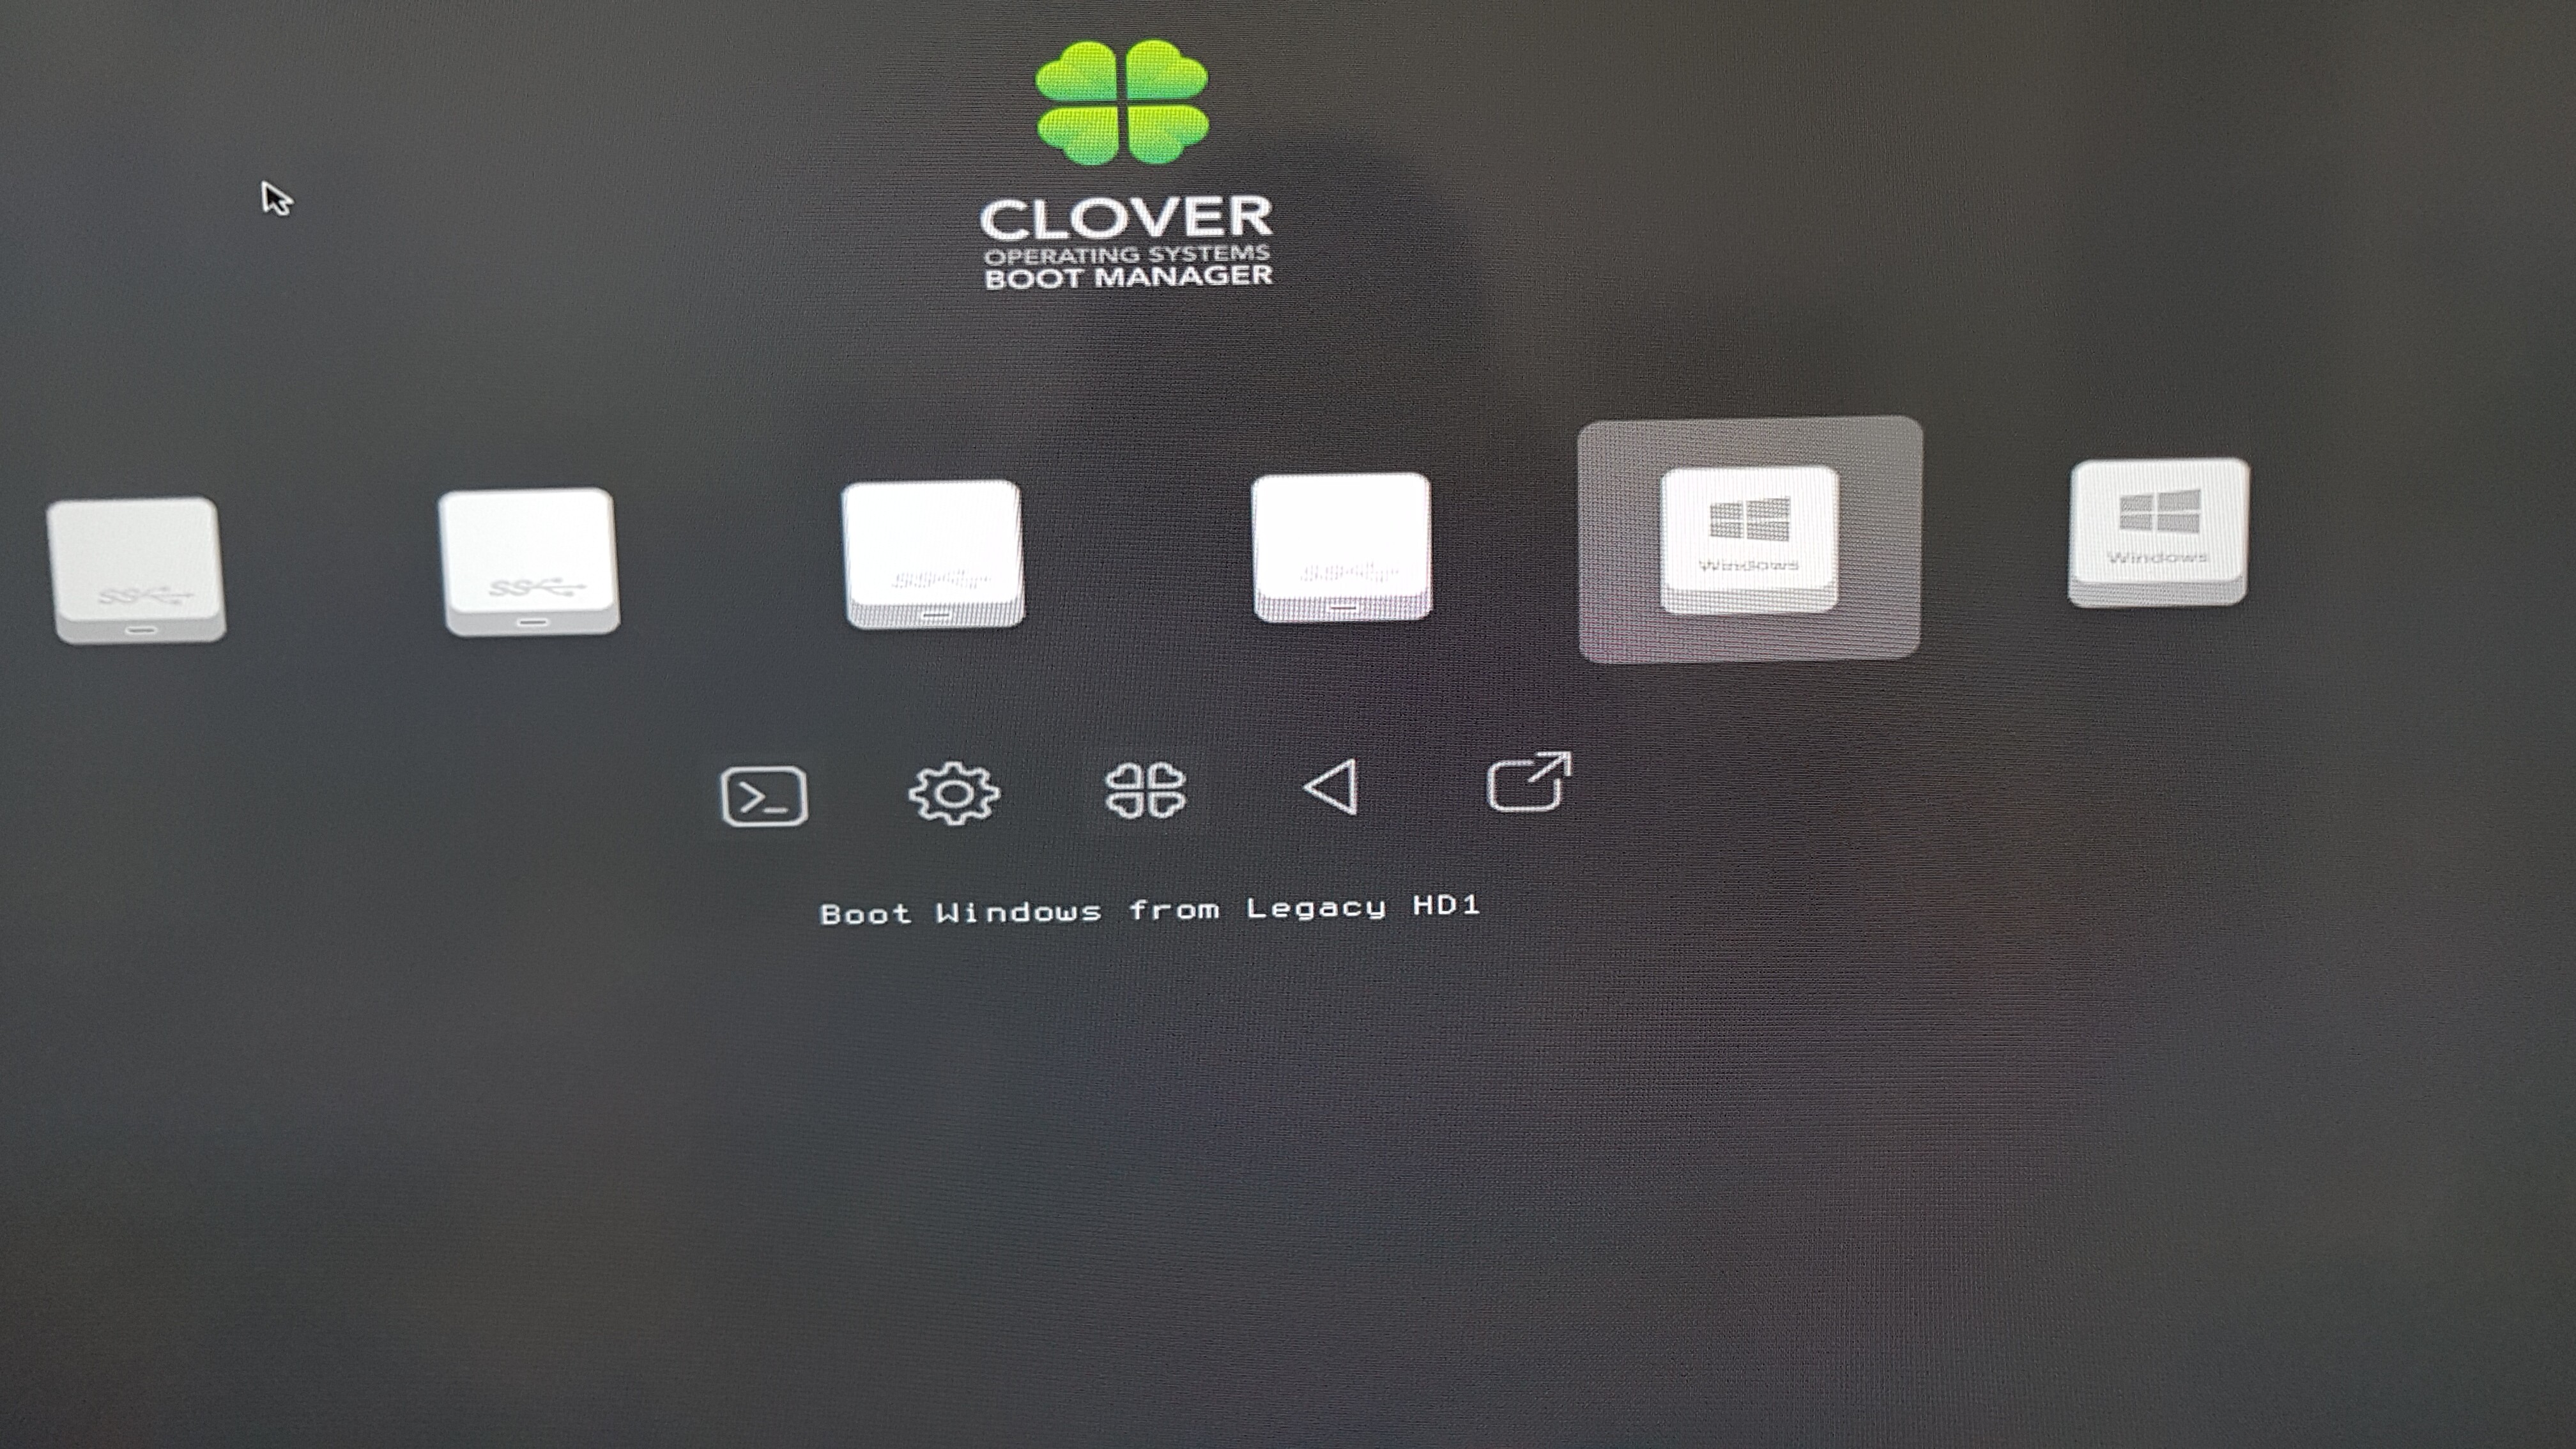
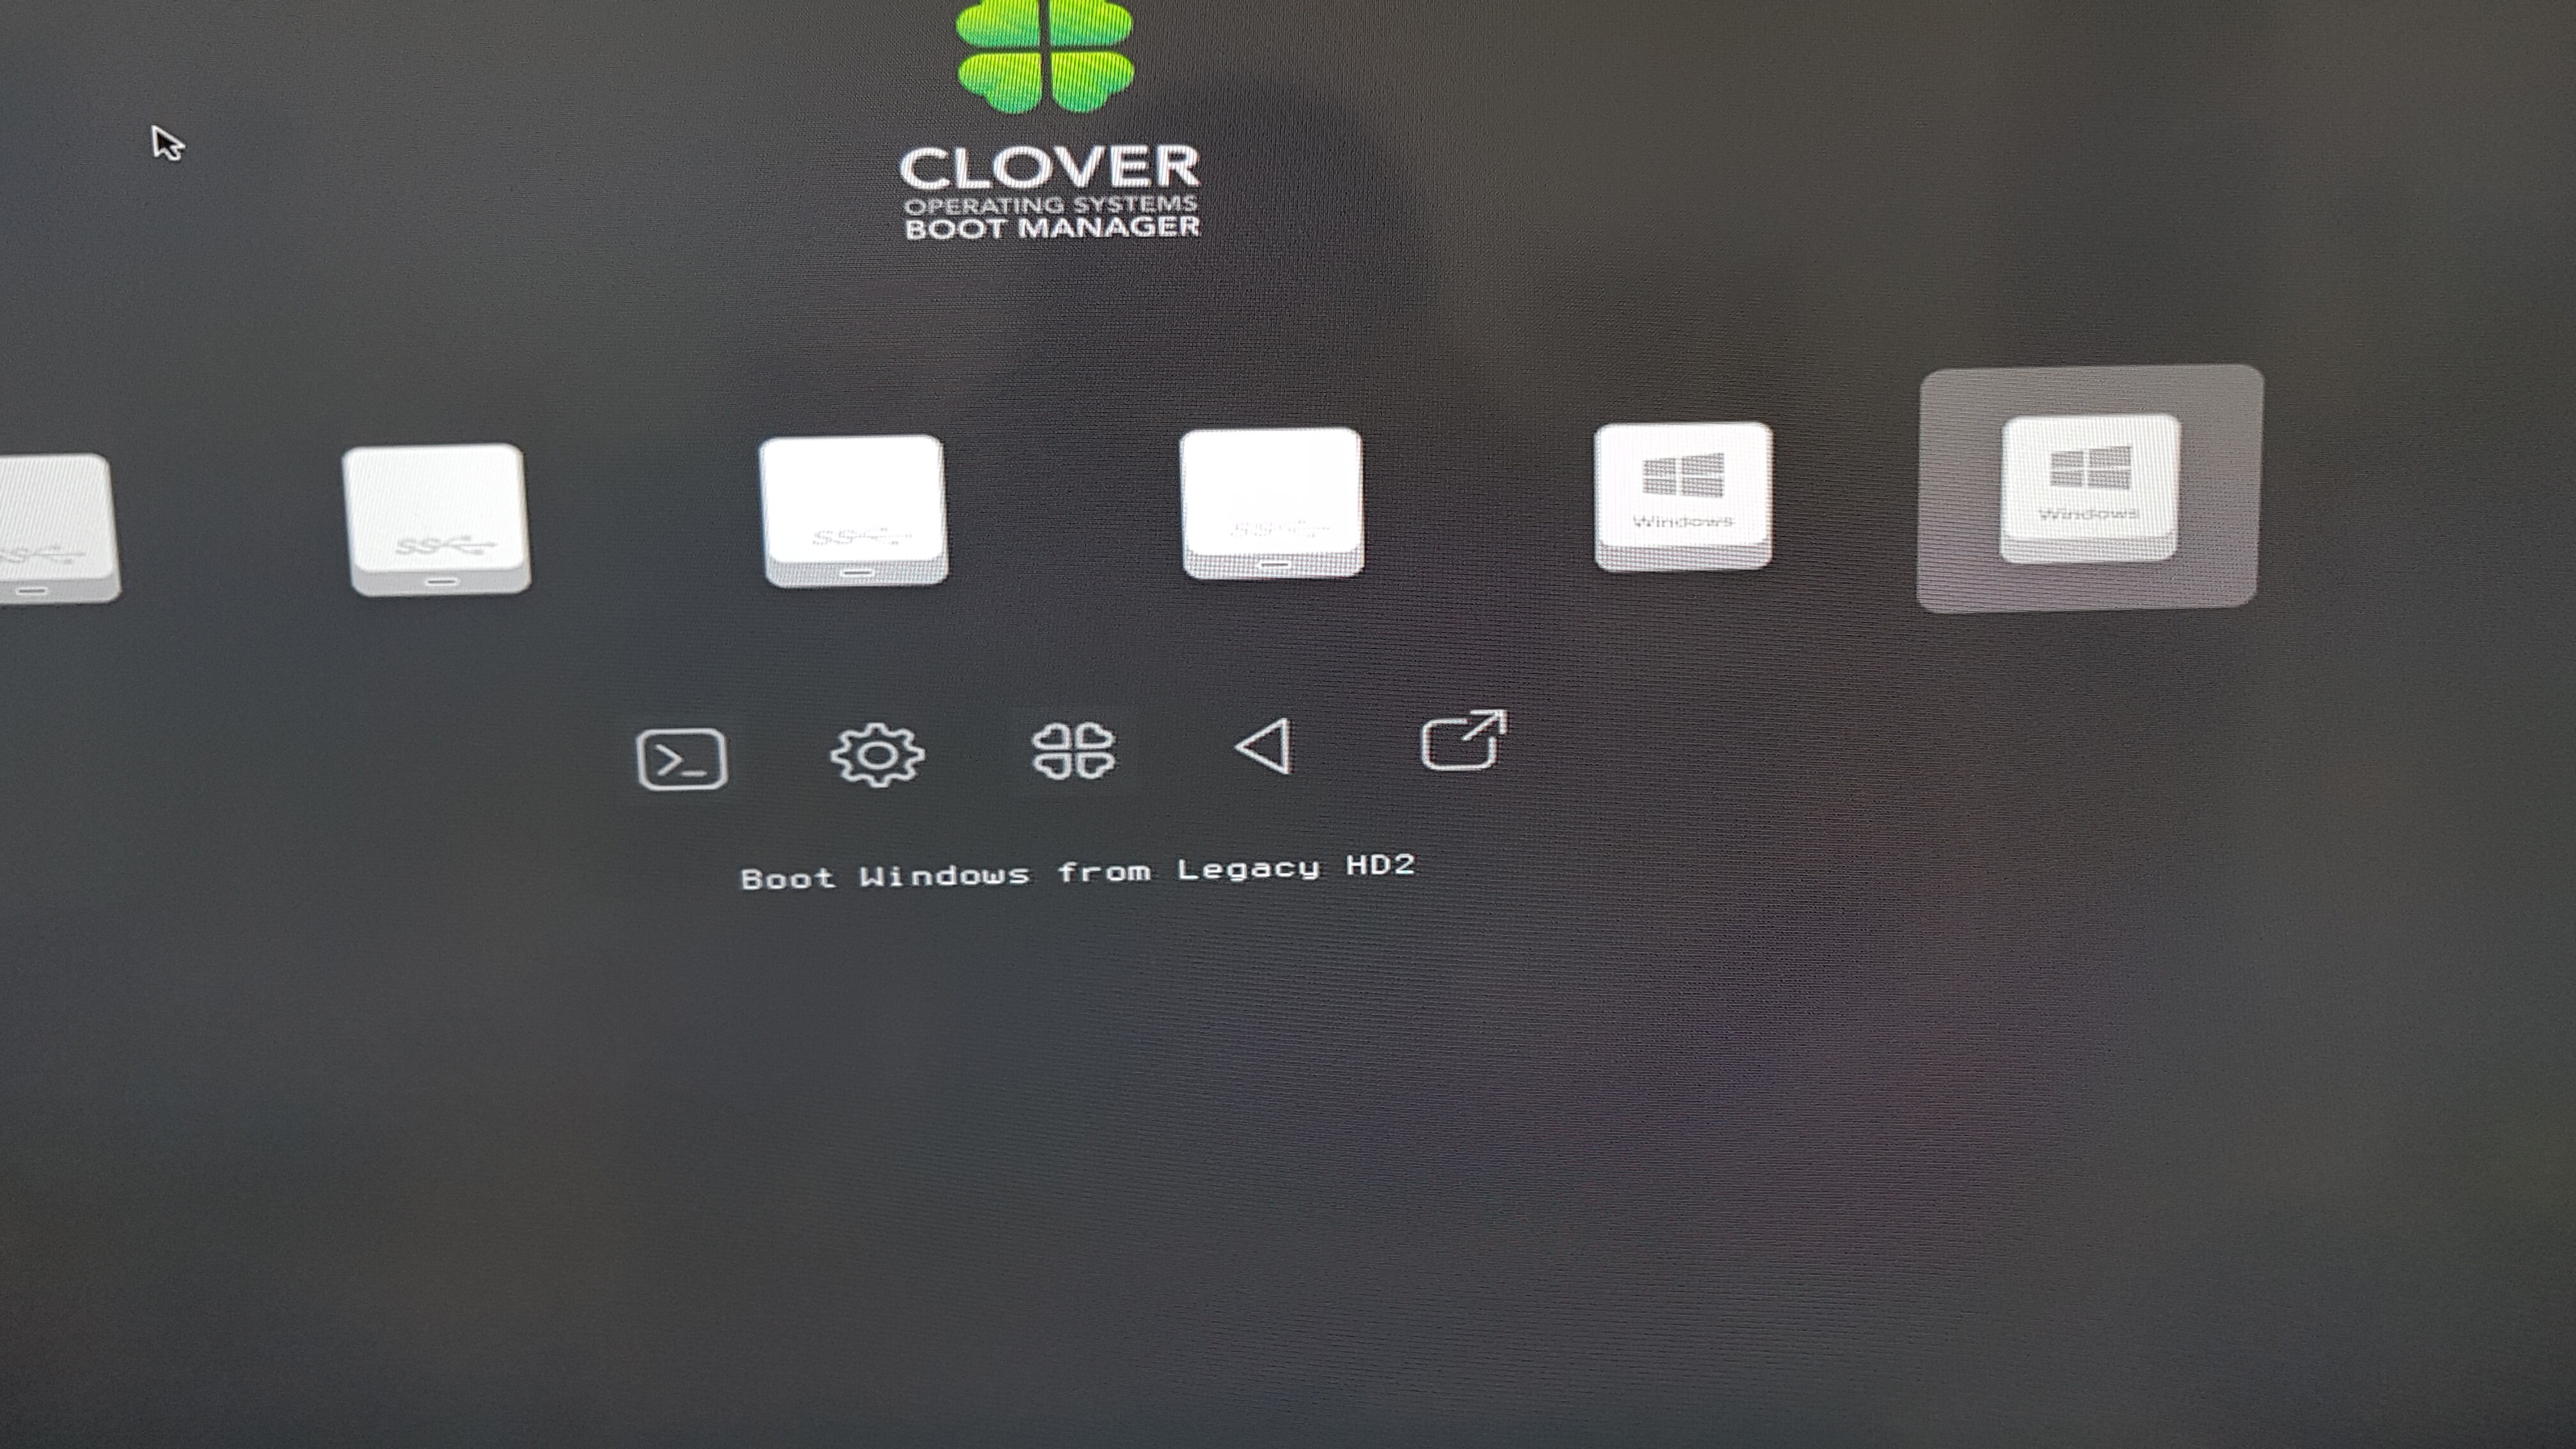
Hi,
in case the CLOVER USB-Drive has been build in the rigth way:
1) My opinion: no one of them 
2) I don’t know your MB, but the Samsung 970 EVO Plus is a very good choice (I own a 970 with 1 TB)!
3) You don’t need full lane-bandwidth; the linked adapter supports two M.2 SSDs and one mSATA, it’s in my opinion somehow “oversized”.
4) Yes you need it, if your SSD is NOT detected by BIOS: Clover does NOT make a SSD detectable by BIOS! If you see the SSD in the BIOS, you don’t need Clover 
5) Have a look to my posts in the thread.
Regards
Sorry, I’m still a little bit confused with the answer no.1.
1) set Clover USB-Drive as the first position in the boot priorities. Ok checked.
2)boot the first time from your INSTALL USB-drive (boot manager) to install W10 : U mean i boot to media installation usb then find the clover usb and boot from there again? I thought i had to boot from clover usb then pick Windowsinstallation media via EFI-Boot then choose the nvme ssd to install windows like normal?
Windows 10 supports already NVMe and has a standard NVMe driver; the problem is a mainboard not detecting NVMe drives!
So, if you install W10 with your installation media, you can install W10 (it detects the NVMe), but on the first reboot it will not continue, because the MB does not see de NVMe drive! At this point Clover-USB-Media must be attached!
Does your BIOS detect the NVMe?
If not, you need CLOVER, but not for the first step.
I’m still waiting for the ssd n adapter to arrive.The mainboard is from 2008, one of the first x58 back then. However i found a thread from a guy that used the same system like i have, it seems like nvme only work on the last slot PCIe.
Hello,
I have read most of the 27 pages on this post, and was able to understand the main ideas, as well as test some of them, such as the Windows 10 dual boot and the CLOVER method.
An IT manager for over 20 years, I’m not afraid to dive into the deepest technical issues, but still I’m stuck in trying to install and boot from a 1TB Intel 660p SSD M.2 PCIe NVME with a PCIe adapter.
My rig:
-Intel E8500 Core2Duo
-XFX 790i Ultra SLI (with the P09 AMI Phoenix bios, the last official one)
-EVGA GTX 780
-120GB SATA SSD from Sandisk
It goes without saying this MoBo/BIOS does not have native support for booting from NVMe on PCIe devices (why else would I be reading this post, right?).
I’ve disconnected the original RAID 0 I’ll eventually replace, to make this exercise easier.
I’ve disabled the RAID on the BIOS and installed WINDOWS 10 PRO on my plain SATA SSD which boots normally.
The idea being that I will “read the MBR” from it, in other words, get to the dual boot menu, and then somehow point it to the NVMe PCIe SSD, and boot from its Windows 10 (so that it becomes my C: drive, which is the whole idea here).
Using Win10 should make it easier, so after installing it onto the SATA SSD and booting, I’ve then used the Intel cloning tool to clone it to the NVMe PCIe SSD (which the OS can see normally, just like the Win 7 Ultra on the older RAID can, once the intel driver is installed).
Booting from the SATA SSD does trigger the dual boot menu (which means it can see my 2 drives with different installations):
By getting to the command prompt from there, I can also freely navigate to the NVMe PCIe SSD and see everything that’s there, so the “native Win 10 support for PCIe NVMe” is really there at boot time.
However when I select boot from the NVMePCIeSSD in the dual boot menu, the system will not do it.
It tells me I need to repair it, which of course doesn’t work.
It was the same thing when I used the CLOVER method.
I tried running a full Windows 10 install into the NVMe SSD, but it doesn’t finish the install because the first time it boots during the process, and I remove the USB Installation media, it doesn’t know how to get back there on its own and continue with the installation.
Hence my “cloning” the SATA SSD using the Intel tool.
So, what should I try next, the DUET method?
It just seems like I’ll get to the same point where the system can see both drives, yet won’t continue the boot process on the NVMe drive. Something is amiss there…
Any light will be appreciated.
I suggest doing a modified approach.
My physical setup is a
a. NVME drive
b. Asus MOBO that does not have an NVME slot and does not support NVME in the BIOS boot choices.
c. NVME to PCIE to NvME adaptor.
d. 8 gig ordinary USB stick.
I then installed the NvME to the PCIe/NVME adaptor, then installed the card on an empty PCIe slot. I stuck the USB in one of the USB slots.
Software prep
1. To prepare the NVME as my primary windows 10 bootdisk, while installed on the PCIE adaptor I did these;
a. prepare the clover USB Bootdisk. Format any USB stick to FAT 32 and drag TONY54’s files into it and the USB will be ready. Thank you Tony54 for that. BTW I just used an 8 gig USB. Search the thread for TONY54’s files.
b. stick the USB in any empty USB slot.
I then did the following settings on my BIOS;
c. enter PC BIOS
d. Load BIOS defaults
e. changed BIOS boot disk to UEFI "USB CLOVER DISK"
f. change settings on the mobo BIOS so that booting will always be on CLOVER USB bootdisk
g. save settings and let computer cycle and reload BIOS with Clover USB in the USB slot.
2. Turn on computer, it should boot into clover disk and bring you directly to the CLOVER menu. If you do not get to the Clover menu, DO NOT move on, repeat process 1.
3. In the clover menu set it to boot into UEFI DVD. My Windows 10 disk was in the DVD drive. I loaded windows using my Win10 DVD physically installed in the DVD drive.
4. Install windows10 using the DVD. Go through all the normal procedures up to the point where you are asked to choose the DISK where you will install your windows.
5. In the windows install page where you are being asked to choose what disk to load windows on to, press SHIFT+F12, this will open the command prompt.
a. Use diskpart to prepare the disk for GPT,
b. refer to the first part of this thread for instructions or use this tutorial; https://youtu.be/kKtkizioHRs,
c. note that in my case I formatted my NVME drive using NTFS instead of FAT 32 as opposed to the tutorial.
d. I then loaded windows 10 in the normal fashion
7. On the first reboot after windows installs, intercept the Clover boot sequence. Choose the NVME where windows was installed. In your case there might be several Hard disk choices, choose the first one and work your way from there until you find the harddrive/partition/NVME where you loaded your new windows.
8. Windows will restart several times, just click okay. choose express settings.
9. ALWAYS computer should boot in this fashion; BIOS–>CLOVER USB–>Windows in NVME
10. If the computer does not BOOT into the clover first the install will fail.
Update after my install
1. I now boot from the clover installation on my internal hard drive instead of the USB stick. I made a small and separate 100MB partition on my internal SATA harddrive and formatted this 100MB partition with FAT32.
2. I then copied all the files in my Clover USB boot disk (which previously worked). I edited the config.plist on the UEFI partition on the clover Harddisk and changed all USB entries into HDD, now the PC boots through the clover boot disk on my hard drive.
3. The USB Clover is being kept for emergency , in case the hard drive fails in the future. It seems that the HDD boot is faster that the USB boot disk and I feel more comfortable that my boot disk is not dangling from the outside of my PC.
4. I also installed a PCIe 1X to 16X riser (ribbon type).
5. What it does is I insert the PCIe 1x on the mother board and the other end is a PCIe 16x slot.
6. Often the extra PCIe 1x slot where we install the m.2 is beside the graphics card. Using the extension/riser I was able to move the m.2 ssd far away from the graphics card so the heat of the graphics card reach and affect the ssd.
The NVME-PCIe adaptor should work in any of the available slots
Thanks Sandbite! I’m letting my mind digest the ideas.
Hi Sandbites,
I like this part better, this is where I plan to pick up and continue.
I just couldn’t find the UEFI partition on Tony’s files, do you mean the EFI partition?
If so, config.plist on this folder has many pages but glancing at all of them I was unable to find USB entries to change to HDD, can you elaborate? or am I looking at the wrong place?
hi snorlaxgangs welcome to the community i will do my best to answer those questions for you.
1. the procedure to install windows 10 on the nvme and boot from it. you must first setup the clover boot ( remember to place the nvme driver file in the right place’s ) once that is working you need to set the clover usb as the first boot option in bios you may also insert your windows 10 installation media (usb or dvd) do not remove the clover usb the clover usb will always be required to boot from if clover is set up correctly once booted it should automatically see the windows 10 boot media and present you with an option to boot from it and proceed with the install (i used a dvd myself) during the installation it will reboot and you must select the nvme drive to boot from in clover before it will proceed with installation
2. i use the samsung evo 970 myself with no issue.
3. that adapter card looks like a clone of this one from jeyi https://www.aliexpress.com/item/32967632972.html that i use myself with no issue so i recommend going with this one instead but i so no reason this won’t work well with your motherboard.
4. as i stated in point 1. you will always need the clover usb as your first boot the nvme ssd will not boot without it.
5. alternatively you could install the 200mb clover partition to a sata hdd in your computer simply use the BDU from the first post and install to hdd instead then simply copy the config.plist and and themes to the new clover partition on the hdd then set the hdd as the first boot option in your bios NOTE that BDU will erase the hdd i would then simply keep the usb as a backup incase the clover on the hdd doesn’t work for some reason. usb are cheap chuck it in a draw
good luck with your build.
On this machine, I am running Clover to dual boot to Ubuntu and Windows 10. However, my Nvme SSD
gives only SATA III speeds which is roughly 400-440 MB/s. I should be getting around 3000 MB/s as it is
PCI-e 3.0 x4 SSD. How to improve the speed?
Also, how to change the boot order of the OS’s in Clover Boot Screen and if possible add better looking skins
to differentiate the OS’s?