@wappa
Glad to hear you got it working.
The purpose of the driver in the bios is to allow the bios to recognise the pcie nvme as a boot device which in your instance clearly it is not doing else you wouldn’t need clover. From my research with that motherboard you should be able to boot directly to the nvme from bios as the device does support this according to various sources.
Have you checked that the bios is up to date ?.
@sibliss
Yes, the BIOS is up to date. I went directly to the HP website and got the updated BIOS just this past week… even when putting a password in the administrator section of the BIOS, it shows no options for the M.2 slot, and nothing about it in the BIOS, whatsoever. I find this confusing because they never mention the M.2 slot anywhere except upon their spec sheet and only because they put a 128 GB SSD in it. Only one place is it mentioned!
Do you have any tips or ideas of where I could look in the BIOS or what I should change or anything?
@Wappa
So it turns out this is another one of those computers where its not properly supported hardware wise to boot from nvme. theres even a post in their forums that links to this exact thread a post from racing96mustang https://h30434.www3.hp.com/t5/Desktop-Ha…ht/true#M170946
What this means is that you can only boot an nvme that has a built-in option rom Like the samsung 950 pro. The team mp33 that you have obtained does not have this option rom, therefore this clover method is as good as you can get. Unless you can modify the bios.
I have the DQ77MK mobo and have tried Shonk’s method to try and boot from the USB not sure what I am doing wrong but I just end up booting into windows.
Should disconnect the drive containing windows?
Do all the drives except the NVME have to be disconnected?
I have set the USB as the 1st boot device in the bios as per info the USB stick is formatted to fat32 with EFI folder extracted on it and it lights up on the boot but nothing appears on the screen and the PC just continues booting windows
Help a newbie out please and let me know where I am going wrong…
Hello all,
I am running Ubuntu 20.04 on ZFS, and Windows 10 Pro on ye olde HP Z230. I have the Windows 10 running on NVMe drive on PCI card - unfortunately MY UEFI BIOS does not support NVMe. I created a new boot USB with the latest clover a couple of days ago - Clover revision: 5124 (master, commit d2bec9ba0)
I have both OS’s booting from Clover. I have wasted days trying to put custom entries, and remove dumb artefacts from when Clover scans the Windows Boot manager on the NVMe drive. I think there is a problem with interactions between NvmExpressDxe.efi and the option which disables scanning in the config.plist.
Some symptoms:
a) If I prevent scanning - i tried individually with sub-features of Scan - none seemed to work to turn off Legacy for example.The turn-it-all-off variant seems to work.
<key>Scan</key>
<false/>
The NVMe drive is still scanned even with scan off - producing some rubbish and some generic good entries. My Custom Entries for grub and Win 10 do not appear.
b) If I hide the NVME drive, My Custom Entry for grub works. Cannot get my Custom Entry for Windows 10 to work.
If I both prevent scanning and hide the nvme drive - I get my Custom Entry for grub - which will boot Windows or Ubuntu - but no Custom entry for Windows 10.
I have a working system - its just annoying every time I see it. I am effectively using Clover to give me an NVMe driver, and then I use Grub to multi-boot.
I tried to upload my preboot log - but some German bot said something like ‘NO!’
Hi and welcome to the forum, the clover BDU will setup the clover usb automatically and assumes it is configuring to boot the machine you run it on. please be sure to use the media creation tool from Microsoft to create the windows installation media usb and try again. the media creation tool seems to be the way that is most reported as working. there is absolutely no need to disconnect other drives.
@banksiaboy
Hello and welcome to the forum also.
This forum of german origin and there is a minimum amount of posts required before you can upload here.
It would appear to me that perhaps you are going about this the wrong way. you shouldn’t stop the scan and instead set any partitions you wish to hide from the clover menu as hidden volumes in the clover config.plist. keep in mind that you can set both custom legacy and uefi entries within the config.plist also a fun fact is that clover can even replace the need for grub entirely. i know it works because like you i had a Ubuntu dual boot on one of my systems and it worked flawlessly.the only reason to try to stop the scan is a vein attempt to speed up the booting process.
Be aware that your custom entry for UEFI windows does need to be configured with the correct GUID before it will work properly i found i actually had the wrong guid initially when i setup my first one and found that actually i needed the guid for the hidden “system” partition on the nvme.
also please be sure to also run MBR2GPT.EXE to ensure windows is correctly configured for gpt as this is required for the driver to detect the installation.
I hope this helps please report back here for more help and of course you can pm me a copy of your config.plist and i’ll take a look at it.
Regards, Sibliss
@sibliss
Thanks for your reply.
I can boot the Windows 10 partition from the clover-scanned entries. I could be confused as to where they are being picked up from. Maybe from Grub itself.
I installed windows into a GPT partitioned disk from installer run under UEFI USB Windows installer mounted from clover. I think I got that part right (maybe)
% fdisk -l /dev/nvme0n1
Disk /dev/nvme0n1: 465.78 GiB, 500107862016 bytes, 976773168 sectors
Disk model: Samsung SSD 970 EVO 500GB
Units: sectors of 1 * 512 = 512 bytes
Sector size (logical/physical): 512 bytes / 512 bytes
I/O size (minimum/optimal): 512 bytes / 512 bytes
Disklabel type: gpt
Disk identifier: E54D9680-5D41-03AA-A065-53795097EA00
Device Start End Sectors Size Type
/dev/nvme0n1p1 2048 1023999 1021952 499M Windows recovery environment
/dev/nvme0n1p2 1024000 1228799 204800 100M EFI System
/dev/nvme0n1p3 1228800 1261567 32768 16M Microsoft reserved
/dev/nvme0n1p4 1261568 976773119 975511552 465.2G Microsoft basic data
% lsblk -d -fs /dev/nvme*
lsblk: /dev/nvme0: not a block device
NAME FSTYPE LABEL UUID FSAVAIL FSUSE% MOUNTPOINT
nvme0n1
nvme0n1p1 ntfs Recovery 5EF0448FF0446F79
└─nvme0n1
nvme0n1p2 vfat 8245-CF6C
└─nvme0n1
nvme0n1p3
└─nvme0n1
nvme0n1p4 ntfs 064E48344E481EB5
└─nvme0n1
I’ll pm you my config.plist and preboot.log
Many thanks…
@sbliss
It seems I don’t have permissions to send you a pm
I’m not sure how to read the preboot.log to make custom entries for the scanned entries with screen-shots 37 and 38, or how to force hiding entries like in screenshot 42.
Oops cant load preboot.log here…

I have an NVMe drive on a pci-card. My HP Z230’s UEFI BIOS is too early to recognise NVMe drives.
I absolutely need the NvmExpressDxe.efi drive to boot my Windows 10 system - which is installed on the NVMe drive.
@banksiaboy
yeah my 970 is on a pci card aswell and clover works well for me… I edited the hide entries directly within the config.plist file as follows
IMPORTANT!!!
If you edit the config.plist …you must do it in a linux compliant editor such as the free Notepad++ or you risk corrupting the hidden end line characters
1
2
3
4
5
6
7
8
9
10
11
12
13
14
15
2
3
4
5
6
7
8
9
10
11
12
13
14
15
<key>GUI</key>
	<dict>
		<key>Hide</key>
		<array>
			<string>Windows</string>
			<string>BOOTX64.EFI</string>
			<string>4tb store</string>
			<string>2tb store</string>
			<string>movies</string>
			<string>music</string>
			<string>Recovery</string>
		</array>
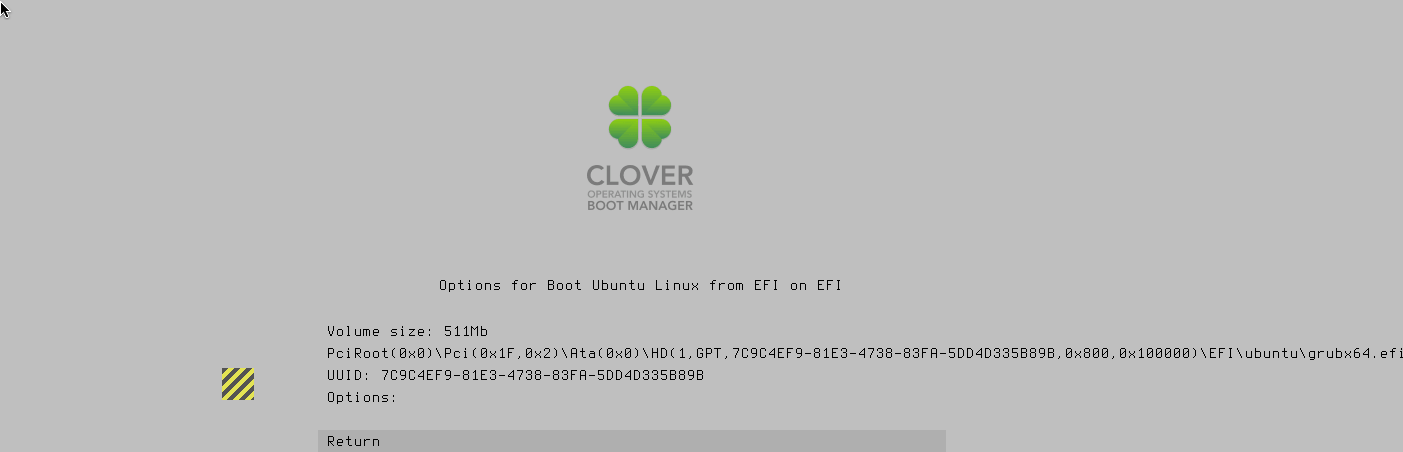
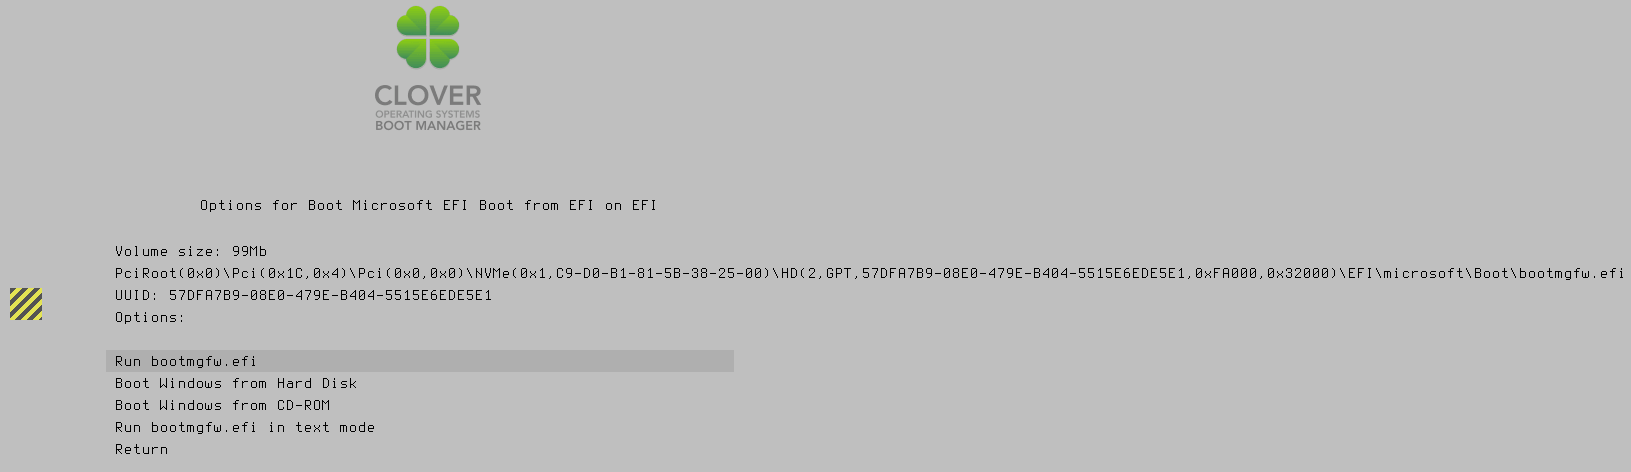
In your instance you will want to try booting this partition from clover /dev/nvme0n1p2 1024000 1228799 204800 100M EFI System (as it turns out this is the partition where the windows bootloader is actually stored and initialized from)
So i would remove this part entirely
1
2
3
4
5
6
2
3
4
5
6
<array>
<string>(2,GPT,57DFA7B9-08E0-479E-B404-5515E6EDE5E1,0xFA000,0x32000)</string>
<string>Legacy</string>
</array>
And i would move the legacy entry to under scan like this
1
2
3
4
5
6
7
8
9
10
11
2
3
4
5
6
7
8
9
10
11
		<key>Scan</key>
		<dict>
			<key>Legacy</key>
			<false/>
			<key>Entries</key>
			<true/>
			<key>Tool</key>
			<true/>
		</dict>
this is all within the GUI block section of the config.plist as noted above.
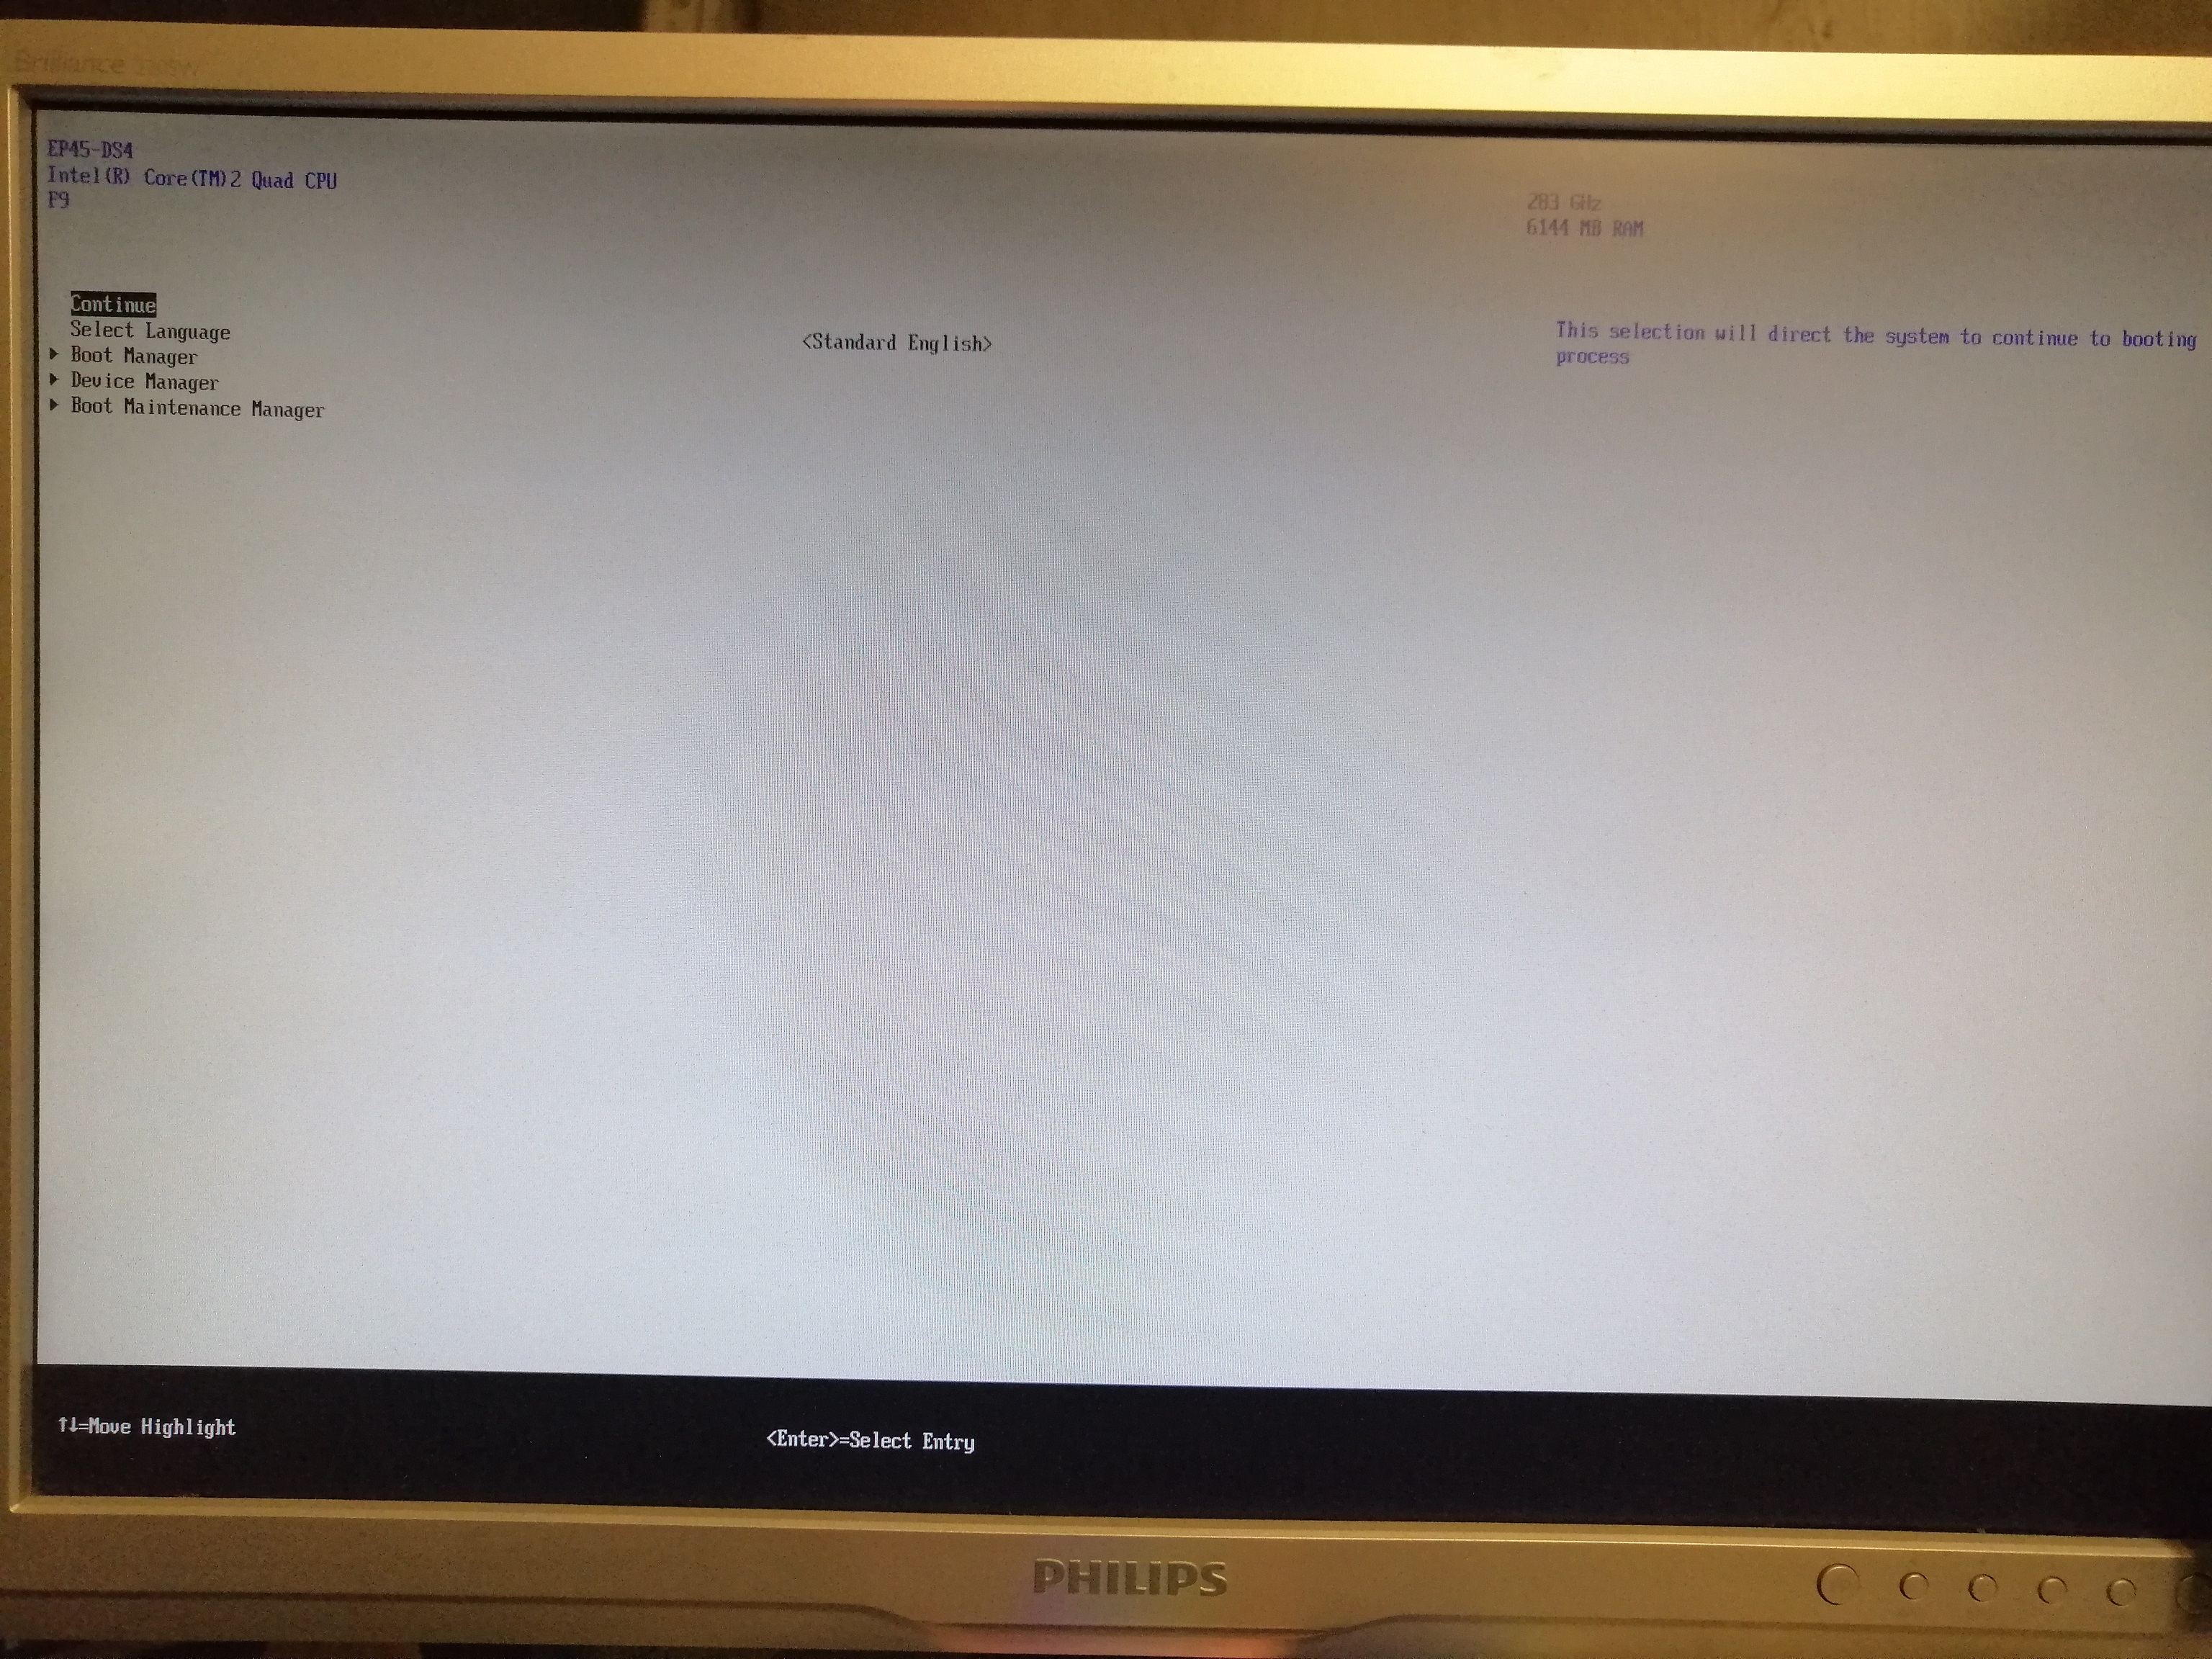
i have installed Clovere’s mode on several machines and they works fine, but im stuck with gigabyte GA-EP45-DS4P, im getting this boot screen and whatever i choose it gets me to the first screen. any thoughts ?
@biber
Just quickly from the top of my head I’d look at the config generated by the BDU be sure to run BDU to make the clover stick only on the machine you are intending to boot from it. As it configures itself for that machines specific hardware.
My guess is something is being configured incorrectly, good news is the configs are all in the config.plist and there are literally millions of page’s about configuring clovers config.plist and troubleshooting on the various mac/hachintosh forums.
Its hard to give you anything more precise without more information. I hope this helps and good luck.
stick is created on that machine, and honestly i dont know how to configure that file. maybe problem is old intel P45 chipset?
@biber
Honestly I’d just start by first recreating the clover stick and then searching the various mac hackintosh forums for anything about that motherboard.
and then specifically the issue you’re having.
as noted in one of my recent replies on the forum you can edit the config file with a text editor such as notepad++ it’s important to use an editor that will respect the Linux end line characters within the file failure to do so will break the file and thus the config.
It’s entirely possible that sometimes for what ever reason the bdu didn’t work right the first time but may work the second time.
Thanks for the guide, I’ve successfully cloned my MBR SSD Windows installation to GPT NVMe on ASUS P6X58D Premium board with stock BIOS (at latest official version).
The process roughly looked like this:
- Use Samsung Data Migration tool to clone MBR SSD Windows to the NVMe as MBR
- Shrink the Windows partition on NVMe by around 200MB to accommodate creation of new EFI partition
- Boot into Windows recovery environment from the MBR SSD (hold shift while you select reboot, select option for more boot options to be shown at next startup, then press F10 to see recovery environment option, then select command line)
- Once on the command line inside the recovery environment be careful to select the right disks and perform the mbr2gpt followed by bcdboot commands from faststorage.eu /how-to-clone-windows-10-from-sata-ssd-to-m-2-ssd-fix-inaccessible-boot-device/
- Follow the 1st post in this thread including the extra steps for 3a (there’s a link at the top of the 1st port that leads you to the extra instructions) to create a USB drive with Clover, in my case I used an SD card USB reader (great use for those old small capacity SD cards!)
- Then I was able to boot to GPT converted NVMe Windows clone and so far no issues
Thanks everyone who shared their past experience in this informative thread.
@sengork
Thankyou for the feedback, I am glad you were able to get it working following the instructions. Cloning is certainly possible (having also done it myself) but posses a number of variables that can be issues and thats why Cloning remains beyond the scope of this thread.
After booting on legacy motherboard with Clover UEFI boot method, is it normal that SMBIOS isn’t able to detect the correct Manufacturer and Model number? I tried this in CPU-Z, HWMon and HWiNFO64 they all cannot detect this. Booting from the same Windows installation copy via legacy SSD all 3 of the programs can detect the correct Manufacturer and Model number.