I had the identical same problem as you, but in Windows all I did was set view of extensions to on, so that I could see the file was incorrectly named as "startup.nsh.txt" which is the way Windows natively would always name it. The problem went away when I changed it to "startup.nsh" removing the .txt file extension from the end of it.
Thought I would mention this for anyone else who has this problem.
Zitat von agentx007 im Beitrag #72
@Fernando I figured out settings for autobooting Windows from NVMe on HDD based Clover.
They work for my LGA 775 platform (and should be universal for all non-Mac type PC's, I used Windows 7 x64 SP1 OS :
In config.plist file (EFI\Clover\Config.plist), I set :
1
2
3
4
<key>DefaultLoader</key>
		<string>\EFI\Microsoft\Boot\bootmgfw.efi</string>
<key>DefaultVolume</key>
		<string>EFI</string>
<key>DefaultLoader</key>
		<string>\EFI\Microsoft\Boot\bootmgfw.efi</string>
<key>DefaultVolume</key>
		<string>EFI</string>
If this is setup correctly, there should be a countdown timer under "Boot Microsoft EFI from EFI" text.
Could you add this new info to "3b optional" section of the Guide ?
Thank you for this useful post.
THIS was one of the most important replies in the thread for me. I had to do this on my Clover setup in order to get Windows auto-booting on the Sandisk Extreme 16GB I am using. I think this particular USB drive was setup by Sandisk as a removable USB HDD, and not a normal bootable USB drive. Mainly because many boot programs, such as Windows USB Tool refuse to use it as a normal flash drive, so I think its one of those Windows ReadyBoost drives Sandisk was selling years ago that got Sandisk in trouble with many people. I myself tried to get RMA repair work done to it so it could be used as a removable usb boot device, but Sandisk was having none of it because they said there was nothing wrong with it as long as it was readable as storage. So it seems like the perfect drive to sacrifice for Clover, since I can't really use it as originally intended (Windows install media), although Rufus does in fact format it when forced to show hdd devices. Since Clover does in fact format usb HDD's this means I can finally put it to some good use. Yay
hello i am using your guide to boot my Samsung Evo 960 form pci-e 4x on my motherboard Z87-G45 with a 4th Gen Intel CPU last BIOS 1.9 update. So i am using a 3.0 USB to boot clover and have a other USB with windows 10 setup on it both boot on UEFI and after Step 6a it hangs at a black screen. anytips?
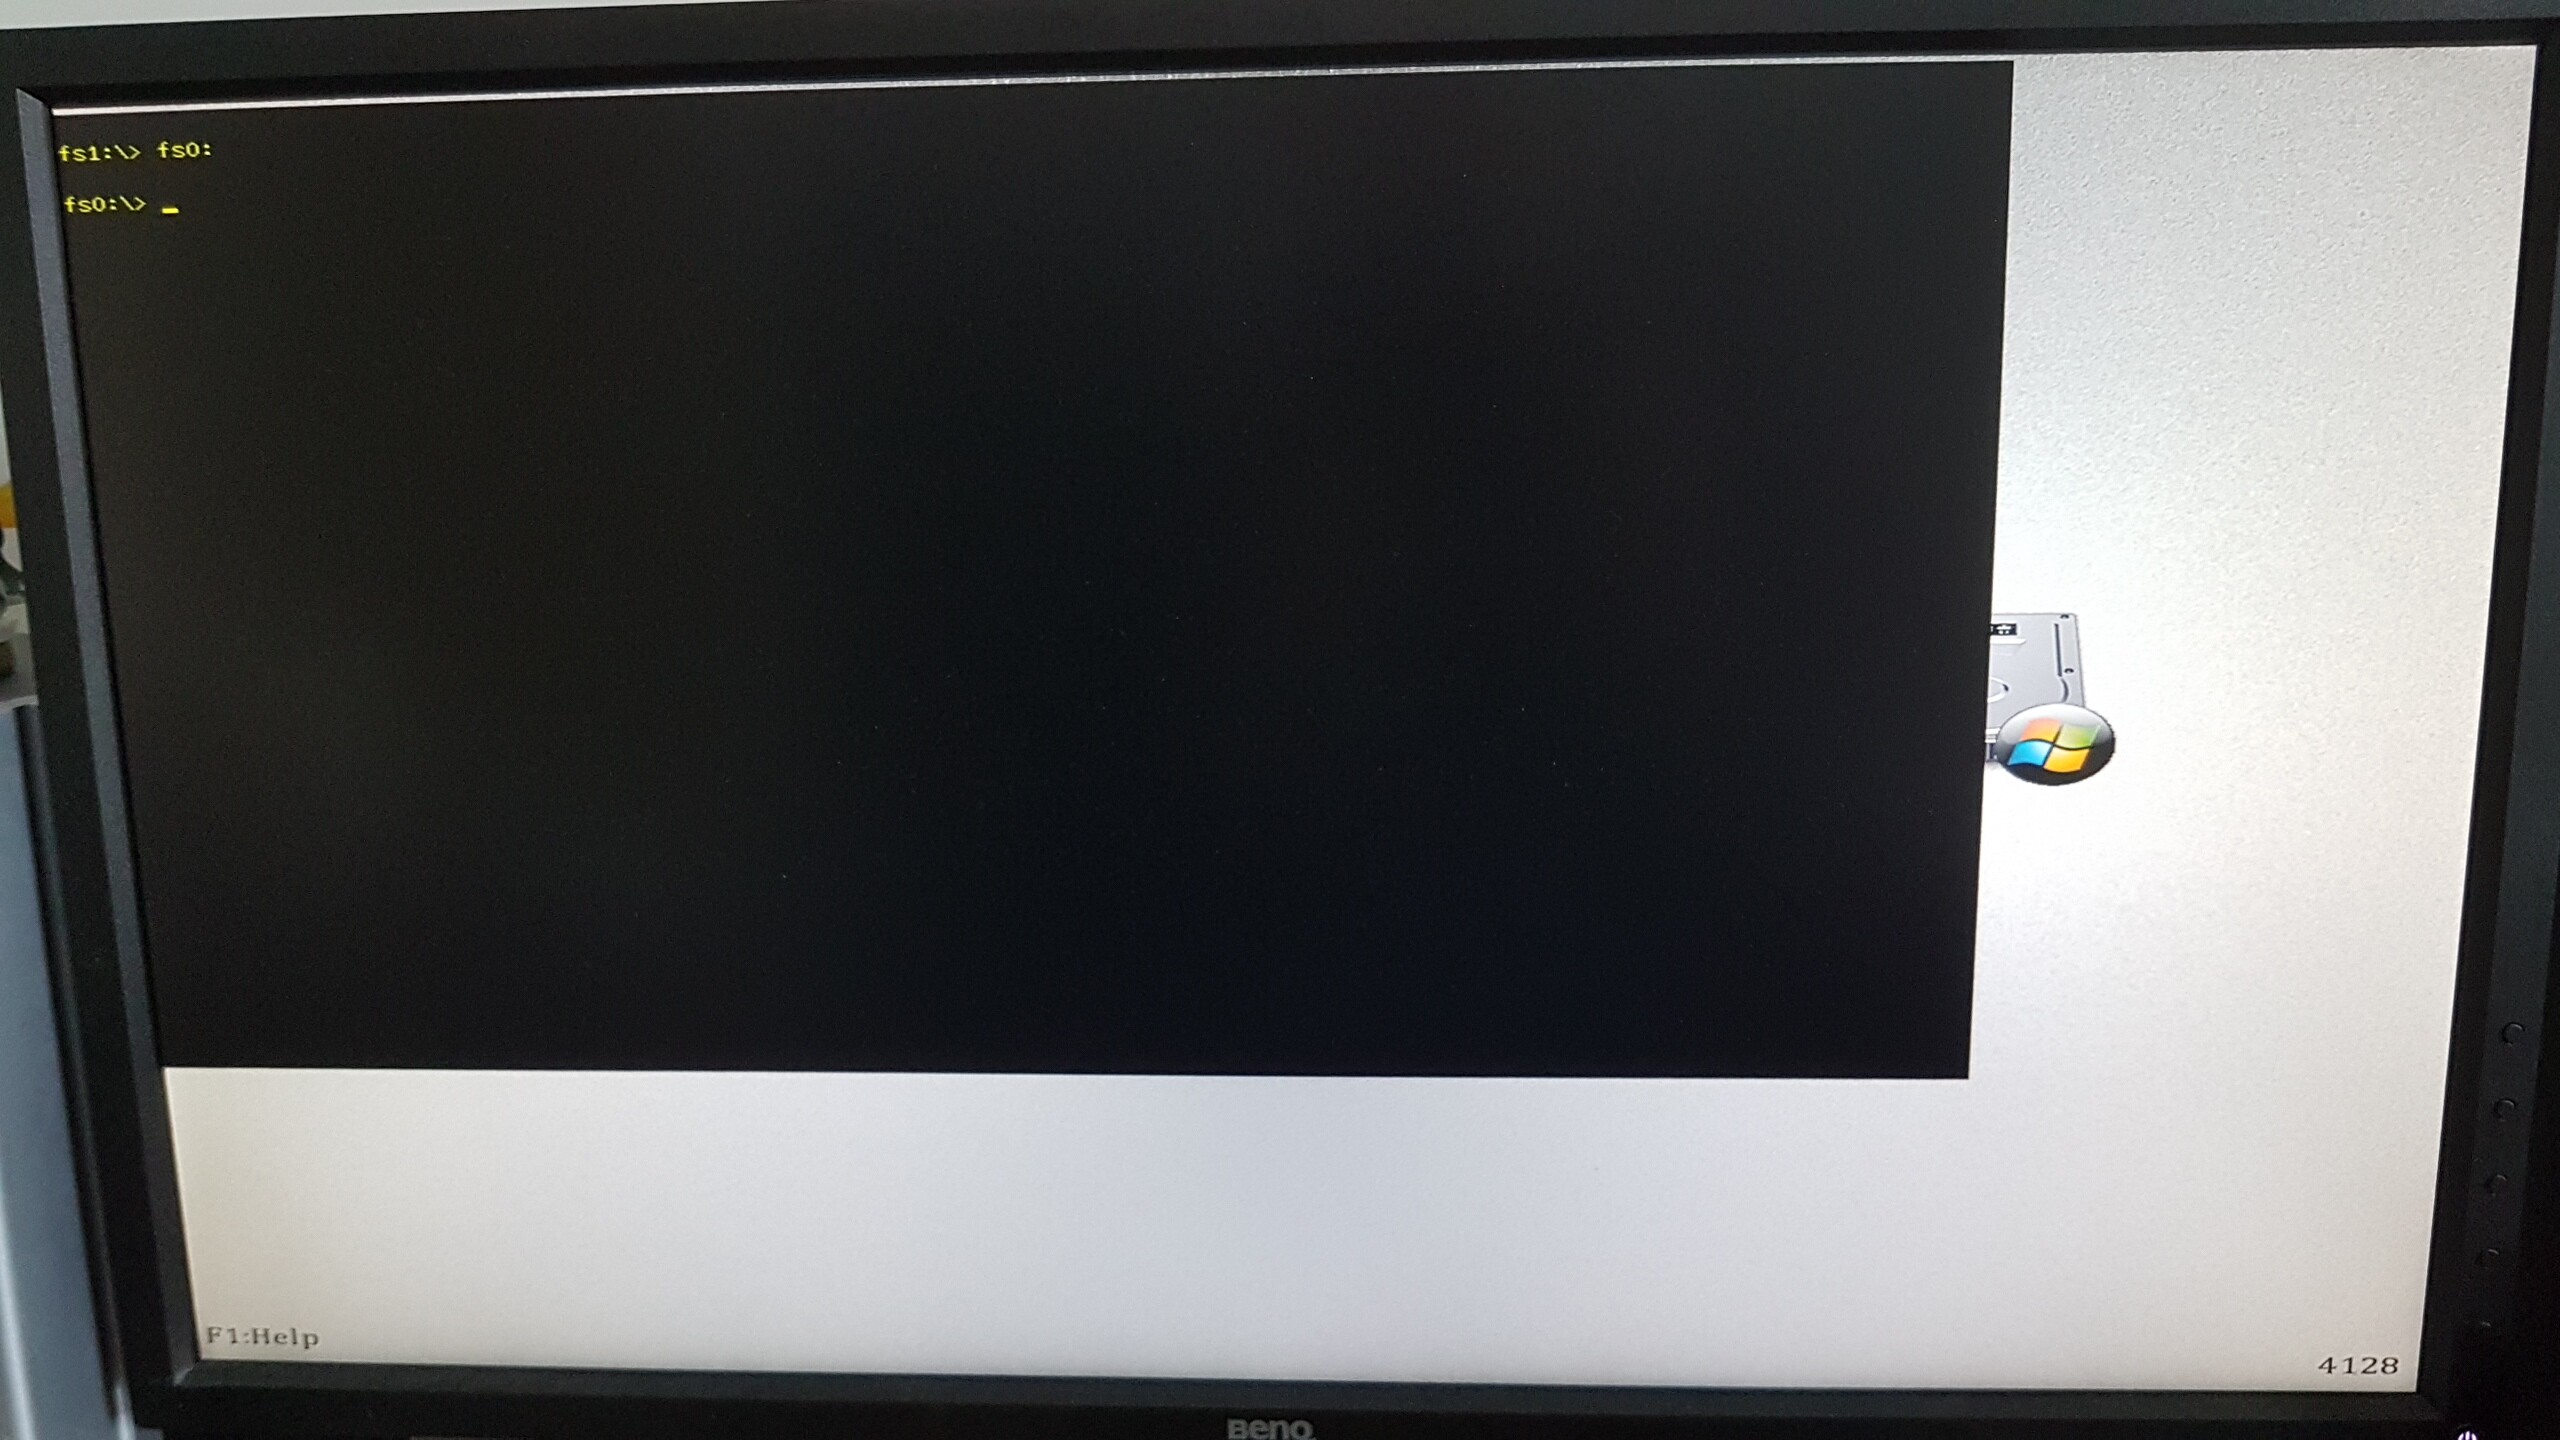
Are you sure you created the proper USB installer pendrive using GPT for UEFI, then burned the Windows 10 installer iso? At the Shell prompt did you type " fsX:\efi\boot\bootx64.efi "? (where X is your usb drive)? If the USB does not appear, or work from the clover gui menu, you need to boot the Windows 10 installer from the UEFI Shell. It always works that way for me.
You just have to figure out which one is your pendrive. fs0 is usually the Clover pendrive, so fs1 or fs2 should be the Windows 10 installer pendrive, and fsX:\efi\boot\bootx64.efi will boot it.
I recently tried to install Windows 10 on a H170 with Kaby Lake CPU and it resulted in a Black Screen due to an outdated Intel ME. Maybe Yours is not the most recent and you can give it a try to update your Intel ME in the Bios, too.
okay i did what you told me i got the latest Clover usb (fs1) and win10 usb (fs0) now with both in the pc i load UEFI shell and type fs1:\efi\boot\bootx64.efi now im at the Cover splash page i see the usb with windows setup in it i click run but noting happends so i hit enter now im at that screen what now im lost at what to do, sorry i never have messed around with shell only CMD stuff on pcs so im a total noobie. And the intel ME update is for all LGA 1155 and 2011 socketed boards, i own a lga 1150 EDIT: it works i had chosen the wrong fsx number has it been changed thx for the help ![]()
Dear winRaid folks,
I finaly got it running.
In my case it was a night mare!
I have a hp z 620 workstation, dual xeon e 5 2680,
samsung 960 evo
and a delock pci ex to M2 adapter.
I first installed win10 on a normal HDD,
By the way I updated the bios, via HP webflash, easy to do, just follow the instructions.
After this i loaded the newest firmware and drivers for the Z620 workstation form HP
afther this I started to update my SSD with the new 2.2 Driver from Samsung, I think a firmwareupdate was also done by Samsung Magician, i dont no realy now how I did it, but it was only ordinary updating software.
Samsung Magician shows, that I have the newest firmware
Ather this I was badly disappointed that even the latest BIOS: 3.91 was not able to boot win10 from the 960evo
By the way I started to try out several methods to get drivers for my 960 evo into that fuckn Z620 Bios, all with no success.
By the way I tried DUET etc. nothing worked out for me.
After this I started to use CLOVER as it is described above. But at point 6a I got problems,
I saw no Icon on the CLOVER Desktop that I could choose successfully.
Sometimes there was a windows error screen, (light blue and white text) or joust a black an white windows logo or just a little white blinking line, but always with no further recreation,
I was always forced to a hard shut-down.
As my last try I took out the clover Stick, ( there was no other drive inside anyway except the windows boot stick/ made with rufus. )
So I restarted the PC with the windows 10 boot stick, win 10 Installer was booting as usual, an it had detected the 960 evo drive successfully( thanks to its own windows NVMe drivers.
I deleted all partitions and installed windows. Just the way It works all the time.
After this I kept the windows stick Inside but put the Clover stick in addition into the pc,
when I was restarting the PC , clover was booting, the first device/Icon in the clover desktop was what I hit at this moment.
The result was that I was again booting windows installation boot Media/my win 10 install stick. Not good.
After this I put the Windows installation stick out, keeping the clover stick inside. (Keep in mind, win10 was actually written/loaded on the ssd!)
After clover started as usual I have chosen the first Icon/ device again( "Boot Microsoft Efi boot from efi" is written below the icon)!
And parfait !! as it seems, clover had access to my M2 960 evo over the pci ex adapter!!
But only after the installation of win10, just by the on-board drivers of the win10 installation stick only. As I tried to explain
By the way I finished my win 10 Installation. This time the all first boot sequence of win10 was quiet slow.
But after this an all the ordinary first time settings, I rebooted the pc again.
I also switched the position of the clover stick from front to rear, it still works. Windows booted nice.
After this I put my additional HDDs inside, restarted and again clover booted again, the selection arrow was by its own again set on "*1 Boot Microsoft Efi boot from efi" as inbefore,( maybe I explained it a little bit difficult in before)
I just waited the 10 sec and the win 10 boot procedure started! Nothing I had to press or choose! It was as fast as hell , I never saw something that fast in before, something like 1,5 seconds or so.
Even my Samsung 850 SATA SSD inside my 16gig 4core i7 thinkpad is slow if you compare this part of the boot process.
By the way it works now realy good.
The only draw back: I have lost a usb Stick inside the arss of my machine.
And this clover stick and a dead e: partition are in my explorer three now. but I think i can live with it.
I hope this was helpful !!
Thanks to all the other guys here!!
@Ironfawks :
Welcome to the Win-RAID Forum and congratulations for your success!
Can’t you open your machine and remove the USB stick?
Enjoy the Forum and your NVMe SSD!
Dieter (alias Fernando)
Zitat von SkOrPn im Beitrag #122I'm glad it was helpfull :)Zitat von agentx007 im Beitrag #72
@Fernando I figured out settings for autobooting Windows from NVMe on HDD based Clover.
They work for my LGA 775 platform (and should be universal for all non-Mac type PC's, I used Windows 7 x64 SP1 OS :
In config.plist file (EFI\Clover\Config.plist), I set :
1
2
3
4
<key>DefaultLoader</key>
<string>\EFI\Microsoft\Boot\bootmgfw.efi</string>
<key>DefaultVolume</key>
<string>EFI</string>
<key>DefaultLoader</key>
<string>\EFI\Microsoft\Boot\bootmgfw.efi</string>
<key>DefaultVolume</key>
<string>EFI</string>
If this is setup correctly, there should be a countdown timer under "Boot Microsoft EFI from EFI" text.
Could you add this new info to "3b optional" section of the Guide ?
Thank you for this useful post.
THIS was one of the most important replies in the thread for me.
Here's something more from me :
Full Clover installation guide with Windows 7 x64 SP1, NVMe drive and PGA 478 platform :D
You Tube video :
Read description, and good luck :)
Thanks, yeah I needed that info for my other machine so thanks again for that.
Do you happen to know how to stop Clover from adding Boot entries every time I upgrade my Linux kernel? I am running Ubuntu (actually KDE neon) on my other Xeon machine, again, and every time I upgrade my Xanmod kernel I get a completely new boot entry, 4.12.5, 4.12.6, 4.12.7 etc etc all the way up to 4.12.10, yet I only have one Linux OS to boot from. With my Windows 10 machine it was very easy using your info, but using Linux I have no clue what I need to change in Clover in order to show only one boot entry. Now my boot entries are all the way across the screen, LOL. I hate having to scroll all the way to the right end just to boot Linux.
Any ideas anyone?
Wow, thank you @Tito for finding that for me. I will look for that entry and use the below edit. I completely forgot there was a Clover wiki.
1
2
3
4
5
2
3
4
5
<key>Scan</key>
<dict>
  <key>Kernel</key>
  <string>MostRecent</string>
</dict>
This worked very well for me. Intel DP67BG (P67 chipset) with Samsung 960 Pro NVMe on a Vantec x4 PCIe adapter. UEFI mode.
I did NOT use Clover to boot Windows 10 installation media (it boots and sees NVMe OK by itself), so I installed Windows normally on NVMe drive, THEN plugged in clover USB and boot to 2nd stage of Windows install, and… it worked!
Step 2c. It might be easier to admin cmd, diskpart, lis dis, sel dis #, convert mbr, clean, exit, exit. Should be the same effect.
Hello,
Brand new here.
I want to use a corsair mp500 as a boot drive on a gigabyte GA-Z68AP-D3 (rev. 2.0) using a PCIe to M.2 adapter.
My question is: How small/large does the USB dongle used for the Clover bootloader need to be? I am asking since I have multiple 32MB USB dongles around and fewer large USB dongles (1-16GB)…
Please let me know.
Thanks a lot for your work.
Best,
-a-
PS: I will first try to install Win10 x64 but I might be interested in making a hackintosh later with this rig. I guess I need to use 10.13 in order to benefit from native NVMe bootability in macOS. I usually rely on the instructions of Tonymacx86 but I wonder what to do when the EFI partition (clover) and the system partition are on different drives (USB dongle vs NVMe SSD). Maybe you can provide useful links as I understood that you are not interested in providing step-by-step tutorials for this endeavor.
Thanks again ![]()
I’m here to report success!
I wish I could tell you all what ended up working, but the long and short of it is if you’re really, really dedicated, you can do this. It ain’t easy, but holy hell is it WICKED fast! And I’m free to boot UEFI Windblows or CSM Windblows thanks to this tutorial.
If I had to do it all over again, I would do a search for the MSMG Toolkit to slipstream all needed drivers for NVMe and USB 3.0, KB updates, etc. It sits on top of DISM and is pretty straightforward to use.
Anyway, just saying thanks a bunch, I’m now able to boot Win 7 Ultimate on an NVMe drive whilst my MB is still in CSM mode. Thank you thank you thank you!
Anyone?
No. Any instance of Clover I used was 200Mb or more. You need a drive that is 200Mb or more.
If you read the first post in this thread and understood it, you would know what I’m telling you right here.
Read it again.
Also, Tony Mac site is just copy paste of other sites. I’ve been there too. Stick to this site, and also rmusbprep and easy2boot
Hint hint hint
Thank you so much.
I didn’t notice the required size of the USB drive in the OP (I still don’t actually…  )
)
Best,
-a-