Ok, as long as you unplug the AC power cable going from the wall to the PSU and powering on (=drain the PSU capacitors), then 1 minute without the CR2032 battery is more than enough to ensure a cleared CMOS. Could of course be that what you are seeing on your EV3 rev 1.5 motherboard, is the same reason that BIOS didn’t boot on my X99D4M4.
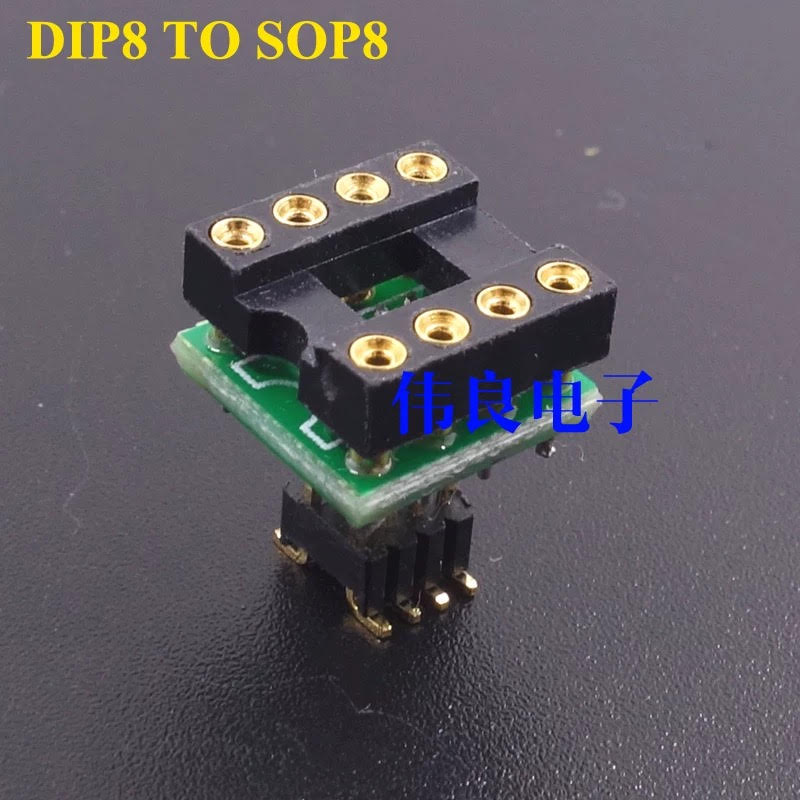
Socketed BIOS: Basically you can search for “DIP8 to SOP8”. That gives you a device which typically some audiophiles use on sound cards, to easily swap out different OP-amps. But it also works perfectly for a normal BIOS chip. Then de-solder existing chip, finally solder the device on.
General answer: Out of the software that you mention, then I have found NeoProgrammer to be the best in all regards. I am using version 2.2.0.10, never had a problem. With regards to the specific problem you are seeing with the CH341A software, then this sounds like you have not selected the right chip, therefore you do not have the right buffer size.
OK thank you for your support I have done flashing my BIOS back to my default BIOS V1.5 and successful with NeoProgrammer and I use test clip because its hard to use SOP8 (like a pinch tool) always s failed and quickly worn out.
Btw I was so confuse at first because NeoProgrammer, Asprogrammer, & CH341A programer, can not detect my BIOS chip… So I browse in YT and found Miyconst tutorial for flashing…he said some of the Chinese motherboards need to power on the PSU (but DO NOT TURN ON PC/system) in order to power up the BIOS chip so CH341A & programmer can read it…I did that and at last it can read my chip thank God I was so hopeless at that time. Miyconst also said some Chinese motherboards also need to uninstall processor just to get read by CH341A .
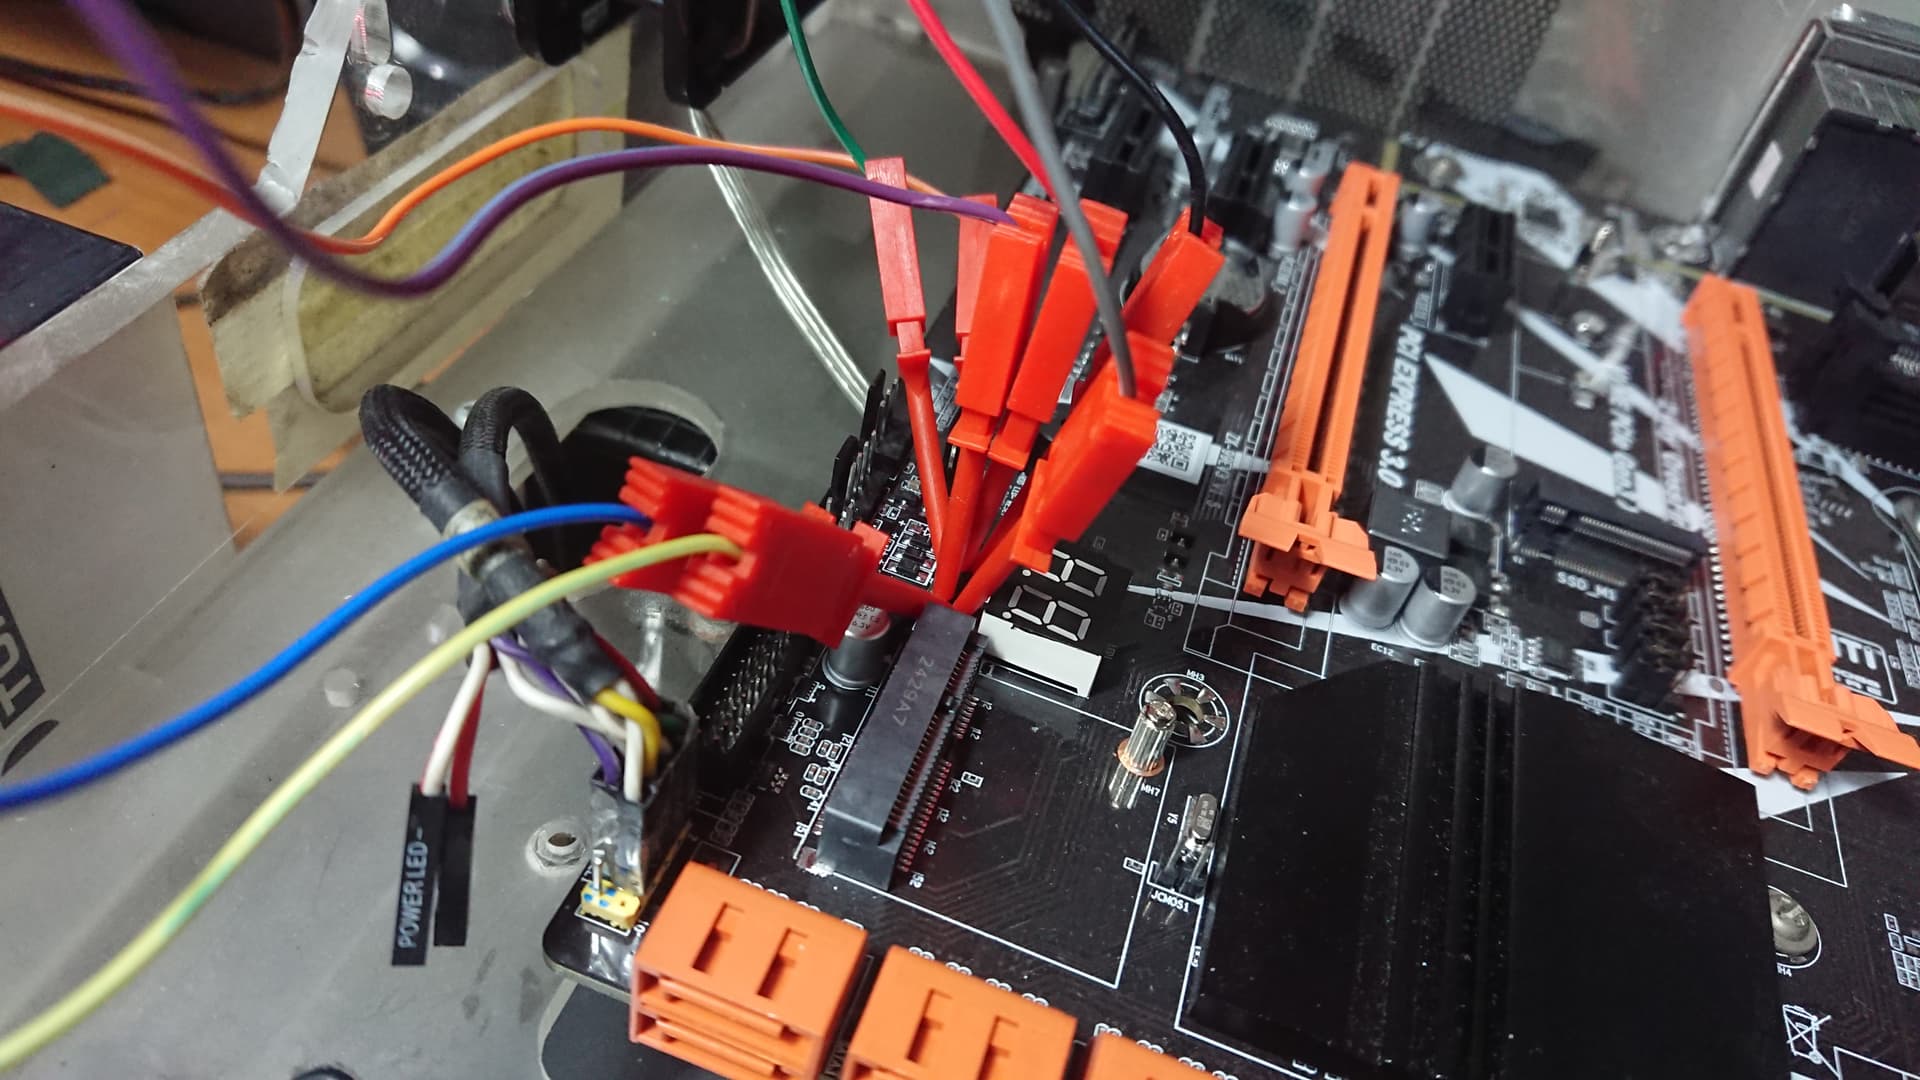
What I done is I disconnect everything on motherboard and only plug 24pin motherboard + 8pin CPU from PSU …also I did not remove CMOS battery. Then I connect all 8 test clips to the chip carefully then connect to CH341A … After that I TURN ON the PSU …the RED light on CH341A will turn on. Then I connect CH341A to laptop and open NeoProgrammer to execute flashing the BIOS. Done.
Congratulations, that is a tough introduction to restoring a motherboard! It is a great feeling to bring it back to life. Yes, different boards required different things for the in-circuit BIOS flashing to work. I think you better understand why I went with making it socketed now, avoids all the hassle!
Now back to your initial plan of overclocking the CPU: Since you now have everything that is needed to restore the system, then you can try my modified X99D4M4 revision 005 BIOS.
Can you also upload your original EV3 rev 1.5 BIOS, I want to check some things?
Yes now I know the process to flash BIOS is not easy after all later if I have much time to spend I will try make a socketted BIOS. For overclocking again with your modded BIOS I have to postpone for a while because I need to do something with my PC
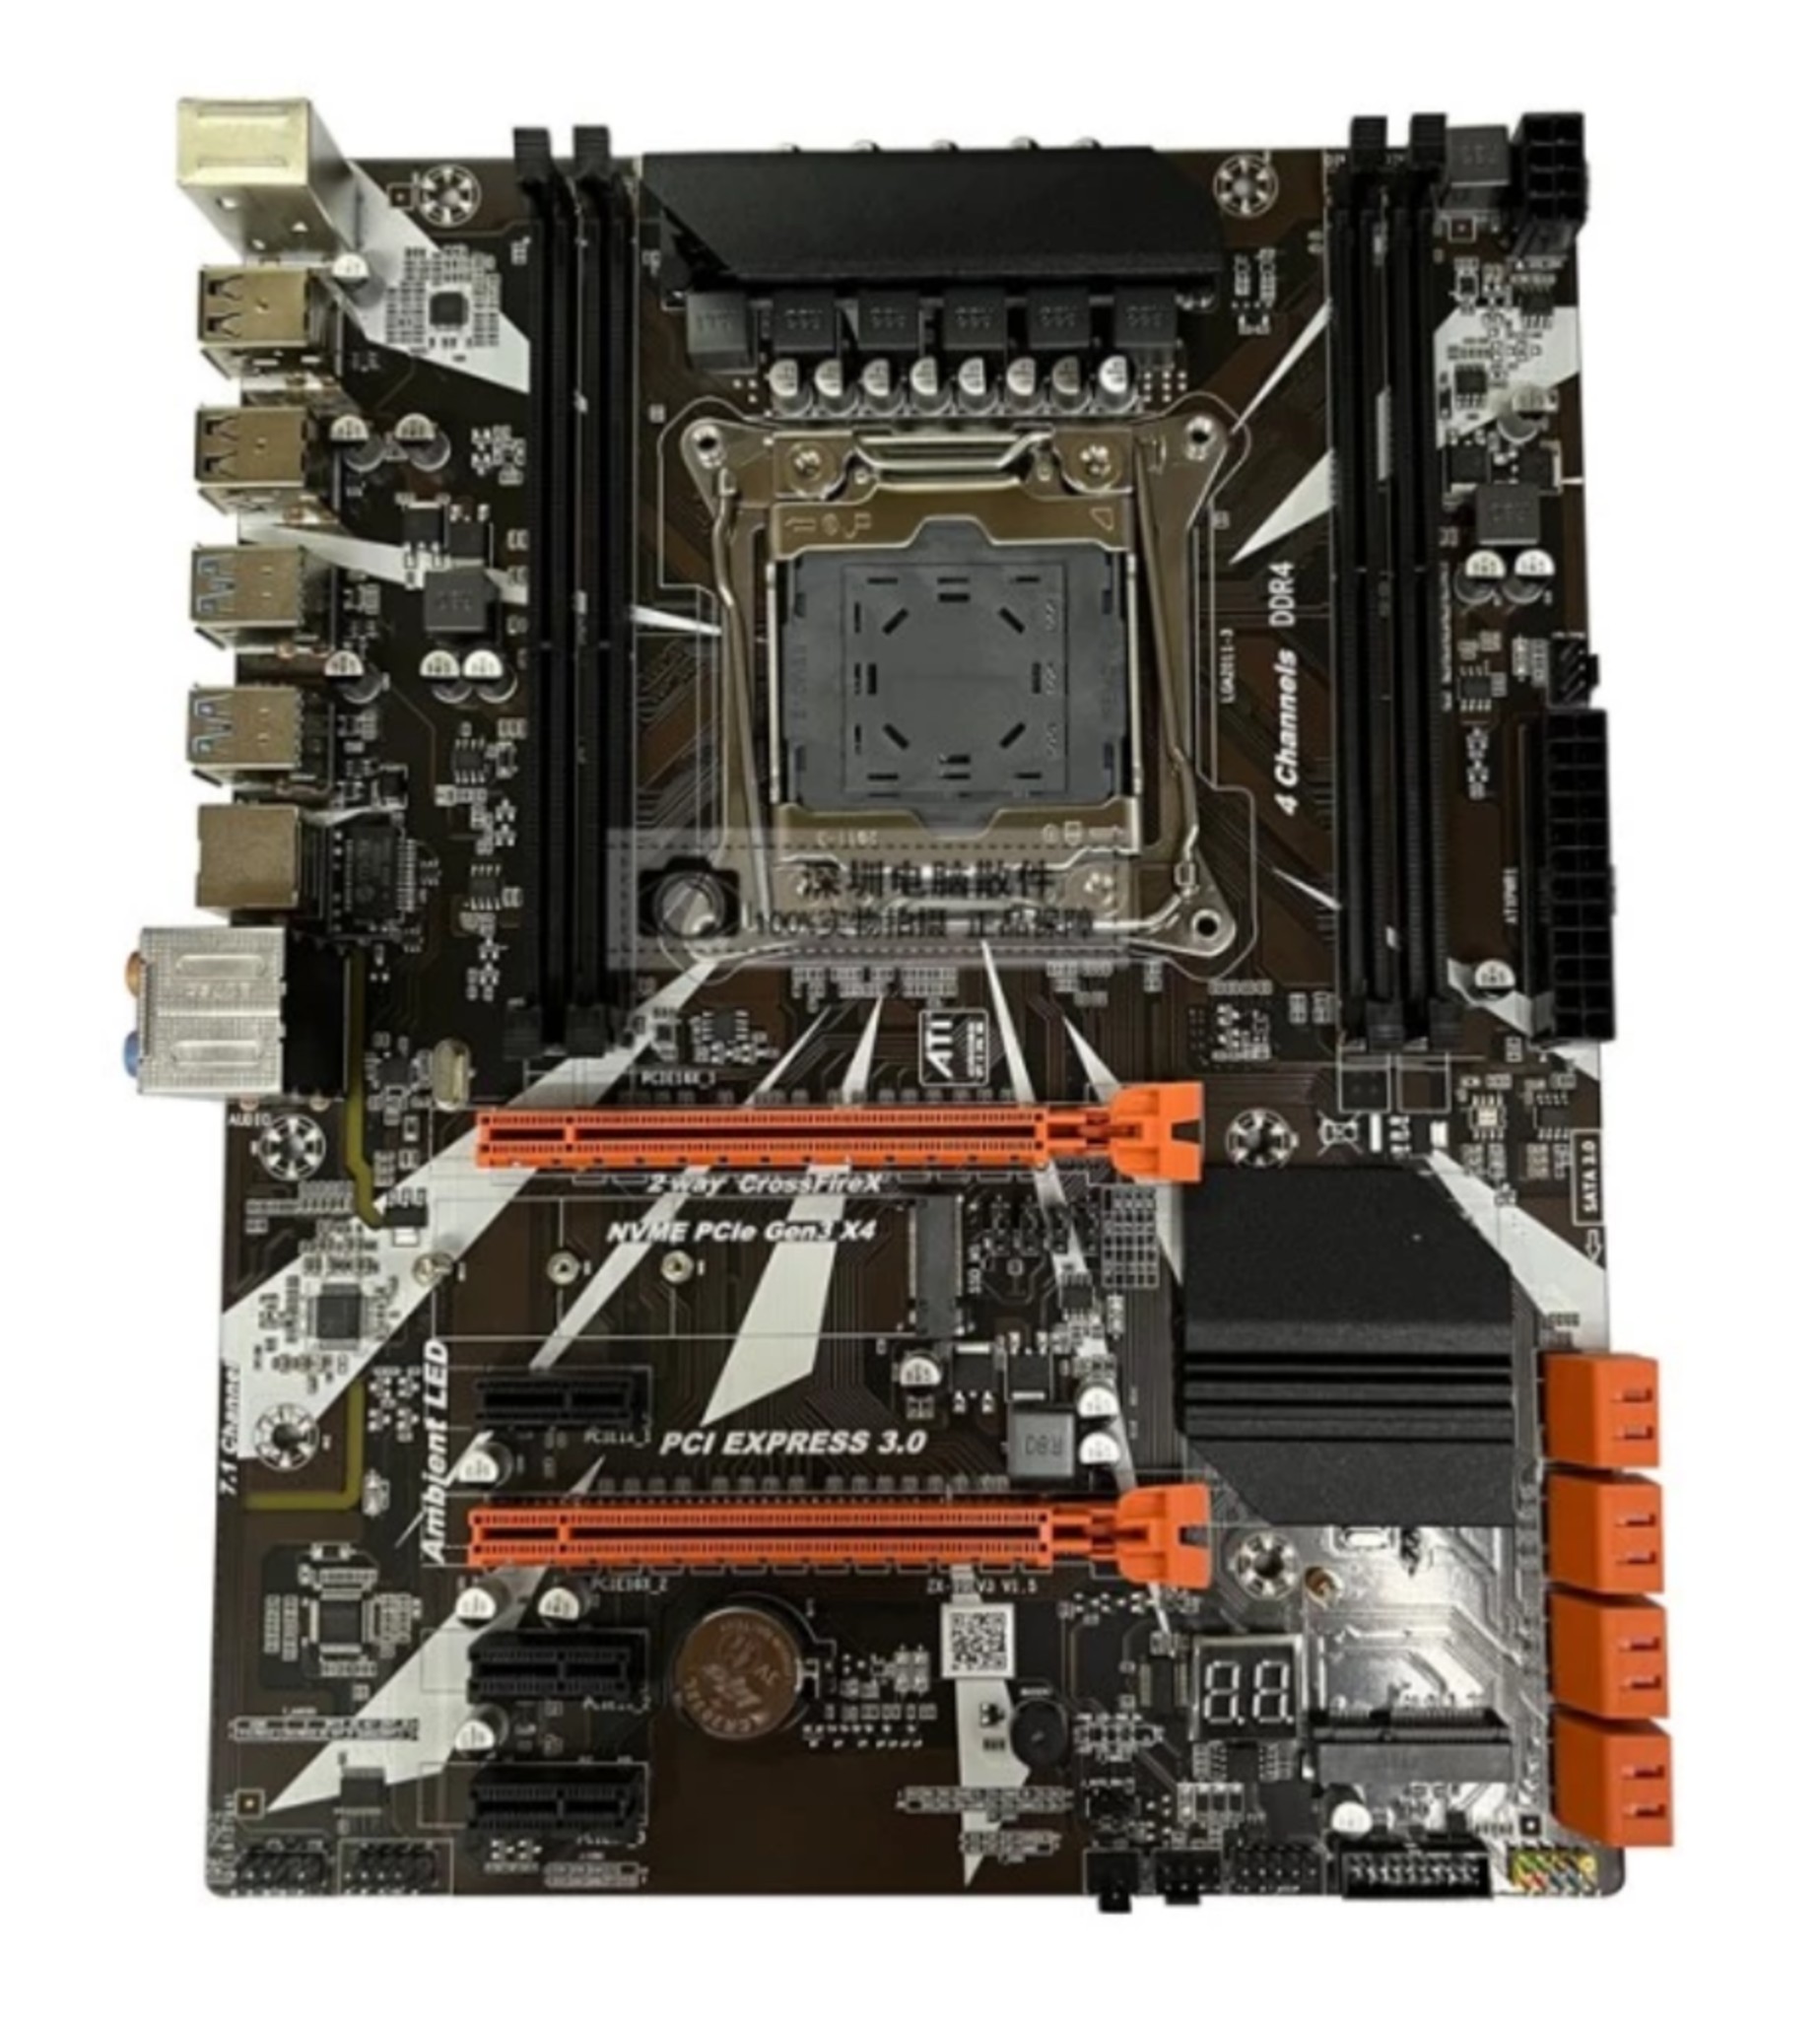
I have flashed with your X99D4M4 revision 005 BIOS and it worked normal, just alittle bit long in early booting…but I have not try to overclock yet. I see X99 D4M4 has 8 power phase and my 99EV3 only has 6 power phase, I am afraid if I overclock CPU then it will be hard for my 6 power phase…but you have ZX-99EV3 V1.2 right? It also has 6 power phase…does it normal with your modded BIOS? Especially when overclock CPU?
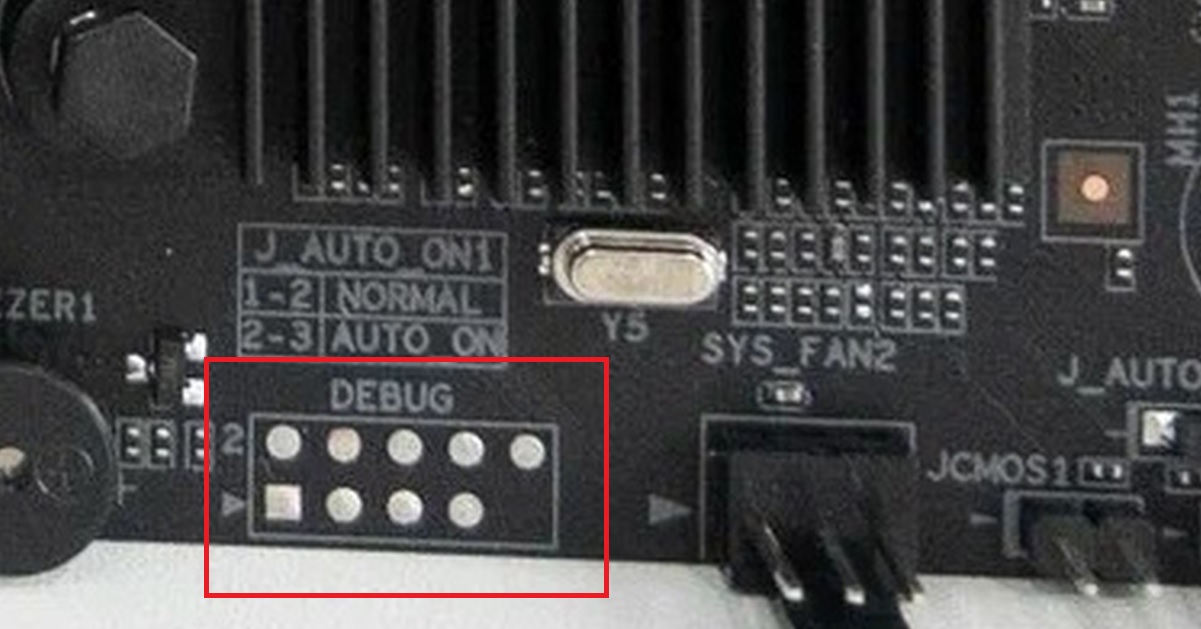
Btw this is the look of my motherboard :
Right now I have the following Chinese X99 motherboards on hand, all using 1660 V3 CPUs:
X99Z v102
ZX-99EV3 v1.23
X99D4M4 v1.13
The two first boards are both 3x2=6 “phases” (really just 3 phases with doublers), while the X99D4M4 has 4x2=8 “phases”. My overall approach to overclocking on all these cheap boards is quite simple:
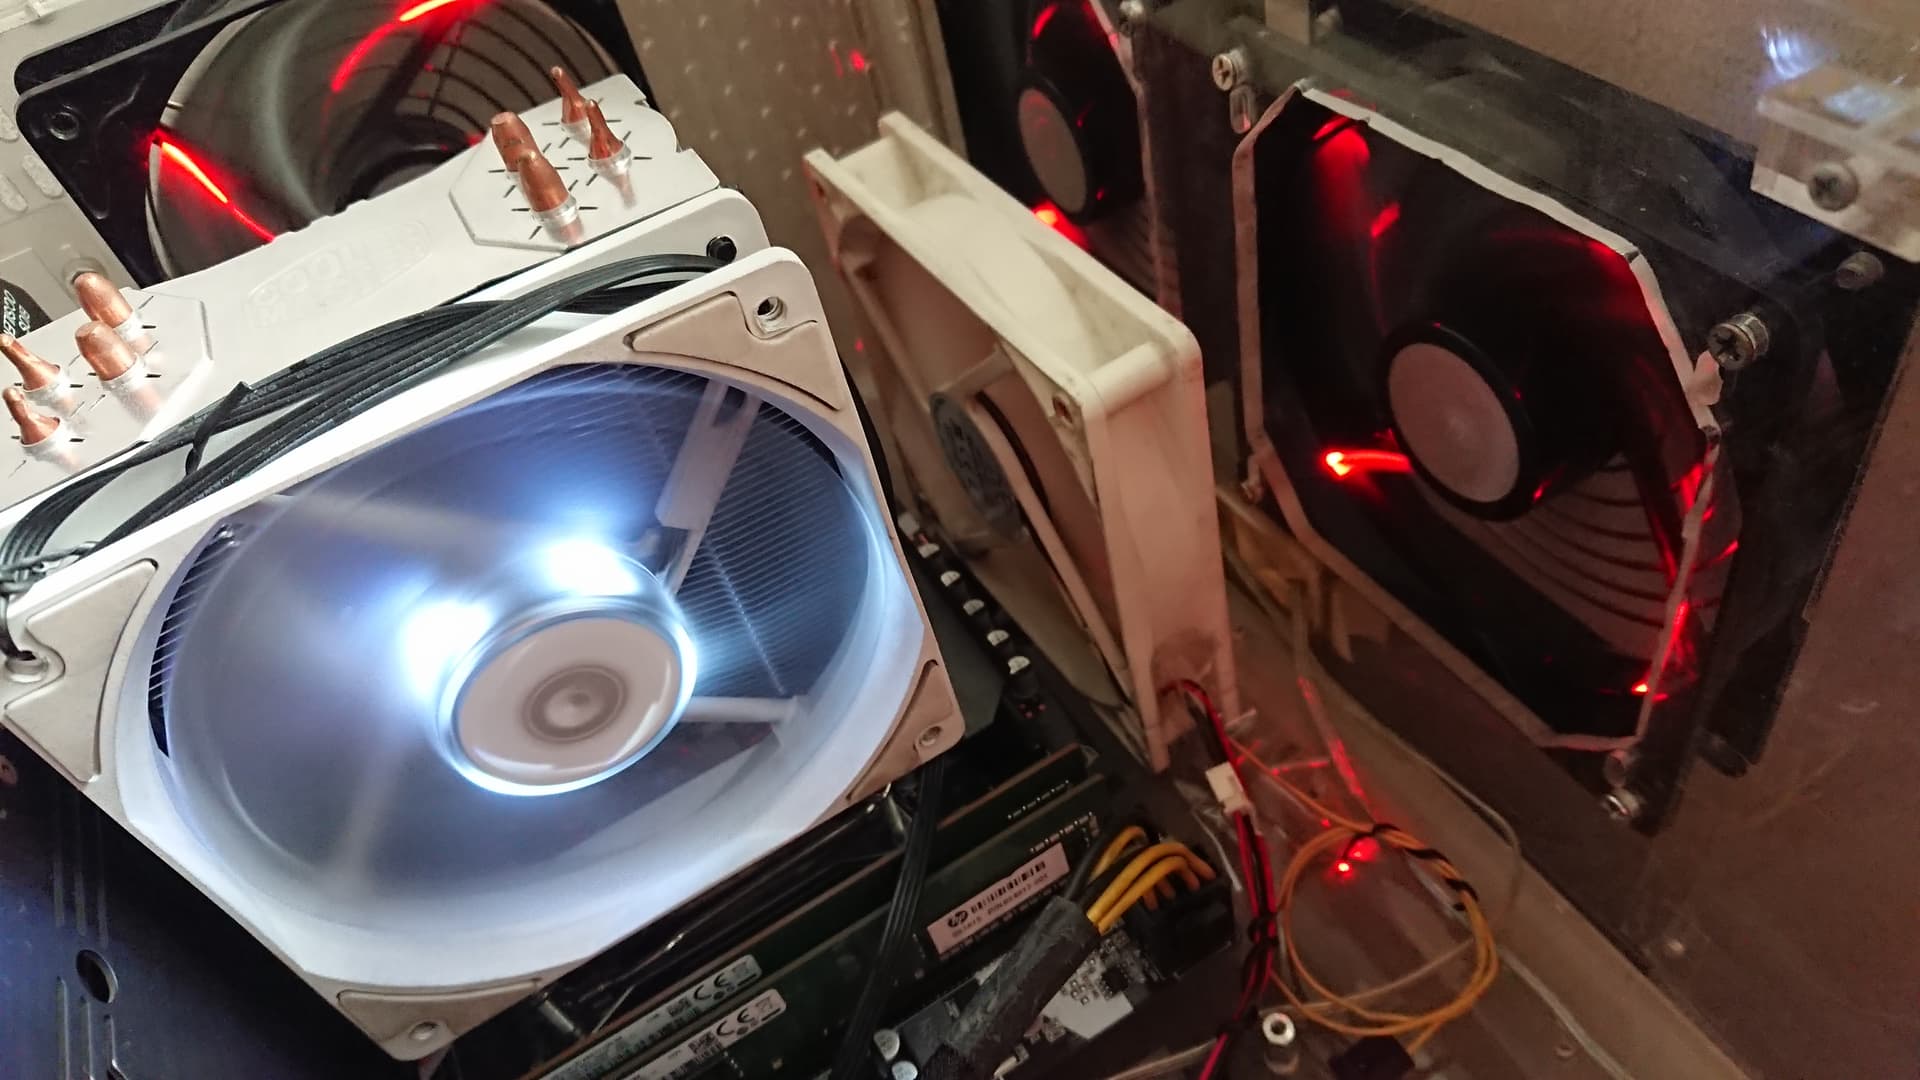
Use a downdraft air cooler, so that there is decent VRM cooling as well. See for instance this video as an example, very cheap but decent performance: https://www.youtube.com/watch?v=SbzylmINv7o
Check the VRM temps, and make sure to keep them in check. Personally, I always aim to be below 80 degrees heat sink temperature. Even a cheap IR thermometer is very useful, earlier I bought a UT306S, costs ~10 USD, and can also double as a laser to play with cats
Overclock to where you want, making sure that it is really stable. I find that the standard benchmark in y-cruncher is great at finding stability problems
After you have found the stability limits, note down the power and current draw (Throttlestop is very good for this). Then increase the voltages a little bit (maybe 20~30mV), and at the same time apply the power and current limits. This way you will ensure that you have fast and stable system, that does not cook the VRM.
I see… so short answer, it’s safe to use your mod BIOS from X99 D4M4 for my ZX-99EV3 V1.5 as long as temps are under control/not too high (CPU + VRM). I just wanna OC it up to 4Ghz
I put 12cm fan next to VRM heatsink and this fan is SilverStone FM121 that has manual potensio knob control & also my case is kind of semi benchtable so I can open easily and touch the VRM heatsink to check the temp.
Maybe a week ahead I will start to OC because I still need my PC to do something else first.
I think we can start in this end with the X99D4M4: The debug port has no header pins on there. So if you are willing to first solder and carefully test each individual pin, this might be possible if there is BIOS support (but currently there is no Advanced/Trusted Computing tab). From my point of view, if TPM is really required, then a much more realistic solution is to buy another motherboard that has a confirmed working BIOS, port and TPM module.
Miyconst has now published his review of the Machinist X99 B9:
My comments on the problems he mentions around 6:14
In the video the CR2032 battery is very clearly still connected, this is why he has problems flashing the BIOS. In my own experience, then it was not necessary to disconnect the power supply
Once he flashes the BIOS, it is then extremely likely that he needs to clear CMOS for it to start again
Regarding potential compatibility with iEngineer E5-K9 BIOS (CX99DE76) he mentions around 9:16
This BIOS should have TPM support, but once again, the headers are not exposed on the X99D4M4
Not sure if overclocking works from within the BIOS, there is no clear mention of anything OC related on iEngineers page
However, I am unable to test anything further, since I have just sent away this motherboard to an eagerly waiting nephew.
hi, thanks for all your efforts i’m a bit unclear and just want to make sure - is this merged BIOS meant to work with the Machinist X99 B9 as well or should I stick with the BIOS in the original post?
Hello and welcome to Winraid! To summarize the BIOS situation as of today:
The OC enabled bios from my first post, is what I would go for with a X99D4M4/Machinist X99-B9
I never got the merged BIOS to boot on my X99D4M4, but it worked perfectly on my older ZX-99EV3 (hardware revision 1.23). Also note that the merged BIOS did not work for user RoyFAR on his newer ZX-99EV3 (hardware revision 1.5, see post 22 in this thread)
Miyconst is hinting in his video that the Machinist E5-K9 BIOS could work, but this is untested
Anyhow, as always make sure you have a programmer available if anything goes wrong.
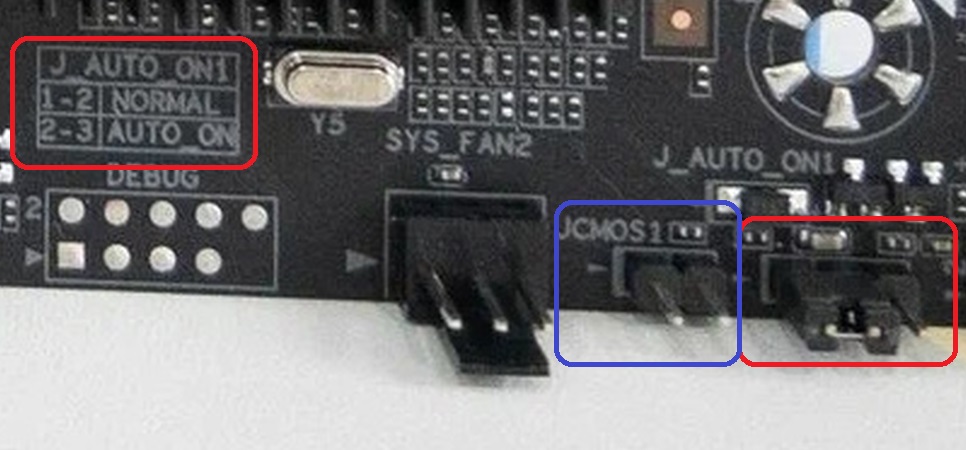
Hey guys! I’m new around here and learning a lot from this thread. I got myself an X99-B9 and ran into some issues, maybe similar to what some of you mentioned. Right now, the board only boots with the CLR CMOS jumper in the [2,3] position. In the default position, it won’t even power on. I’ve already tried the whole thing with the CR2032 battery and all that, but no luck. Anyone ever seen this before?
If you are unable to turn on with J_AUTO_ON1 in normal position 1-2 but works in position 2-3, I really do not know what the problem is.
Maybe you can try putting it in 1-2, and then use something metallic like a screwdriver to touch the two power pins? If that works, then there might be an issue with your power button
I have indeed personally experienced some cheap power buttons that do not work on some motherboards, but work perfectly fine on others