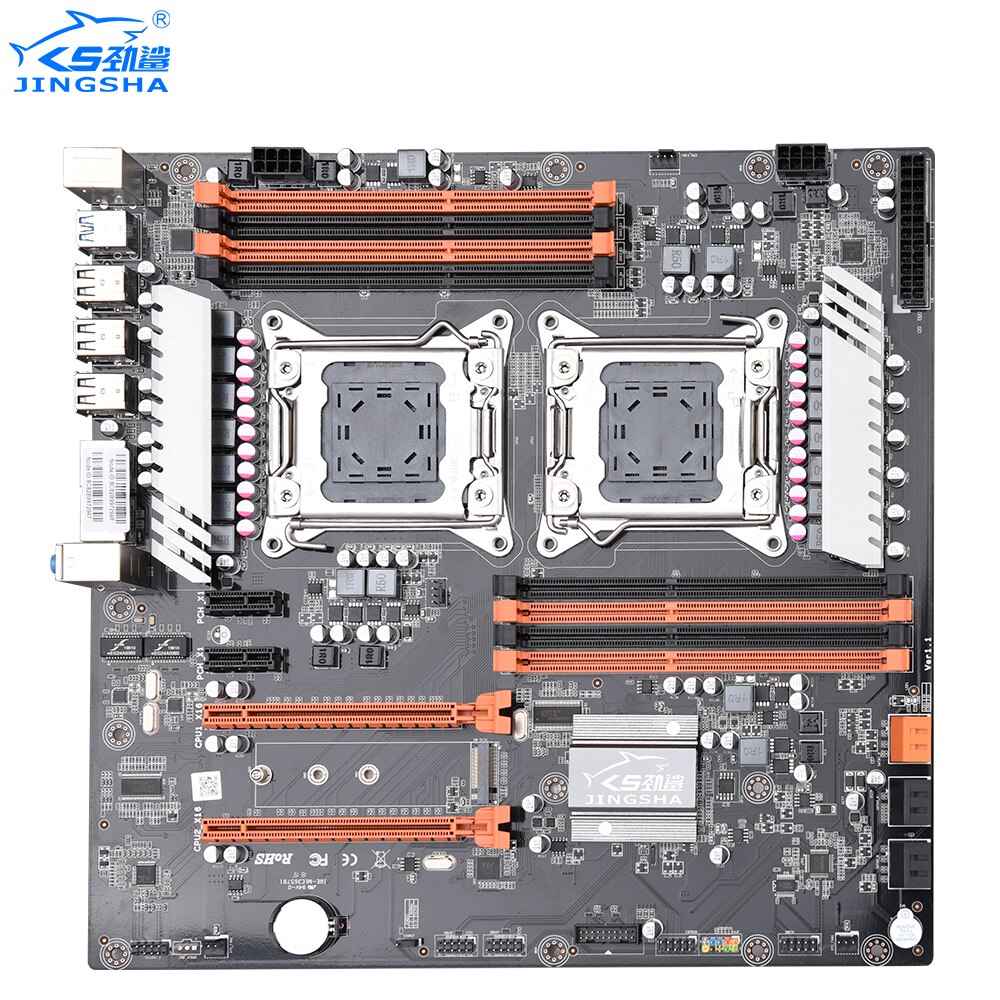
Update my bios, JINGSHA Dual CPU X79 motherboard. Thanks friends!!
Edit by Fernando:
To make it easier for the Forum visitors to find all contributions about the topic, I have merged the related threads, put it into the “BIOS Modding” Forum Category and tried to give the thread a meaningful title.
@Thewero : Welcome to the Win-RAID Forum!
Since your question regarding Intel’s Flash Programming Tool (FPT) has nothing to do with >this< thread, I have moved your request into this much better matching thread and hope, that you will get an answer.
Good luck!
Dieter (alias Fernando)
Thanks @Fernando and @plutomaniac
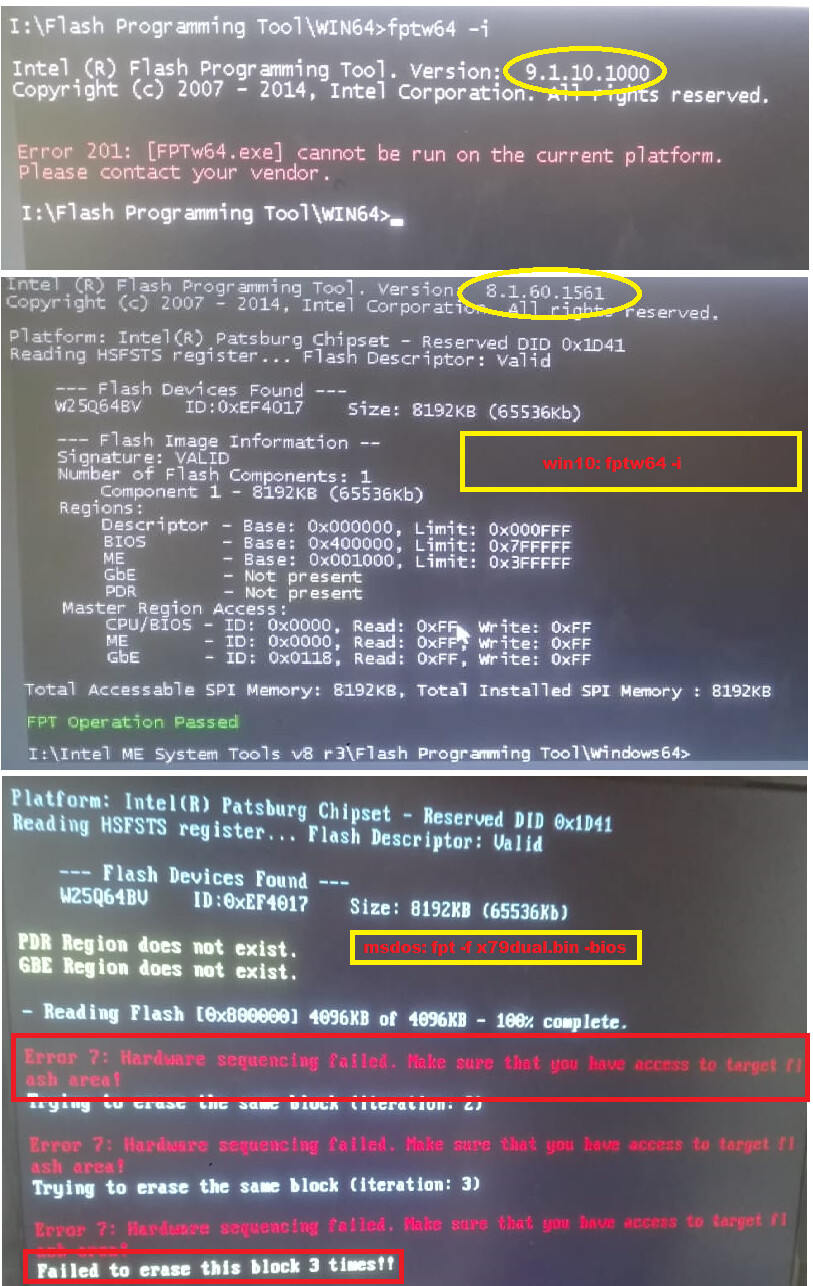
sorry the error is this in the second image: i.postimg.cc/pLcckbpP/IMAGEN02.png
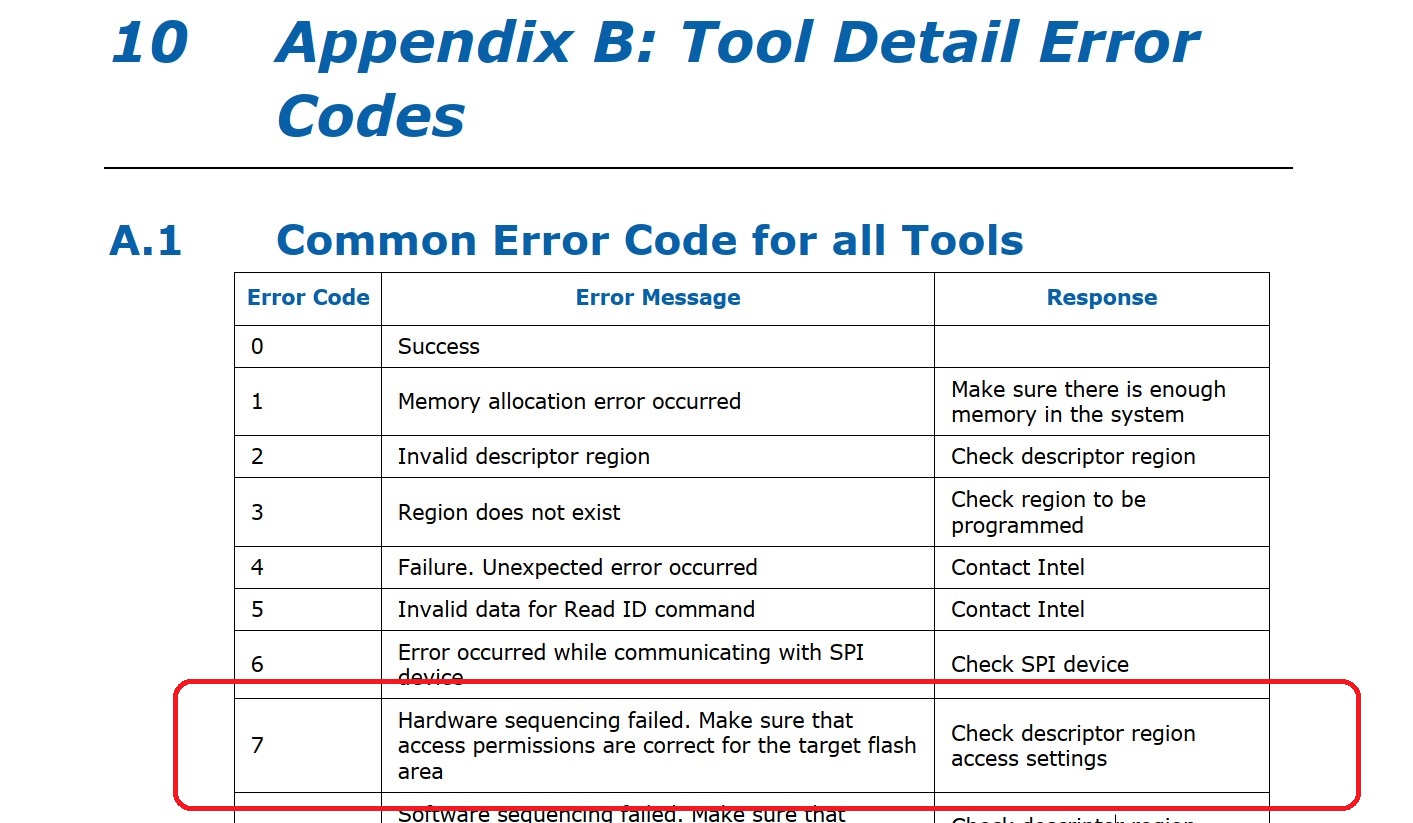
(Error7: hardware sequencing failed. make sure that you have access to target flash area!
Failed to erase this block 3 times!!)
V9 ME System Tools User Guide, would fit for ME 8.x, too. Check your flash descriptor settings with fpt(w(64)) -i for bios region.
For unlocking the flash descriptor use this guide: [Guide] Unlock Intel Flash Descriptor Read/Write Access Permissions for SPI Servicing
Error V9 ME System Tools only V8.1 fptw64 -i for bios region.
@lfb6 @plutomaniac @Fernando
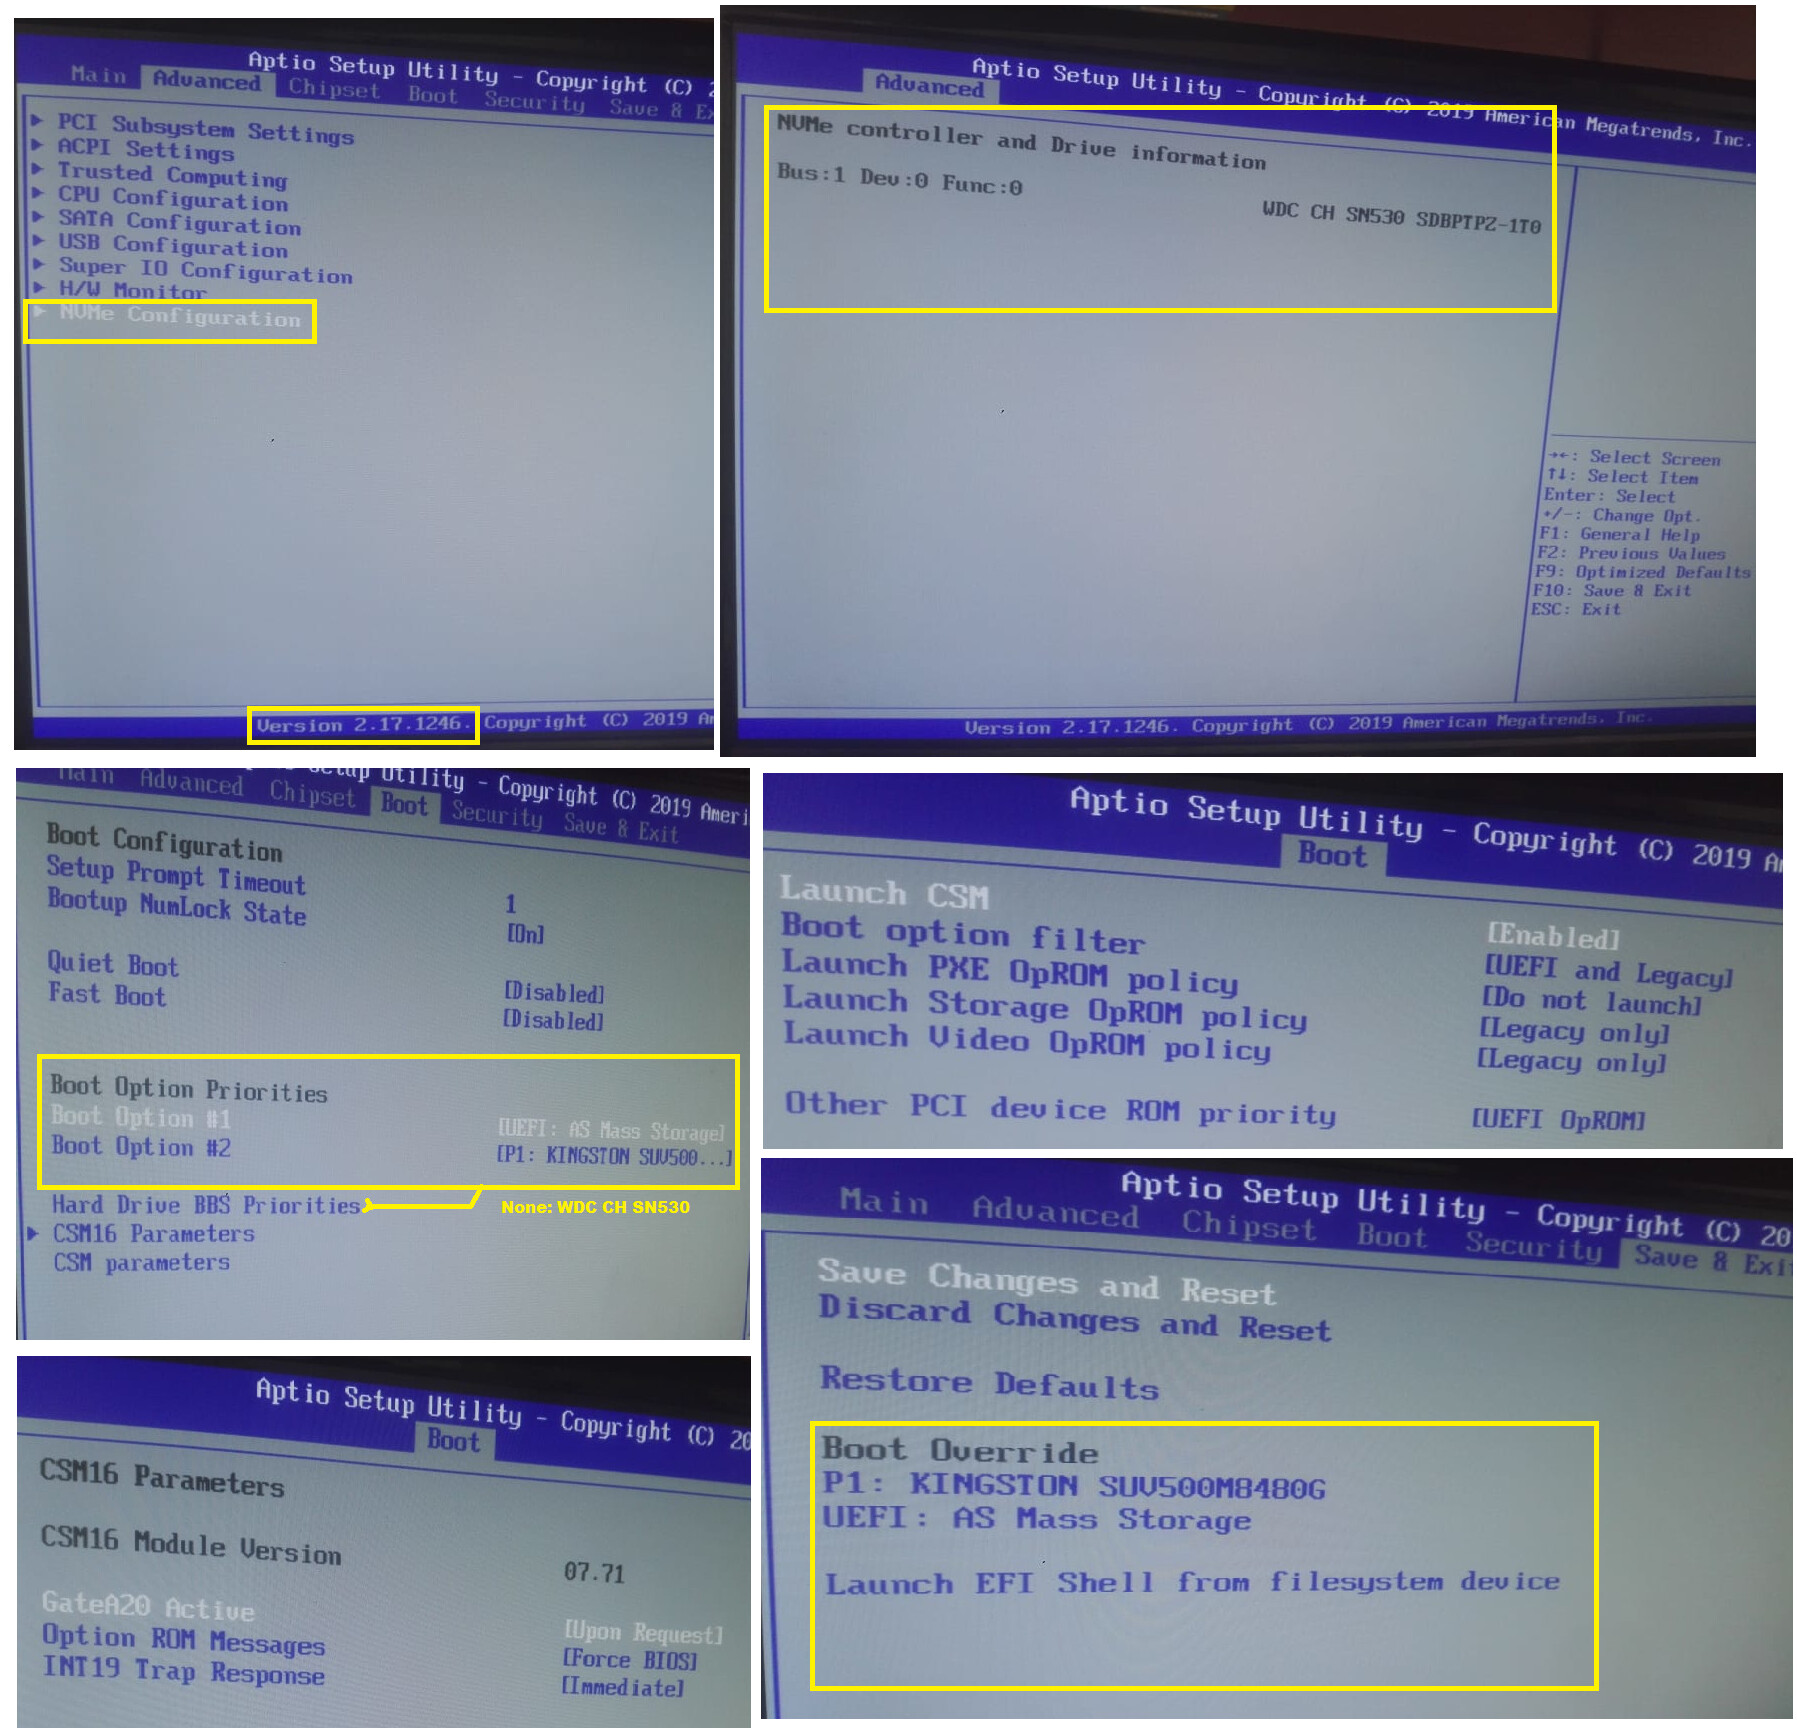
my bios images (No boot NVME) only boot (sata ssd kingston and as mass storage ) :
Please help which pin of the realtek audio chip, I need to make short, on this motherboard to be able to flash it with this bios. Since it is Chinese and I do not know much to remove (error 7 color red) … Thank you very much!!
Solution Upgrade Bios:
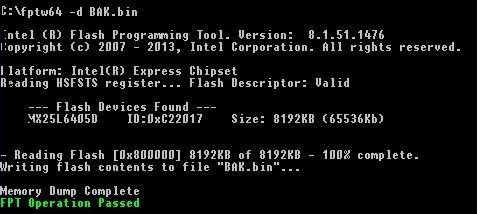
1.- Upgrading this JINGSHA Dual CPU X79 2019 motherboard to JINGSHA Dual P8 2020, you need to first backup your bios with the following command "fptw64 -d bios bak.bin" of course from your windows 64-bit mode cmd.
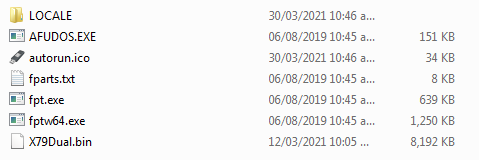
2.- After the backup we proceed to update the bios which is completely compatible in all aspects since it will recognize you memory dd3 ecc and things that you have put as well as operating system … Well we proceed to upgrear by means of a usb boot unit made in windows with the program "rufus-2.4p" type FAT start FreeDos, once the process is finished we proceed to copy the bios that we are going to put into our bios which is here in case you want to download it, I will also provide the programs since the versions with the versions are important that has to be backed up and updated FPT must be version 8.1 and AFUDOS 3.5 …
3.- Please verify that the backup of your bios is well done so if you want to revert to your previous version it should weigh approximately 8 megabytes.
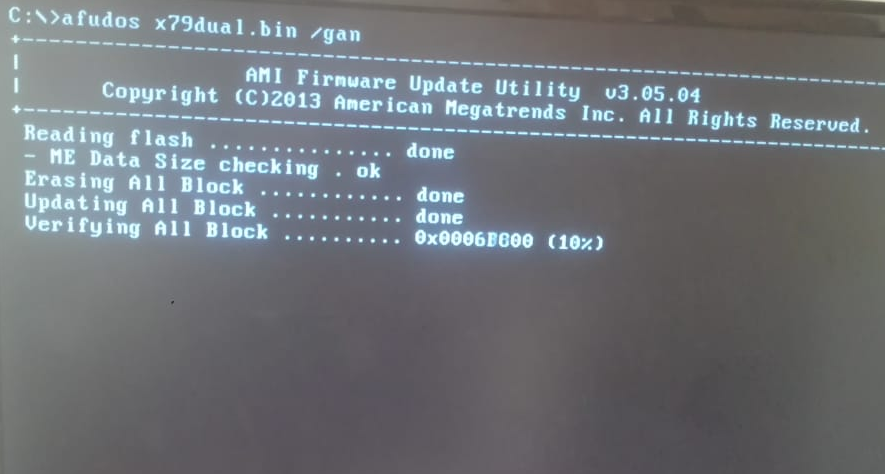
4.- We proceed to update since we boot with the usb mode msdos (Freedos) … We will use AFUDOS since FPT marks us an "error 7" which does not allow upgrear it … So we will use
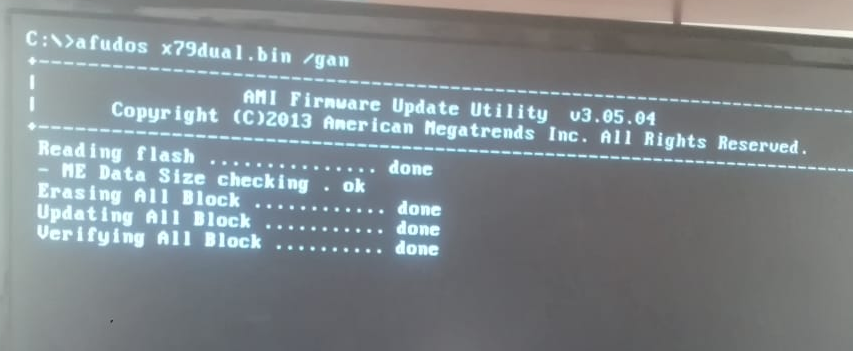
this command "afudos x79dual.bin /gan"
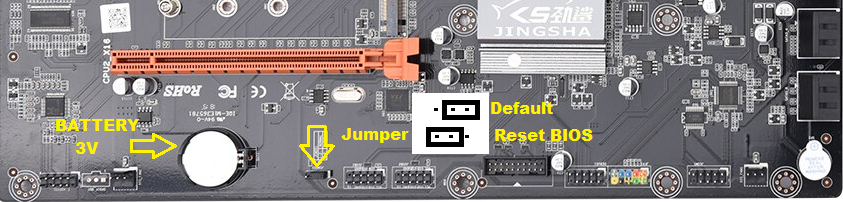
5.- After the SUCCESSFUL process, we proceed to remove the JUMPER from the motherboard so that the changes are made correctly.
6.- We proceed to change the jumper to "reset bios" and remove the "3v battery" to reset the bios … ON motherboard and put the jumper in "default" mode … We hear the beep and what happiness !!
Here is the final result … From the bios update :

This update is under your responsibility and is for Jingsha x79 dual cpu motherboard …
thanks to this forum !!
Good luck!!!
Tools and Bios 2020 Jingsha x79 P8.zip (4.82 MB)
@meraid
The bios changes because it stops being the previous version … It changes to JINGSHA Dual P8 … It’s all I see … it works the same and the menus are almost identical … =3 ( UPDATE 2019=>2020) 06/29/2020 ![]()
@Thewero I didn’t want to update the Bios because of the risk of bricking my system, but went ahead to see if it can solve my Jingsha unstability.
My system is giving me lots of uncorrectable ECC RAM error and it either fail to post or ESXi will go to purple screen after a while.
I followed your steps but was unable to backup the current Bios in Windows using this command “fptw64 -d bios bak.bin”. fptw64 is complaining of a missing dll, (Pmxdll32e.dll) but I found a way to add it to the folder and the backup was fine.
Flashing the new Bios with afudos was easy enough but it failed to post after resetting to default and pulling the battery. I remembered that the Bios is mis-detecting my RAM speed and this might have caused it not to post. It finally did when I put an old DDR3 RAM in and I forced the RAM speed to 1666Mhz. Put in my 256GB ECC RAM, and viola, it post. Best of all, no more uncorrectable ECC memory error again, but I am still monitoring the stability.
Hope it help someone with similar problem. Thank you @Thewero
Woooow @meraid !!
I’m very happy … really wow !! … very good solution on your part so we can help others … I just made my NVME work well … In case you are interested I will publish what my solution was in case you buy M.2 NVME of a tera or if you already have it very good … I really liked it because it increased the speed of data transfer on the NVME device to the SSD.
LINK [Guide] NVMe-boot for systems with legacy BIOS and UEFI board (DUET-REFIND) (62)
@Thewero I like your enthusiasm. But I was able to boot Windows 10 from the NVME from the get go, without any flashing of Bios.
Unfortunately, my ECC uncorrectable error returned, so it might be the actual hardware fault, RAM/CPU/MB.
@meraid The problem is the memory friend, please change it … Look:
My computer:
* Memory: Server RAM DDR3 32GB ECC REG 1866Mhz
https://www.aliexpress.com/item/32958277…737863c0sBz4yD
* Motherboard: X79 Dual Cpu Lga2011 Motherboard Support For Dual Intel E5 2689 2670 Ddr3 1333/1600 / 1866Mhz 256Gb M.2 Nvme Sata3 Usb3.0
https://www.aliexpress.com/item/33041130…27424c4dZ35qDR
* Processor: Intel Xeon E5-2650 (8 core) C2 SR0KQ 20M Cache/2.0/GHz/8.00 GT/s 95W LGA 2011 E5 2650
https://www.aliexpress.com/item/32792390…27424c4dZ35qDR
Yea brother ![]()
Hi, I have btc79x9 mining mainboard. It has dual lga2011 CPU sockets and I’m using xeon e5 2630v2 processors. In bios showing the right amount of cores 12(6+6), while in windows showing 4(2+2) cores. I’ve changed windows many times but problem not solved and also there is no option in bios to solve the problem(also tried reset the bios). I’ve never faced this type of problem. Please anybody let me know where the problem is?
Same here, is this BIOS upgrade helps to recognize CPU cores properly ? Got E5-2620 V2 @2,1GHz 6c/12t. Under bios info is correct, under every system (w7,w10,Linux/HiveOS) it shows only 4cores (2+2). Any help ?
It’s the board. The reason his works is because he is using a E5-2620 V2. You have to use a E5-2620 V2 or below. It has to do with the hardware of the board and the way it uses the PCI 3.0 channels. You can find the CPU on Ebay for about $5.
Hi, I have btc79x9 mining mainboard. It has dual lga2011 CPU sockets and I’m using xeon e5 2630v2 processors. In bios showing the right amount of cores 12(6+6), while in windows showing 4(2+2) cores. I’ve changed windows many times but problem not solved and also there is no option in bios to solve the problem(also tried reset the bios). I’ve never faced this type of problem. Please anybody let me know where the problem is?
2 Likes