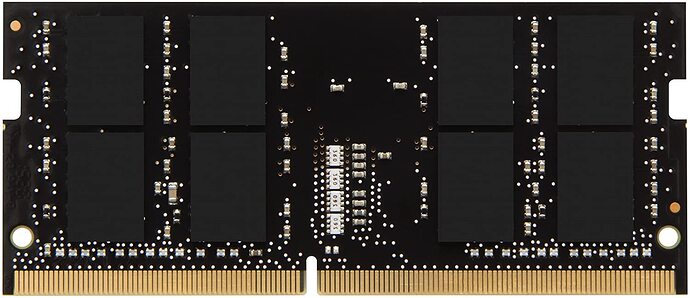
That’s a great idea I think I’ll grab one of these too!
Is there any way to edit the bios to add higher DRAM Voltage options or is 1.35v a board limit?
I don’t see any options in Setup beyond what we can see.
2
3
4
5
6
7
0x27FDE 		Grayout If: {19 82}
0x27FE0 			Variable 0x1D6 equals 0x1 {12 06 D6 01 01 00}
0x27FE6 			Setting: DRAM Voltage, Variable: 0x220 {05 94 E8 0A E9 0A A4 00 01 00 20 02 10 11 B0 04 46 05 00 00}
0x27FFA 				Option: 1.200V, Value: 0x4B0 {09 08 EA 0A 31 01 B0 04}
0x28002 				Option: 1.350V, Value: 0x546 {09 08 EB 0A 01 01 46 05}
0x2800A 			End of Options {29 02}
0x2800C 		End If {29 02}
I believe these are correct settings for my RAM?
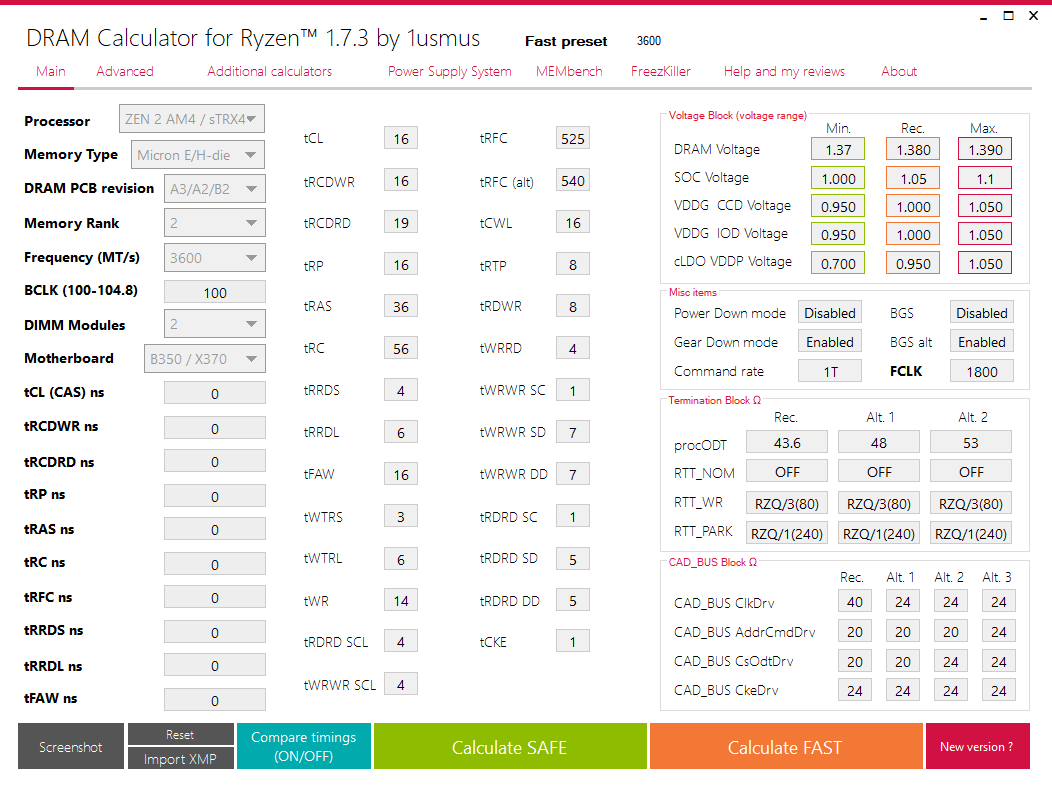
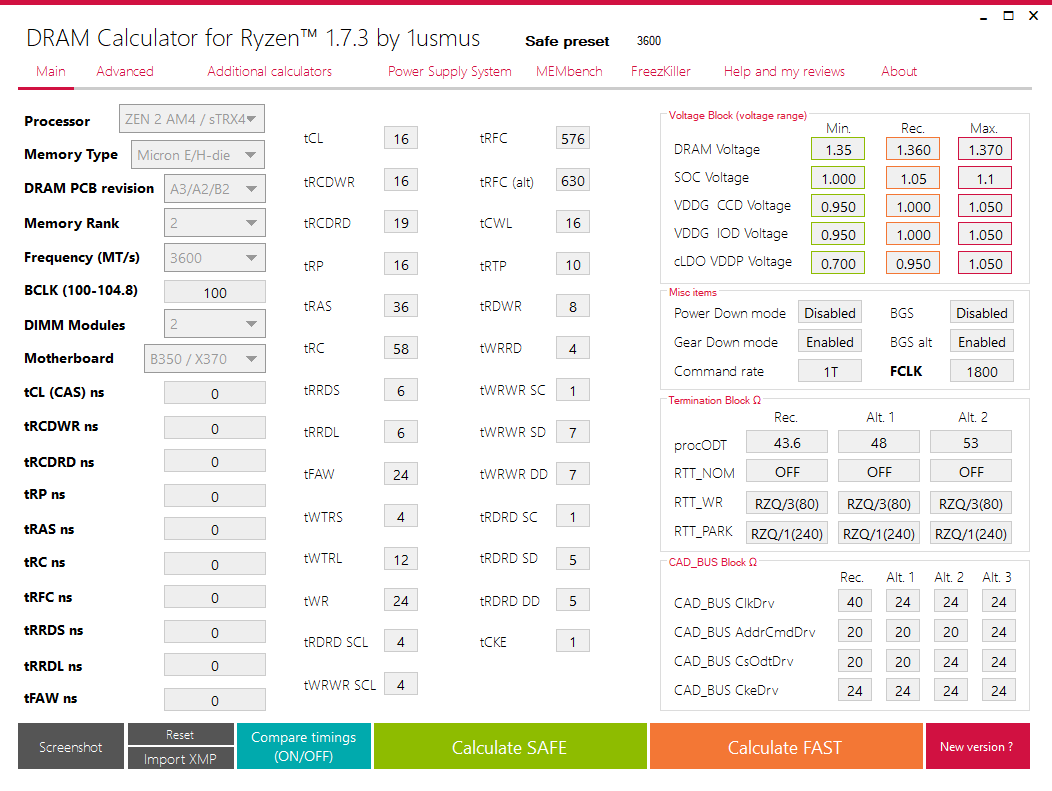
So far this is the best I can achieve on my ram, unfortunately the difference in our cpu’s (zen + vs zen 2) and the difference in our ram (8gb E-Die rank 1 vs 16gb E-Die rank 2) stops me from just copying your settings but I’ve had some success i think although I’m going by trial and error on the assumption that lower numbers are better. Can you tell me if my numbers look crazy or if you think I might be able to improve anywhere?
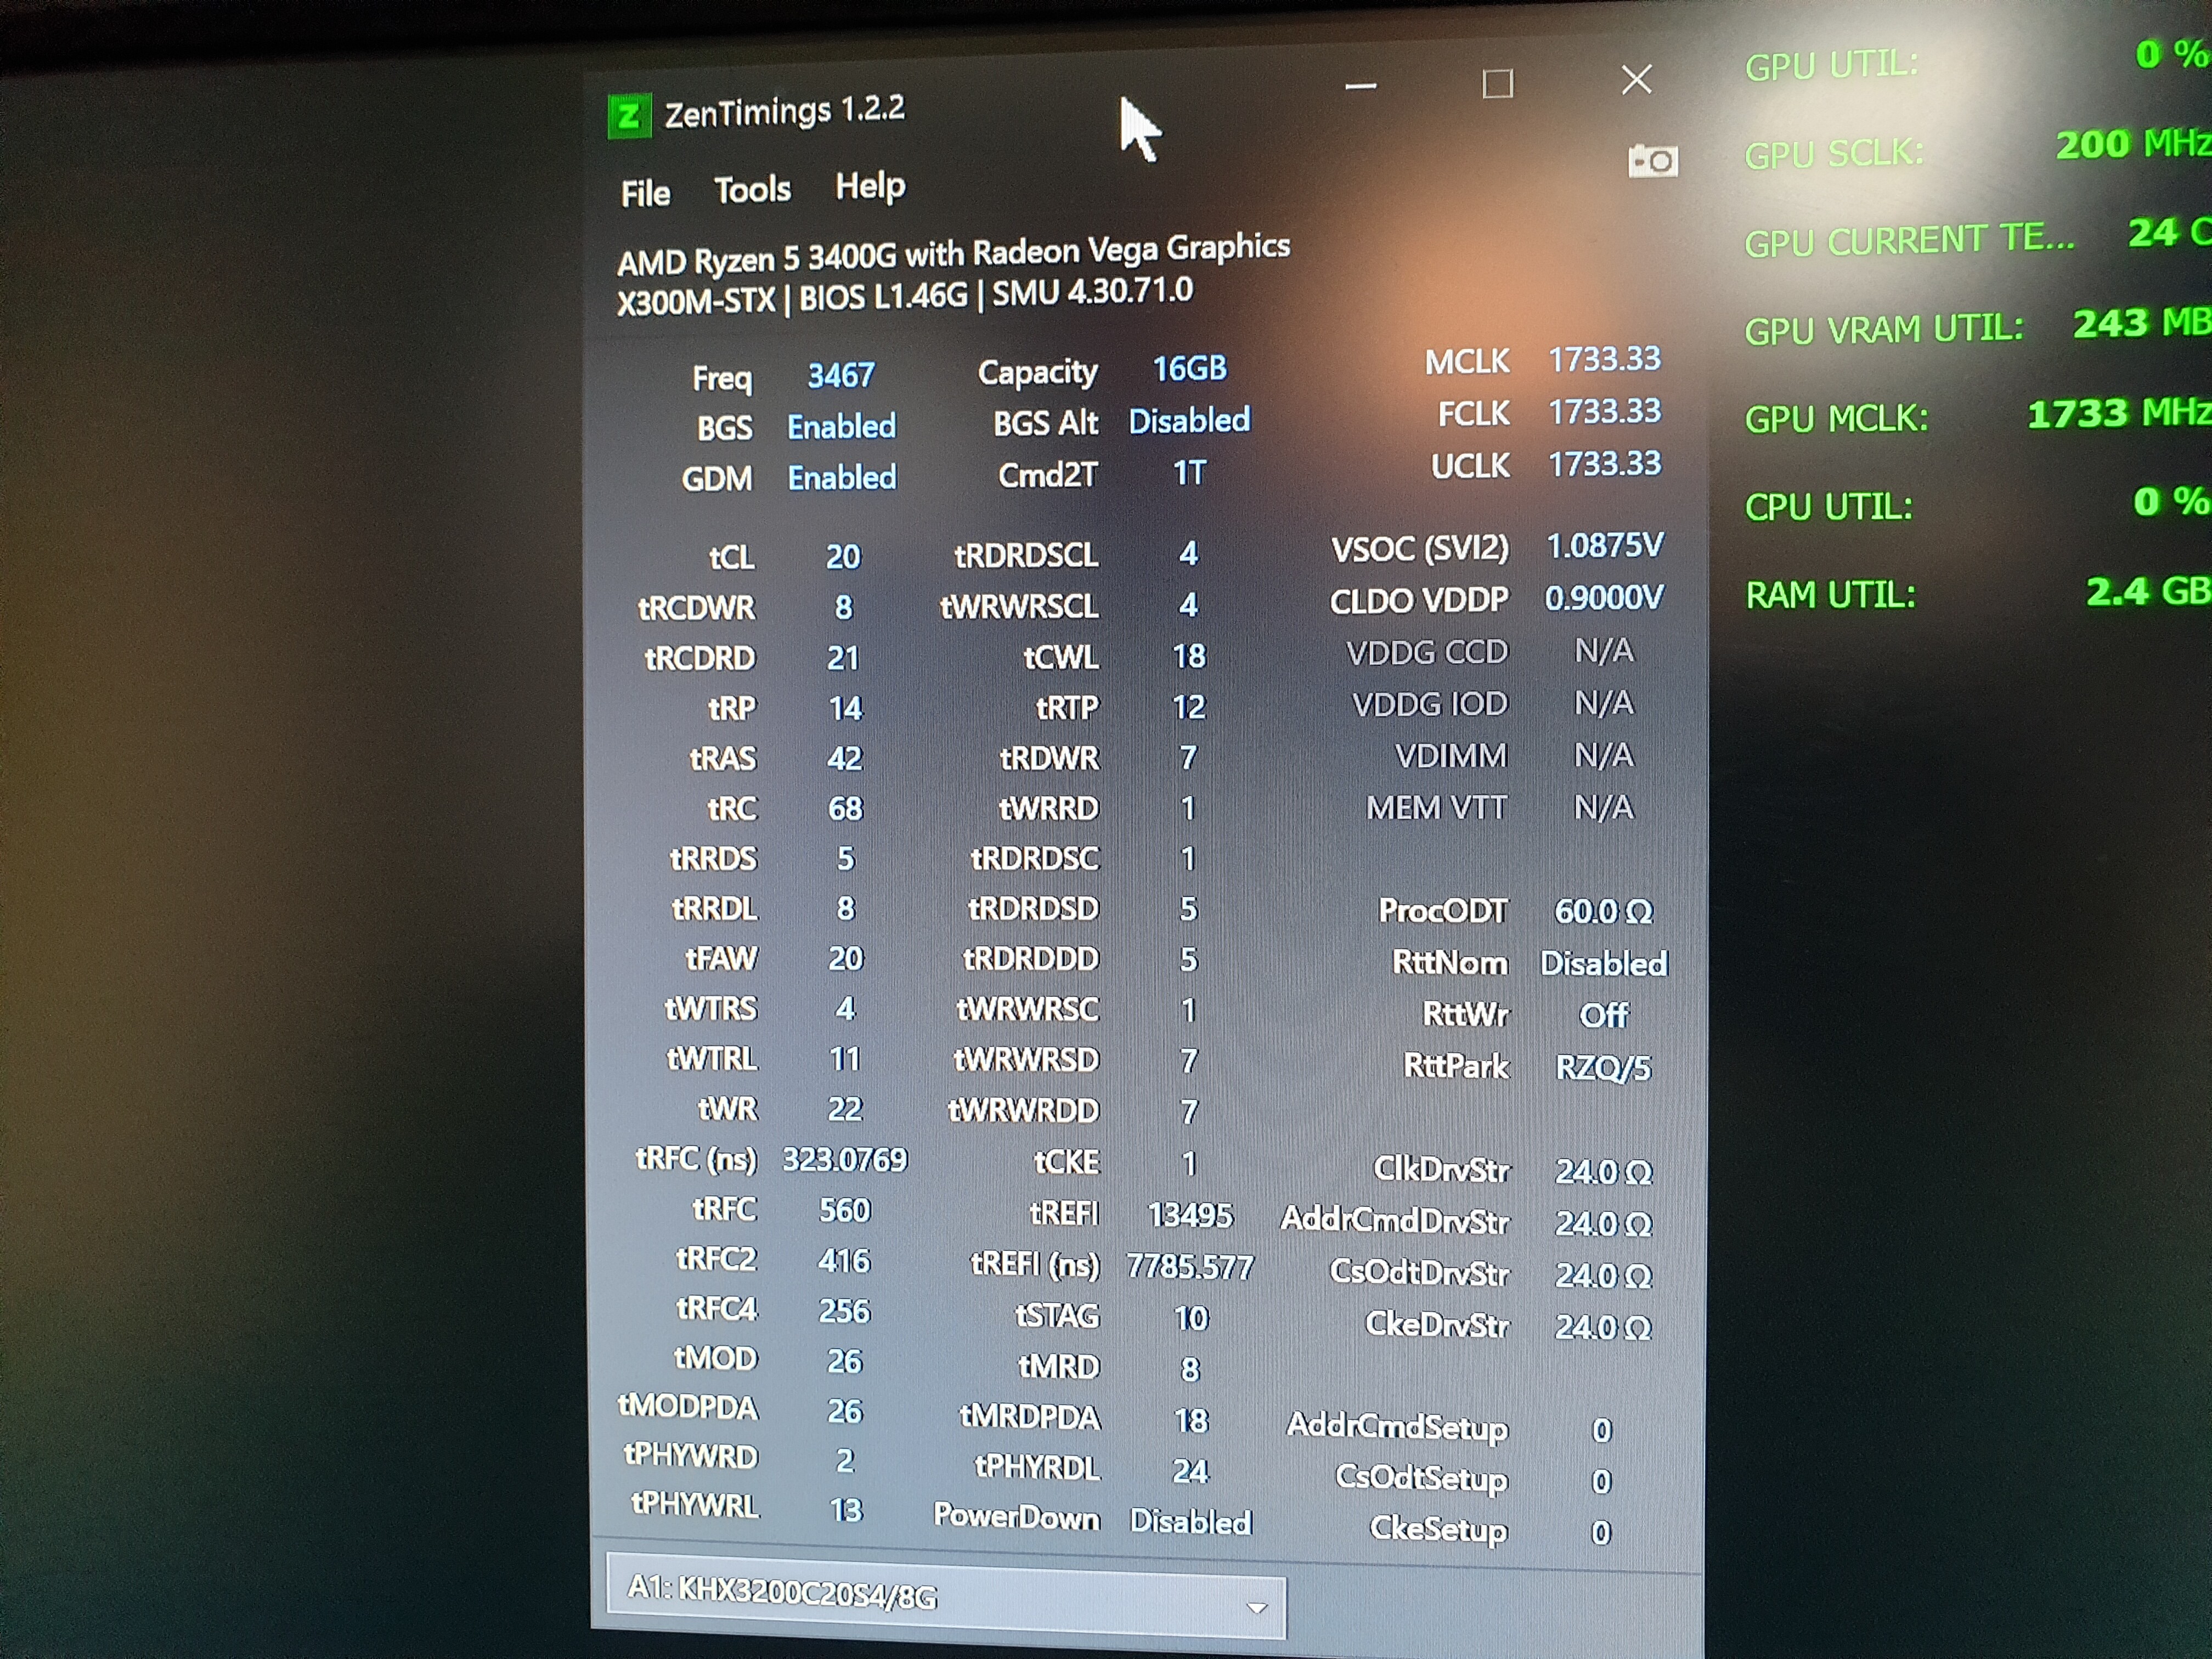
I haven’t tried the settings in my previous post yet but will do soon. I should be getting my power button today so it will be easier to reset the BIOS.
I’m not really experienced enough to give advice on your numbers but I highly recommend you get on the Overclocking Discord (#ram-overclocking) channel and post all your screenshots and numbers there and they should be able to give you a more informed opinion. Don’t forget to post back your results here though ![]()
New Bios Available in the botflakes link on the first post
I love this bios, I’ve finally got stable 3600mhz with DRAM Voltage @1.350v without touching the soc voltage anymore. I might try and gamble with higher clocks and I bet you have more headroom for improvement.
hey OP & everyone, thanks for posting the BIOSes. any idea what 1.58 changed? (nice of Asrock to document their work).
just set up my X300 with 4750g & Noctua NH-L9A with 32GB Ballistix 3200/16 running at 3433mhz/CL16/1.35V IIRC (haven’t had time to play with it yet) on stock 1.40 BIOS. noticed that it’s not stable without extra SOC voltage but noted the OP’s side-effects, so keen to play with the new BIOS. this is for a live audio PC where memory latency really matters.
BTW, if anyone wants a cheap USB bracket, this generic one fits fine (should be available everywhere (see pics).
Note you can’t take the plastic shroud off as it houses the screw nuts (else no way to attach). Also the cable gets in the way of the motherboard when reassembling, I fixed it with a cable tie (gets it out of the way and just enough room with my cooler):
memory seems to get awful hot open-case (IR thermometer is reading over 70degC, not sure if it’s accurate so close up but is super-hot to the touch), so I’ve got a Noctua 120mm slim fan that should fit if you dremel a little piece of metal off. not gotten there yet but will report if anyone is interested.
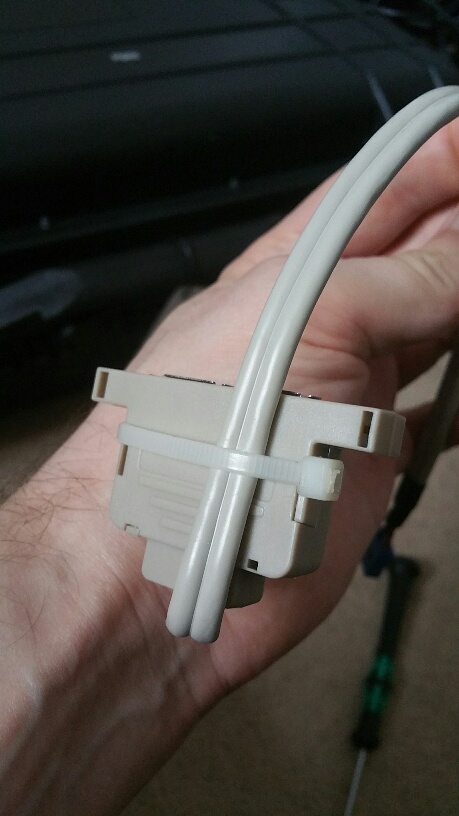
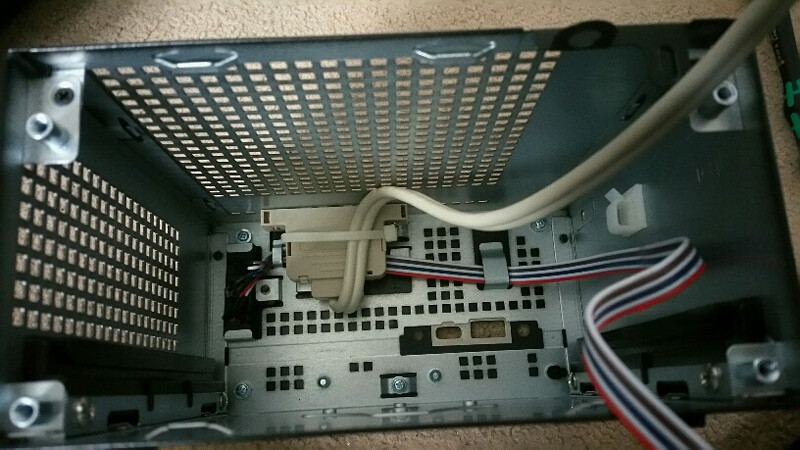
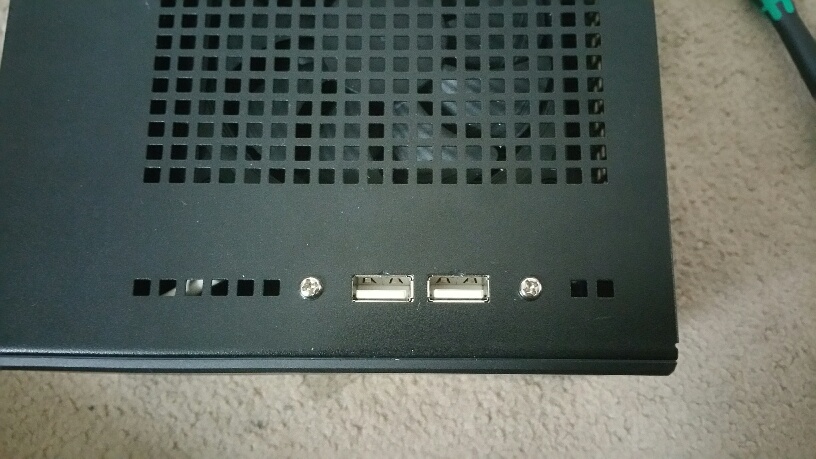
oh btw, I miss a reset switch, strange omission (will have to add). and those needle-pin LEDs are hard to see from angles aren’t they?
I don’t see any options in Setup beyond what we can see.
2
3
4
5
6
7
0x27FDE 		Grayout If: {19 82}
0x27FE0 			Variable 0x1D6 equals 0x1 {12 06 D6 01 01 00}
0x27FE6 			Setting: DRAM Voltage, Variable: 0x220 {05 94 E8 0A E9 0A A4 00 01 00 20 02 10 11 B0 04 46 05 00 00}
0x27FFA 				Option: 1.200V, Value: 0x4B0 {09 08 EA 0A 31 01 B0 04}
0x28002 				Option: 1.350V, Value: 0x546 {09 08 EB 0A 01 01 46 05}
0x2800A 			End of Options {29 02}
0x2800C 		End If {29 02}
I'm a programmer, how are those values extracted? can we try adding new hex values based on the existing data or will the mobo support nothing else? (I figure the values are programming a voltage controller so there may be other valid values).
I made a reset switch, super handy. If you can find a way to increase the DRAM Voltage above 1.35v we can avoid messing the soc voltage because think the SoC voltage is set at 1.15v stock on 1.58 bios and some additional settings for AM4 in the photo
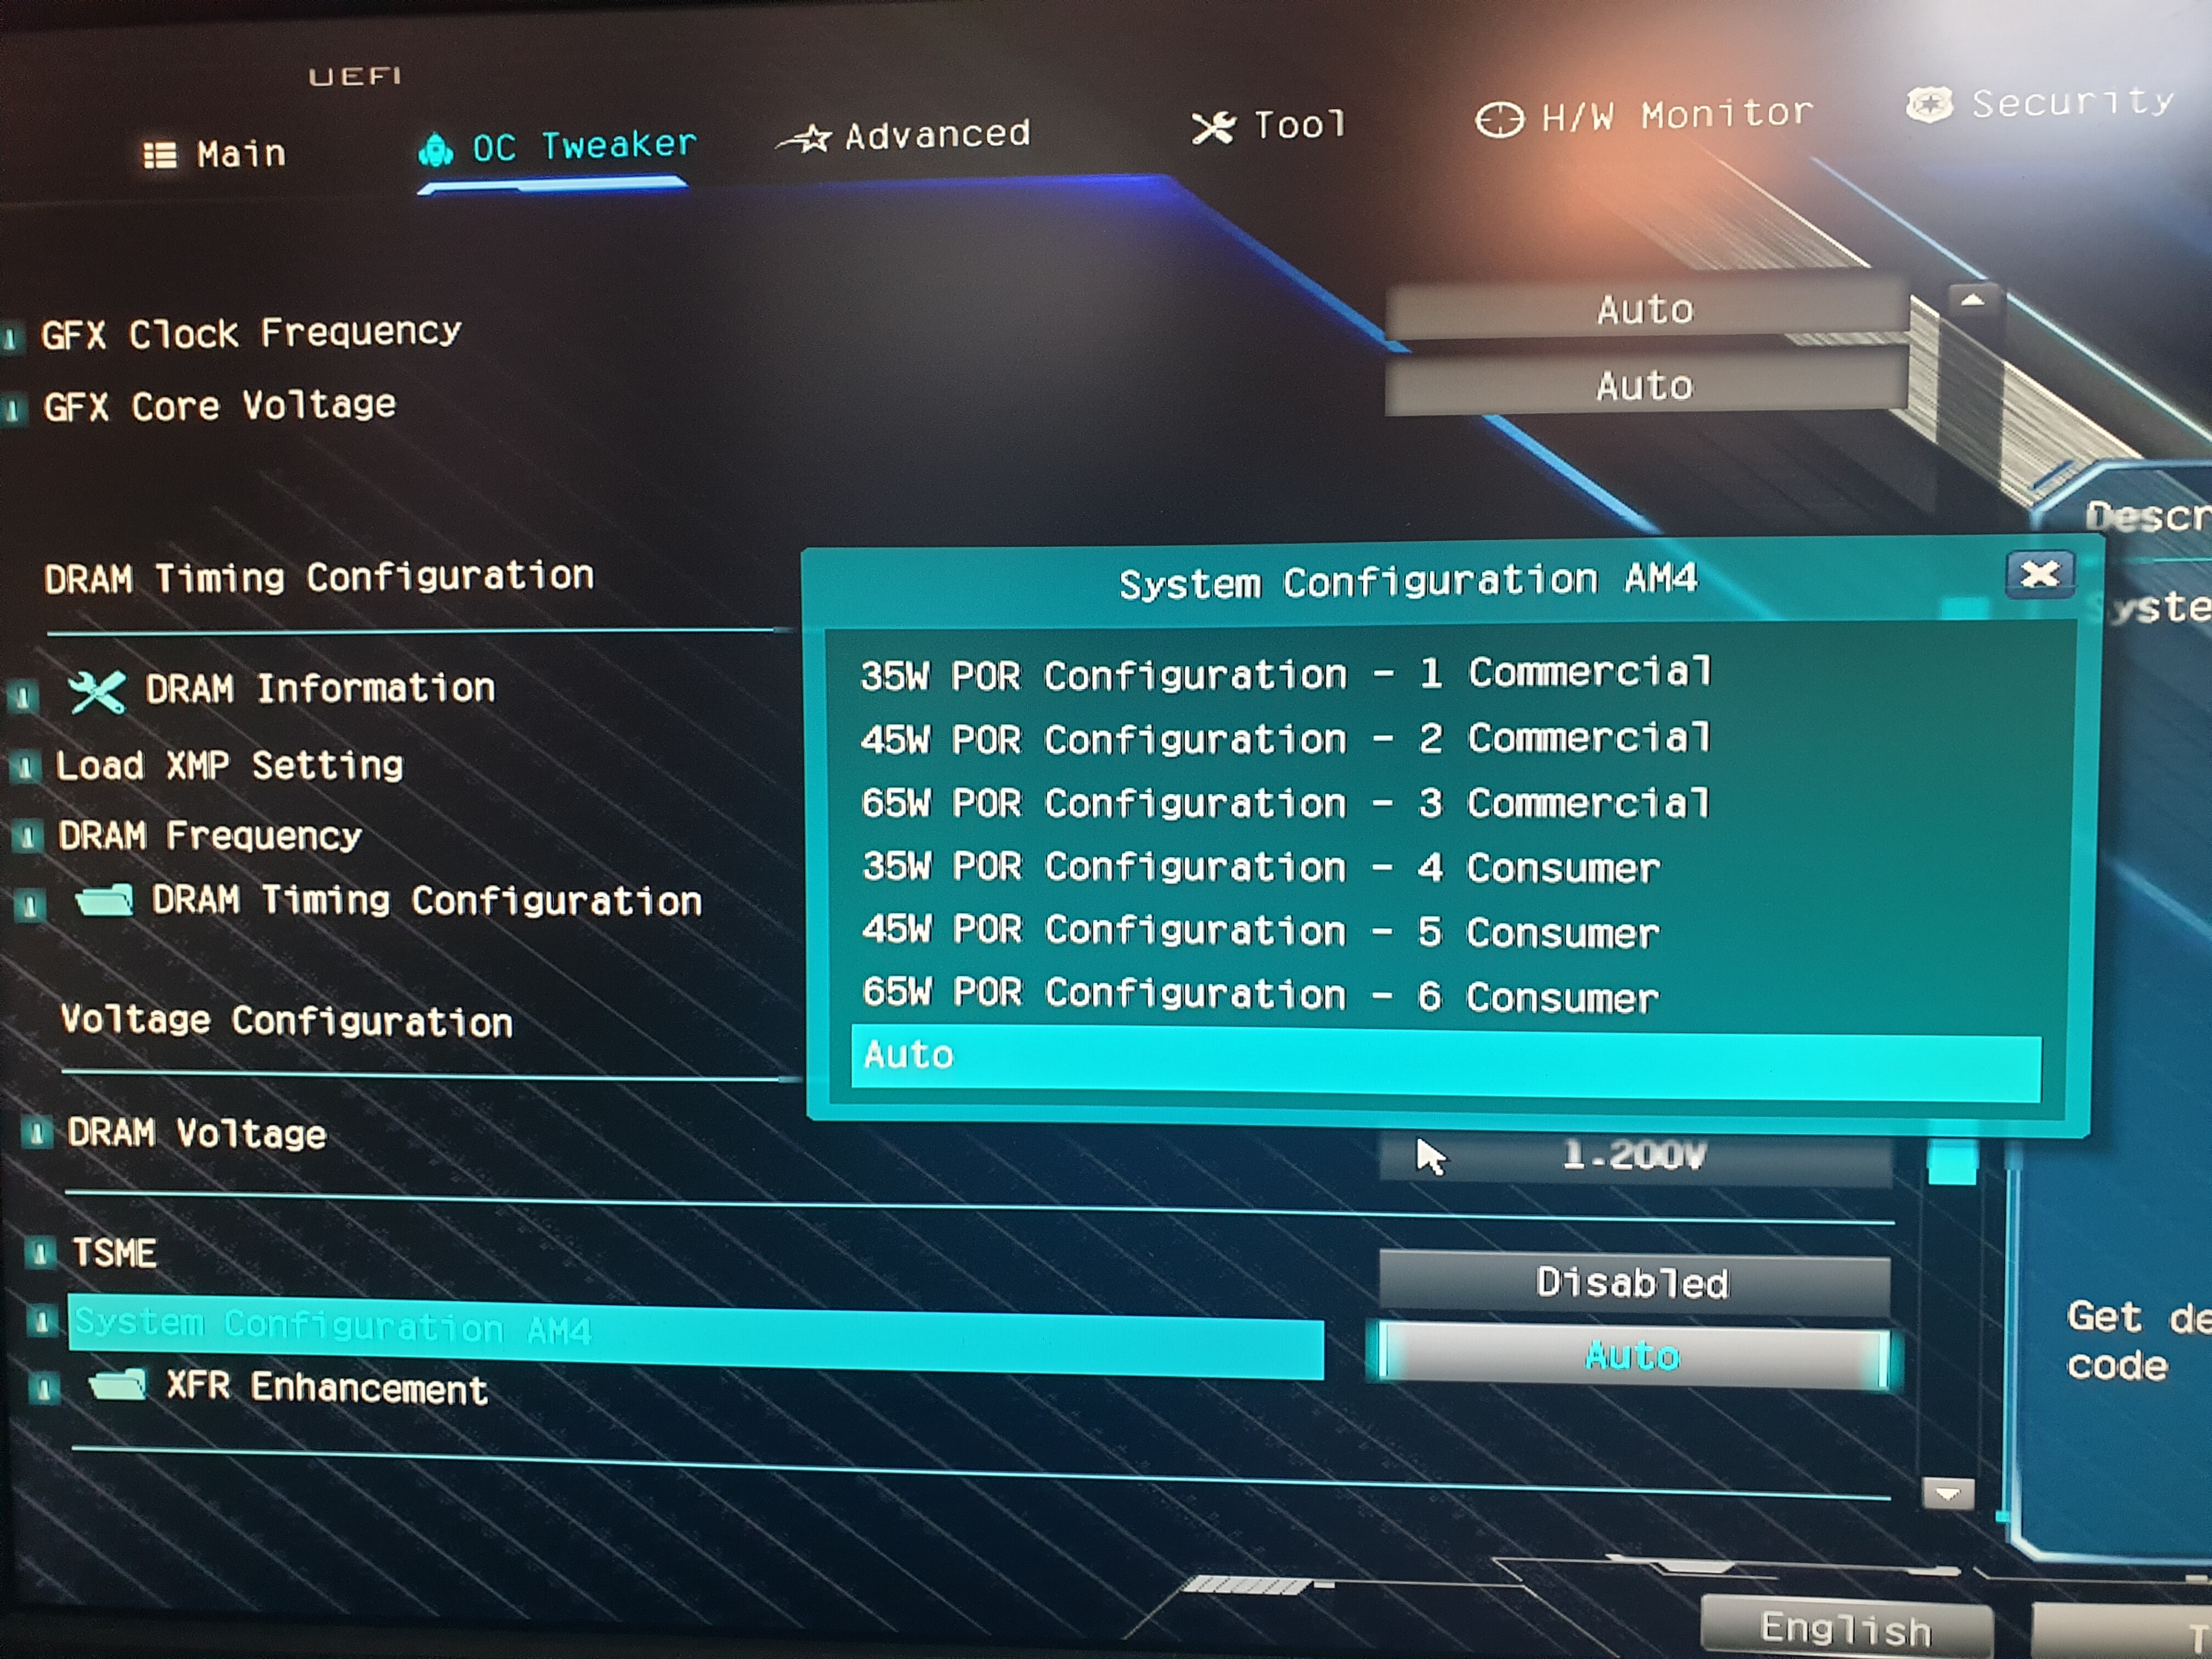
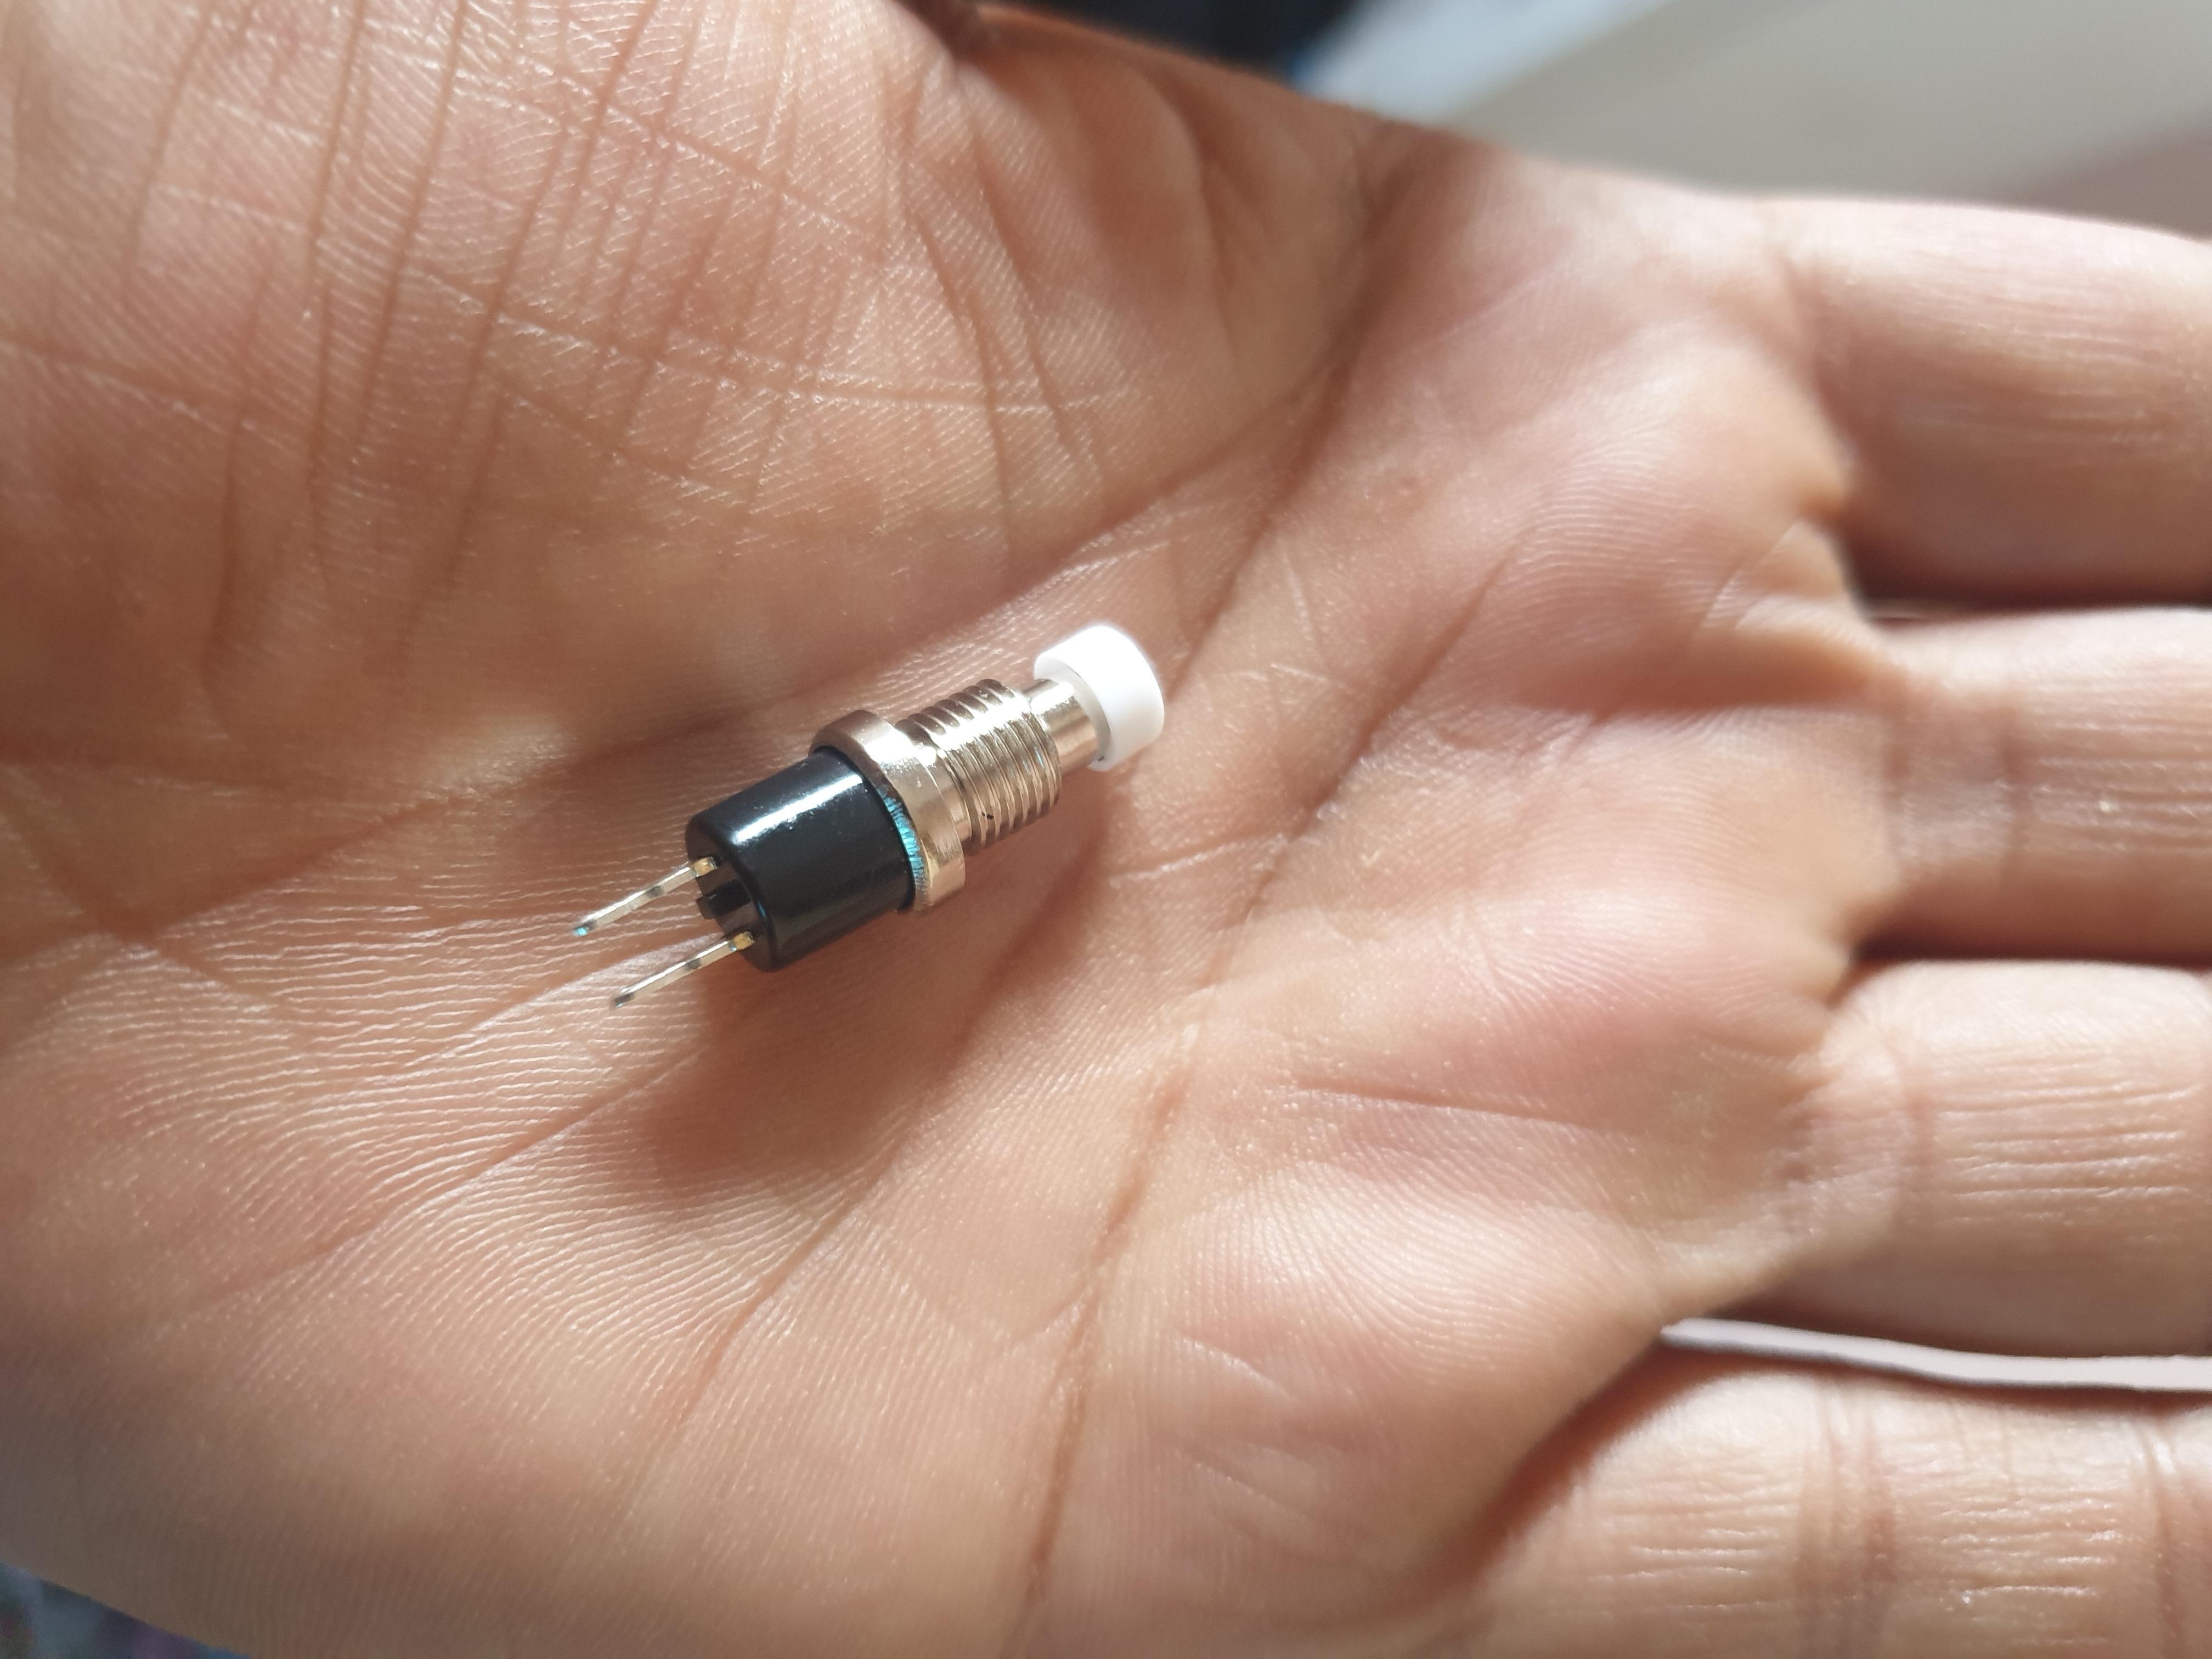
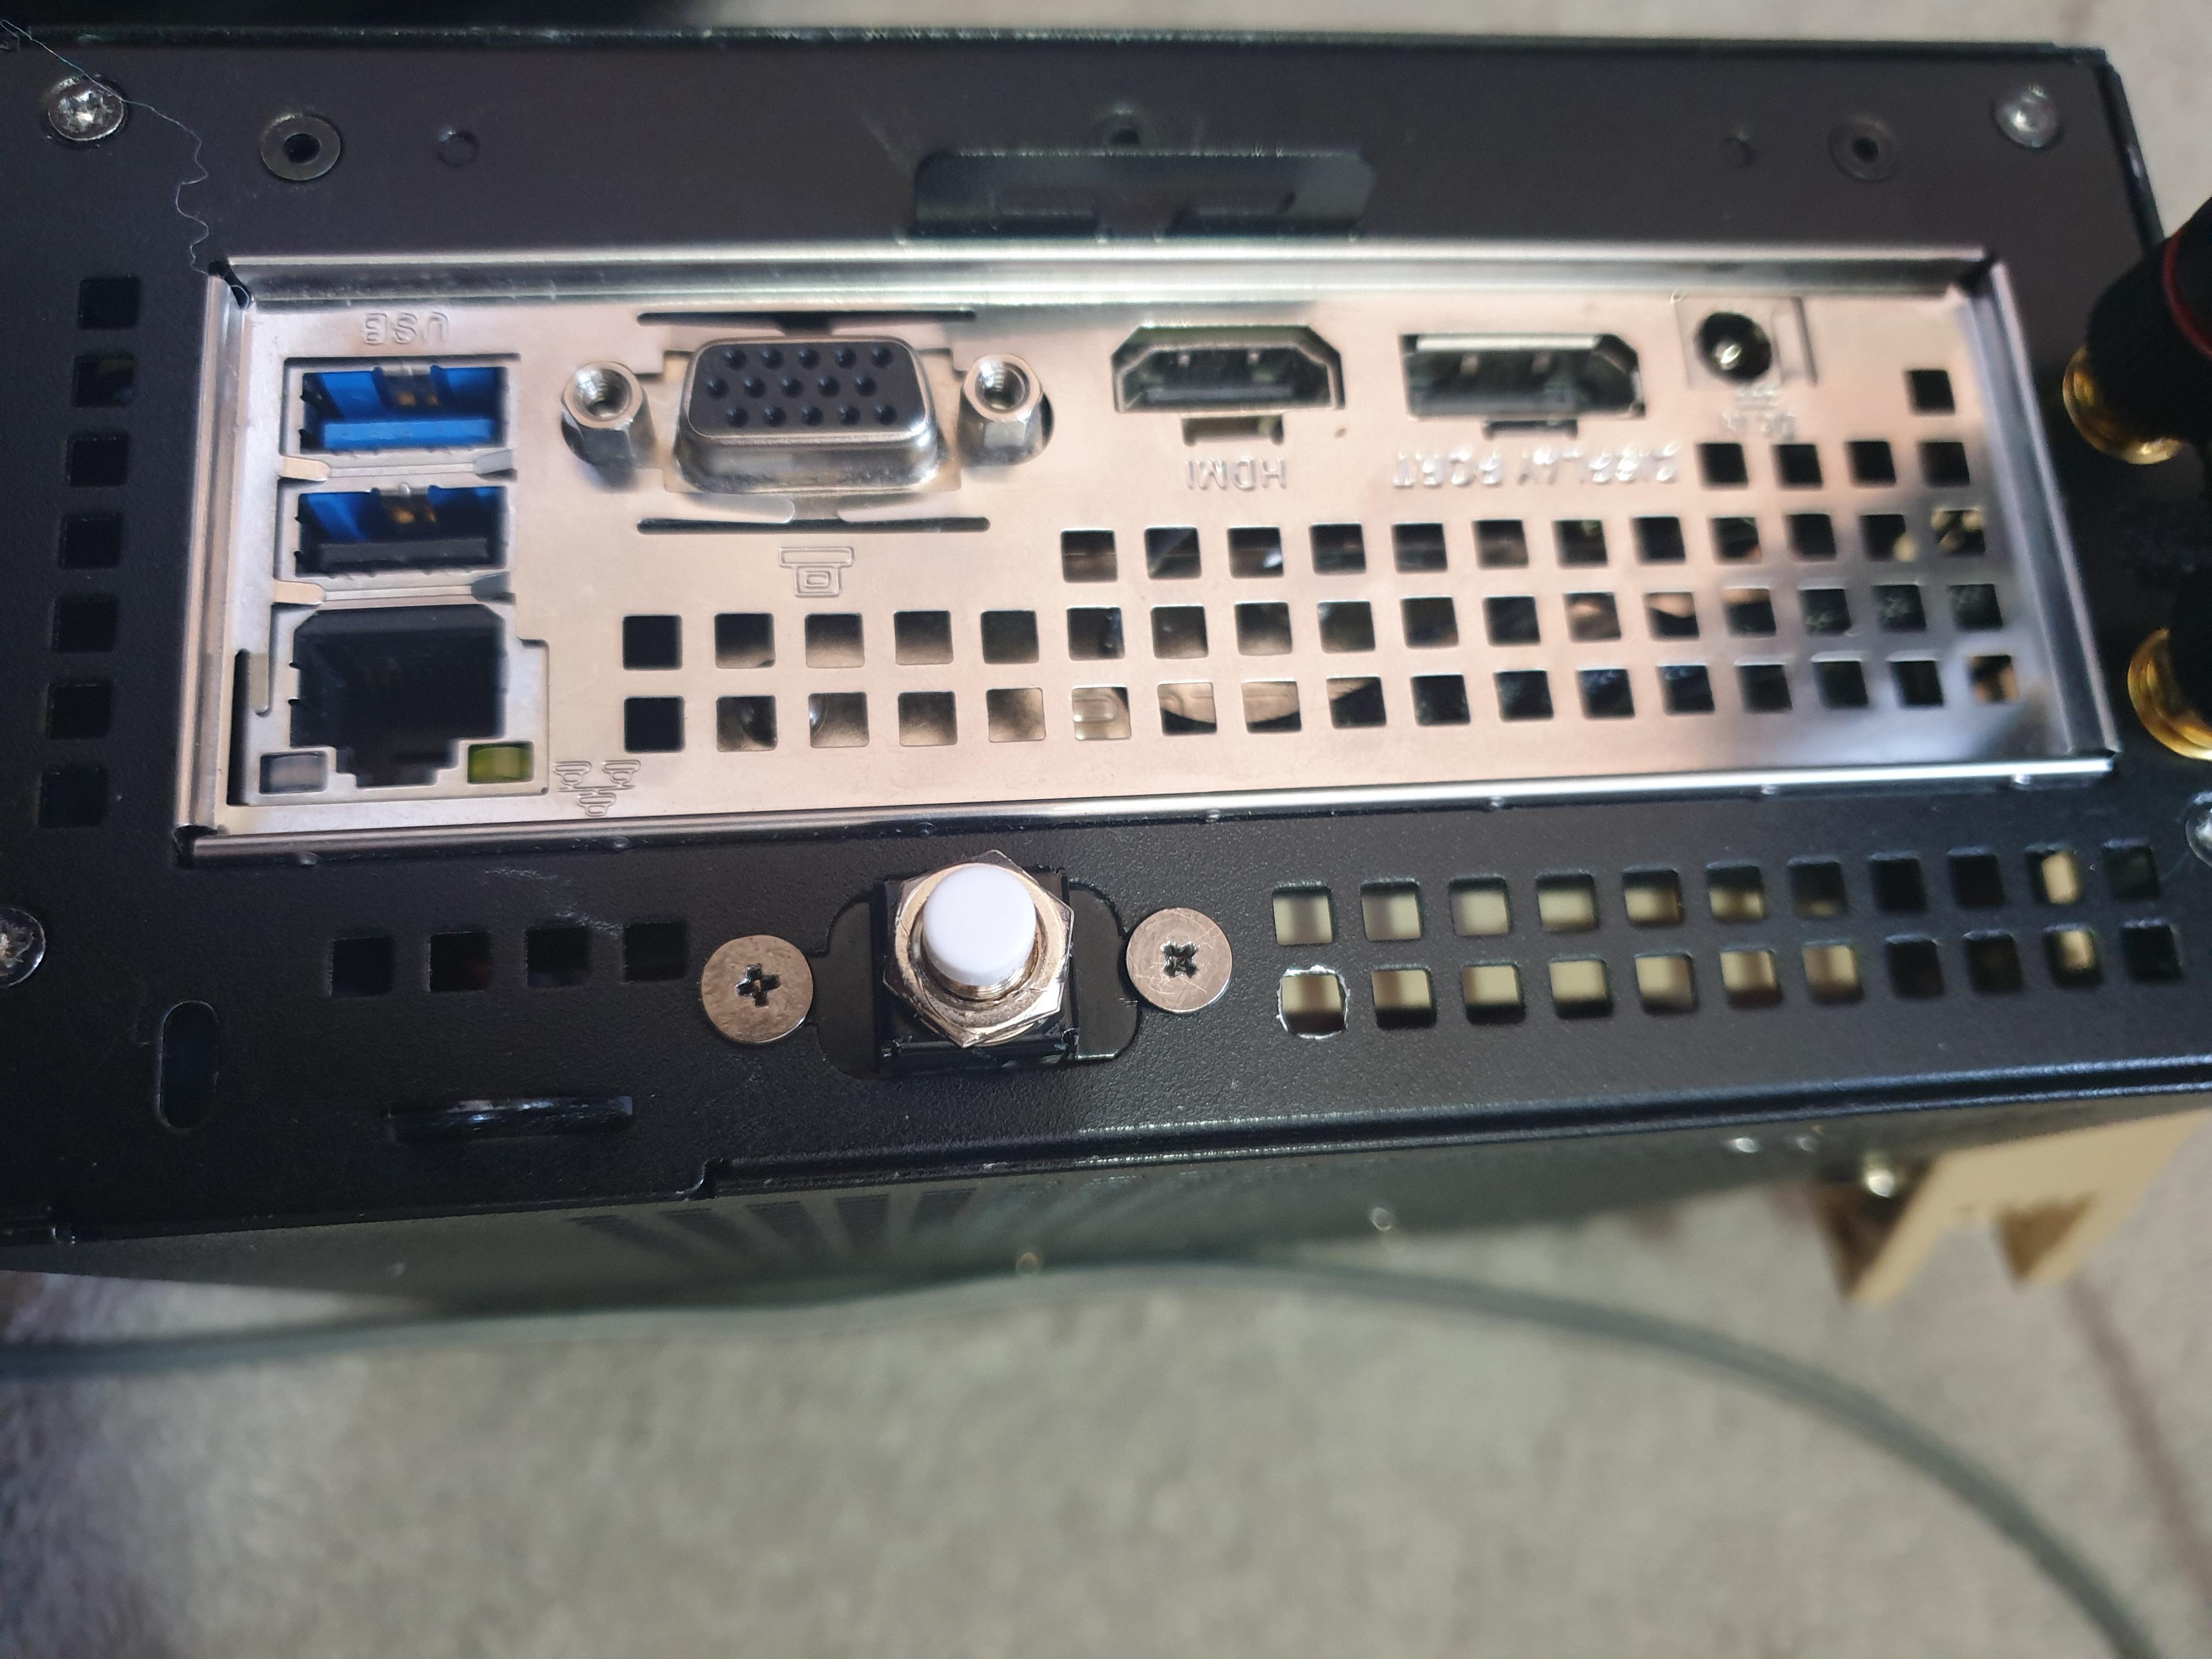
I struggled to overclock Crucial ballistix ram because the voltage to run at 3200mhz was1.35v and im pretty sure DRAM calculator was showing i needed higher voltage to successfully overclock but playing with timings should still get you some good results.
nice, I’ll do something similar.
Oh I missed the System Configuration entry! any idea what the difference between Consumer and Commercial is?
EDIT: there is good information here, it seems Consumer uses more power, so is probably PBO enabled:
https://forums.servethehome.com/index.ph…993/post-287429
"[iTest No. 2-5 are tests with different predefined cTDP profiles, which are labeled as "System Configuration AM4" in the UEFI. While Test No. 1 was performed with AUTO-setting, these tests are with profiles from 65W down to 35W. Interesting thing: There are two 65W-profiles. One is labeld as "65W consumer configuration", which needs 20W more electrical power than the other one, which is labeled as "65W commercial configuration". Due to switching the cTDP profile from AUTO or 65W consumer-Profile down to the 35W profile, its possible to reduce the electronic power consumption from 140W to 102W or in other words from 92°C down to 70°C CPU-temp under full load with Prime 95 Small FFTs.
[/i]"
yes I can’t get it stable beyond 3466 at stock CL16 timings / 1.35V (have not yet tweaked timings but that is next). Dram calculator shows I’d need over 1.4V to reach that so that is pretty good. but they do get very hot - do yours too?
I’ve seen the base clock 3.7ghz start to slowly drop at around 60 - 65°c. I will probably set the PPT to 65 and leave the igpu at stock since the ram has the most positive effect and see how that goes
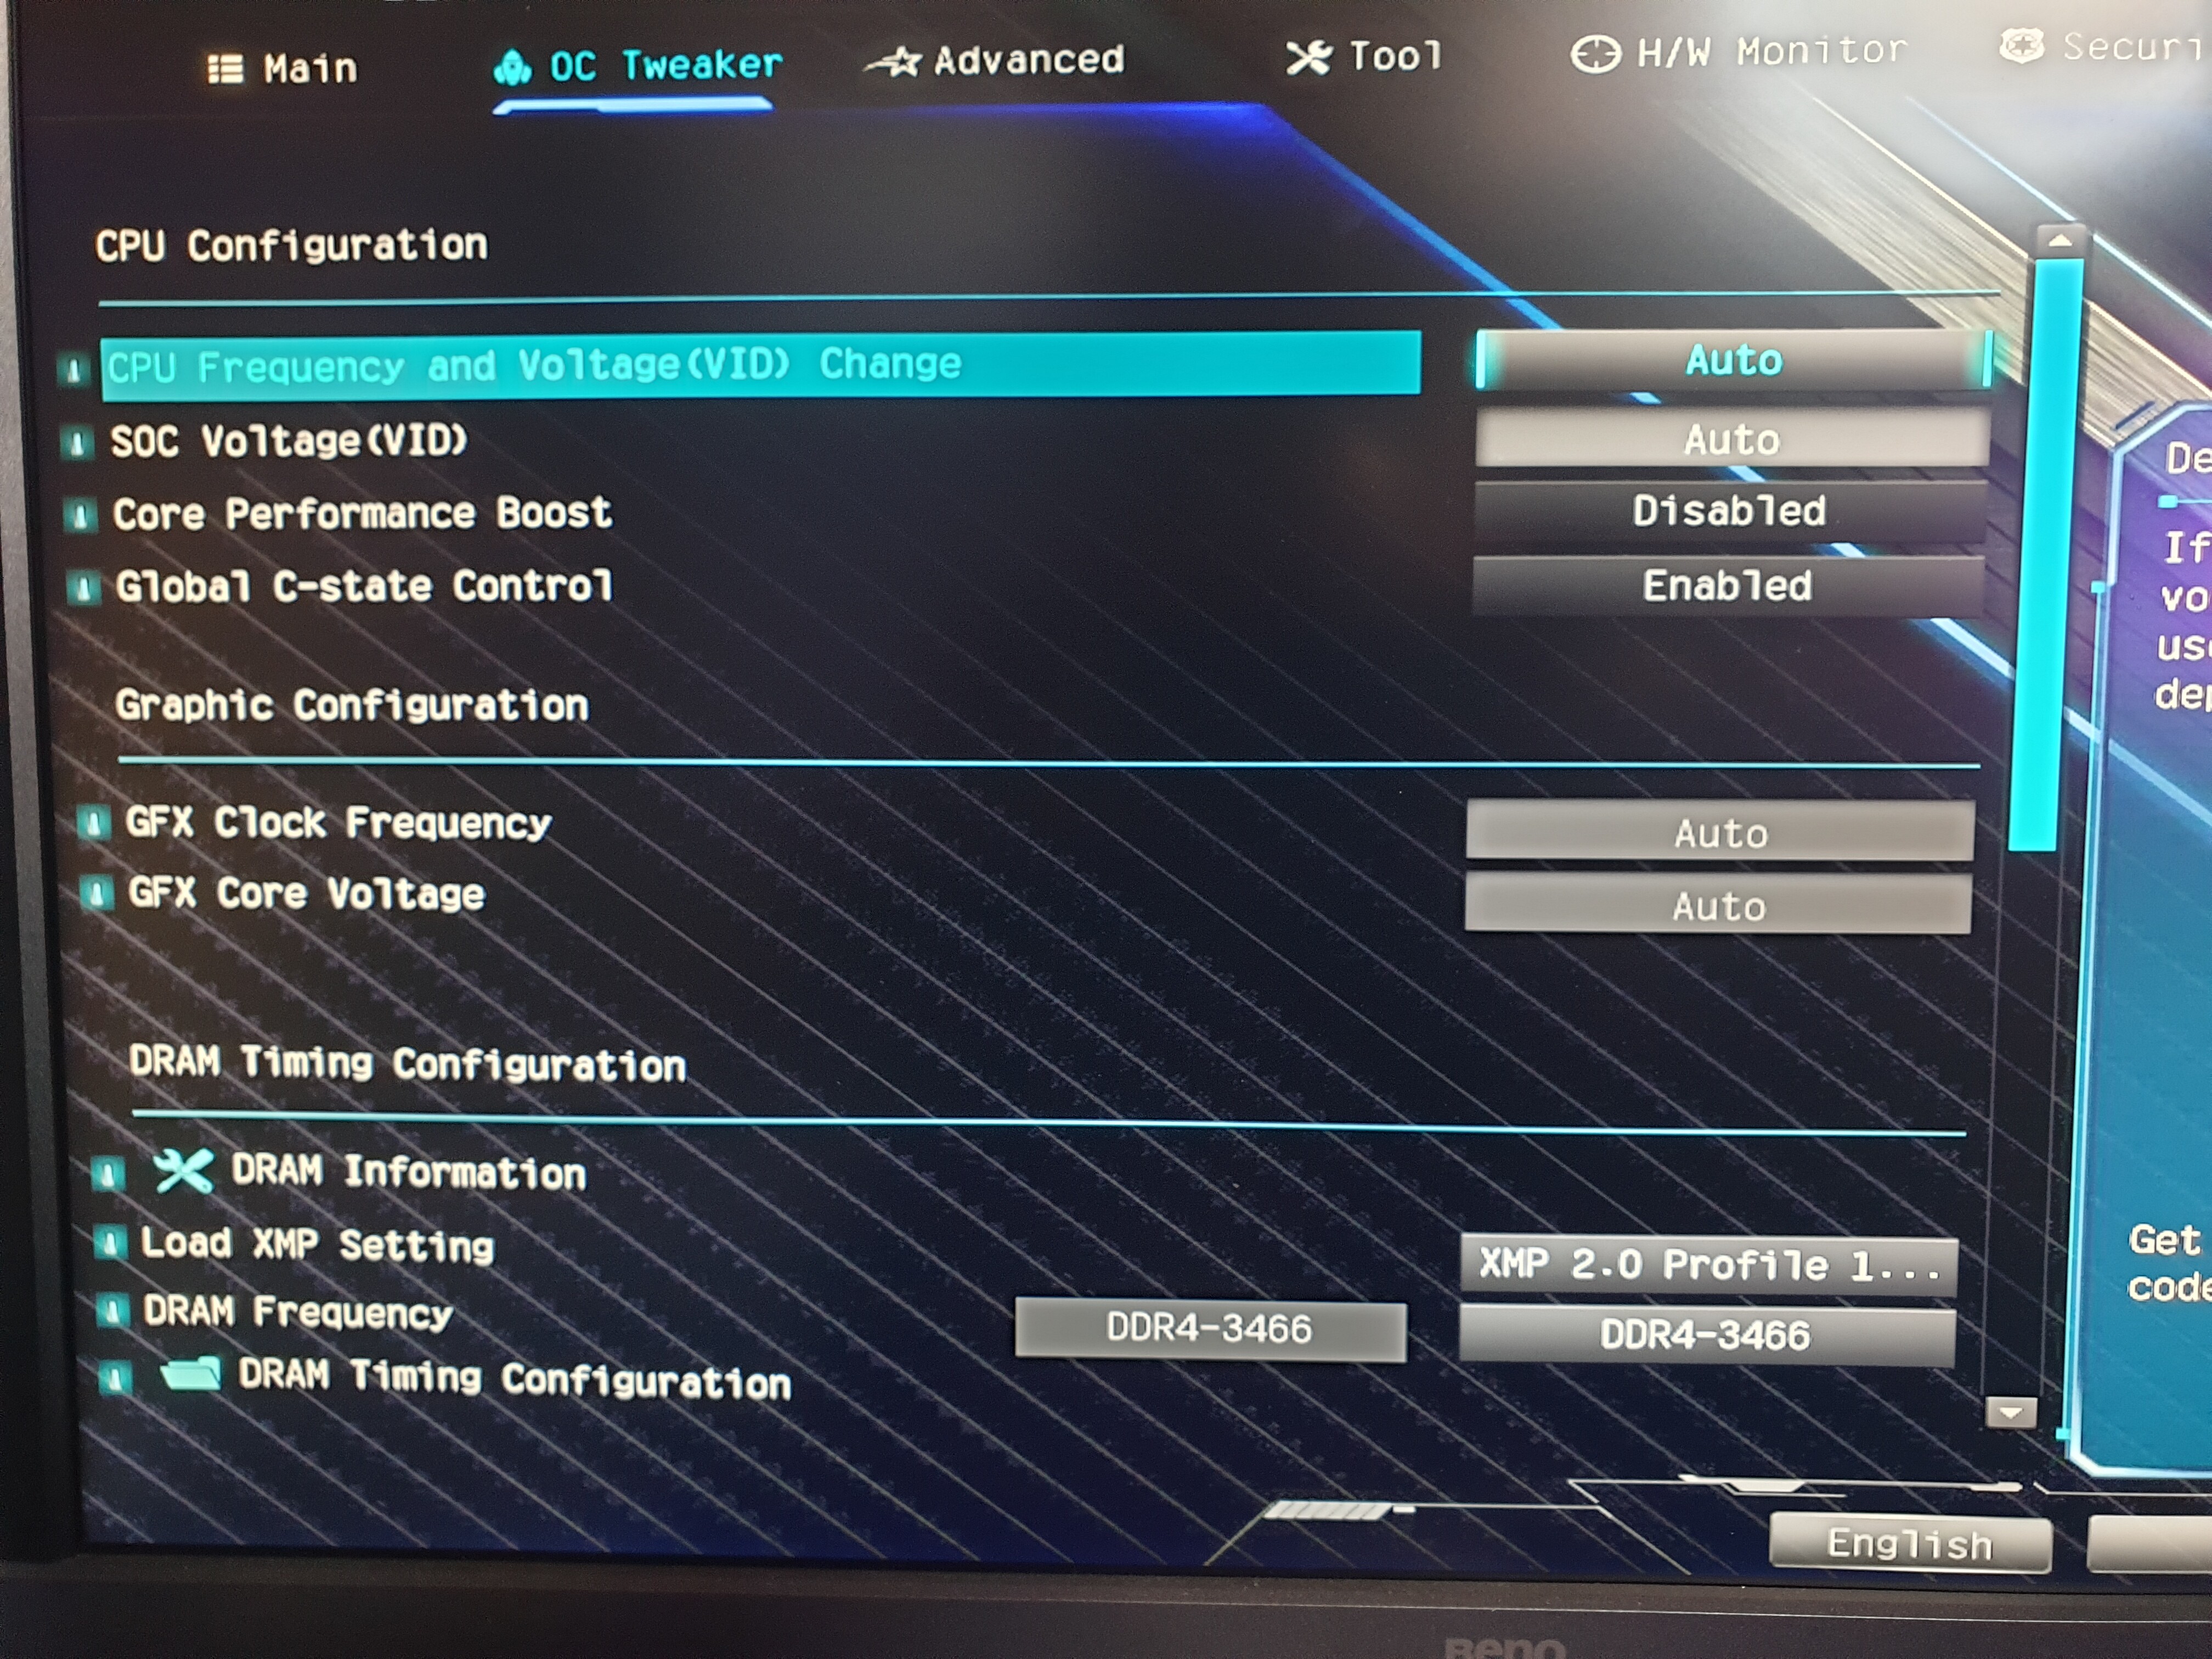
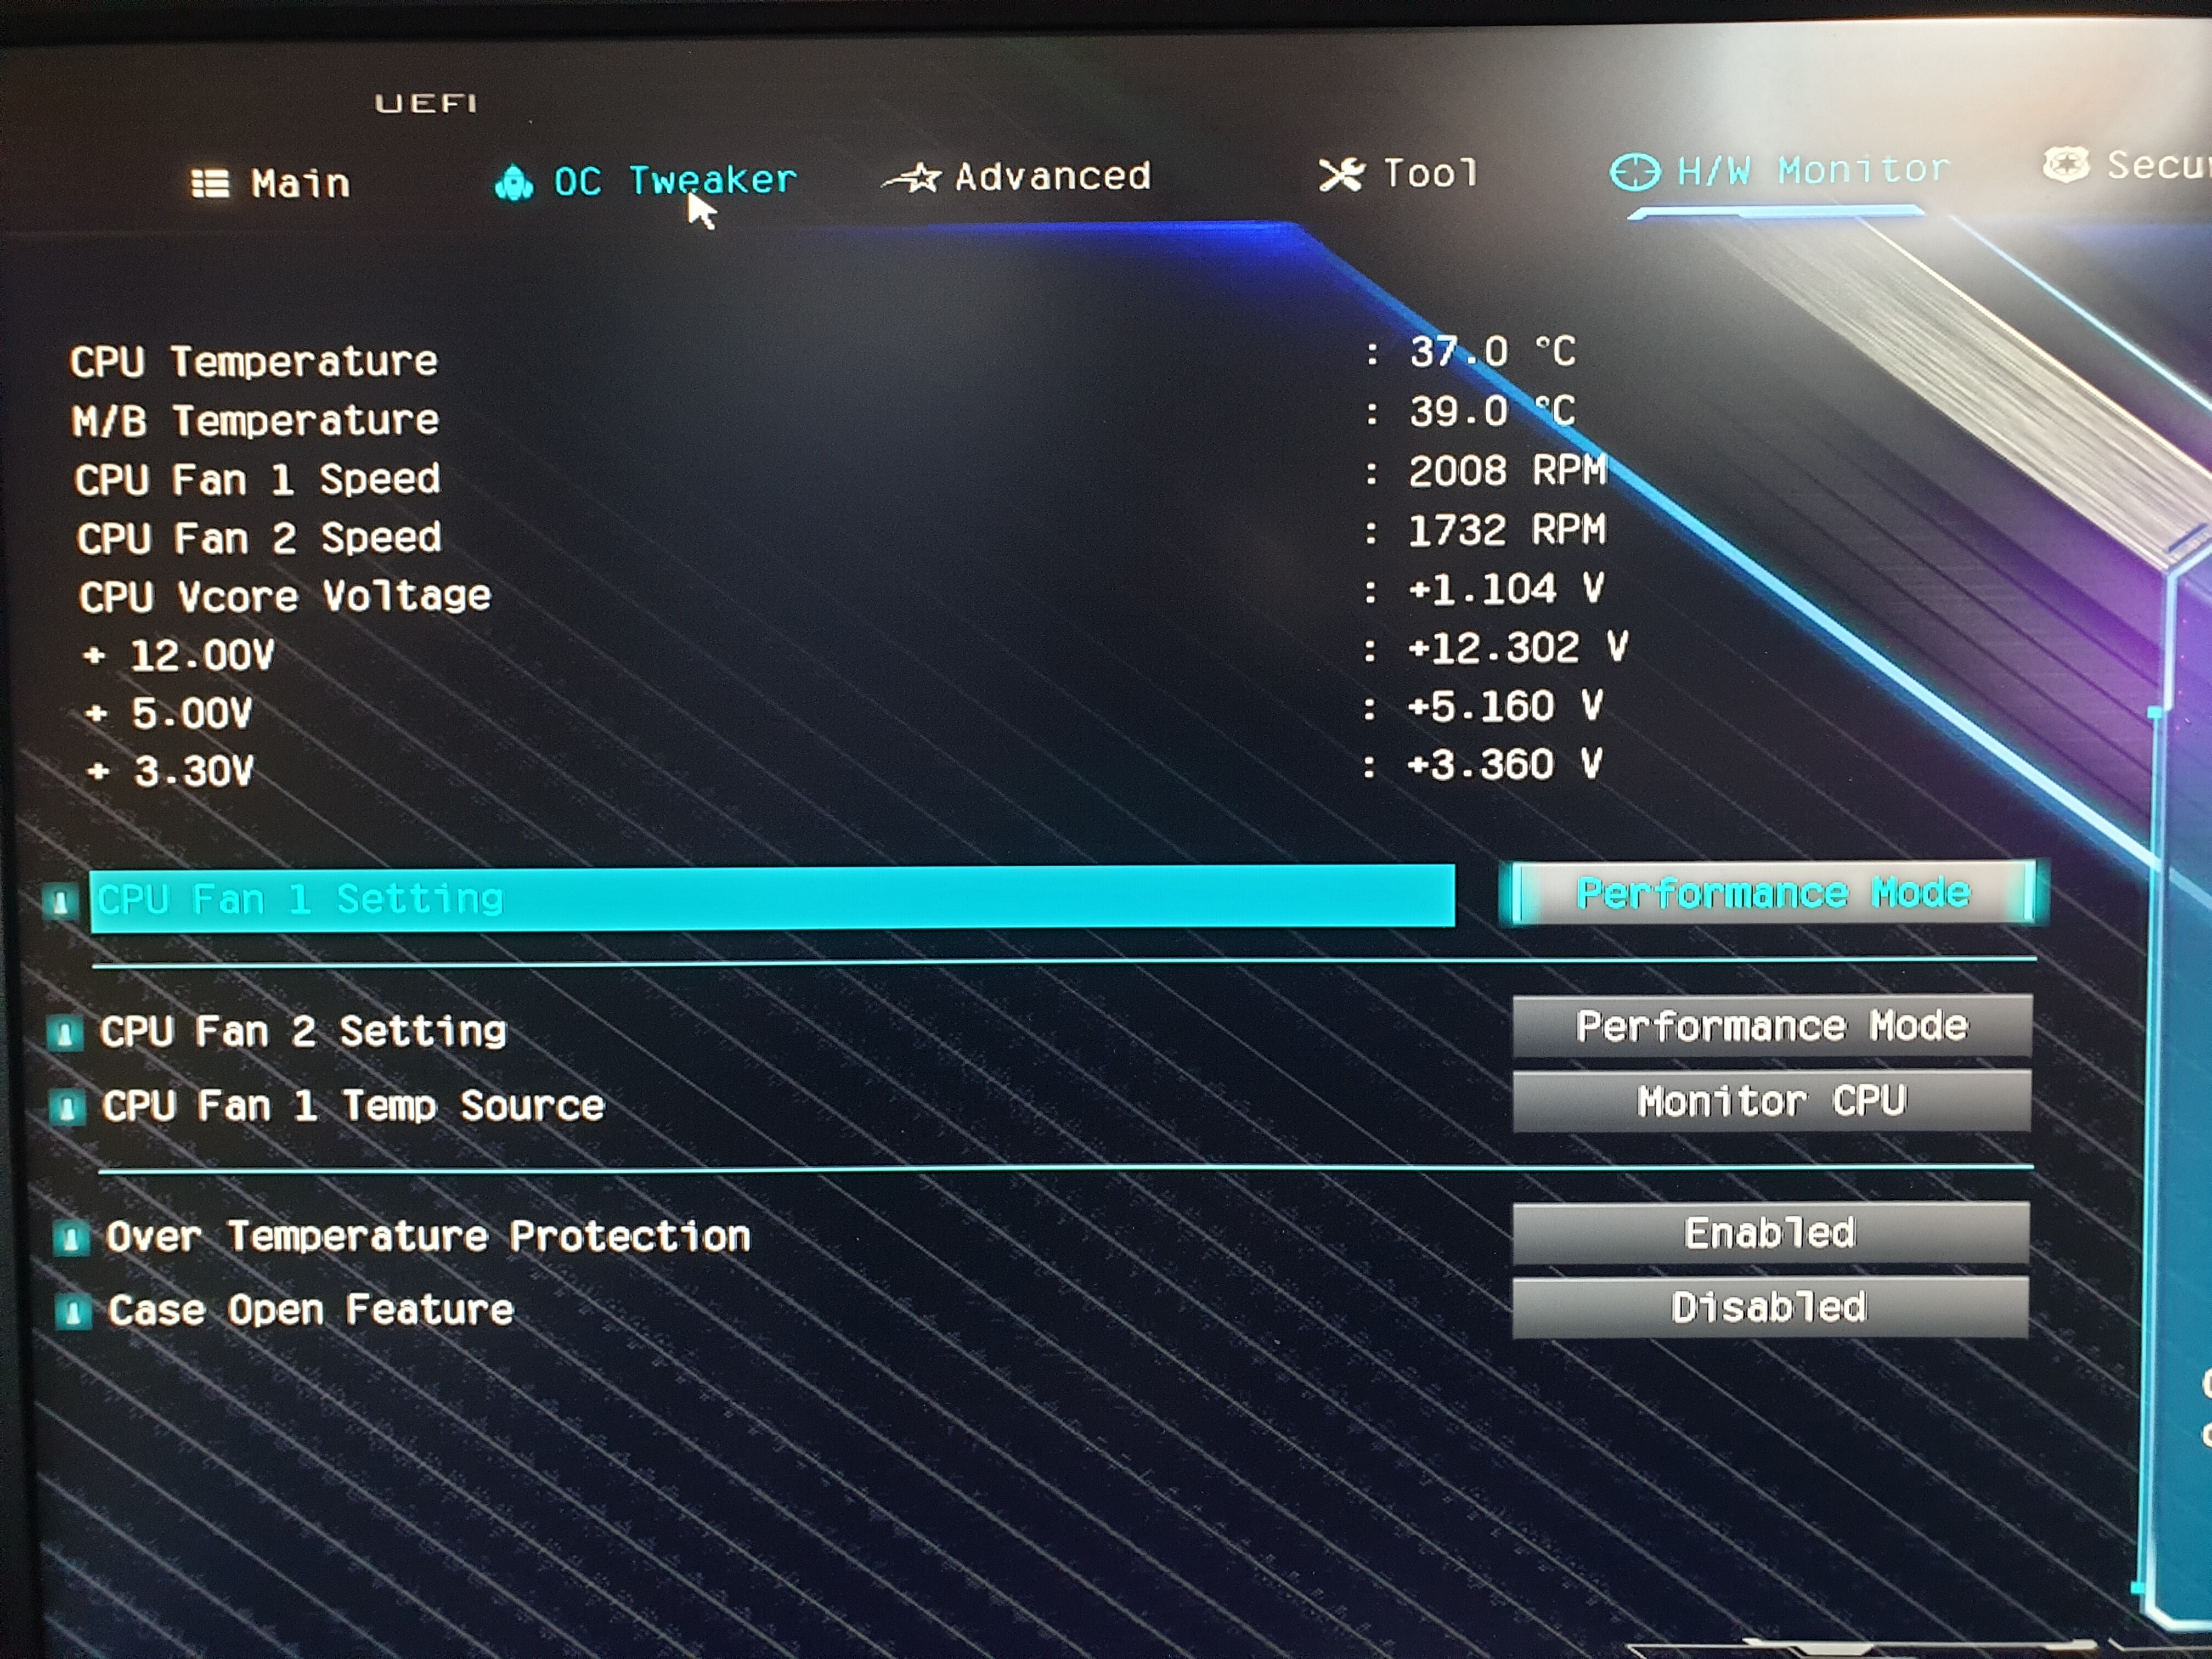
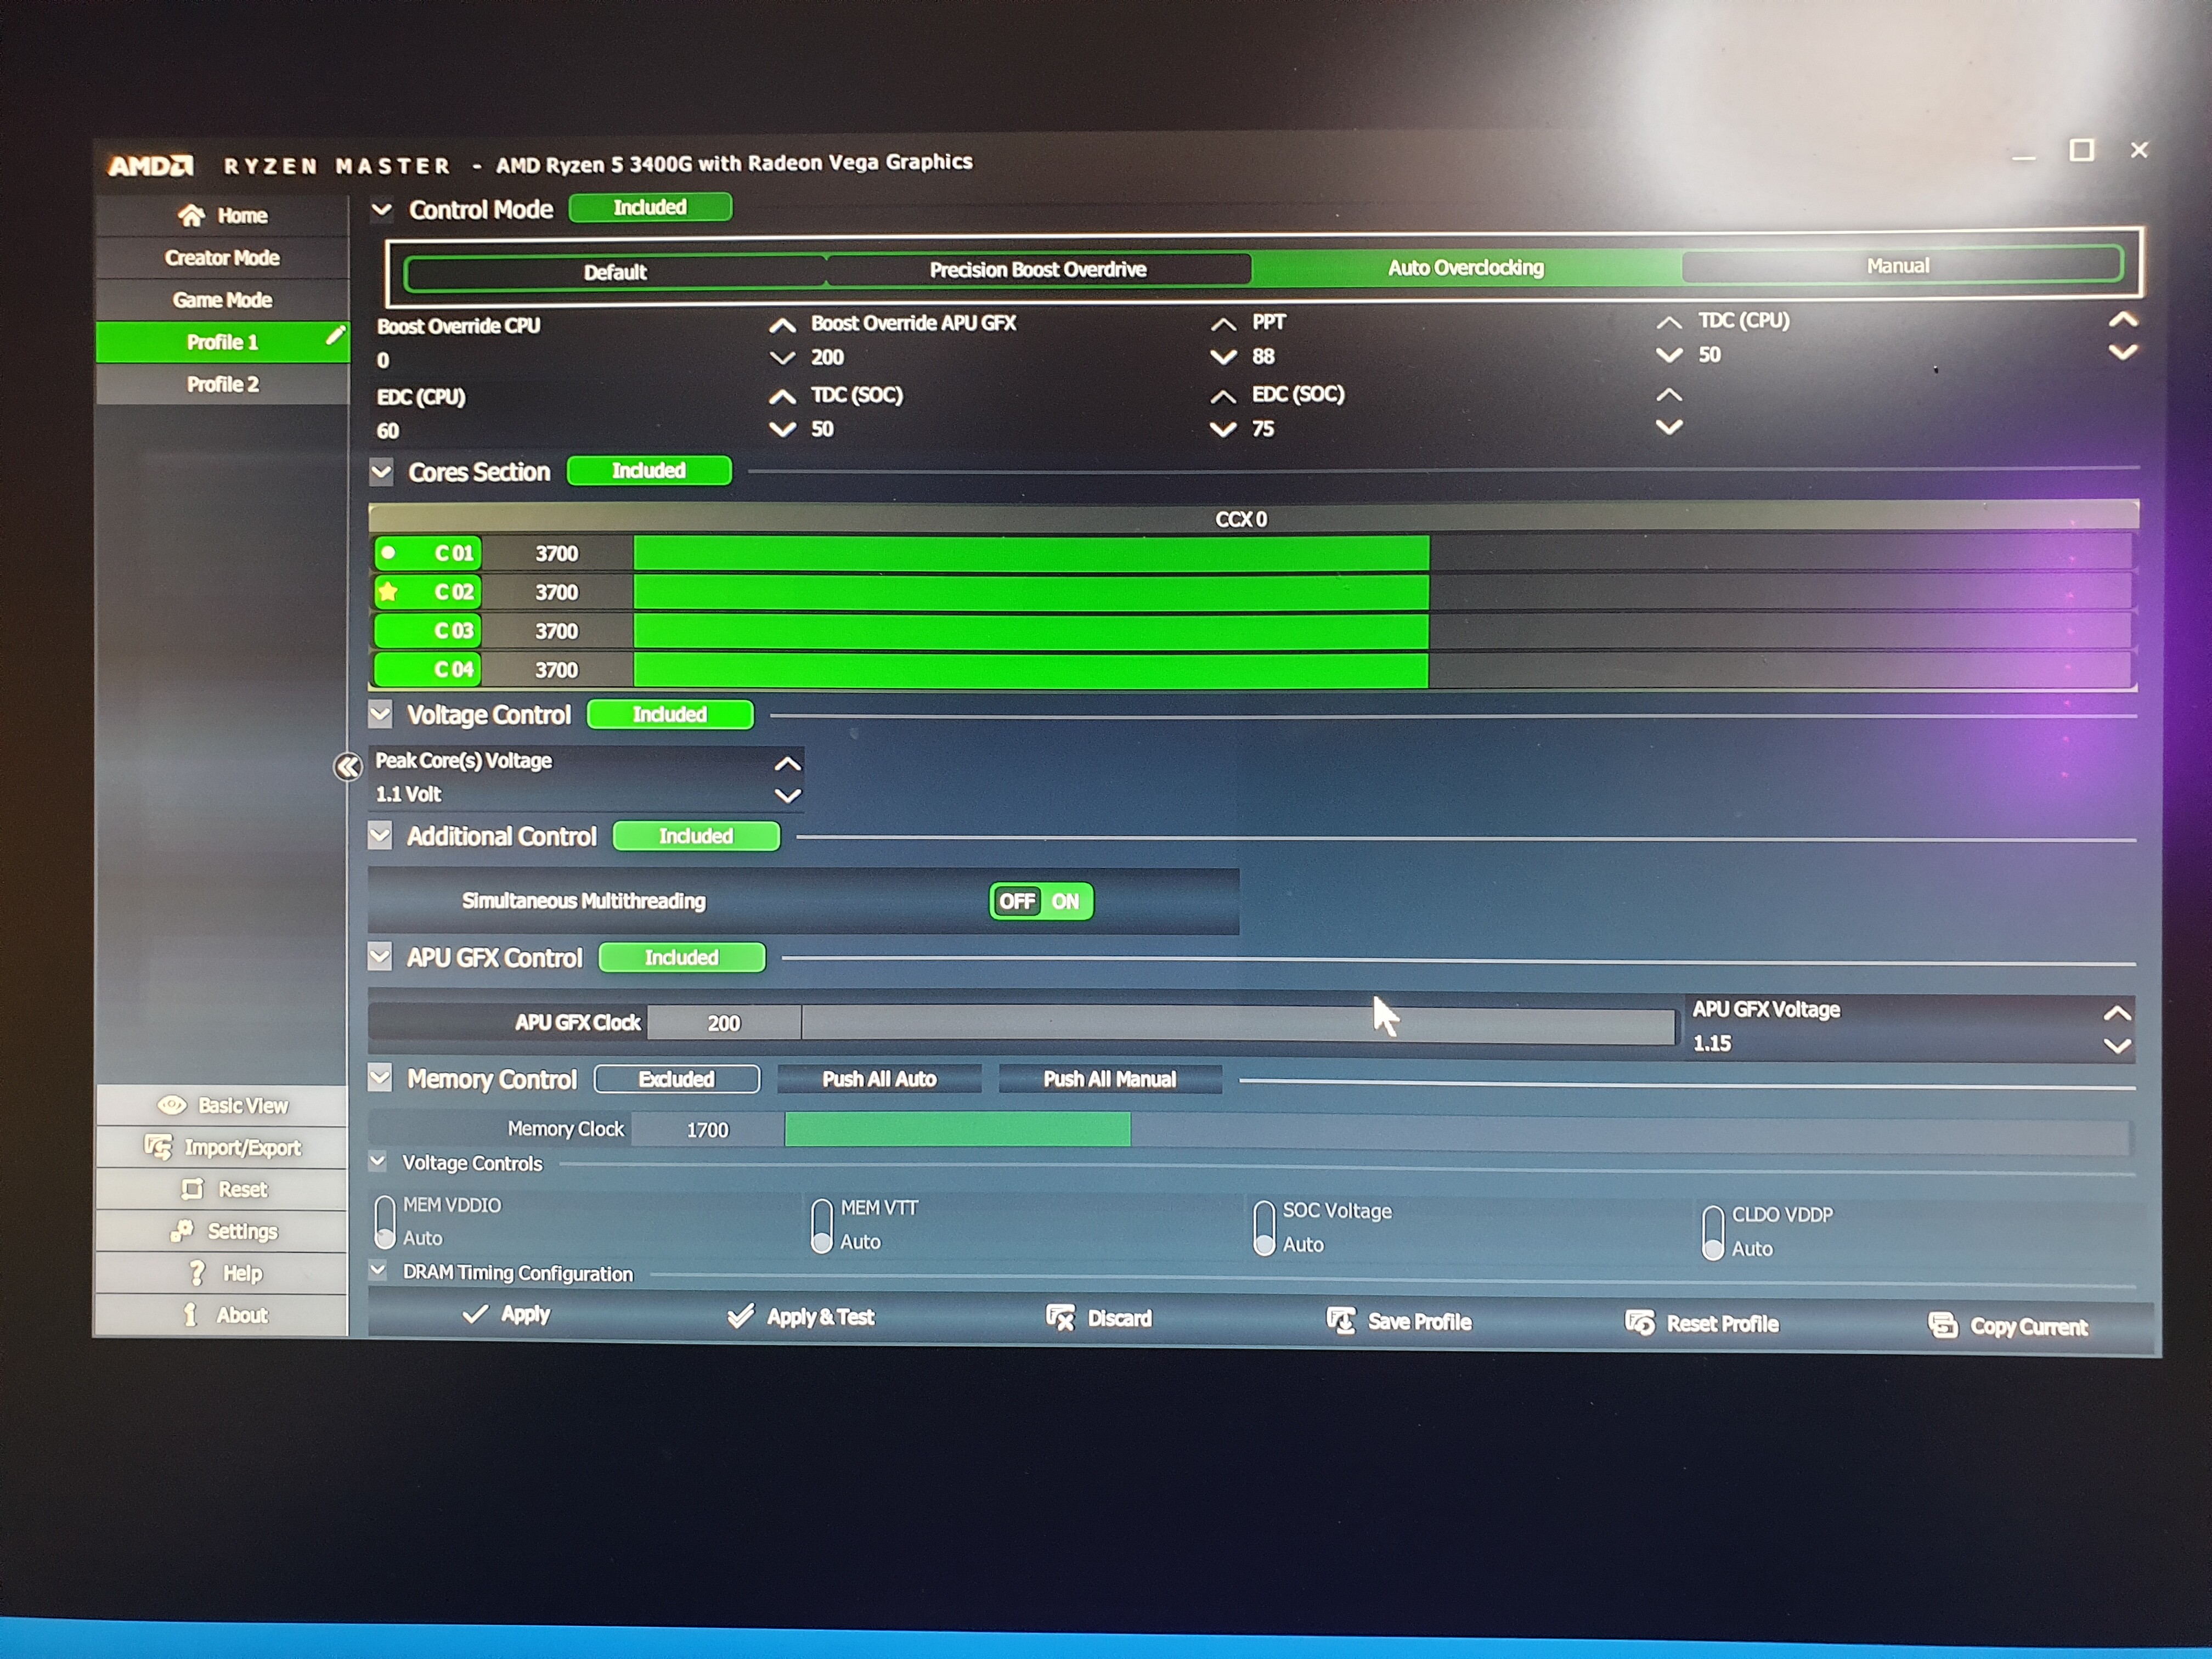
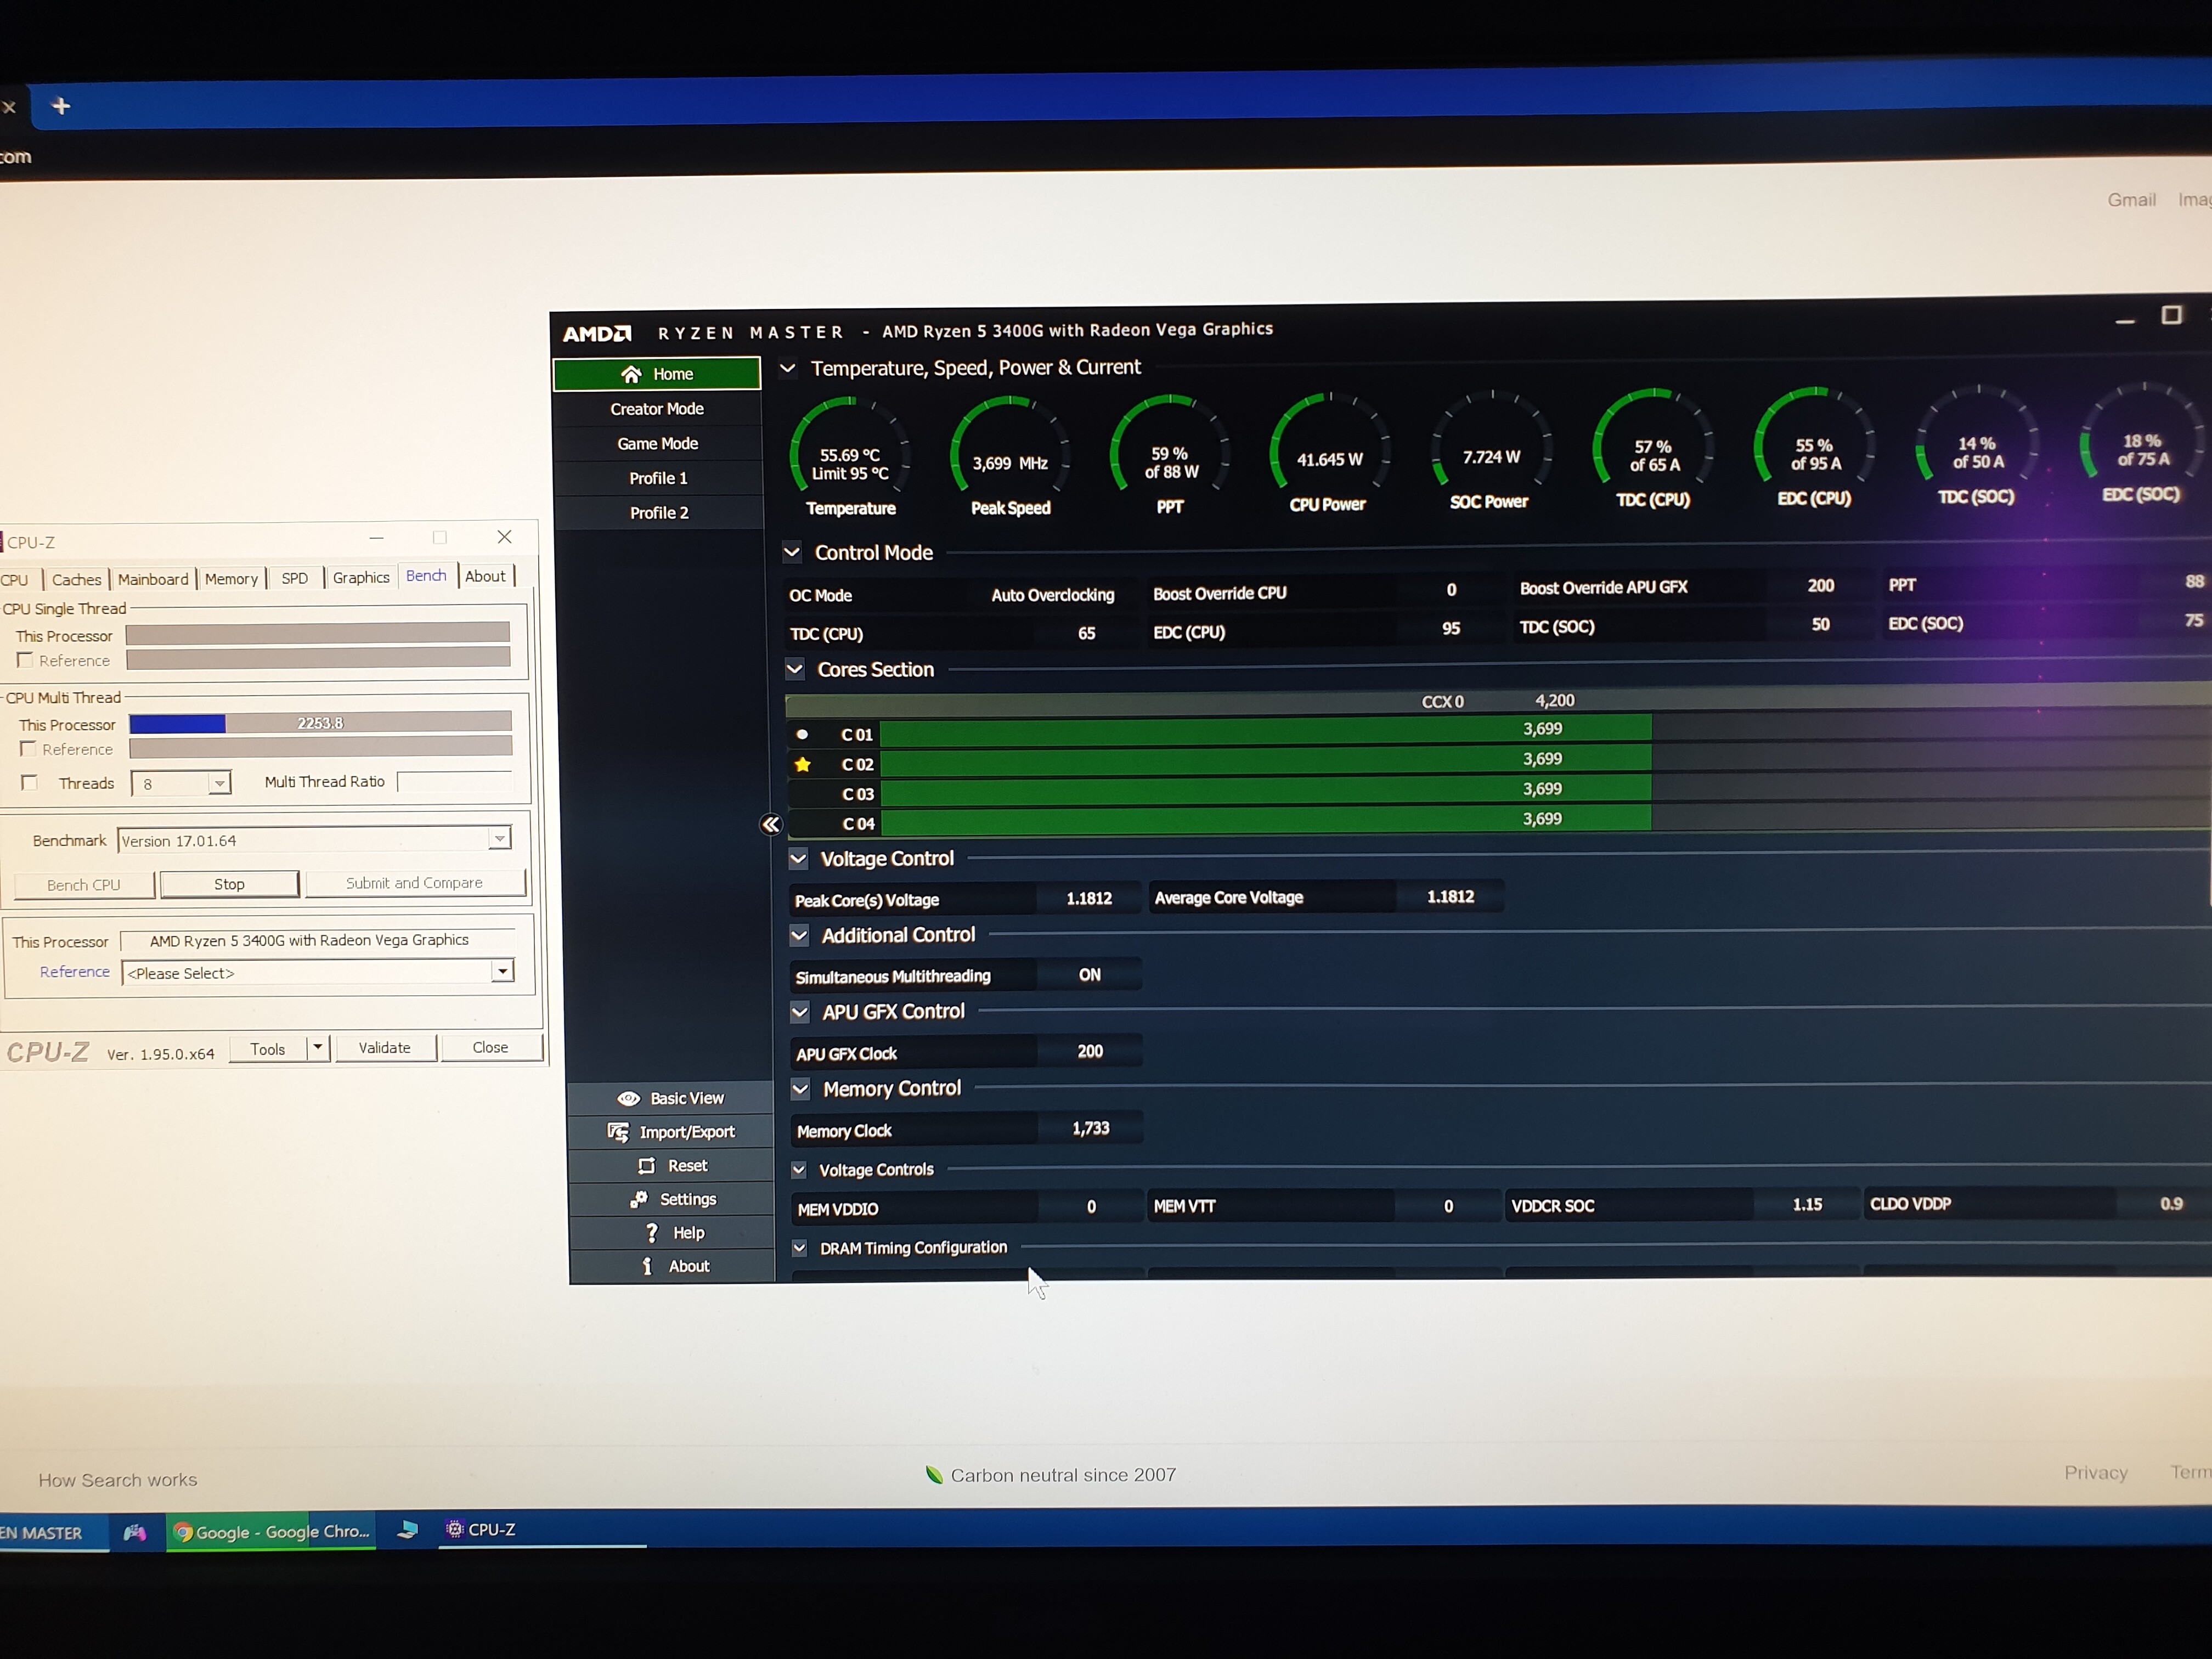
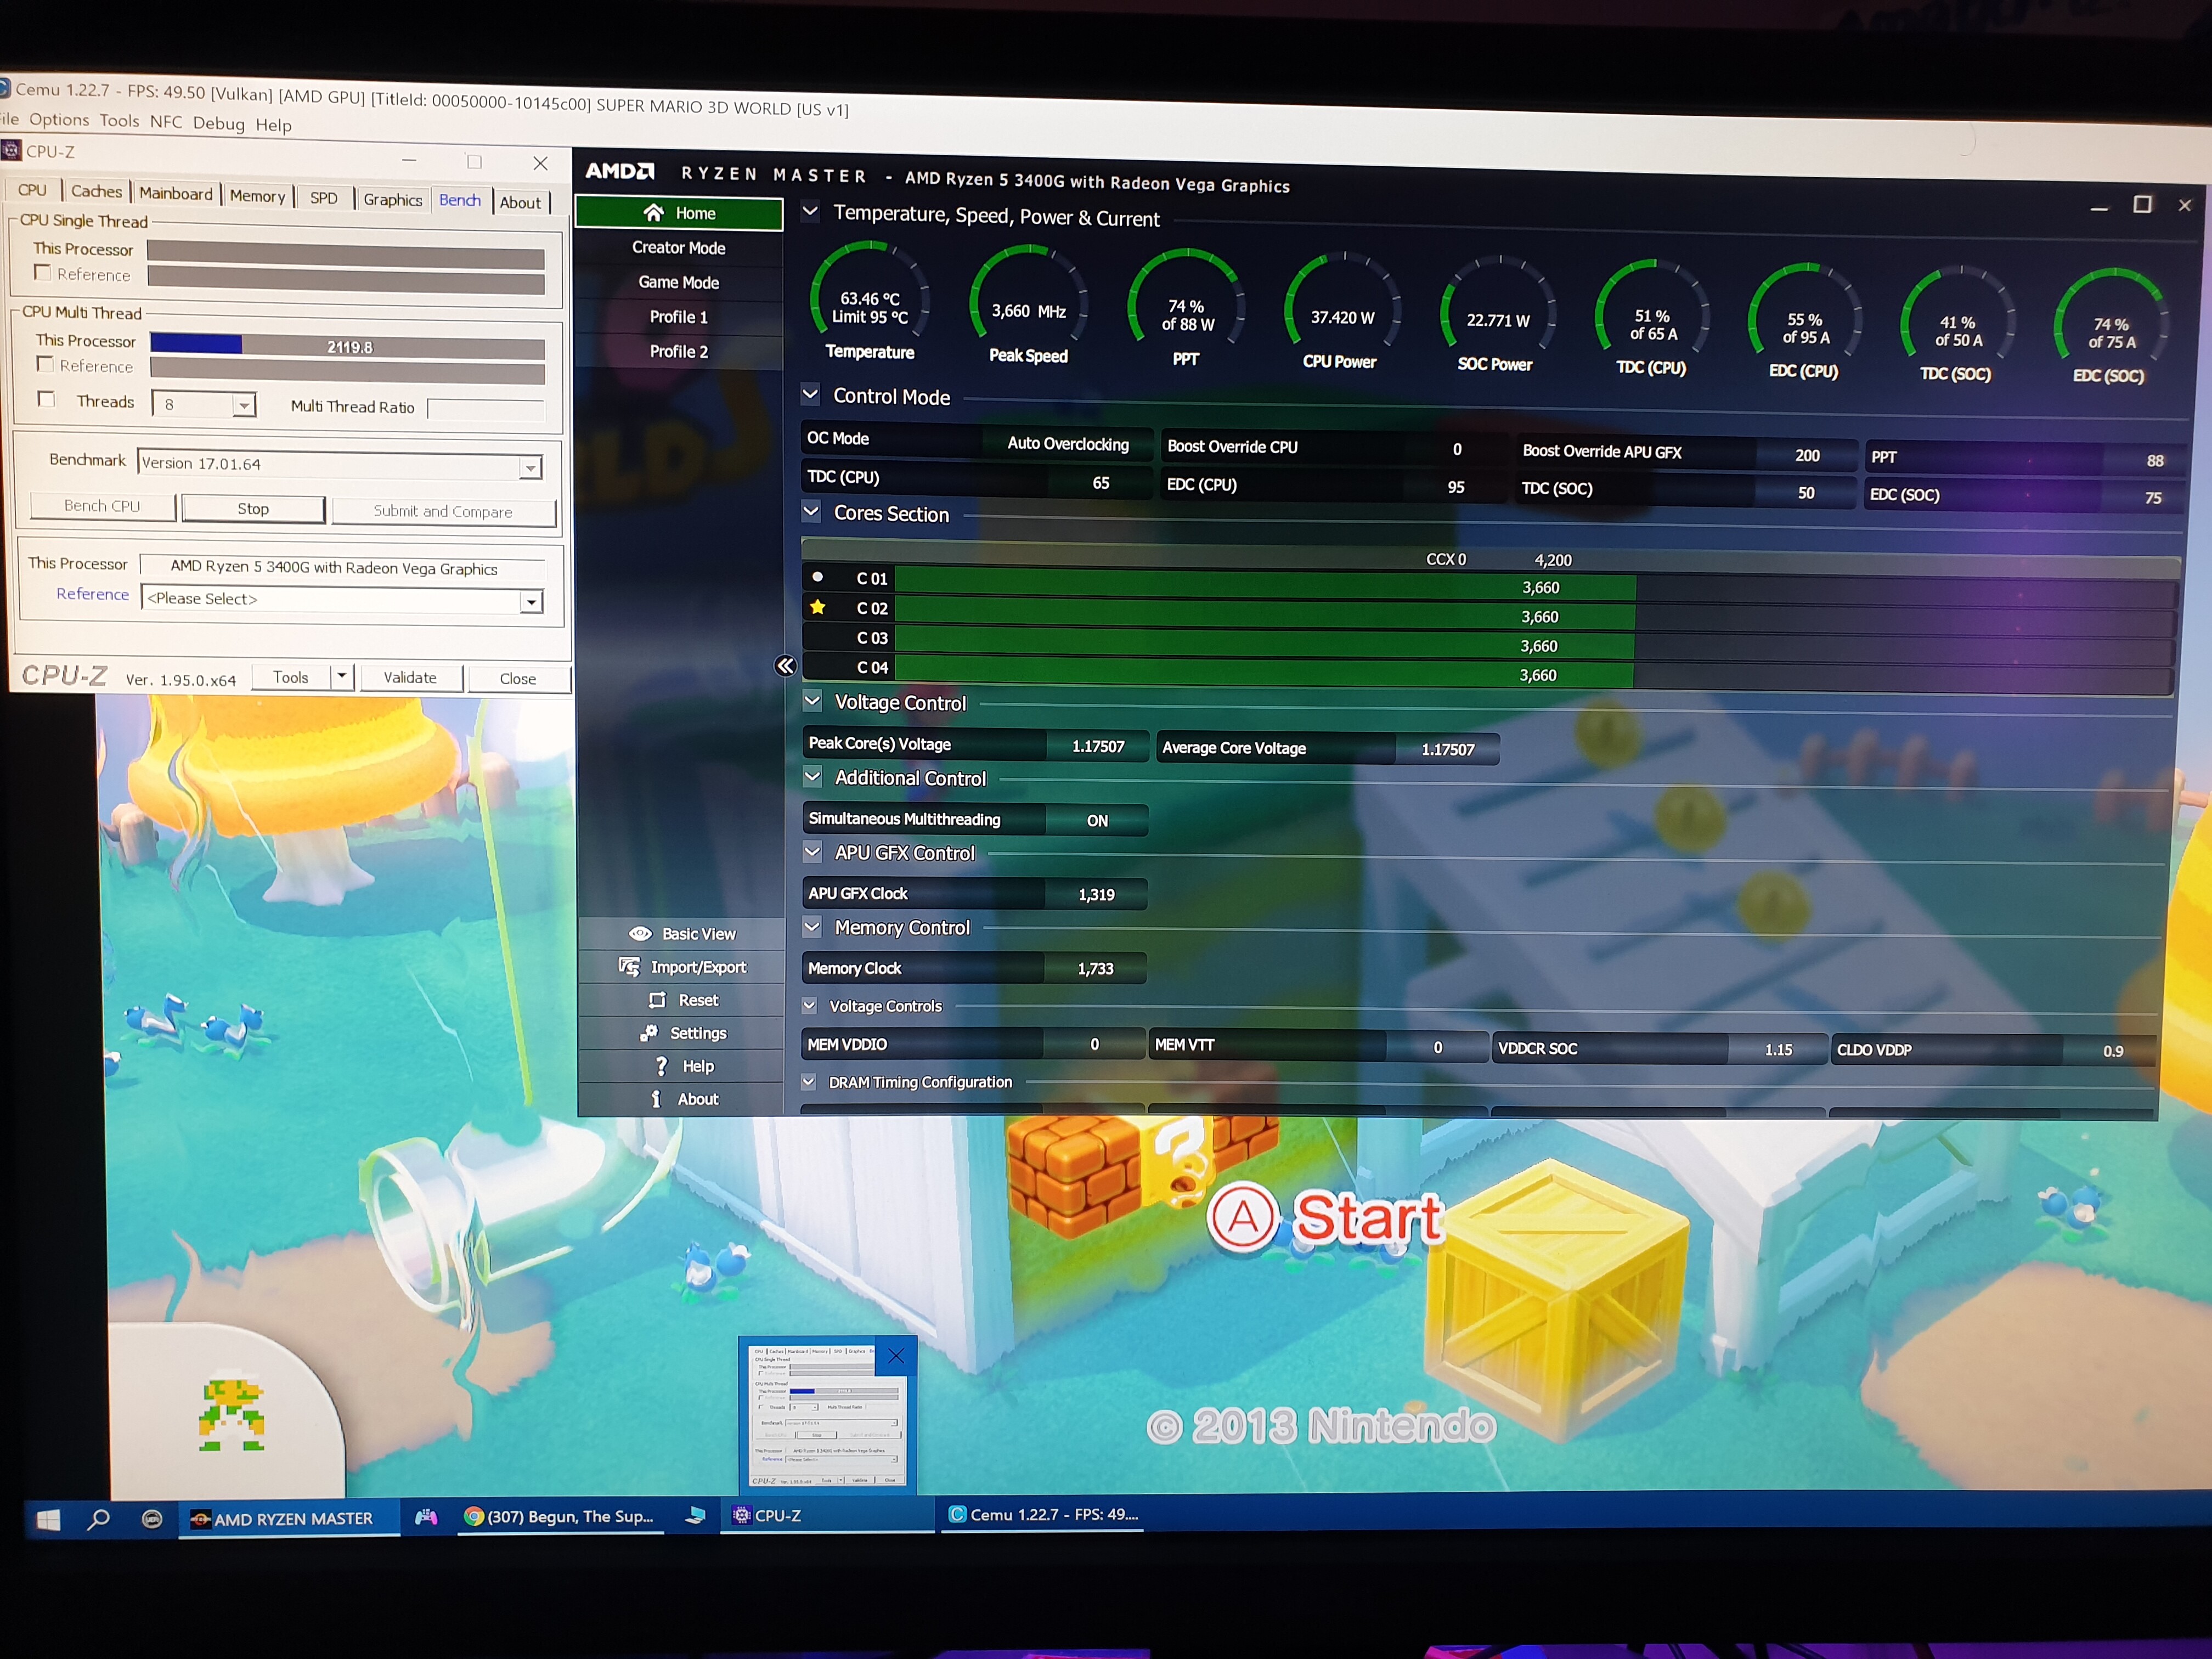
These might help you mate,£1.36 | Notebook Memory Heat Sink Pure Copper Graphene Heatsink Laptop RAM for DDR1 DDR2 DDR3 DDR4
https://a.aliexpress.com/_mtbIaJH

Interesting thanks. So yours don’t get that hot?
I’m gonna try my Noctua NF-A12x15 fan first as that reaches over the memory. I need to cut a small bit of metal off the case, otherwise it can’t slide in with the mobo tray (but there’s room once inside).
That’s sounds like a better idea than taking a dremel to the case and adding a larger cooler
