First of all, apologised for my bad english due to im not a english speaker.
I have a Asus K46CB laptop with corrupt BIOS due after i changing some setting in the bios itself. Now the laptop is dead, cannot boot at all. Due to the laptop is very important to me, I have bought a CH341A SPI Programmer + SOIC 8 Clip after some reading on forum and watch some video. After successfully extracted the original BIOS from bios chip (Winbond 25Q64FVSIG) on the motherboard, i try to compare the bios region between original bios extracted from the chip with downloaded bios from asus website.
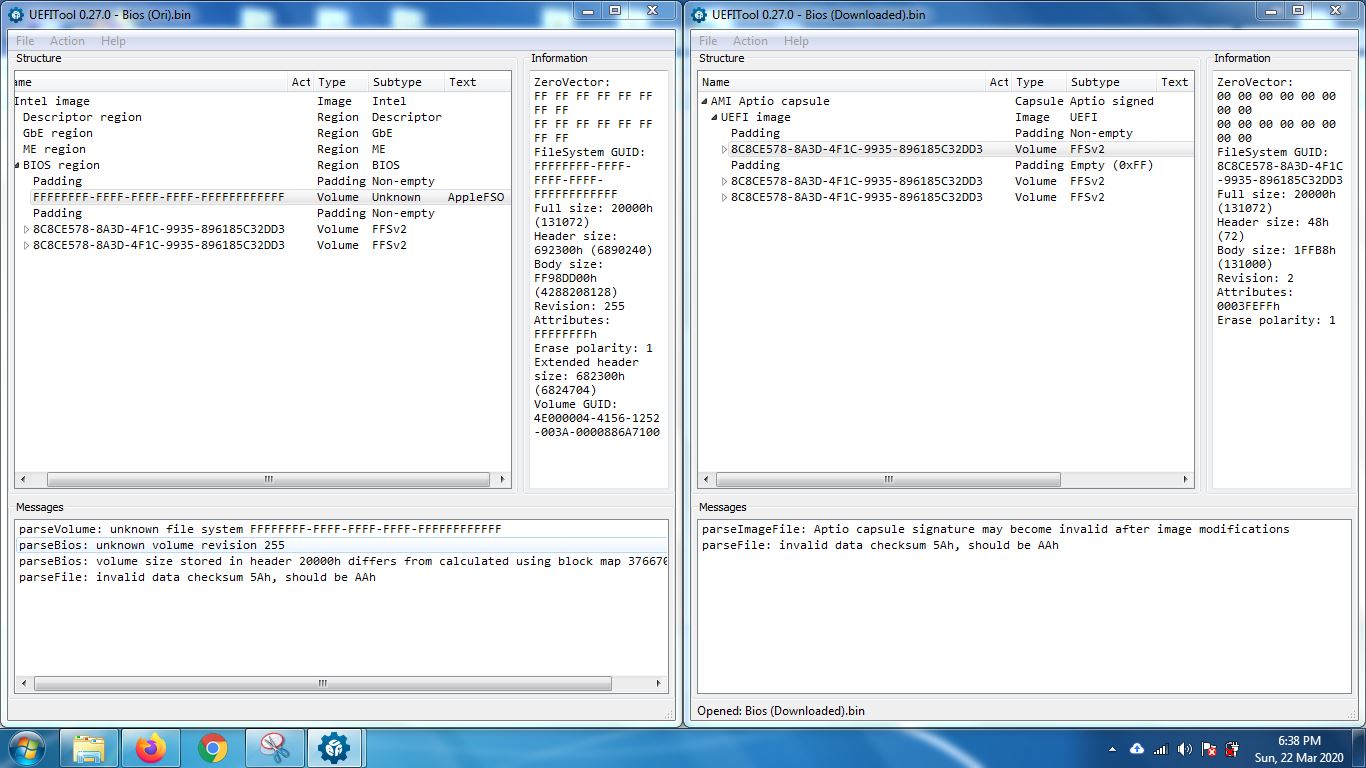
Here is the screenshot from UEFITool program:
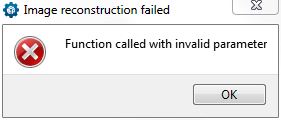
From the screenshot, i found that original bios have FFFFF Volume rather than 8C8CE578 Volume on Downloaded Bios. So im guessing that was the problem with my bios. I try to replace the FFFF volume with 8C8CE578 Volume using UEFITool, but it wont let me save the image with below error. [[File:Error (Image Reconstruction Failed).JPG|none|auto]]
@Loki92 - send me your original dump, but please redo this dump with software version 1.30 or 1.34 and BIOS ID W25Q64BV << This will be most important when you do your write, if you do not use it write will fail Here is 1.30 and 1.34 if you do not have them already - http://s000.tinyupload.com/index.php?fil…695330485827902
What setting did you change in BIOS, so it’s easier for me to change back if feasible. What you show in your first image looks like corrupted NVRAM area, maybe during BIOS settings change/save it failed to save the change properly so that’s why it failed. I will know more once I look at your dumped BIOS. Don’t worry, you’ll be up and running in no time
@Loki92 - Well, it’s OK, I can still just replace with default settings instead. Too bad you didn’t wait and erased!!! Hopefully your dump above is OK and not corrupted, otherwise you will have no choice but to loose all original NVRAM data and use sparse stock one only. Stock BIOS should boot when written to the chip, as you mentioned you tried. Did you use the BV ID, and 1.30-1.34 software versions as I mentioned? If not, this is why it failed to boot (bad write) But, you do have to remove BIOS body from Capsule first! Ohh, wait, I see, this is only BIOS region, partial update download from Asus! Sorry, never mind, you cannot program this as-is, even after removing BIOS body from capsule, you need to have FD/MEGbE regions there as well
Please wait, I will fix you BIOS now!
* Edit - @Loki92 - Here, please test in this order, stop if #1 works, if it fails, then use #2 instead (this is stock NVRAM only) First one has your original NVRAM which may fail if that’s cause of the brick, but if not you get to keep your original NVRAM (ideal scenario) https://ufile.io/hh3psrjr
1.NVOGPad.bin 2.NVStockPad.bin
Also, be sure you erase, then blank check first, then write/verify. And use 1.30 or 1.34 as I mentioned, with W25Q64BV ID or all writes will fail
I’ve unlocked FD in both of these, so if needed later you can fix ME FW easier, or write to FD etc, using Intel FPT and you wont have to use programmer once either of these are programmed in (unless you ever program in locked FD again, not included in stock BIOS, so it should always remain anyway) I’ve also updated and cleaned your ME FW region, in case there was any issue in that area in your dumped file
You’re welcome! Should be all OK now, provided you can get a good write in there and nothing else physically was damaged (unlikely) If both files fail, unplug system and dump the last file you wrote and send to me, so we can double check the write are going in 100% OK
@Loki92 - Awesome to hear man! So, #1 didn’t work? If not, it’s OK, that just means something in the NVRAM was bad or corrupted, we could possibly find and fix, but that would possibly take a lot of testing unless you know you only changed one setting for sure and knew the exact setting Differences between #2 and your dumped BIOS
1. Unlocked FD (Flash Descriptor), unrelated to fixing the BIOS 2. Clean, updated ME FW, may or may not have been part of the original problem, but in case it also got corrupted in any way I couldn’t immediately see I did this 3. Stock NVRAM replaced inside top volume of main BIOS region. << Seems to be likely main reason it’s fixed (Plus #4), since BIOS #1 didn’t work. Rest of BIOS (Vol 1-2) = hex match to stock so I didn’t have to touch 4. NVRAM/Padding corruption as well - see below.
Your dumped BIOS, had Leading pad file + NVRAM + Middle padding file corrupted in such a way that it was no longer split areas and was compiled as non-UEFI Data. The padding file contained your system specific data, serial, UUID, windows key etc I split that back properly and replaced padding as it should be, then BIOS #1 original NVRAM, BIOS #2 stock sparse/empty NVRAM
You can view stuff like this much better with UEFITool v 51-5x (Whatever is latest Alpha NE version), you can even right click modules and view via hex too! If something similar happens in future, it may not be same, you’d really need to know what you’re doing to fix, or ask for help again. However, now that you have programmer, you can always reprogram BIOS #2 if you ever brick again in future, and you’ll be right back up and running again!
You’re welcome, happy to see your system is now saved!!
Hi @Lost_N_BIOS , sorry for hijacking this thread, but i am having a exactly same laptop with similar issue as well, the PC is not posting after enabling CSM in BIOS. i think i have extracted the bios using v1.34 and chip is detected as Winbond 25Q64FVSIG.
I am not sure what shall i do next to change the setting back. any guidance on this?

 .
. If not, it’s OK, that just means something in the NVRAM was bad or corrupted, we could possibly find and fix, but that would possibly take a lot of testing unless you know you only changed one setting for sure and knew the exact setting