I forgot to make clear, that this was an ironic advice.
Better go to “HACKPEDIA” or “MODPEDIA” its all there… we cant help you or any one else, besides what we know and what each individual user decides to share it or not, simple as the case you saw as solved and i know that that user doesnt like to share, perfectly understandable choice as he makes profit with it.
Do you realize that this is a user forum and their disposition/available time?
This is not a classroom and theres things that can be taught in a blink of an eye, neither is the forum responsible for tips and methods shared.
The forum shares users experiencies and new users will have to break through their own way.
Who told you that this all you describe is achievable with “mods” or even possible?
Do you realize that reverse engineering bios code is more that just a simple micro code or an EFI driver? Do you know why its a total risk for companies like AMI / Insyde to suffer an internal data and tools “leak” to public audience… compromising the global market of their clients?
Not all free tools, OEM bios code have the same results when we mess with it…
These free tools are mostly user own development… to achieve similiar functions but we cant expect that the results will be 100% substitute for official tools (Leaked )
My advice and this one is not ironic, is to get some more patience, keep digging and keep learning… as we all do.
1 Like
Thank you very much for taking the time to help me.
I have made some progress by following this guide from reddit
There were a few messages asking me how to do this 104 microcode trick. I shared it with one of the members and he successfully UV his 13700K. So I am sharing the procedures step by step.
- Go MSI website and download the similar version of B660M BIOS. If the board is available in DDR4 and DDR5 versions. Make sure you download the same version as your B760. For example, if you are using B760M Mortar DDR4, you should download B660M Mortar DDR4.
- The correct version is the one with the update log that states “- Ready for next-gen CPU.” dated Jul 2022.
- Download MMTool for editing BIOS.
- Click “load image”, select the B660 BIOS, choose “All files” as Files of type.
- Click on the tab “CPU patch”.
- You can see a line with microcode “03267104” and CPUID “0671”. Select that. In Patch file, type 104 and click “Extract a Patch Data” then Apply. A file named “104” should be available in your BIOS directory now.
- Download the latest version of BIOS for your B760. Repeat steps 4-5.
- You should see a line with microcode “0326710F” and CPUID “0671”. Select it and click “Delete a Patch Data”. Apply.
- DO NOT delete the line dated “2021/05/05”. Just delete the one mentioned above.
- Click “Browse”, select the 104 file that was extracted from step 6. Choose “Insert a Patch Data” and apply. You should now see a line with microcode “03267104” and CPUID “0671” is inserted.
- Click “save image”. The BIOS is good to go, you can flash it as usual.
- Enter BIOS, select “offset mode” for CPU voltage and set to “-0.005v”
- Download Throttlestop. Open FIVR, set both CPU voltage and cache voltage to your desired offset. My 13600KF can achieve -180 mv (run Benchmark at 1.12v) without any stability issue.
- Set up a scheduled task to run TS automatically when Windows starts up. Many websites provide guides on how to do it.
- If you are using Win 11, remember to turn off “memory isolation” in Windows security otherwise TS won’t work.
- Run Cinebench R23 to check stability and see if performance drops. Done.
Disclaimer: Flashing the BIOS incorrectly can lead to an unusable system. Flash the BIOS at your own risk.
Hi again,
I have one last question. Do you know if microcodes are the same between different board manufacturers? Say for example an MSI b660m ddr4 board and a Gigabyte b660m ddr4 board, both have microcode with the following similarities:
Microcode ID: 0026700E
Platform Type: 02
CPU ID: 0670
Update Revision: 0E
Date: 2022/02/20
Size: 00030800
Are these microcodes the same such as I could swap one in for the other and the bios would boot and work correctly? (This is just an example but the problem I’m facing is that I am supposed to track down a 0x104 microcode which for sure undervolts correctly, but my board earlier bios has a 0x105 microcode (which I think undervolts correctly but not totally sure) The 03267104 code is revision 04 and the 03267105 is revision 05 with a date of 4 months later. They are however the same size and same CPU ID. Can I use the 104 code from thee MSI board in place of my Gigabyte’s board 105 code? Intuition says probably, but obviously I would like to know if there is a way to compare the actual code that doesn’t involve me trying to manually read and compare thousands of hex characters. From on the the guides here, I remember that one concern is screwing up the “fit table” but in the program I am using right now (MMTool) I do not see a fit table.
Thank you.
Micro codes are universal and unique ID distributed from CPU manufacturers to OEMs.
They are implemented as they come and across several systems models but all the same across all motherboard manufacturers.
Revision 04 is the same to MSI or ASUS or ASROCK etc, no need to compare it.
These revisions are updated or not, when the motherboard manufacturer decides to update their bios product and release it public to the end users.
Thanks for the response! So I’m a bit confused, so Intel makes the code with constant revisions (they hand out 04 to mobo manufacturers, manufacturers release some boards with that code), then Intel does another revision (they hand out 05 to manufacturers, and manufacturers probably load up the new boards with 05 at that point), is that right?
So if I replace a microcode 03267105 (revision 05 - has about 20 extra lines of hex code compared to 04) with 03267104 (revision 04), do you think that would screw anything up?
I am using MMTool Apito - the process would be: open the bios file > click “CPU patch” to see individual microcodes > click on one I want to copy to the newer bios > click “extract patch data” > click apply
Then I open a new bios to the microcodes the same way > delete the 032671XX that is already there > “Insert a Patch Data” > choose “03267104” from old BIOS > apply > then flash the modded BIOS.
Thank you.
Usually the system can use all older mcode revisions of one CPU model, no hw harm will happen to the system/motherboard if it doesnt boot.
If it doesnt boot its related to CPU S-spec numbers and/or specific OEM board own code.
Just wanted to update I was sucessfully able to take the 104 microcode from MSI B660M Mortar Max DDR4 and inject it into a bios file, which I then installed through q flash plus on my Gigabyte B660M Gaming XAX DDR4.
I know I was able to remove IACEP/Undervolt Protection because when I started Throttlestop the whole computer crashed due to the -125mv offset in the configuration file that had previously not been accepted.
That said, I am only doing ram stability testing right now, and I have to finish that before moving onto properly testing the undervolting stuff. NOBODY SHOULD COPY THIS PROCESS UNTIL I POST RESULTS, which will hopefully be within the next week.
@Fernando @MeatWar
I’m basically done with my Z690 BIOS modding and I’m about to write a guide. Should I restrict the guide to freely available tools, or is it okay if I use AMI SCE, Intel CSME tools, etc?
1 Like
Try to do it as simple as unexperienced user has no really difficulties in understanding it.
The forum will appreciate your guide contribution and you can link the free user tools already available in the forum, additionally you may refere the actions needed to be performed from NDA (off public) tools, in order the achieve the final results of the guide,
all the best and thank you.
Hello.
I have an app that should open different setup screen.
App.zip
It is the UMAF tool which now modded to load menus as they shown in UEFIEditor. Maybe you’d be intetested to help me testing it? I’m very curious if “_EFI_IFR_REF3” opcode can open resources not published in database.
1 Like
How does it work? I don’t know about UMAF.
UMAF is a set of programs which can chainload from a flash drive. If secure boot turned off, an old-style BIOS UI should appear presenting published interfaces (menu) ONLY. But I have edited it in a way to display my preconfigured layout. In order to try opening any desired menu.
It did not load the last image due to a typo. My mistake.
I corrected the config file:
App~2.zip
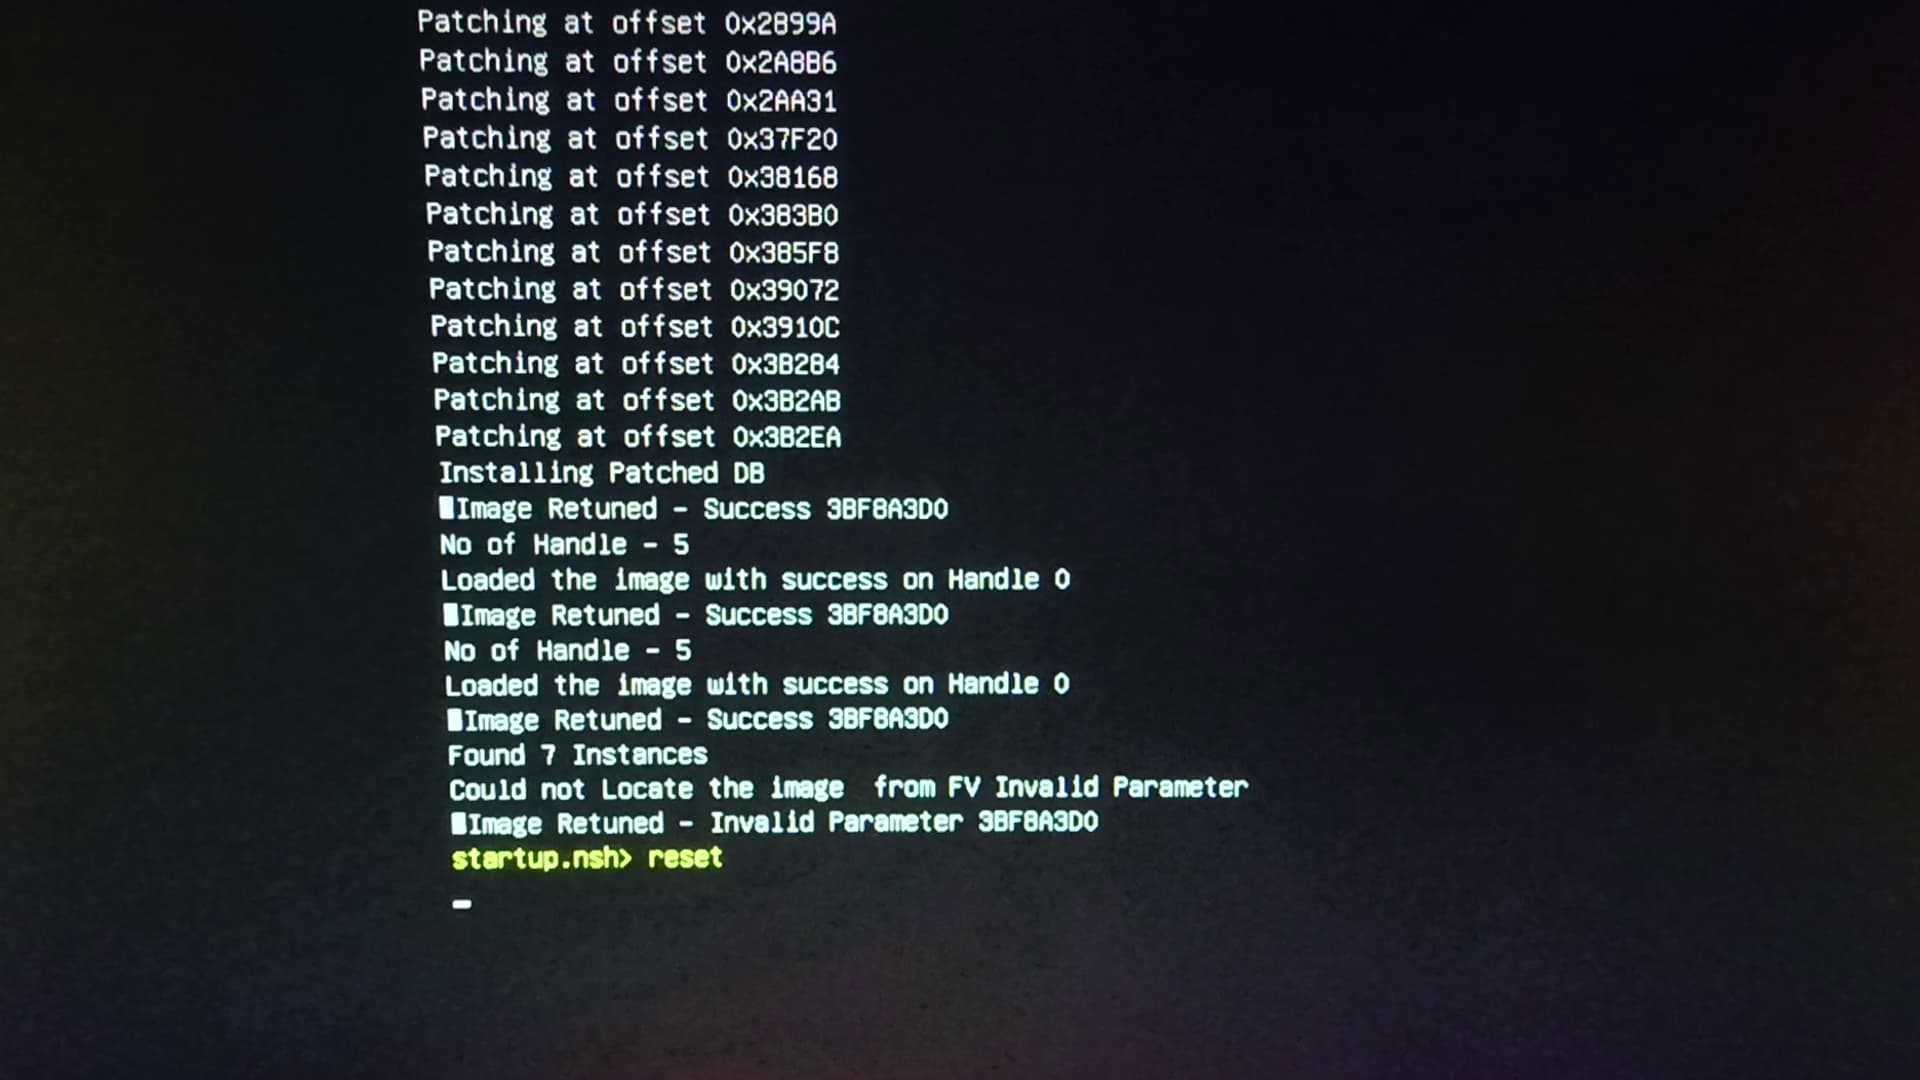
@Sweet_Kitten this time, it got stuck at this screen. I let it load for about 5 minutes but nothing else happened.
Not gonna waste your time. This is the last one to try.
App~3.zip
Removed the part I’m uncertain of, the table that stands for other firmware manufacturer. Needed to get to know if the app hangs cause I made it too bloaty.
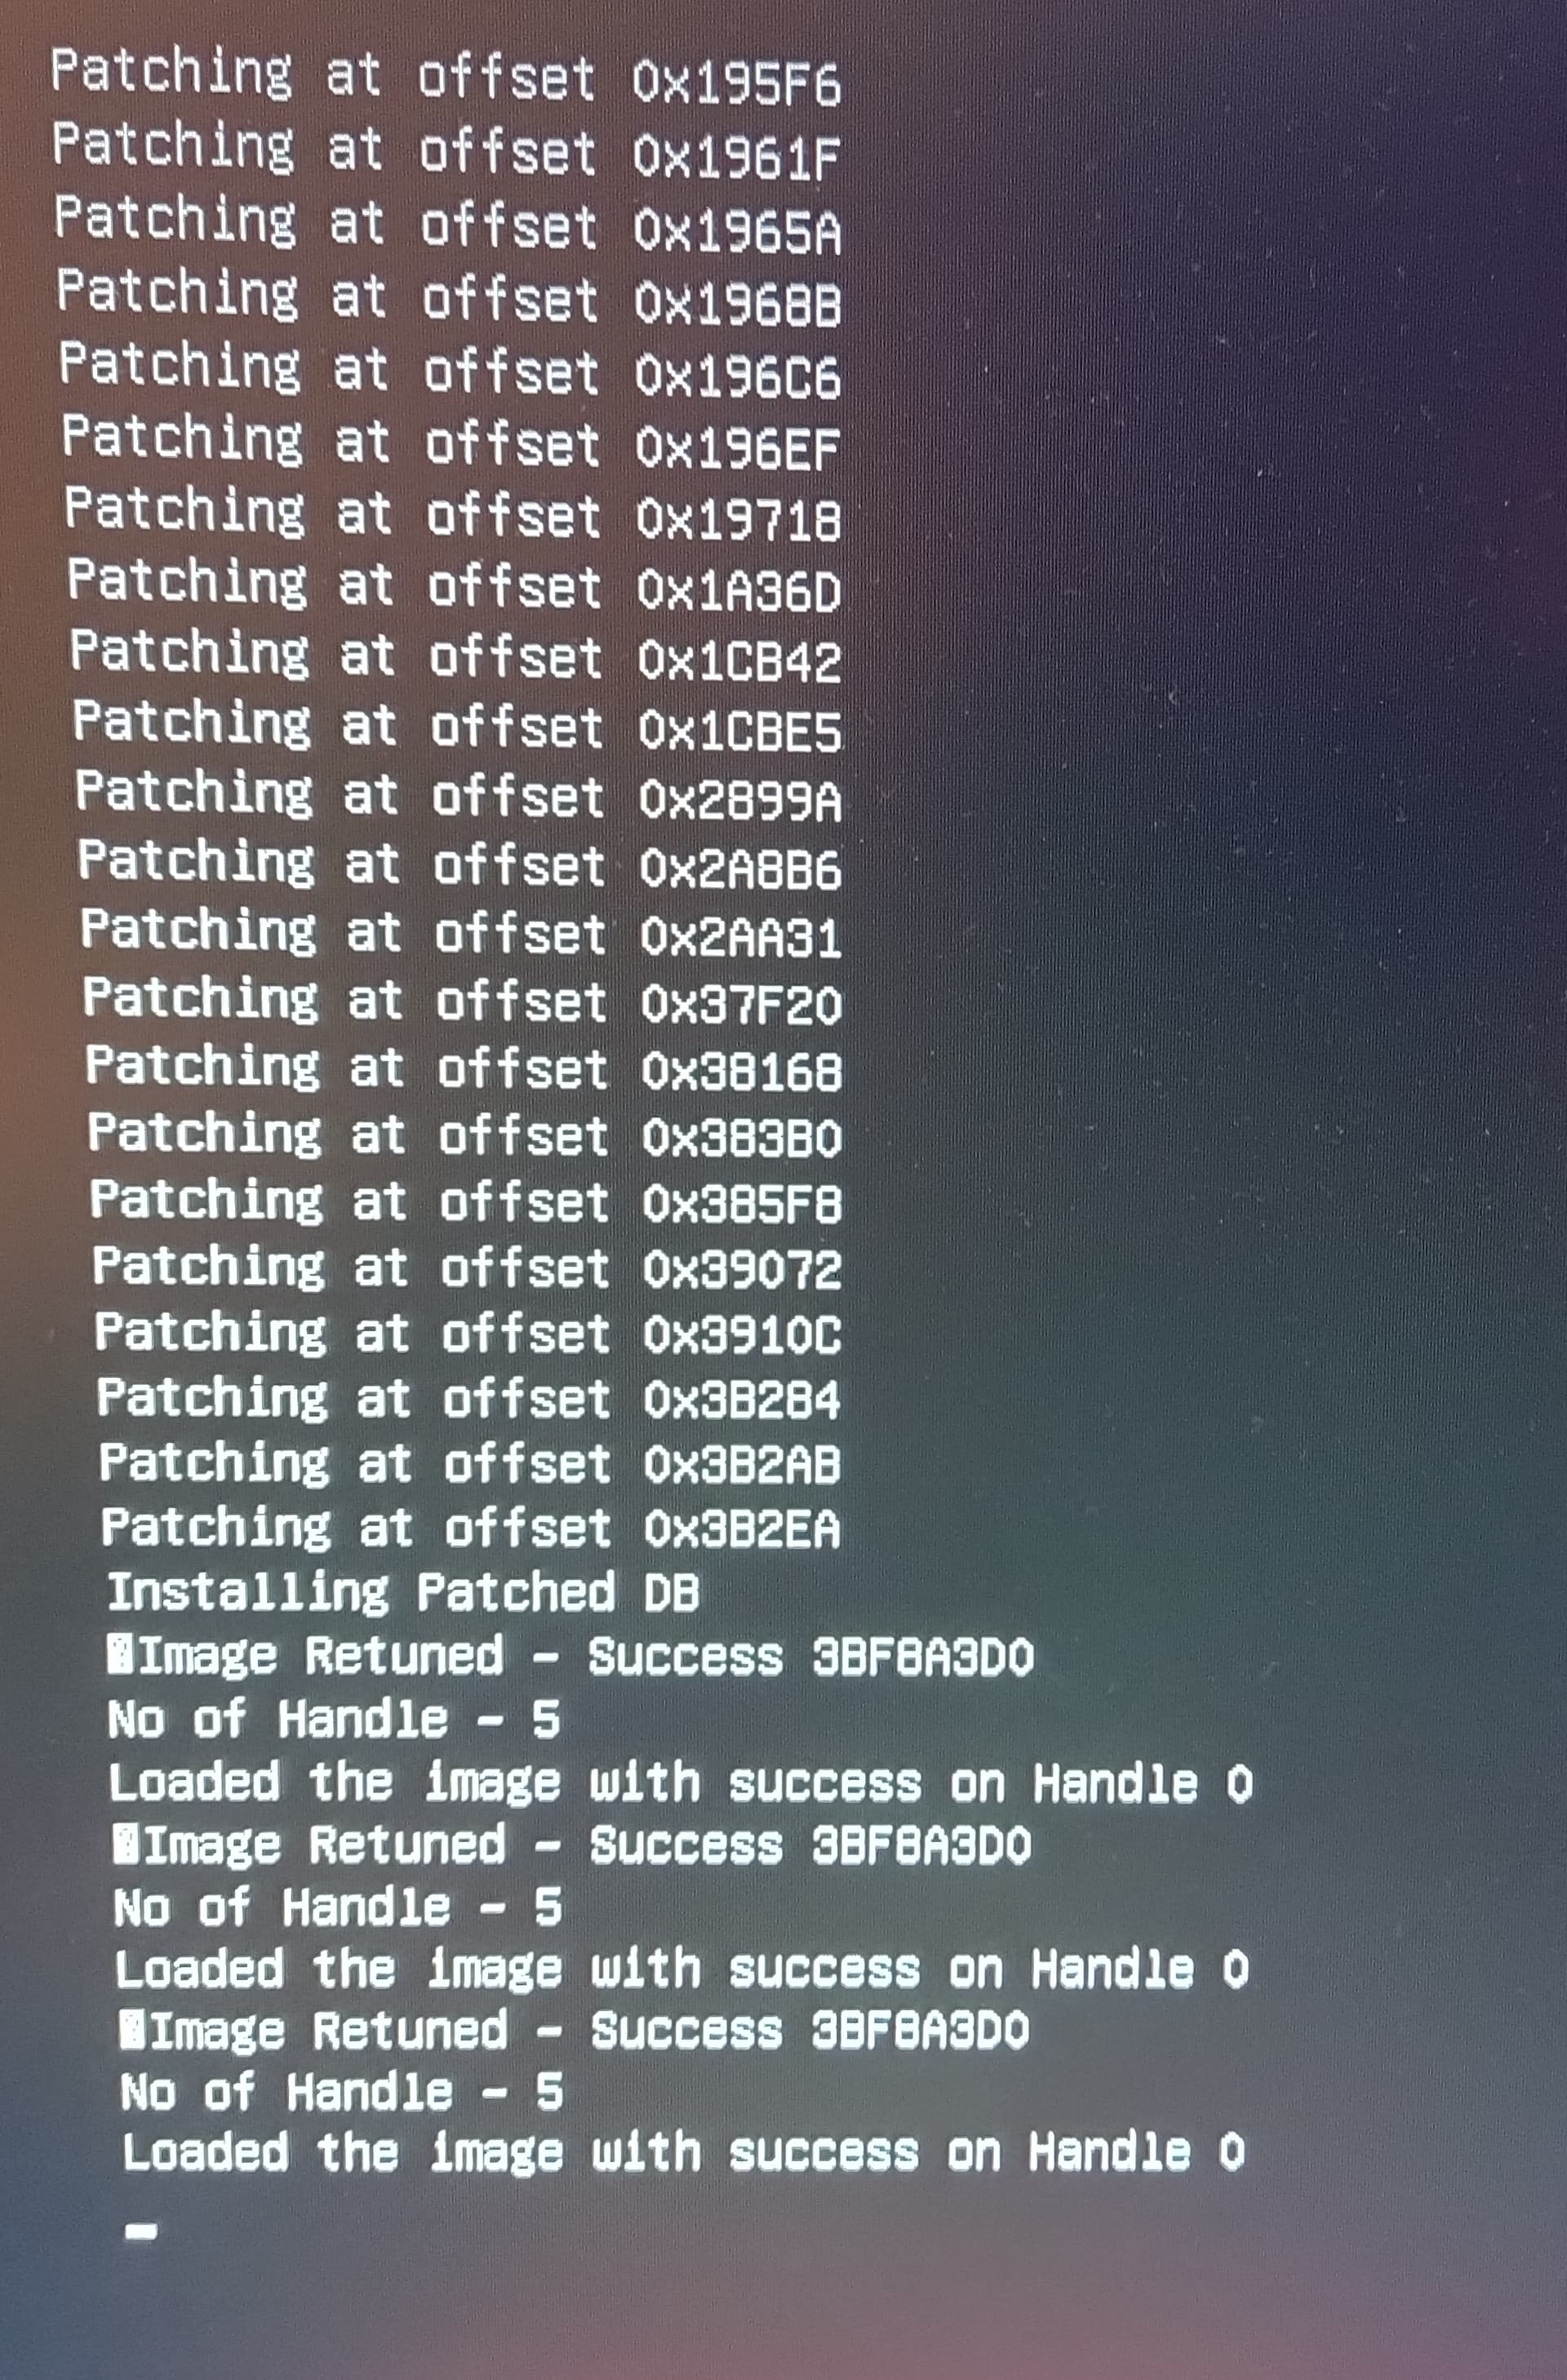
This time (version 3), it is the same as with version 2.
No problem.
I also tried Smokeless_UMAF and it did show me the original AMI menu although with graphical glitches. I did not test, if it saves any settings and hidden settings were still hidden. One would need to try firstly: Does it save anything (because, the readme suggests it won’t)
“Setup”, this is the regular bios, the edit here might not be saved
Secondly, one would need to unlock settings first with AMIBCP or UEFI Editor.
Screenshot is from original UMAF tool

I must have broken something important in it. Will try to do correct edits, but very lately.
The purpose of creating modded version of the app was precisely to avoid this.
Thanks for your response.
1 Like
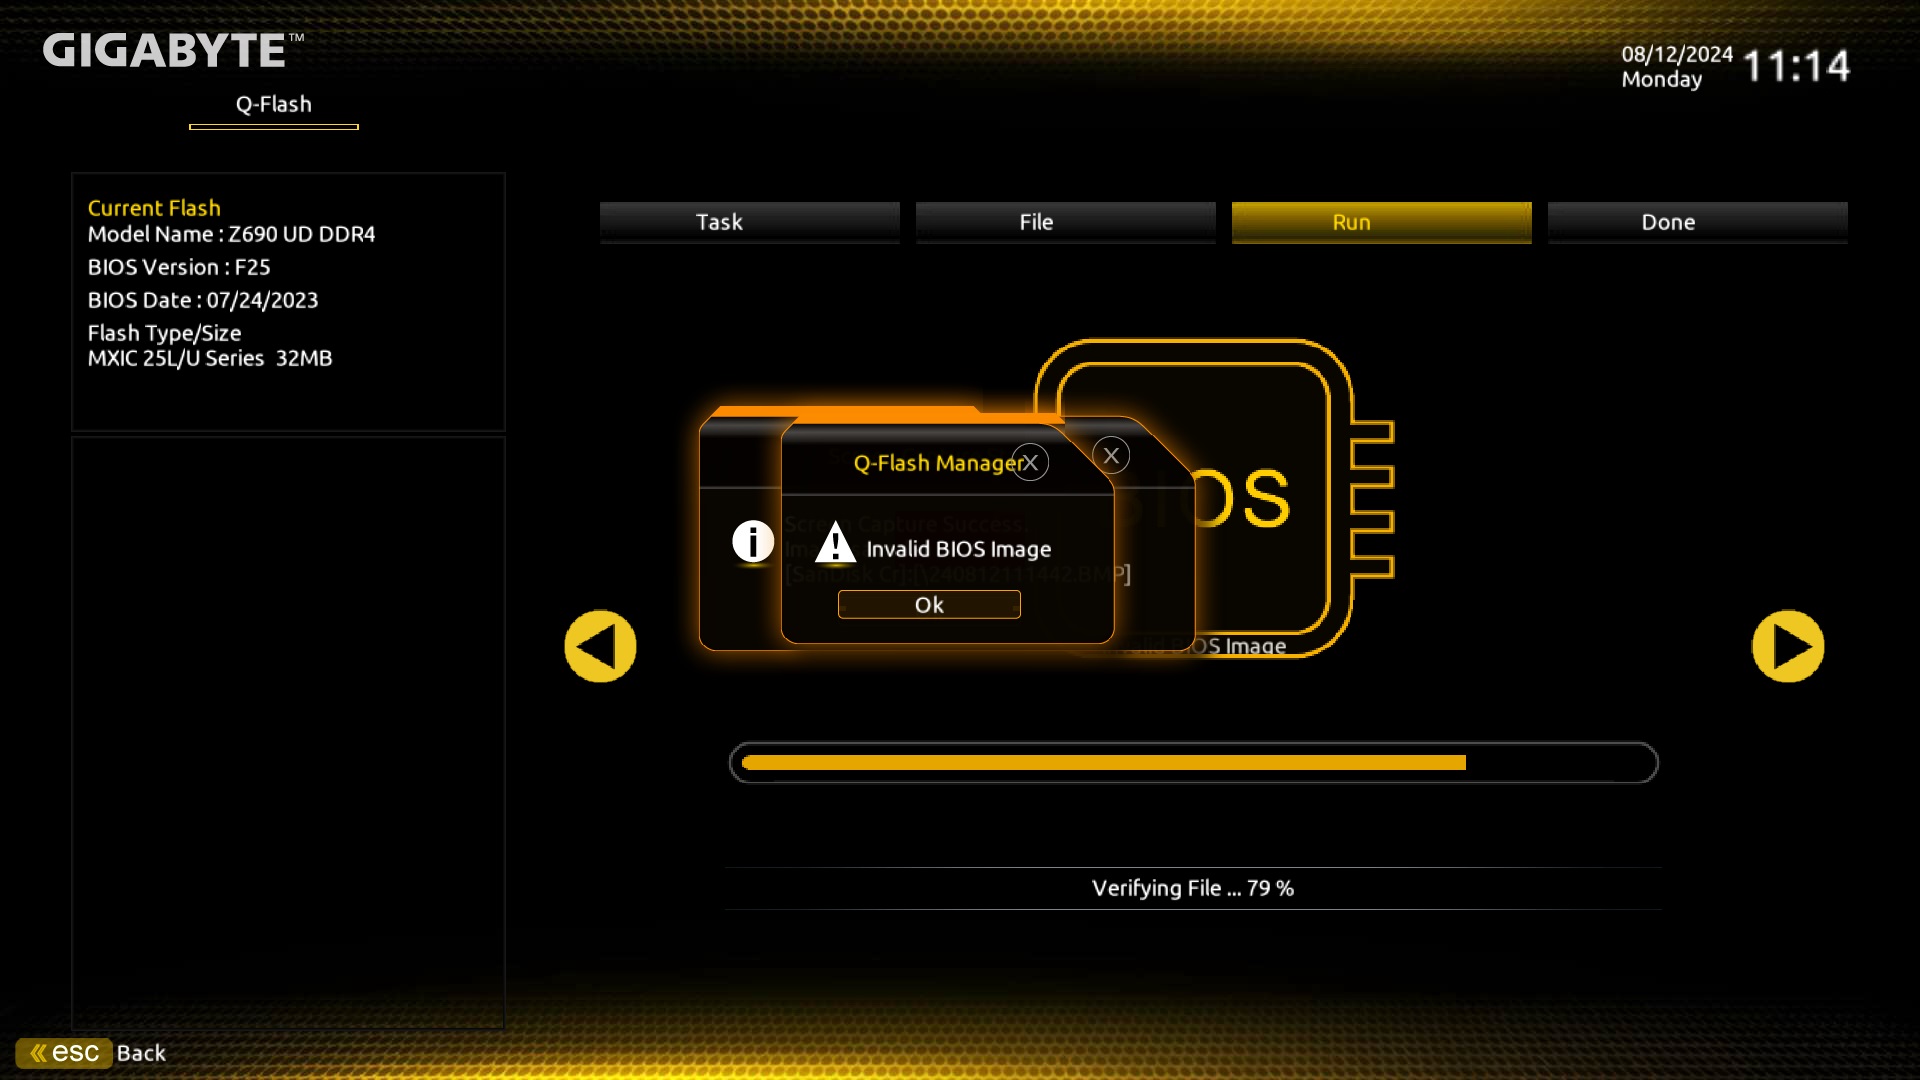
@Fernando Hi, do you know how to add an option rom(for PCI VIA6421 RAID) in z690 UD DDR4 bios?
I tried mmtool aptio 5, in the “Option ROM” tab I tried to insert the rom file but when attempting to update the bios always at 79% it says “Invalid Bios Image”
I followed this guide [Guide] Manual AMI UEFI BIOS Modding - #454 by LOLWTF
The new bios image opens without problems in mmtool and uefitool(I tried to resave the image with uefitool, maybe it would fix the image, but it did not)
Later for testing, I only removed one of the option rom and when attempting to flash this new image it stoped at 79% and said “Invalid Bios Image”
Later I tried forcing the ‘invalid’ bios image with with gigabyte recovery mode, I think it flashed(I used the same bios version but modded so I don’t exactly know) but I did not see anything new no new screen on boot, and the sata ssd connected to the via pci card is not available in boot menu.