[Help Needed] Update Asus Prime A320M-K for Ryzen 5 4600G unsuccessful

Hello, I need help updating brand new, Asus A320M-K Prime BIOS to be able to use a new Ryzen 5 4600G, I do not have an older generation compatible CPU to boot and update from uefi EZ Flash utility.

According to Asus CPU support for this board, a Ryzen 5 4600G is supported or validated since BIOS Ver. 5862 so I downloaded latest version 6402…

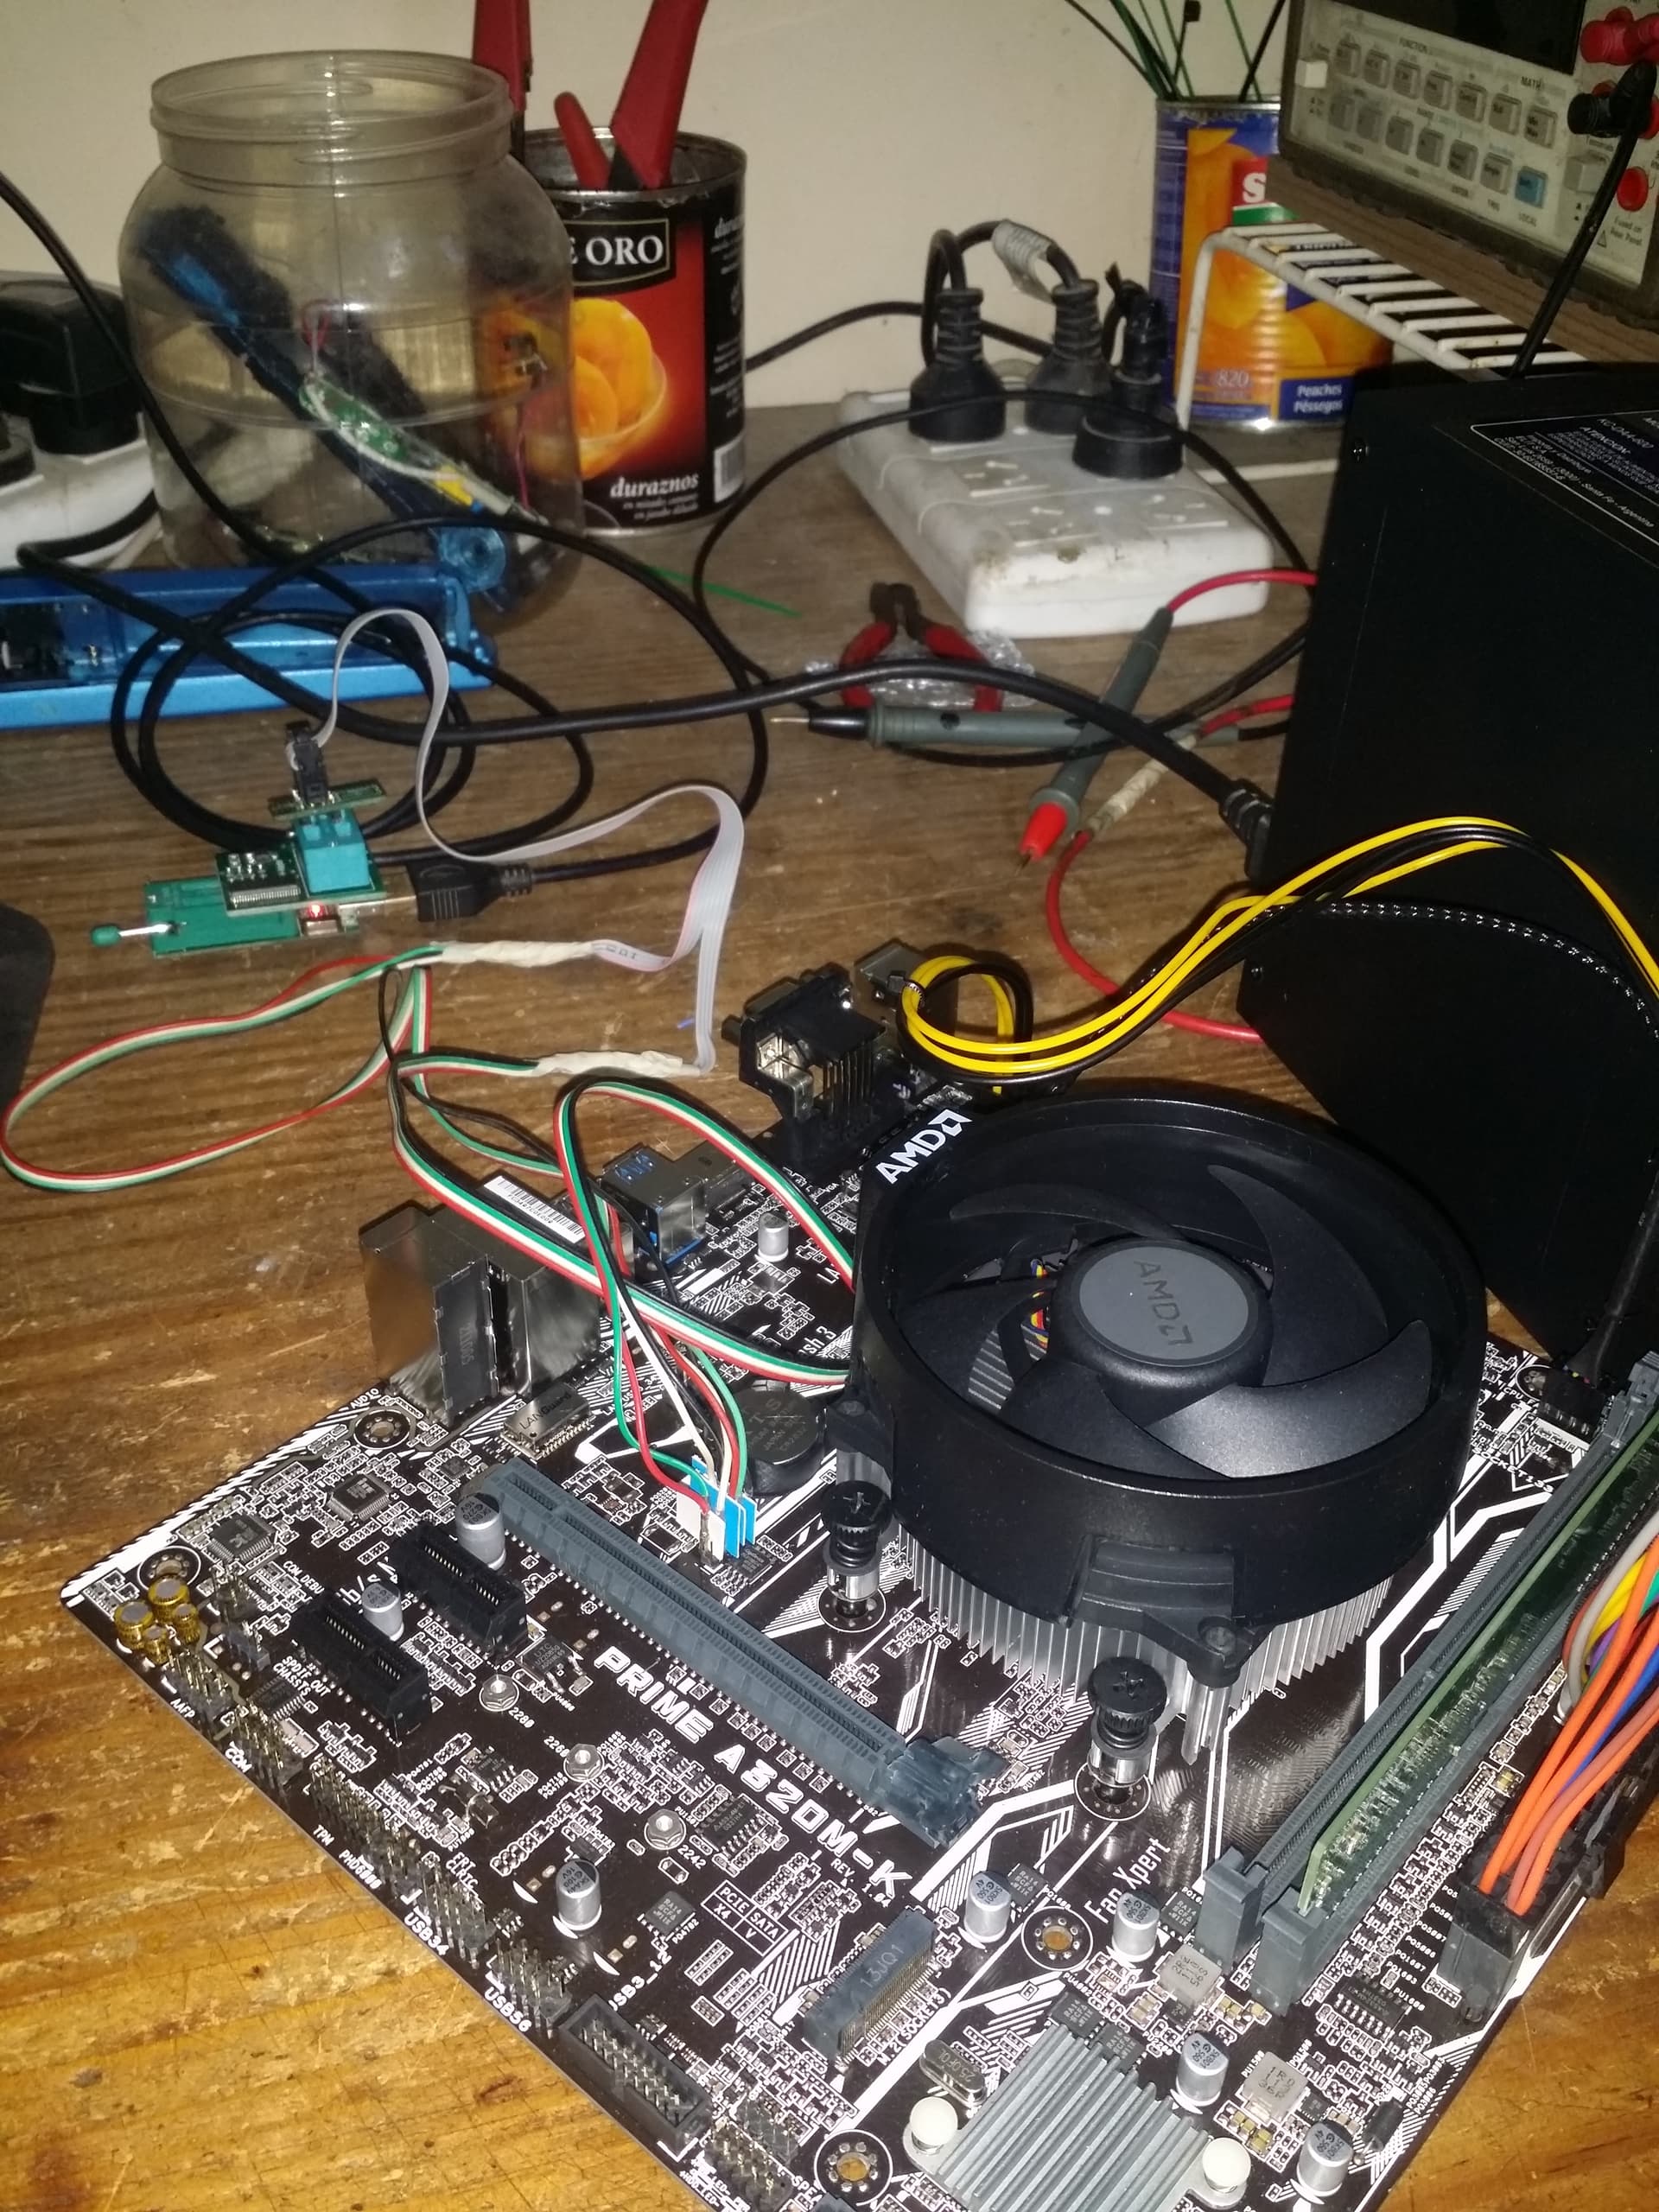
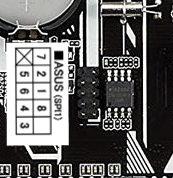
I connected my CH341A (Green) programmer with 1.8V adapter to the board.

I identified pins as follows…

Asus A320M-K Prime _ JSPI1_Pinout

Then I fired up NeoProgrammer V2.2.0.10, identified chip as Gigadevice GD25LQ128C [1.8V] and read data successfully and saved backup…

OK so then I opened the updated BIOS CAP with UEFITool NE Alpha 59 , then - right-click onto the listed “AMI Aptio capsule”, choose the option “Extract body…” and save it as *.ROM file. (File size 16,384 KB)

I then erased and verified blank chip with NeoProgrammer successfuly, then opened new *.ROM file and flashed, Successfully… I removed programmer cables, installed CPU and powered up… :frowning_face:
It didn´t POST, boot or display anything (Fans running)

I also have tried with no luck, manually editing *.CAP file with HxD and removing first 2048 bytes and saving as *.ROM, I also tried Asus CAP to Bin Tool to create *.ROM file, I tried flashing with CH341 programmer original soft, with AsProgrammer I even flashed with Flashrom for windows, in all cases no errors where displayed… yet Mother Board refuses to POST…

SOOO! What am I doing wrong!
what is the proper way to do it…
Any help would be greatly appreciated…

Link to latest Asus A320M-K BIOS Download

P.S please excuse my English, it is not my native tongue…

Might be other things than firmware, too.

Please read out the current content of the SPI chip and post a link to it or attach it here.

any ideas??

I dont know if this help, but i used to face the same issue but kn a Z68 board, just refuses to boot up even after using the programmer.

TL;DR: Take the cmos battery off the motherboard, power on the psu so mobo receive power but dont turn on the mobo (dont short the power on on the mobo pins), flash it, verify chip buffer the same and DONT pull the pins on SPI pins and dont disconnect the controller yet, clr_cmos short it, power off psu, put cmos battery back and take unshort the clr cmos, power on psu, and try to power on the mobo to see if it does boots. if it just power on and off, disconnect the ch341 programmer from pc/laptop and pull the cable from the pins.

What i sorta did is to KNOW exactly which pin is which on the SPI pins since its different, know the bios chip layout on the datasheet, and then at the section of HOLD i shorted/mix it with VCC, and then the WP section i mix it with GND (i did this on the CH341B programmer, the reason is just because i wanted the WP to be disabled by shorting/making it 1 slot with GND on the programmer, while the HOLD part usually just put it on HOLD pin or VCC pin since theyre the same), maybe not necessary on yours

after that i take off the battery, power on the psu so motherboard would receive power (dont turn it on), then erase, blank check, program, verify, and after all done dont remove the pins to programmer after verifying that chip and buffer are the same after flashed it, then short the cmos (or clr_cmos) even if no battery is there, power off the psu, put the battery back, and power on the psu and try to boot.

2 Likes

I resolved the problem by actually booting my flashed image, with older compatible CPU I managed to borrow and without doing anything powered off installed new ryzen 5 and it booted normally… strange!

Thank you very much, my pc finally boots

what did you do :rofl:?