I’ve joined this forum in hope that I might get some support/advice on flashing an upgraded bios to a Dell Inspiron 545 tower.
The system in question I believe has a damaged or corrupt bios in that every few times its booted it cannot find the boot drive. I have to reboot to F2 and re-load defaults and it will then boot again until the next time.
I’ve replaced the bios battery and there are no other signs of motherboard problems like blown or leaking capacitors.
The installed bios version is A05 and the latest on the Dell website is A12. I’ve tried flashing the A12 using a Rufus prepared bootable USB stick but I get an error “Insufficient Memory”. If I try and flash from the windows environment the installer says “No Award or Phoenix Bios installed”.
I’ve tracked down an older A06 bios for this motherboard but have exactly the same issues and error messages.
I’ve read that you can use the AWDFLASH (Award Bios flasher Utility) to install the bios rather than the Dells own version. However I am at a loss how to extract the required .bin file from the Dell executable. Most instructions show how to create a .rom file using /writeromfile in command prompt but that’s not what AWDFLASH apparently needs as it uses .bin I believe?
One other question. Can you safely use a later version of AWDFLASH e.g. v8.99 than the v8.8 provided by Dell or are the flashers bios specific i.e. I must use v8.8 with the Dell bios
Any advice on re flashing this system would be appreciated.
Many thanks
Fozzie
@FozzieBear - What is the BIOS chip ID, so I can maybe tell you best software/version to use to dump the current chips contents, to then send to me to put system details back into a new BIOS for you to program in.
Does the Time/Date remain correct always? If not, it’s possible sometimes I’ve seen CMOS Battery socket loose, so even with new battery sometimes it’s OK and then next reboot all erased again due to battery connection lost.
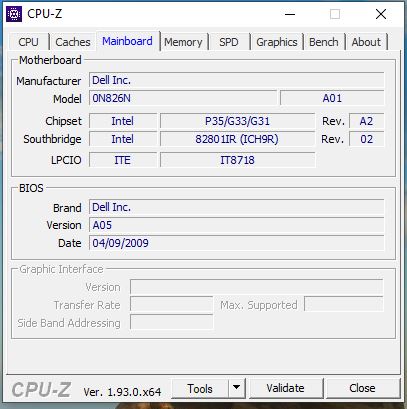
Show me image of CPU-z with motherboard tab open. Also, please link me to the BIOS download page. And, if you can see it on the system, use the asset tag # to look up things to be sure this is the correct BIOS page for that model
If AWDFlash is used in the original BIOS flash procedure, then you should be able to use any AWDFlash, however, I am only saying that due to you said it was used, I have not checked BIOS yet.
Also, you may need to use certain /flags or options etc, so may be best to wait until I can reply back after checking your BIOS
Do you have flash programmer, like CH341A or other?
Finally, another thought about the Boot Drive. Is that the only thing lost when this happens, time and or settings all still same? If yes, this may be due to dead/dying drive, or bad cable/connection too.
I would test with another new cable, and then also test with a spare HDD/SSD for a few days if you can, to see if the HDD is the issue
@Lost_N_BIOS
Firstly many thanks for answering my post for help. I have answered your specific questions in order requested below
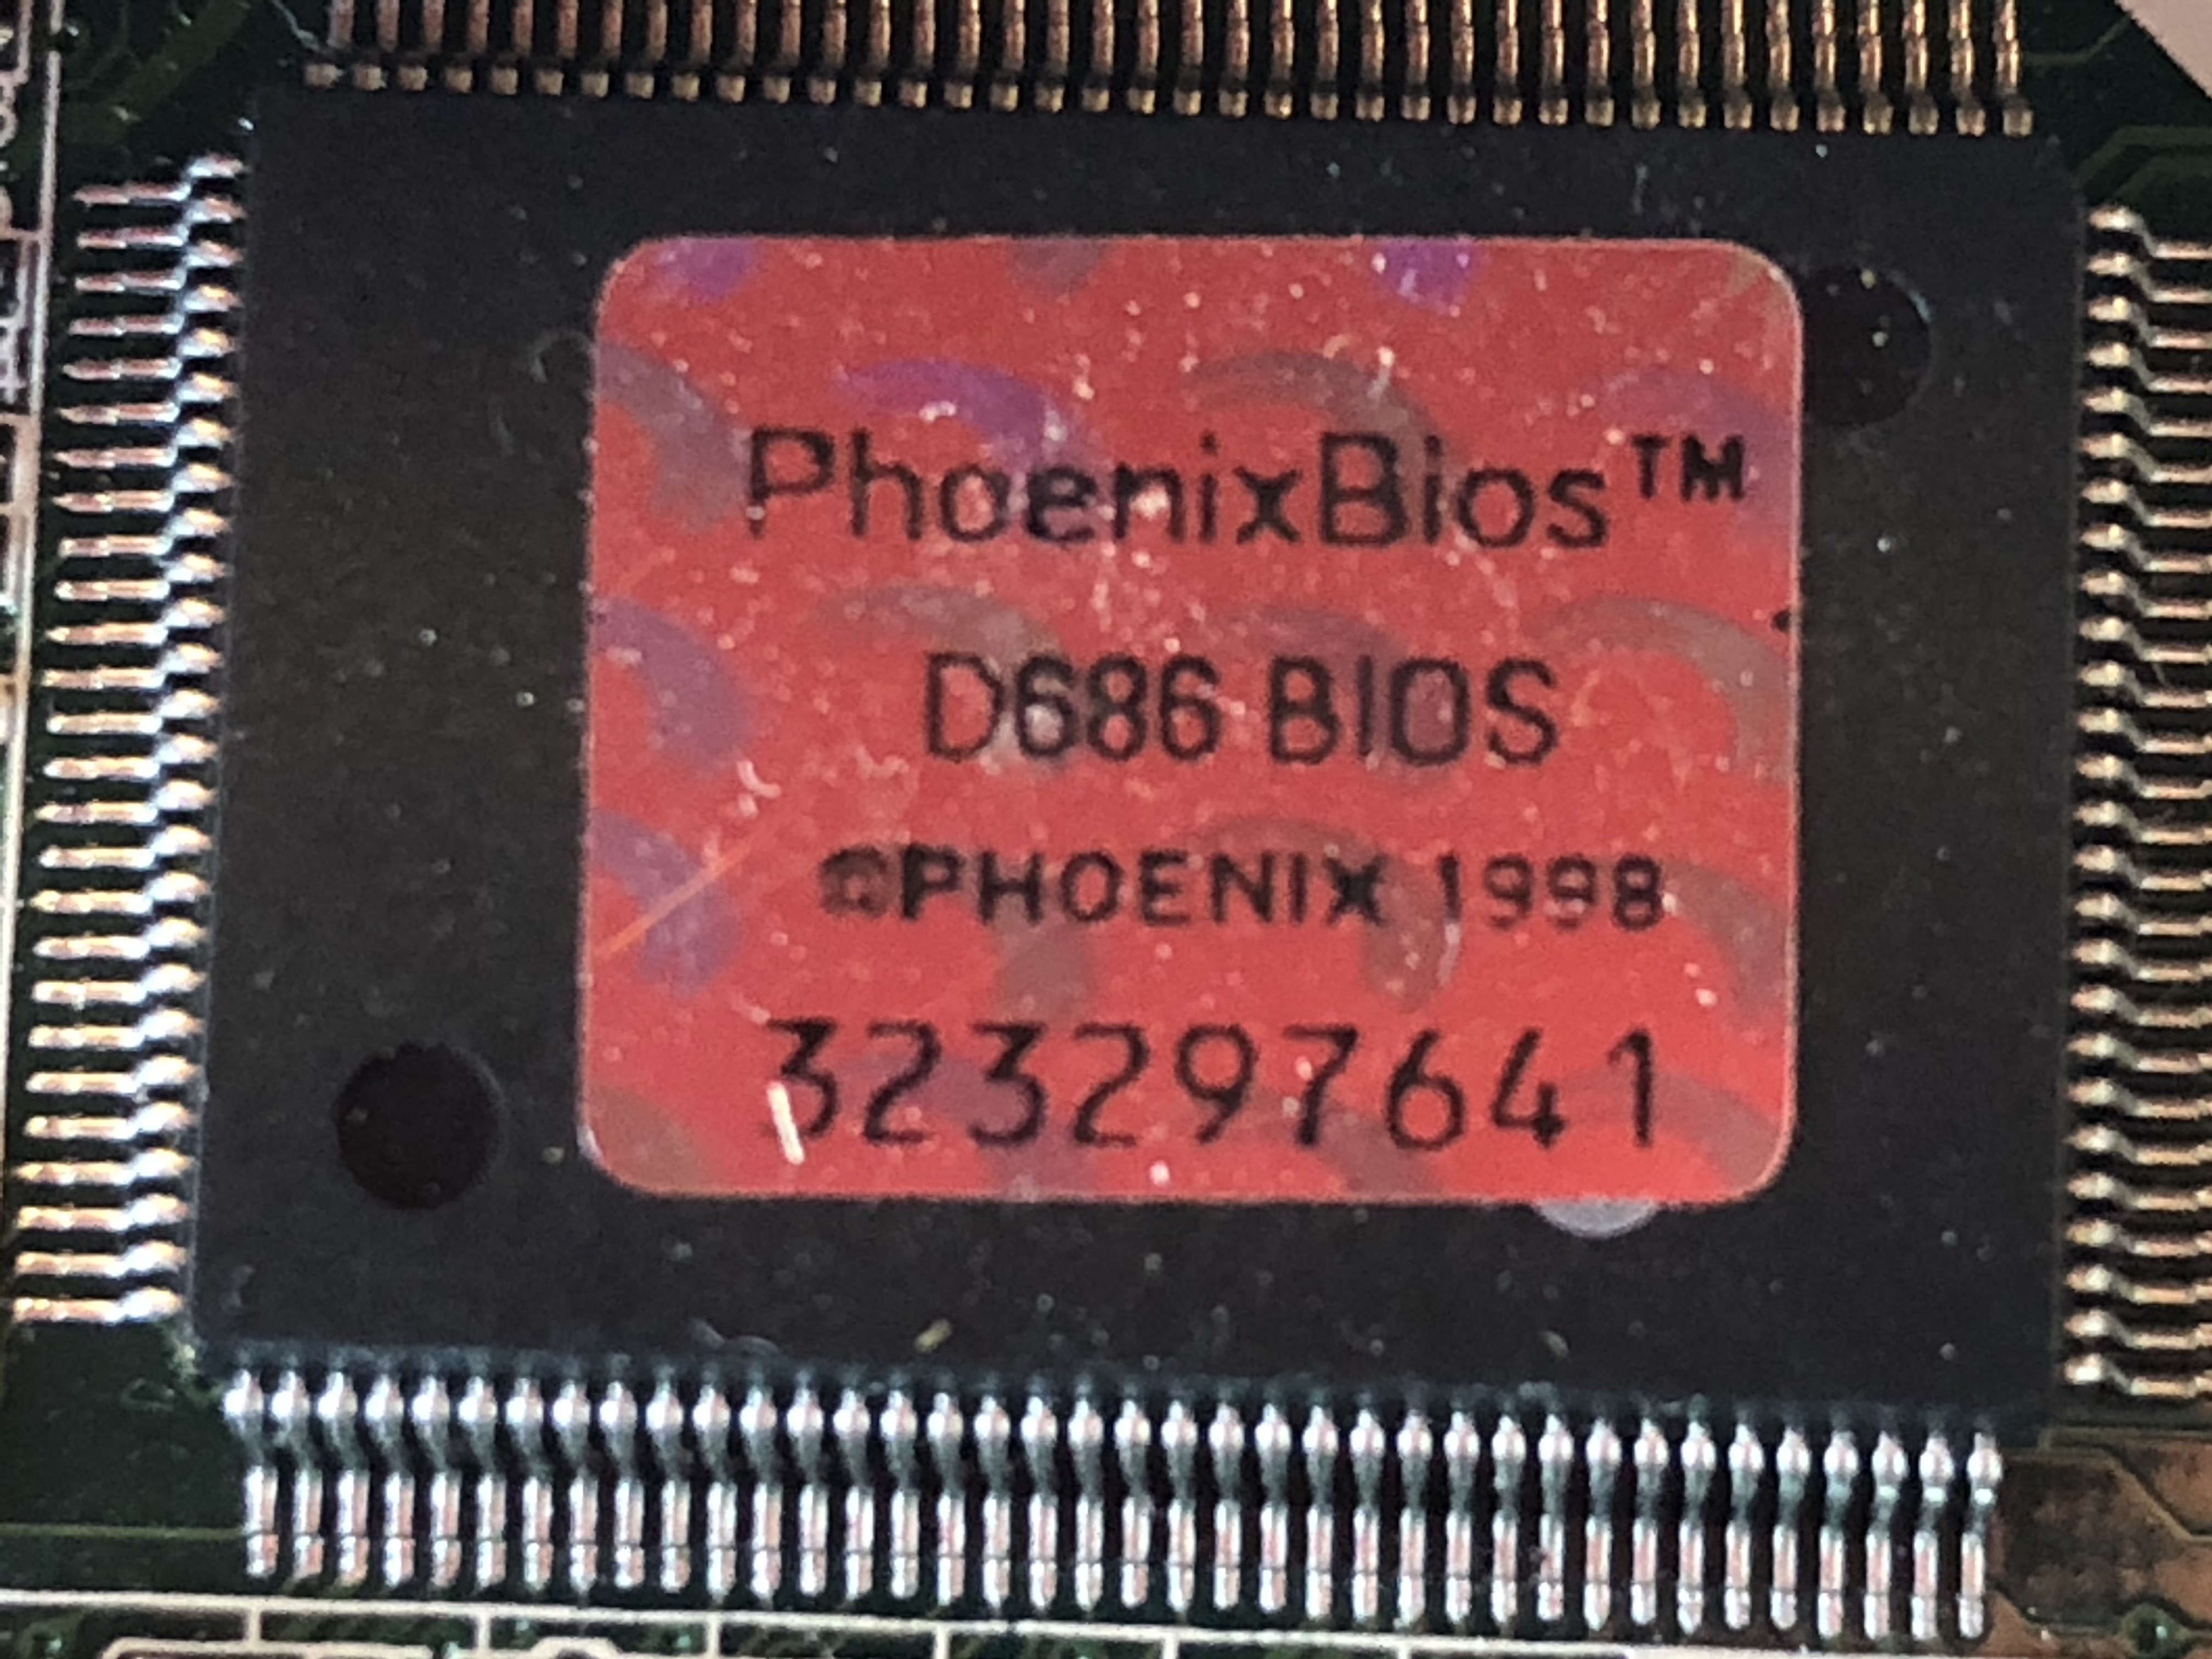
Please see attached photo of chip
Yes, date and time are not affected. I have checked battery holder and cell is firmly held by clips and contacts
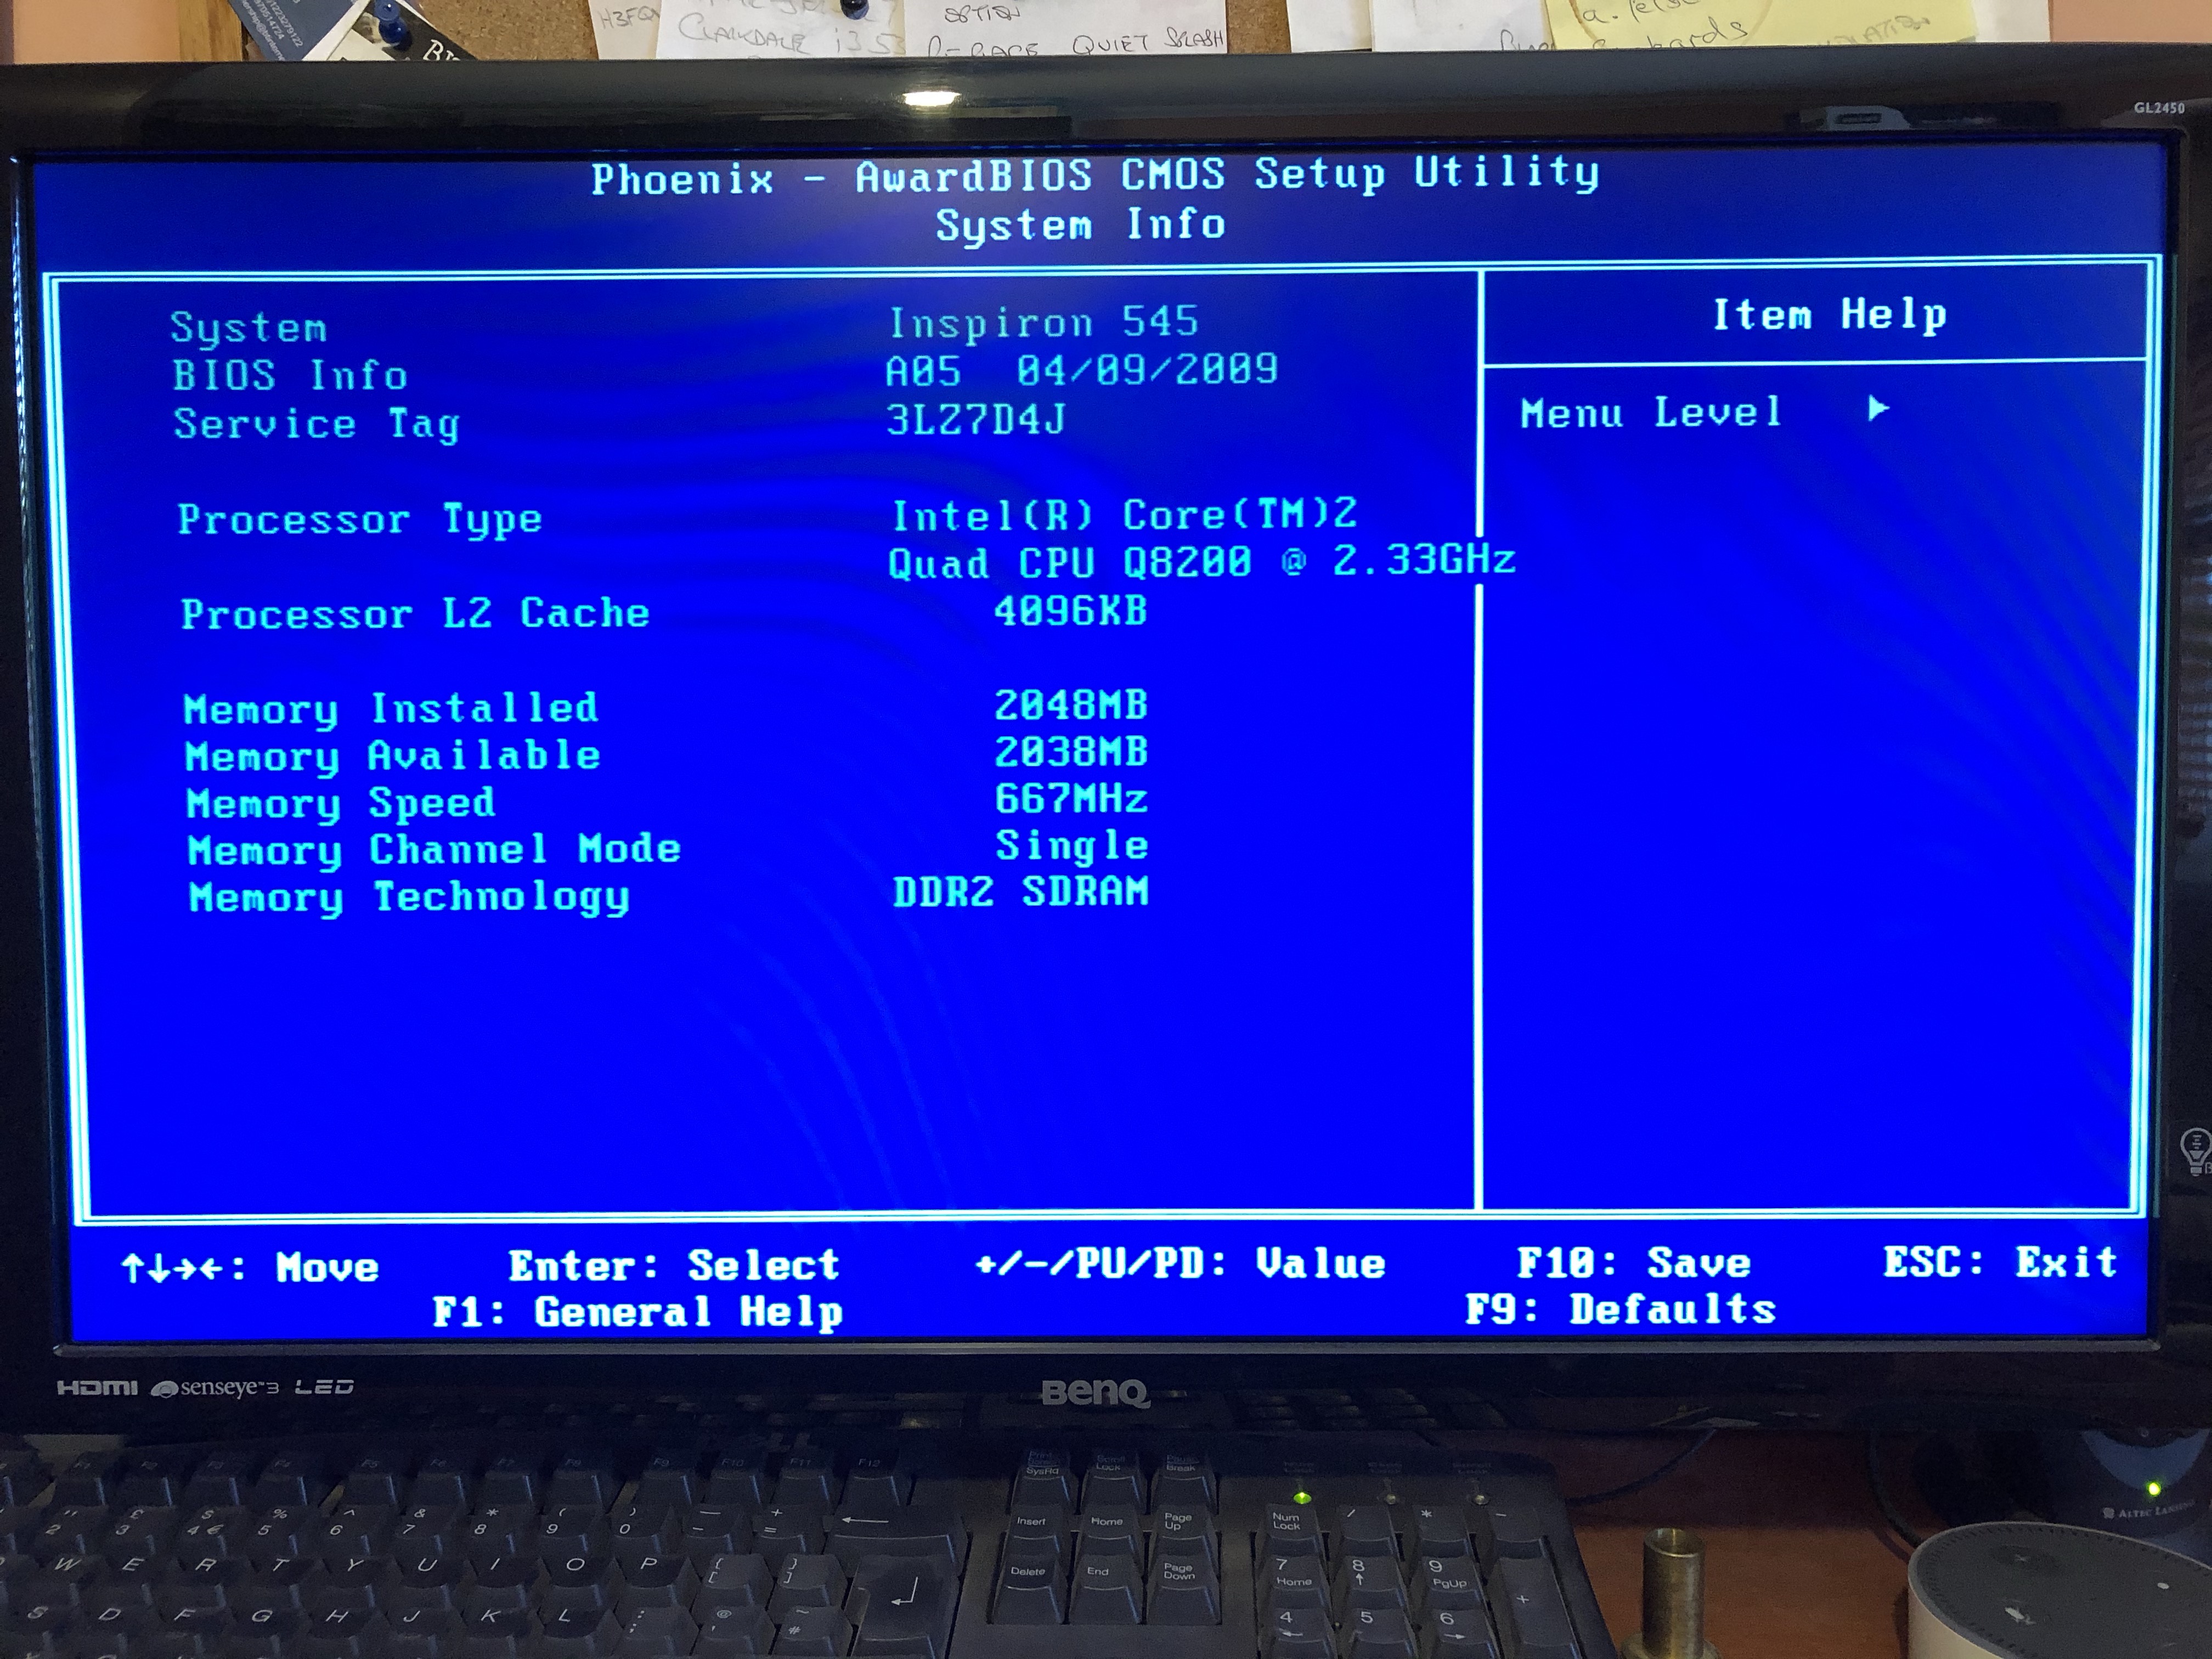
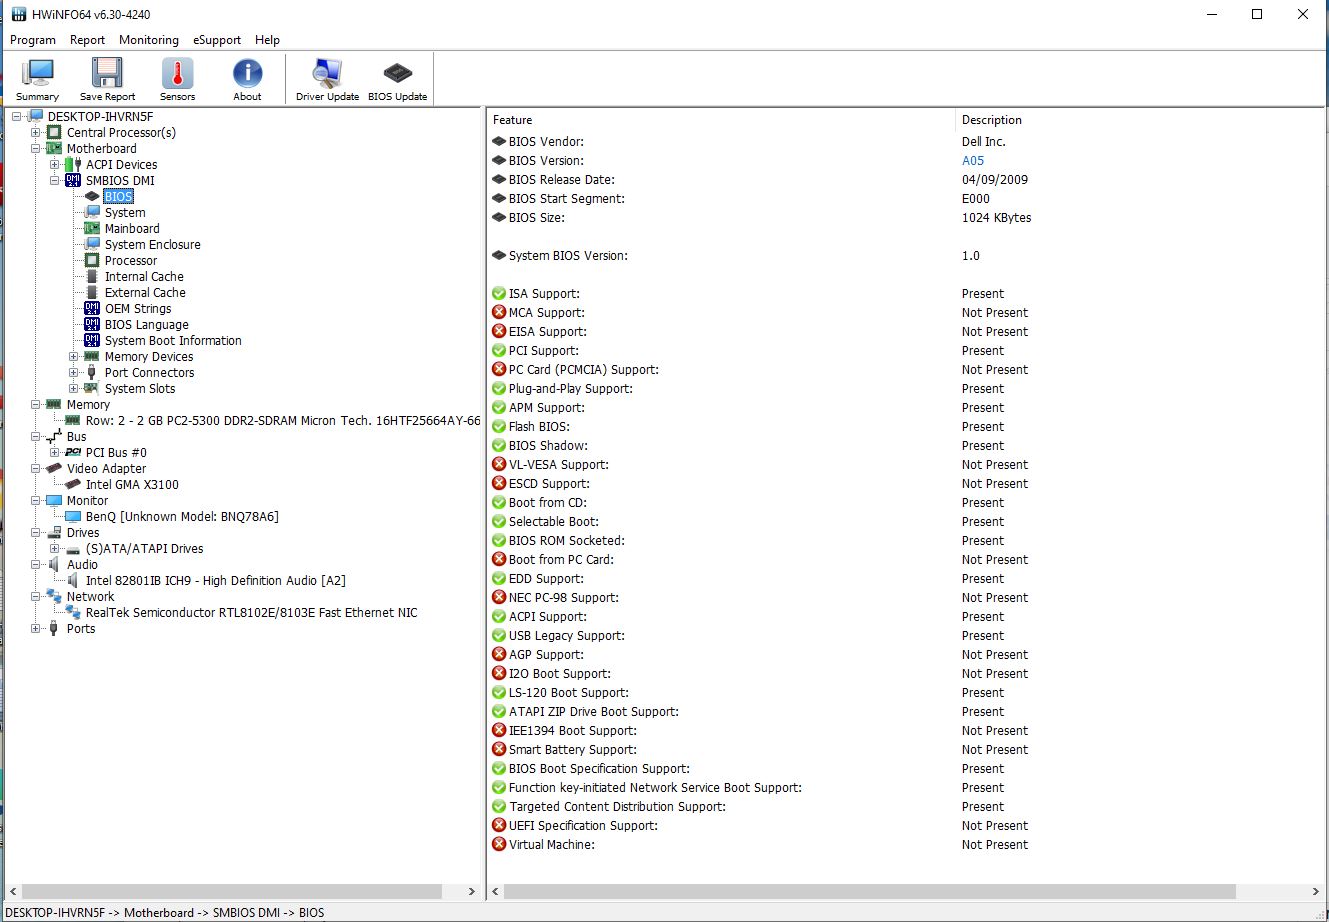
Please see Image attached
Please see link here https://www.dell.com/support/home/en-uk/product-support/servicetag/0-QzJBZGxwTFh4aGtyanh4eEcvYUJQdz090/drivers This page is specific to system using the Dell Tag number
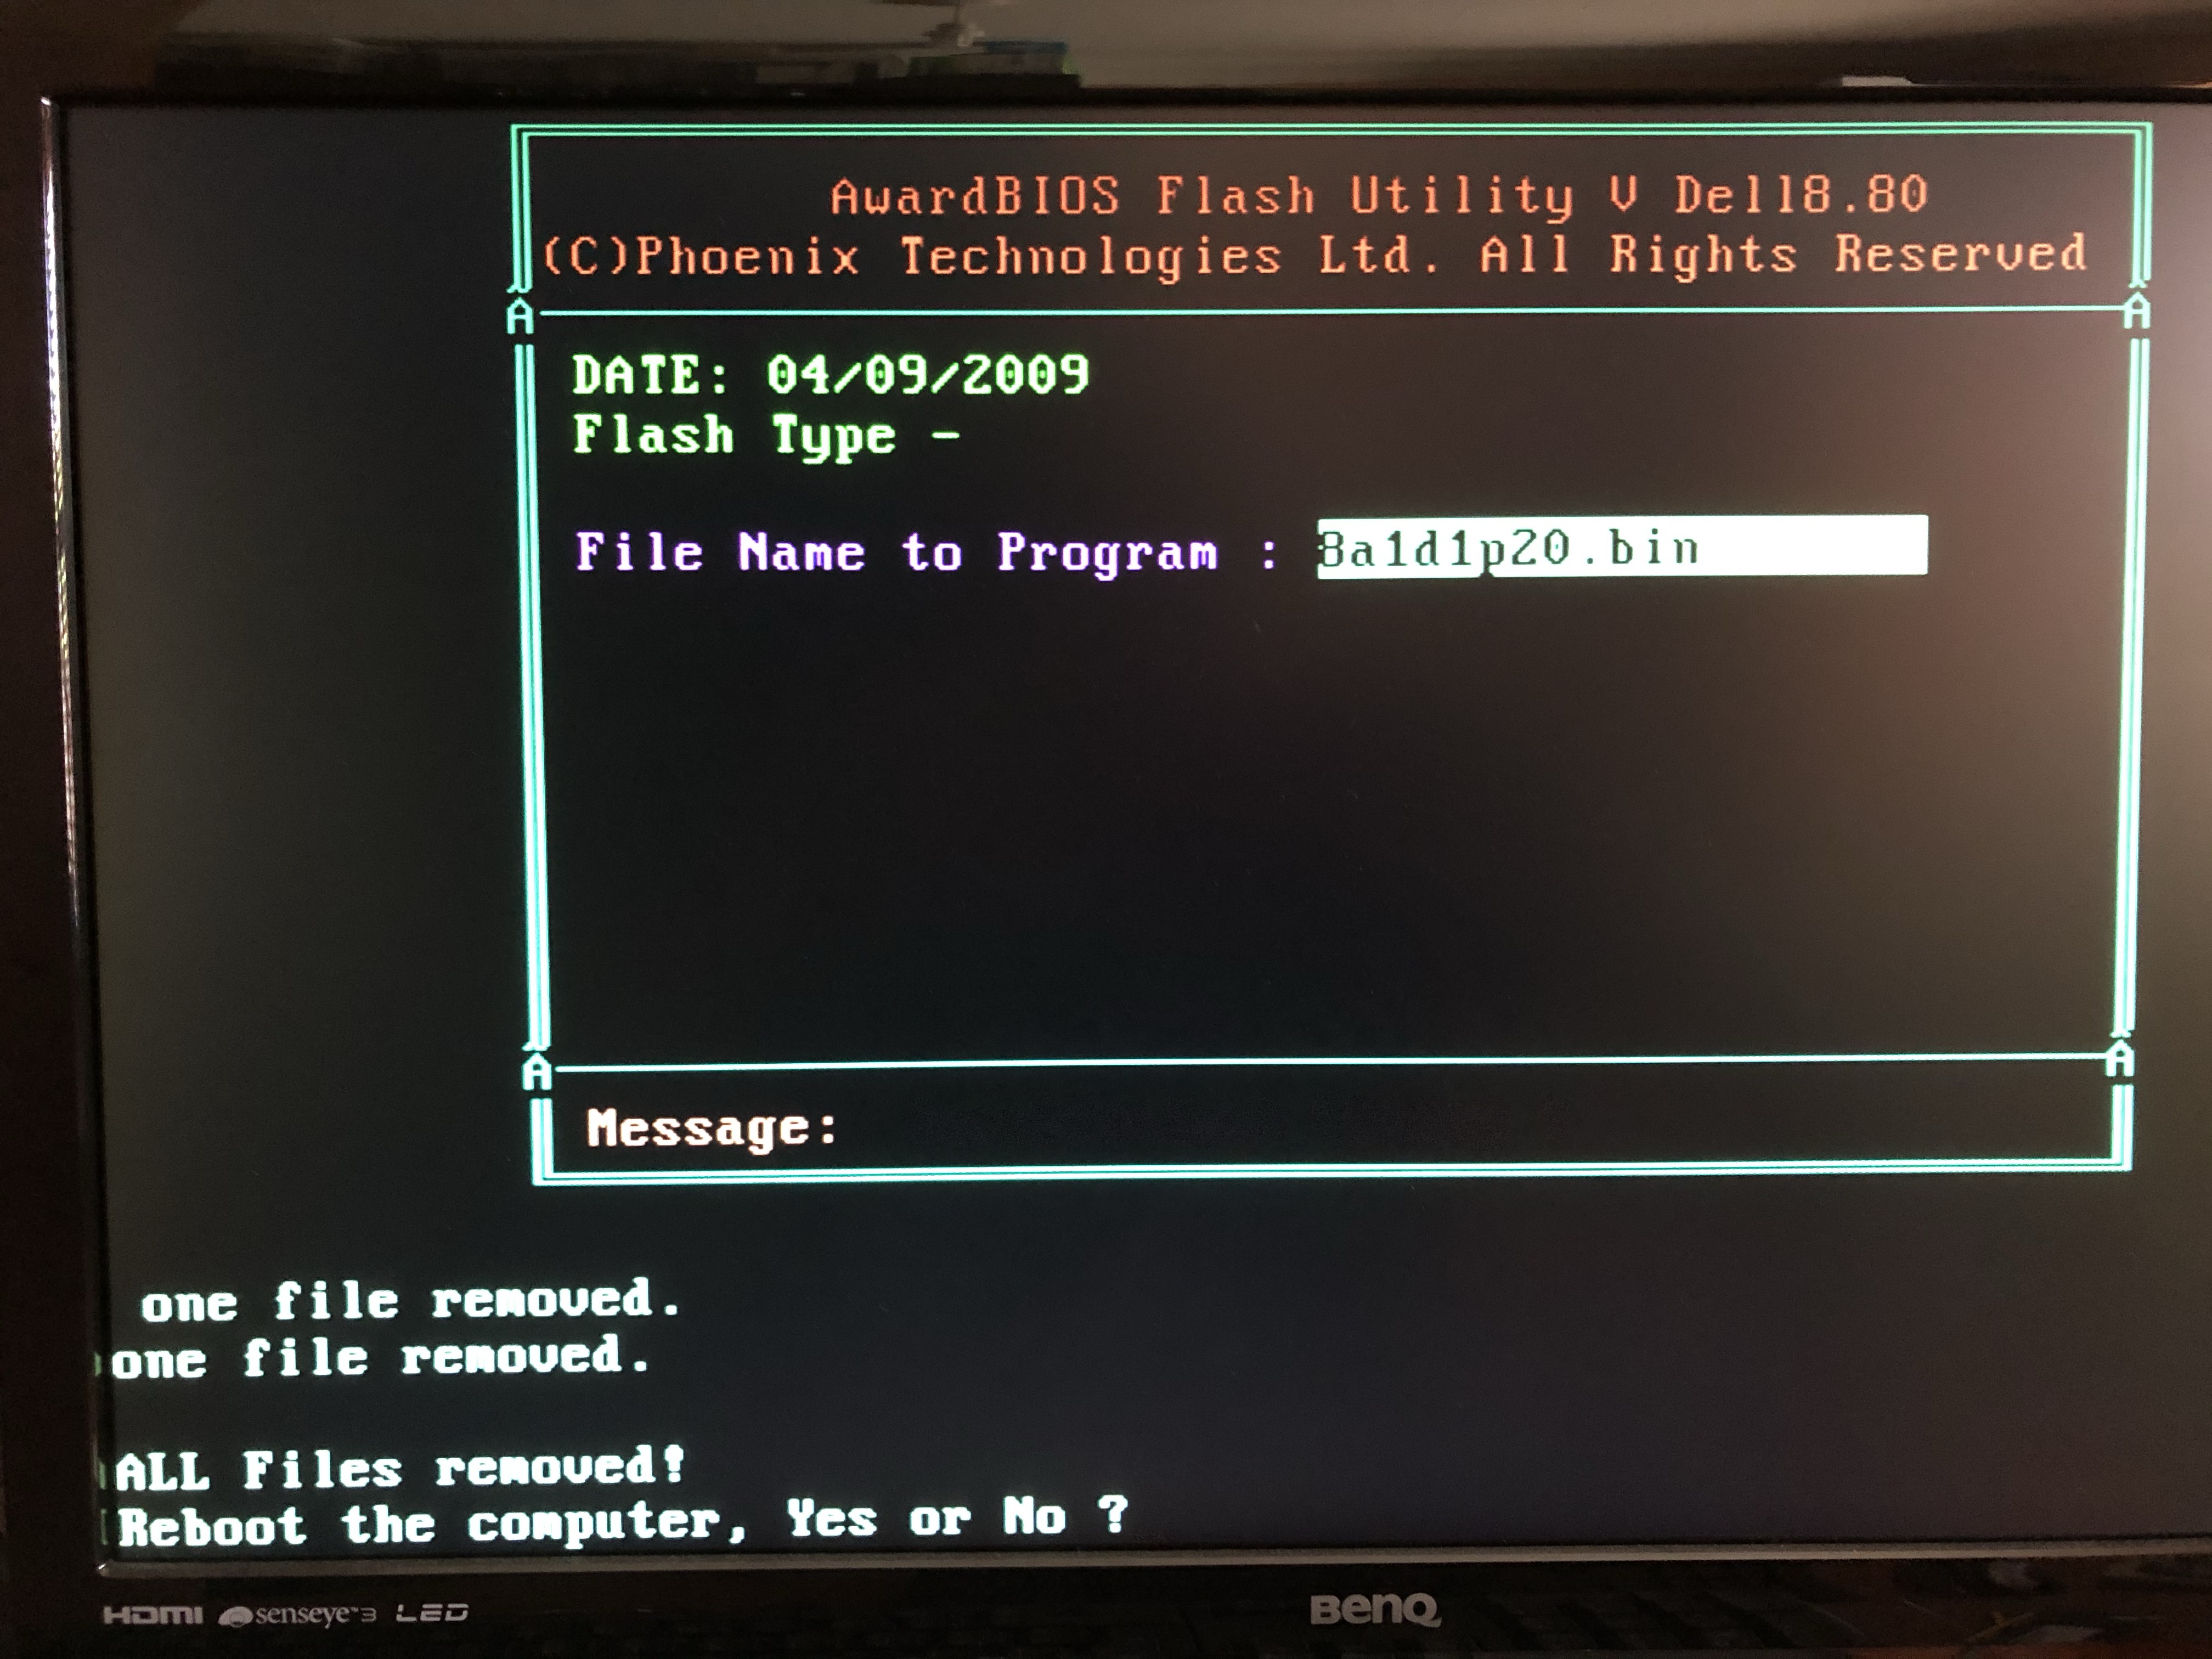
Please see screenshot of Dell AWDFlash also displaying Insufficient memory error
No I do not have any other flash programmer other than AWDFlash 8.99 downloaded from another website plus the dell bios executable
This system was acquired several years ago from a friend when I tried to repair exactly the same issue. At that time the boot drive was a Seagate hard drive and the system occasionally couldn’t find the boot device. I changed the hard drive thinking it might be failing which did not resolve the issue so tried to update the bios but couldn’t so he bought a new system.
Since then the hard drive has been replaced with an A Data SSD and a second hard drive as a data drive. The SSD is on SATA 0 and the hard drive on SATA 1. I have also replaced the power supply and both SATA cables.
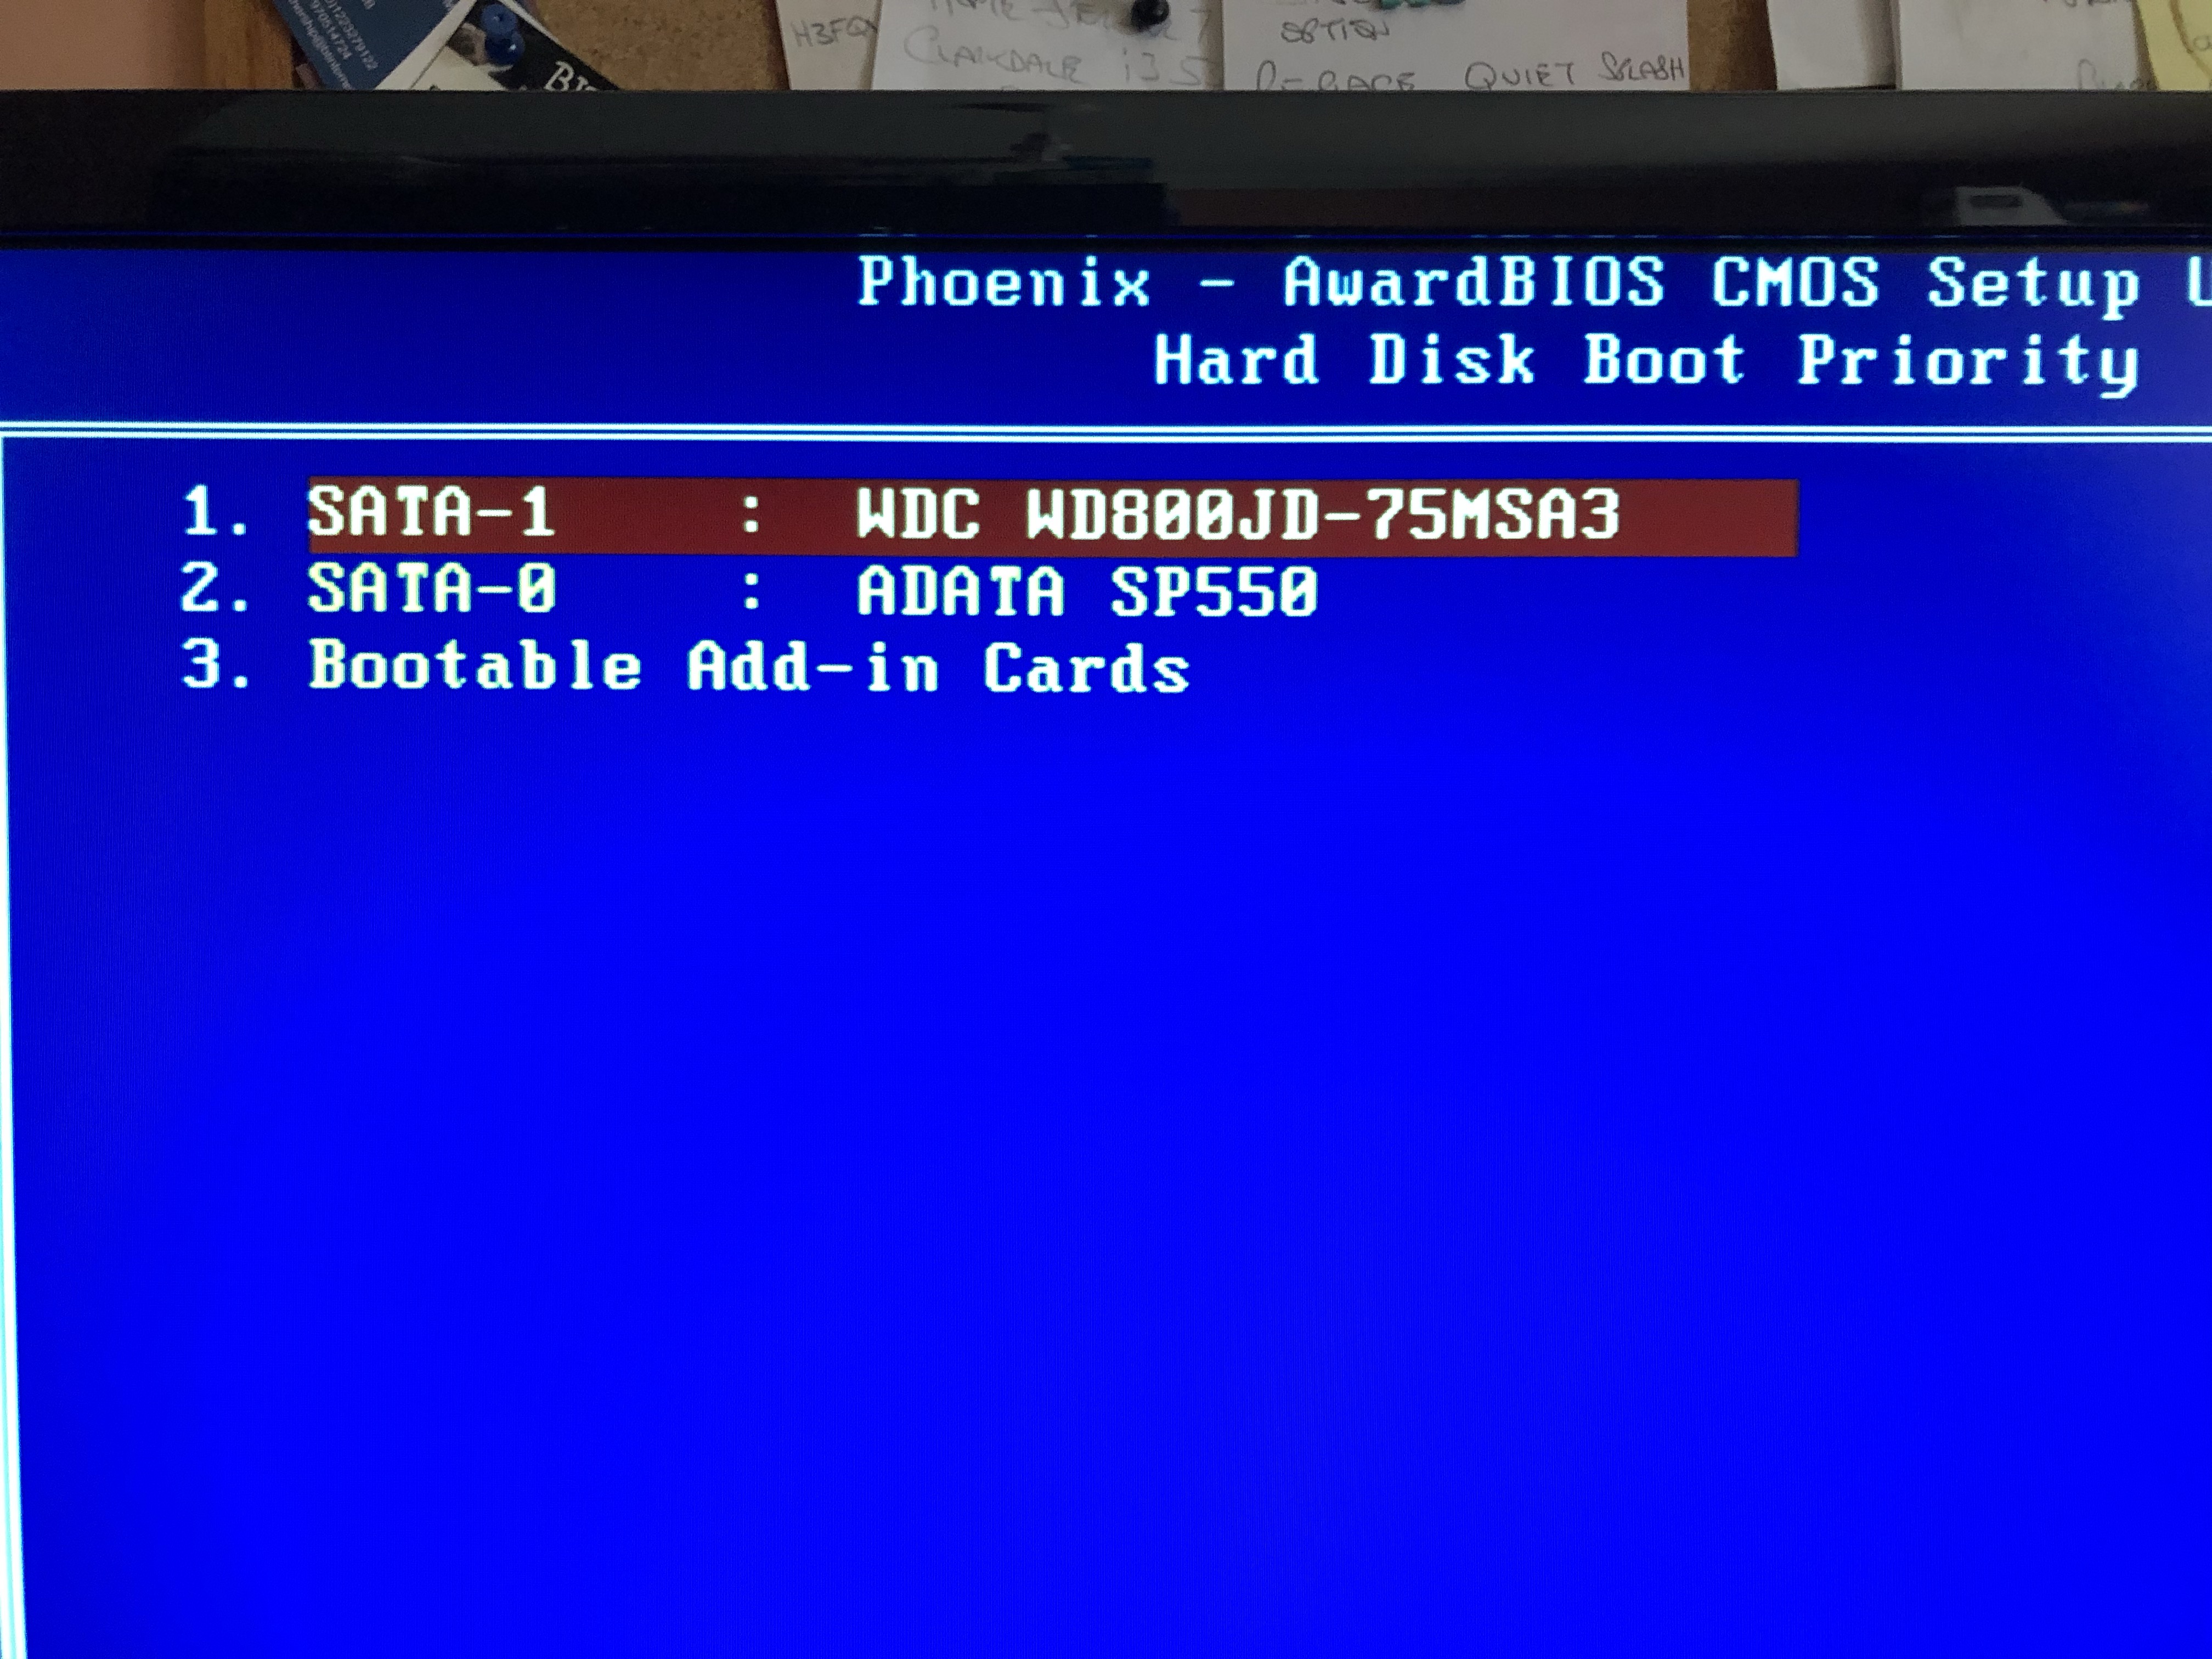
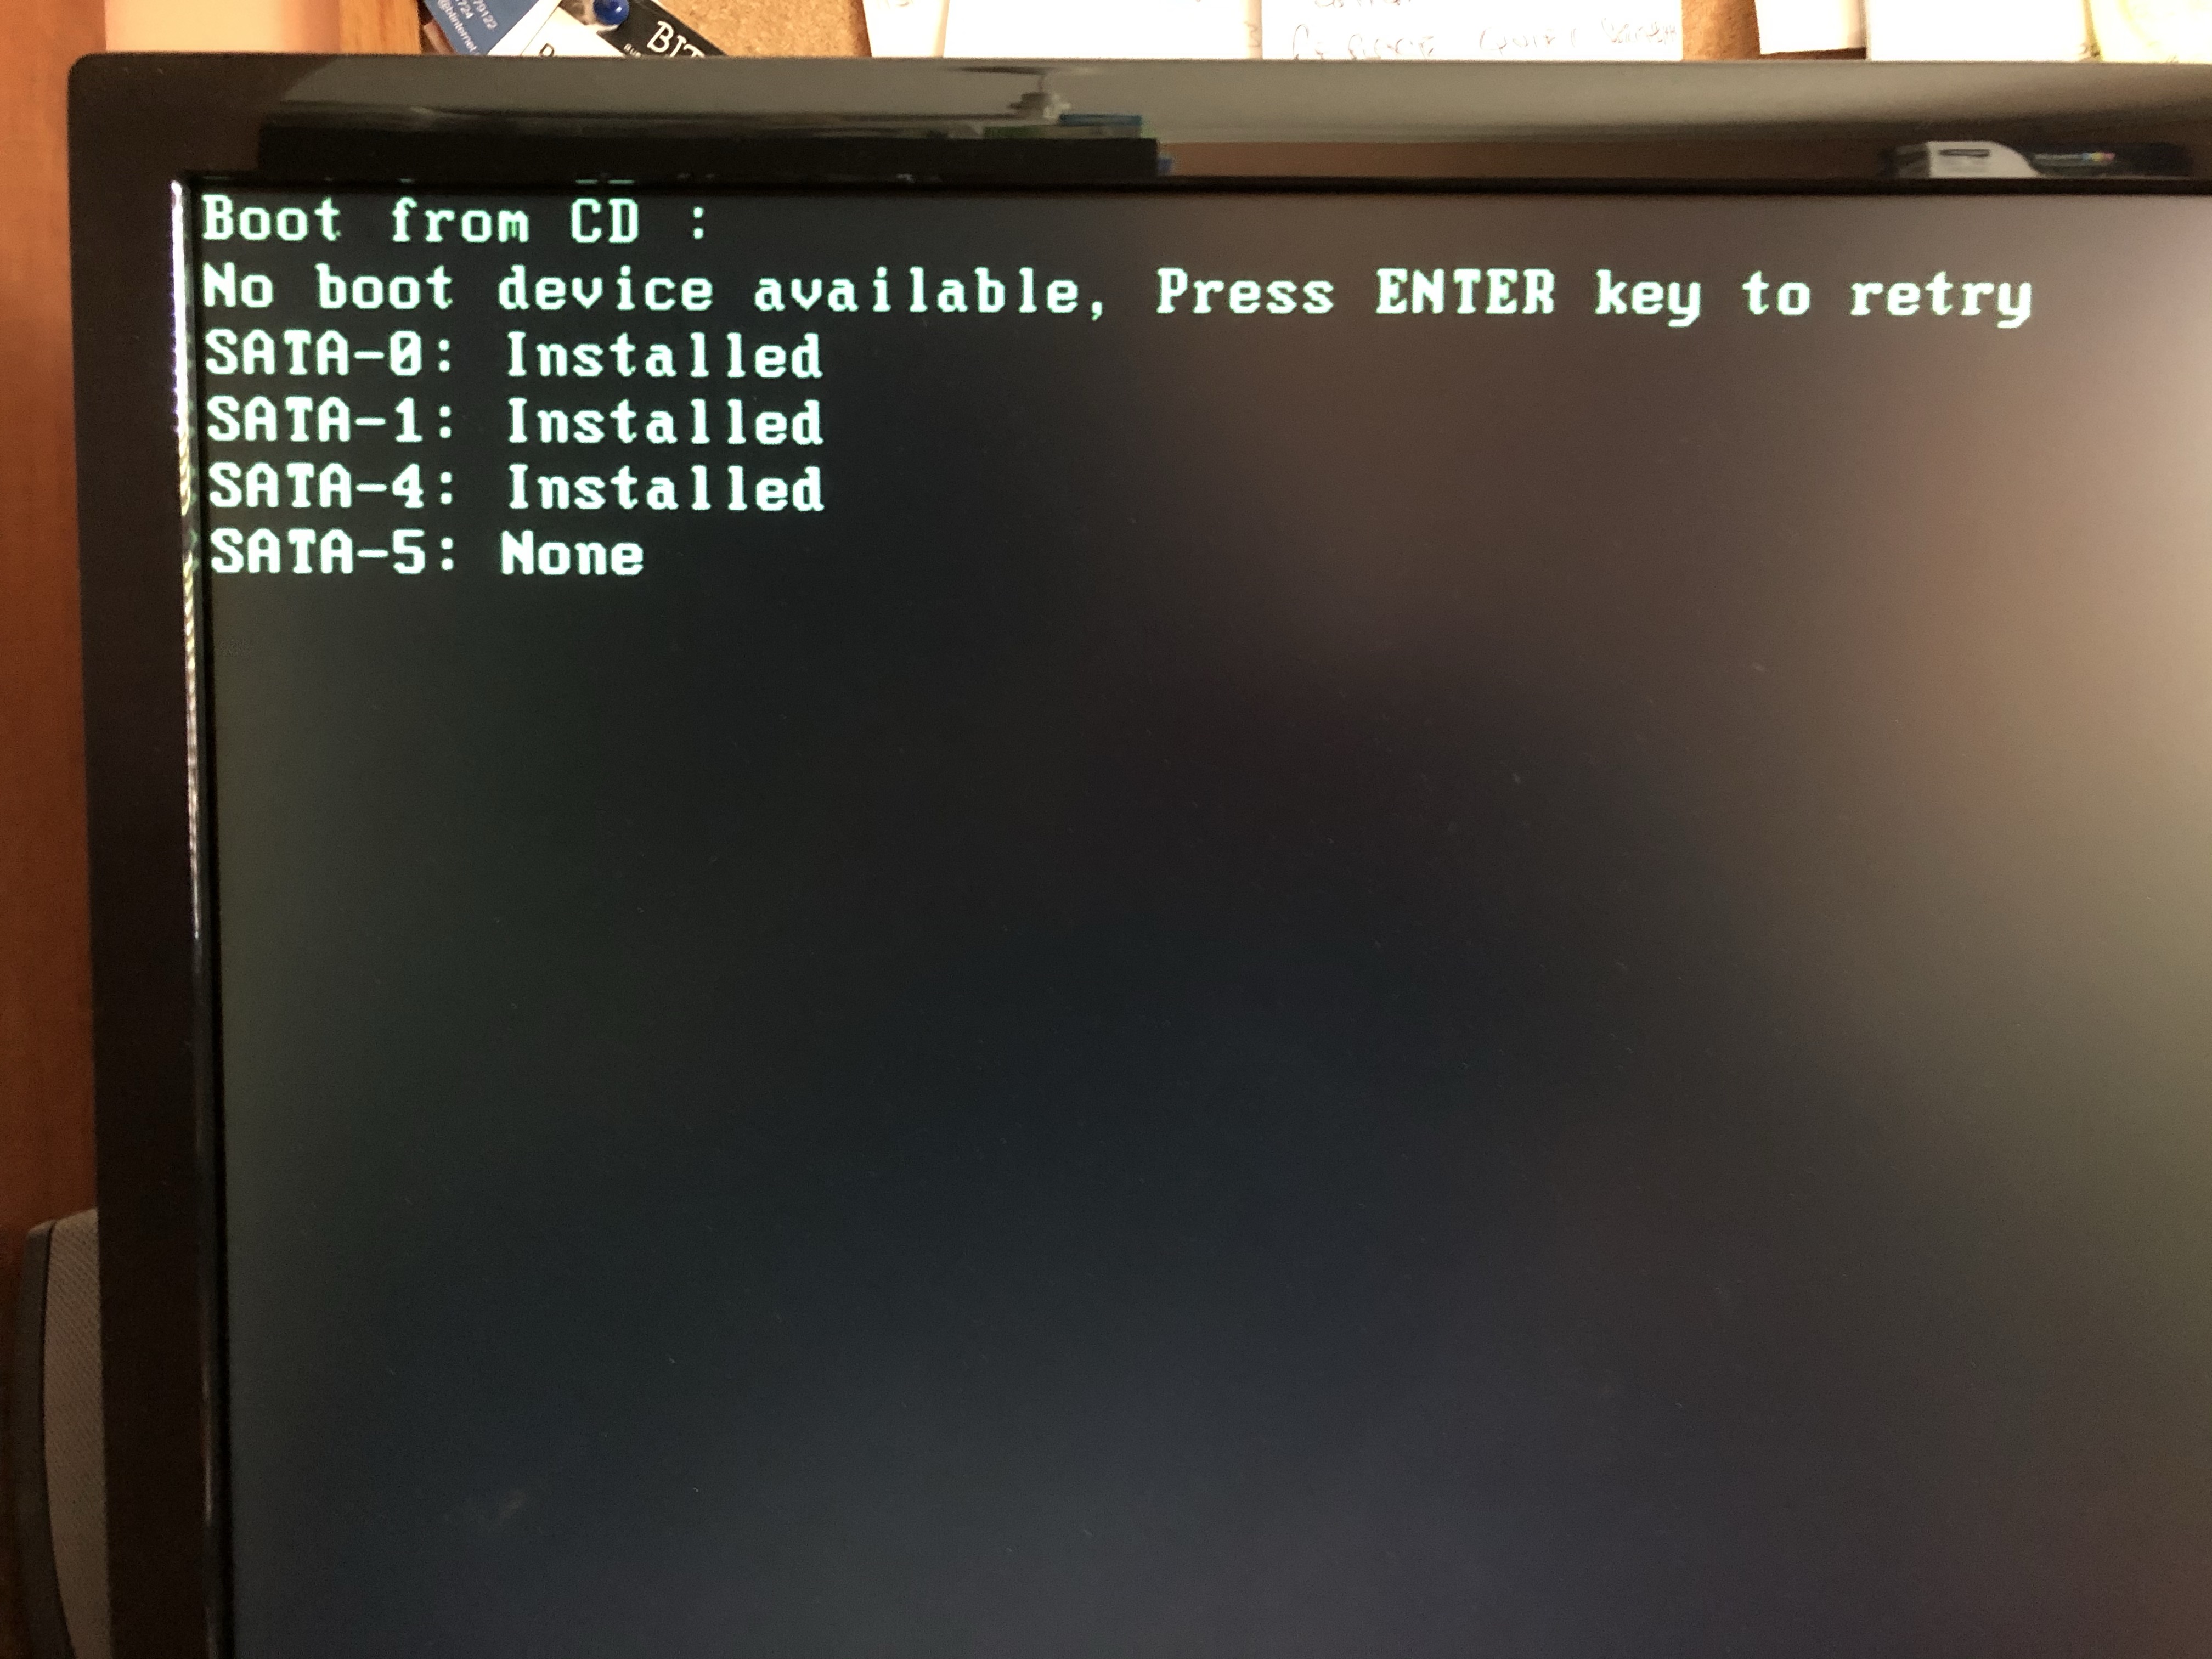
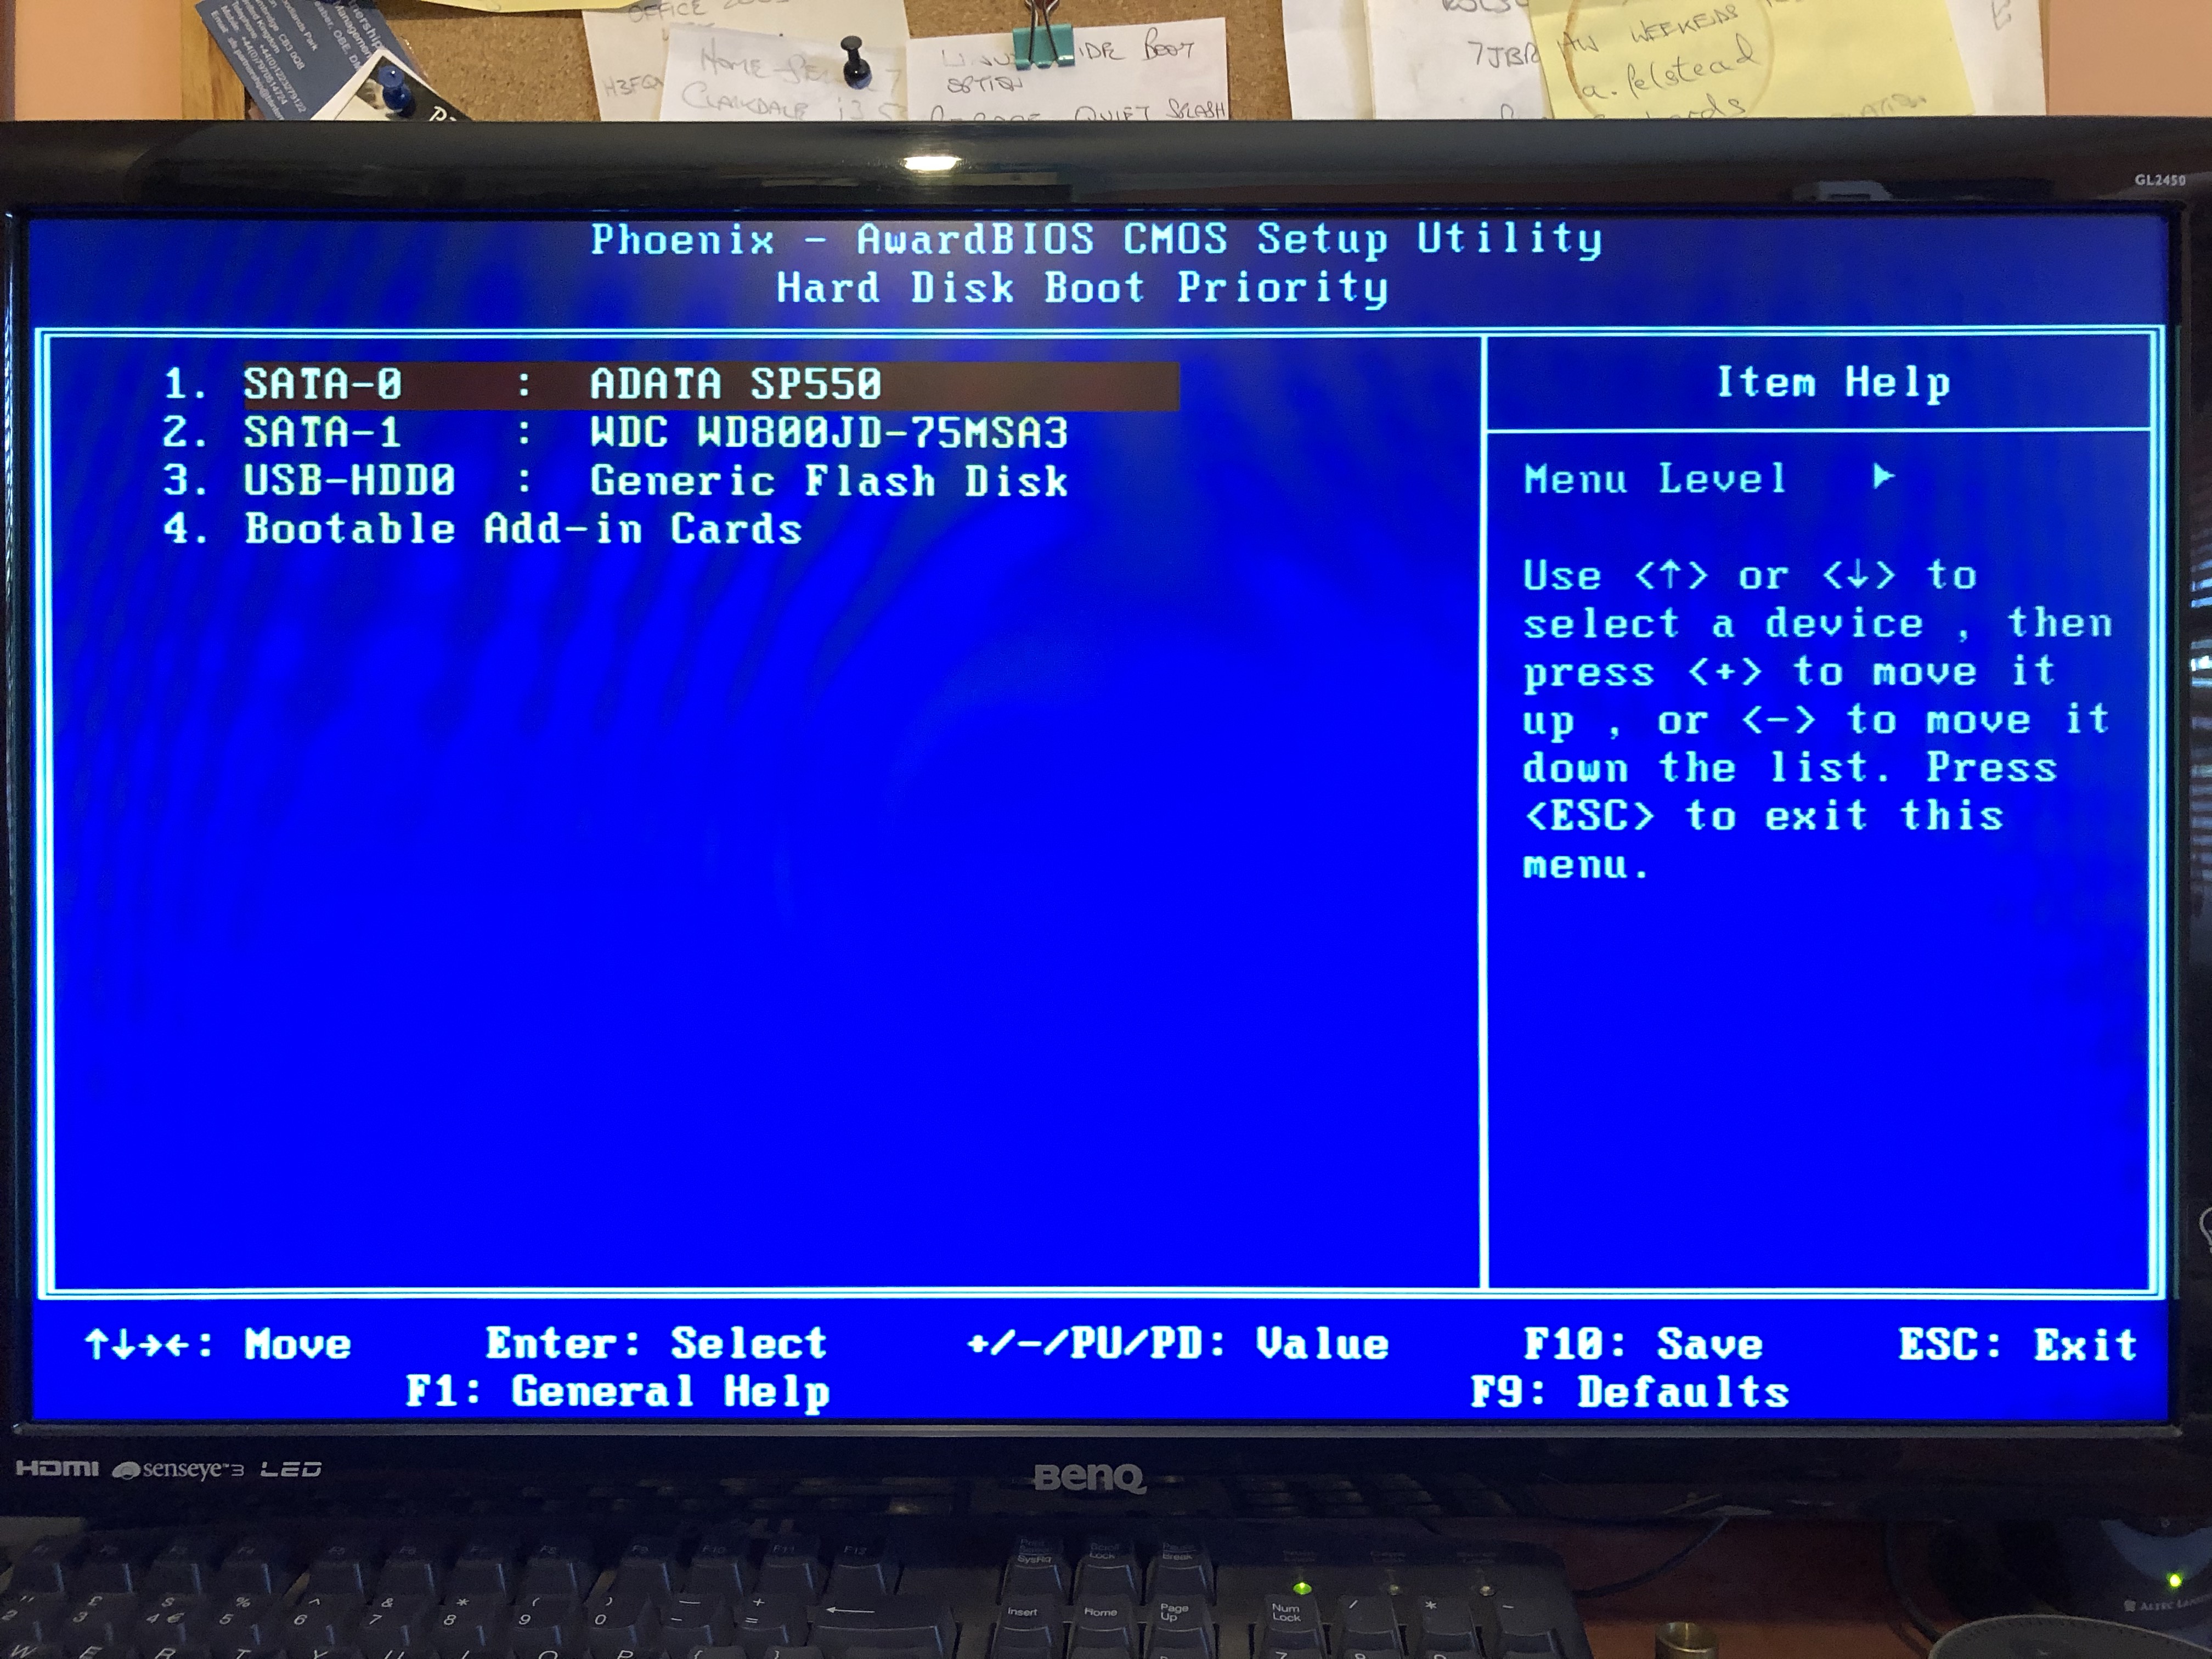
When the system will not boot I get Boot device not found as per attached image. If I reboot and access bios I find that the boot order has changed with the hard drive listed as the first drive and SSD second. I cannot use the + or - keys to move the hard drive or SSD up or down the sort order. The only thing that works is to restore defaults for that page which brings the SSD to the top as the first boot drive.
Again many thanks for you help if you require any other information required please ask.
Fozzie
@FozzieBear - You’re welcome! Please zip all those images, minus the BIOS chip image, thanks. I am on limited internet
Due to that chip type, flash programmer can’t be used here anyway, if that’s the actual BIOS. I really think that may not be the BIOS chip too, just the BIOS sticker on other chip.
Please show me image of the entire board. BIOS never has that many legs  Flash programmer is a USB physical device to reprogram chips, it’s not software
If HDD/SSD OK, and SATA Cables new etc, sounds like SB may be dying, or ports going bad etc. Does it happen no matter what SATA port you use?
@Lost_N_BIOS ,
Many thanks for reply. Yes will reduce images and zip them. Sorry they came straight off my mobile phone and wasn’t until I uploaded them saw how large they came out LOL. Will also take another photo of motherboard to try and find bios chip. Ive not tried other sata ports so could try that but it takes numerous re-starts before it happens again so may take some time before I know the result.
The reason I thought it was corrupt bios was fact I cannot change the sort order in boot configuration menu and the fact I cant update it?
Fozzie
--------------------
Hi @Lost_N_BIOS
As requested I have reduced image sizes and put them into a zip file (two as one was larger than 6mb limit).
I’ve taken lots of images of motherboard but its difficult to get lighting right to show up text on some of the smaller IC’s especially with the motherboard still in the case. I have therefore found two images of the same motherboard online which might be easier to determine the Bios chip from.
Are there any utilities you can run either from Windows or DOS that might capture the info?
Many thanks
Fozzie
Dell Inspiron 545a.zip (3.78 MB)
Dell Inspiron 545b.zip (3.44 MB)
@FozzieBear - You’re welcome, and thanks for repacking the images.
Before I forget, yes, there is software to possibly tell us the BIOS chip ID, but it’s not always correct and may not work on this board.
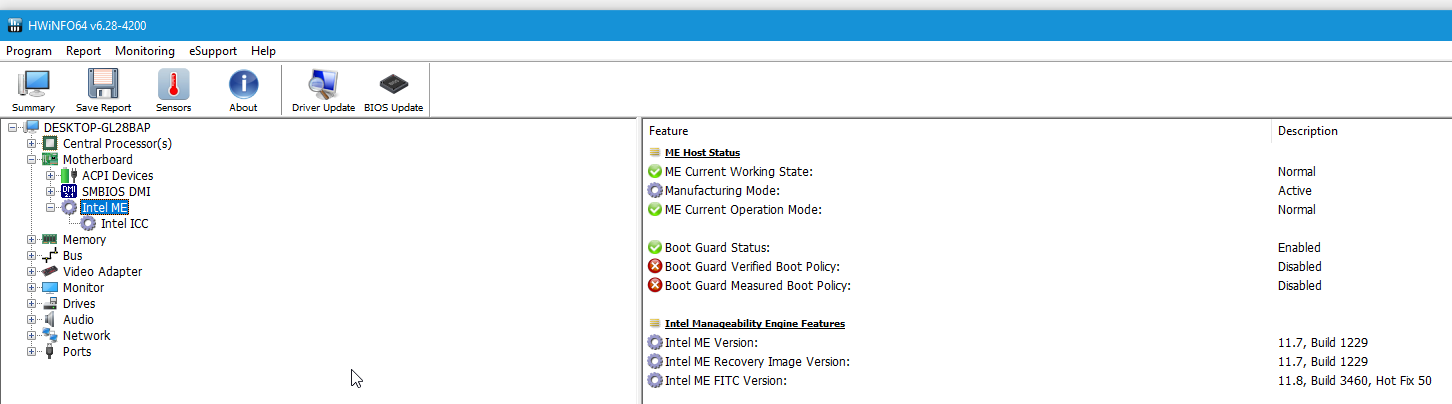
Please check ME FW Version as shown below, with HWINFO64, then tell me what version you see and I will give you more info to check this way
Yes, try moving the cable to another port for a while and see if that helps. Best to have OS drive on 0 or 1, CD/DVD on last whatever that is 4/5/6 etc
Boot Config not being able to change may be due to other BIOS setting possibly, some boards you need to change possible boot options at other area, then you can change/move them in the boot list.
I’m not sure how this is on this board, I’ll have to look at the BIOS first - Please link me to the stock BIOS download page so I’m sure to get the correct one
Did you try both up/down arrows and 2/8 on keyboard with and without numlock enabled, as well as +/- on keypad with/without numlock, and or +/- on keyboard area?
It looks like maybe the clear CMOS jumper on “Clear CMOS” pins 2-3, or is that the normal position? Sorry, I can’t read what it says there in any images
BIOS is the MX Chip directly below CMOS battery. What is the full ID On this chip?
Insufficient memory error is probably due to how you created your DOS Disk. Try another way and see if that helps
Here is Win98SE DOS method, first try step #1-2 only, then if still error, try 1-3. If then still error, show me image of what you’re seeing on screen.
@Lost_N_BIOS
I have downloaded and run HWINFO64 but the Intel ME version is not listed in the report. Please see attached screenshot.
I have also zipped and uploaded some better pictures of the Bios Chip. The markings are not very clear but you may be able to make out the number you require. I have checked the Clear Bios jumper and its in the correct position.
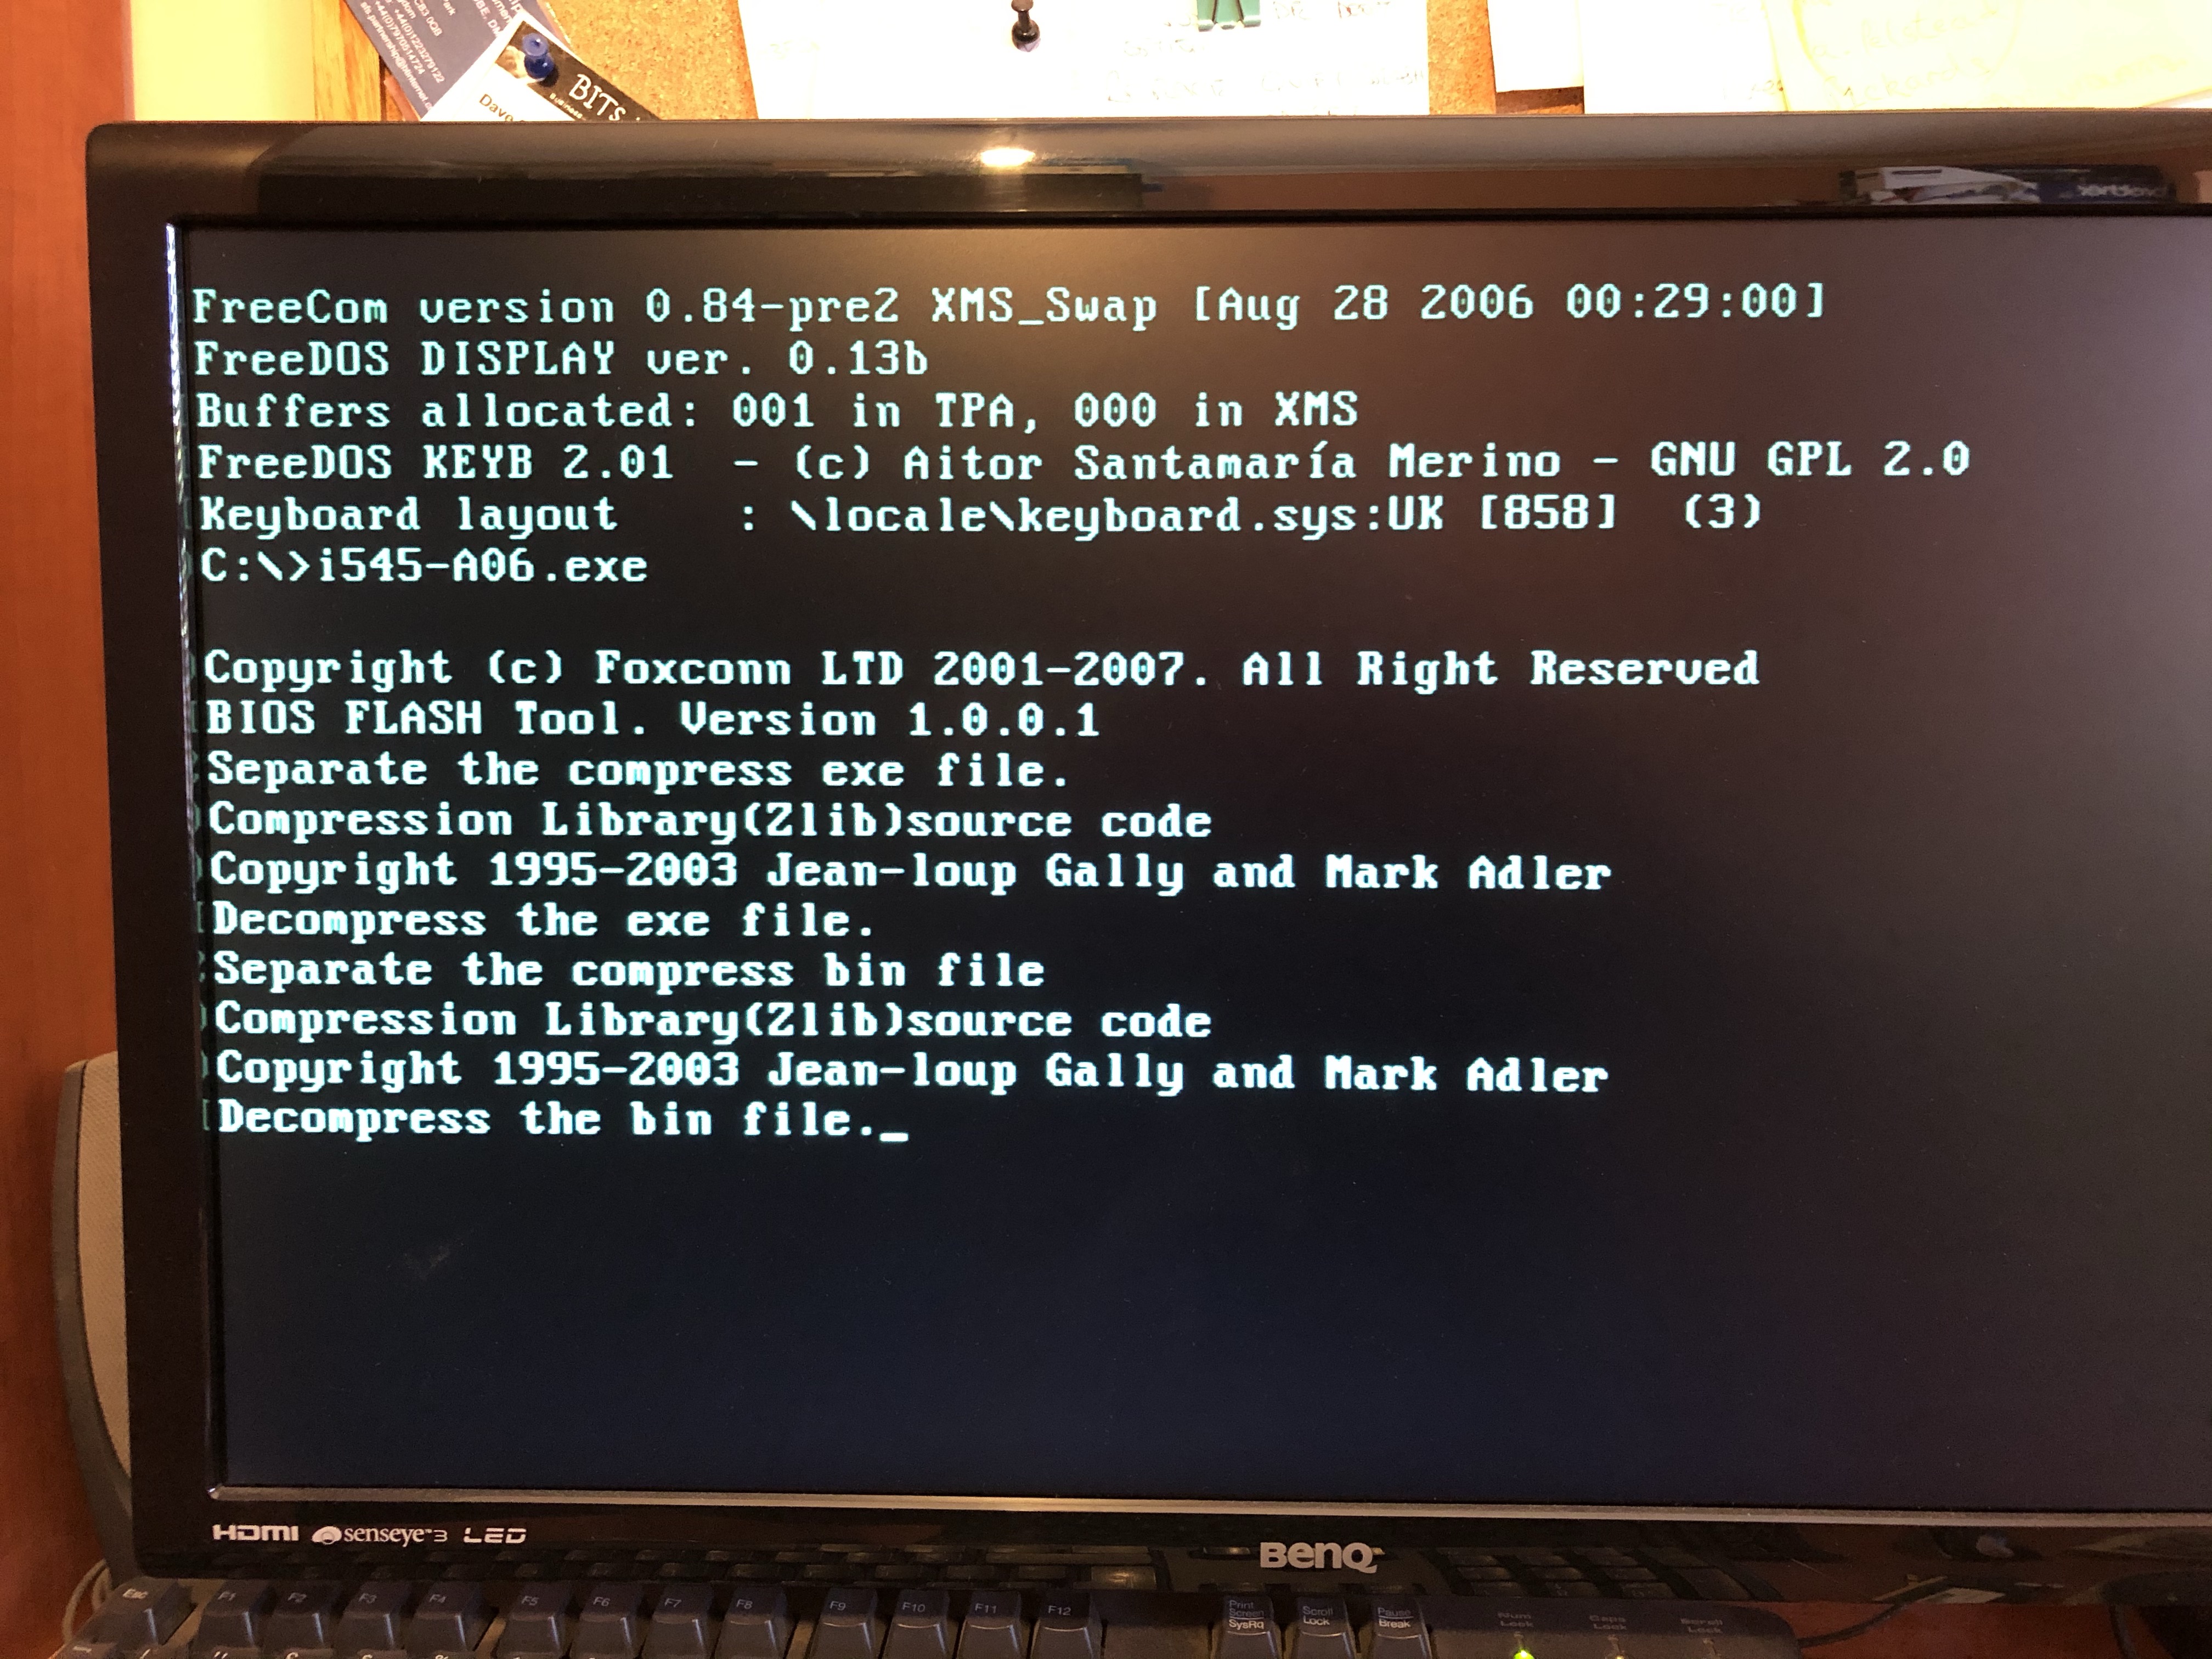
I will try some of the other suggestions for additional keystrokes to move the boot order when I have more time. In the meantime I am preparing a Win98 Dos usb boot stick and will try an upgrade using that instead of Rufus. I think you forgot the link to the Win98 Dos method in your last post. I would appreciate seeing the article before I start.
Again Many thanks
Fozzie
Bios Chip.zip (1.14 MB)
@Lost_N_Bios
Just a quick update to say the Win98 Boot disk worked fine and I was able to update the Bios to Version A12. Also your tip about using the + and - keys on the Number pad of the keyboard rather than the ones across the top of the qwerty area worked so it looks like I’ve resolved the problem with your help.
I will continue to reboot the system to see if it reverts again but i’m hoping its now OK
Many thanks
Fozzie