DOS wont give you any errors, unless you use incorrect commands or didn’t copy all the files from the DOS folder to the root of your USB stuck. Still, unsure what you mean about MAP?
Yes, I would have ordered a flash programmer long ago. It may not be required, but it is the easiest way to fix this.
You need CH341A + SOIC8 test clip with cable if BIOS is soldered to board, or U Type Flat IC Extractor if BIOS is in a socket
Let me know if you need links to these items on ebay as examples.
MEInfo looks fine and yes FD is locked.
In the folder were the windows and windows64 maps are, I tried both maps, but DOS told me I didnt had admin privileges. So I had to fix that first.
That’s what I ment with; I tried both maps, but …
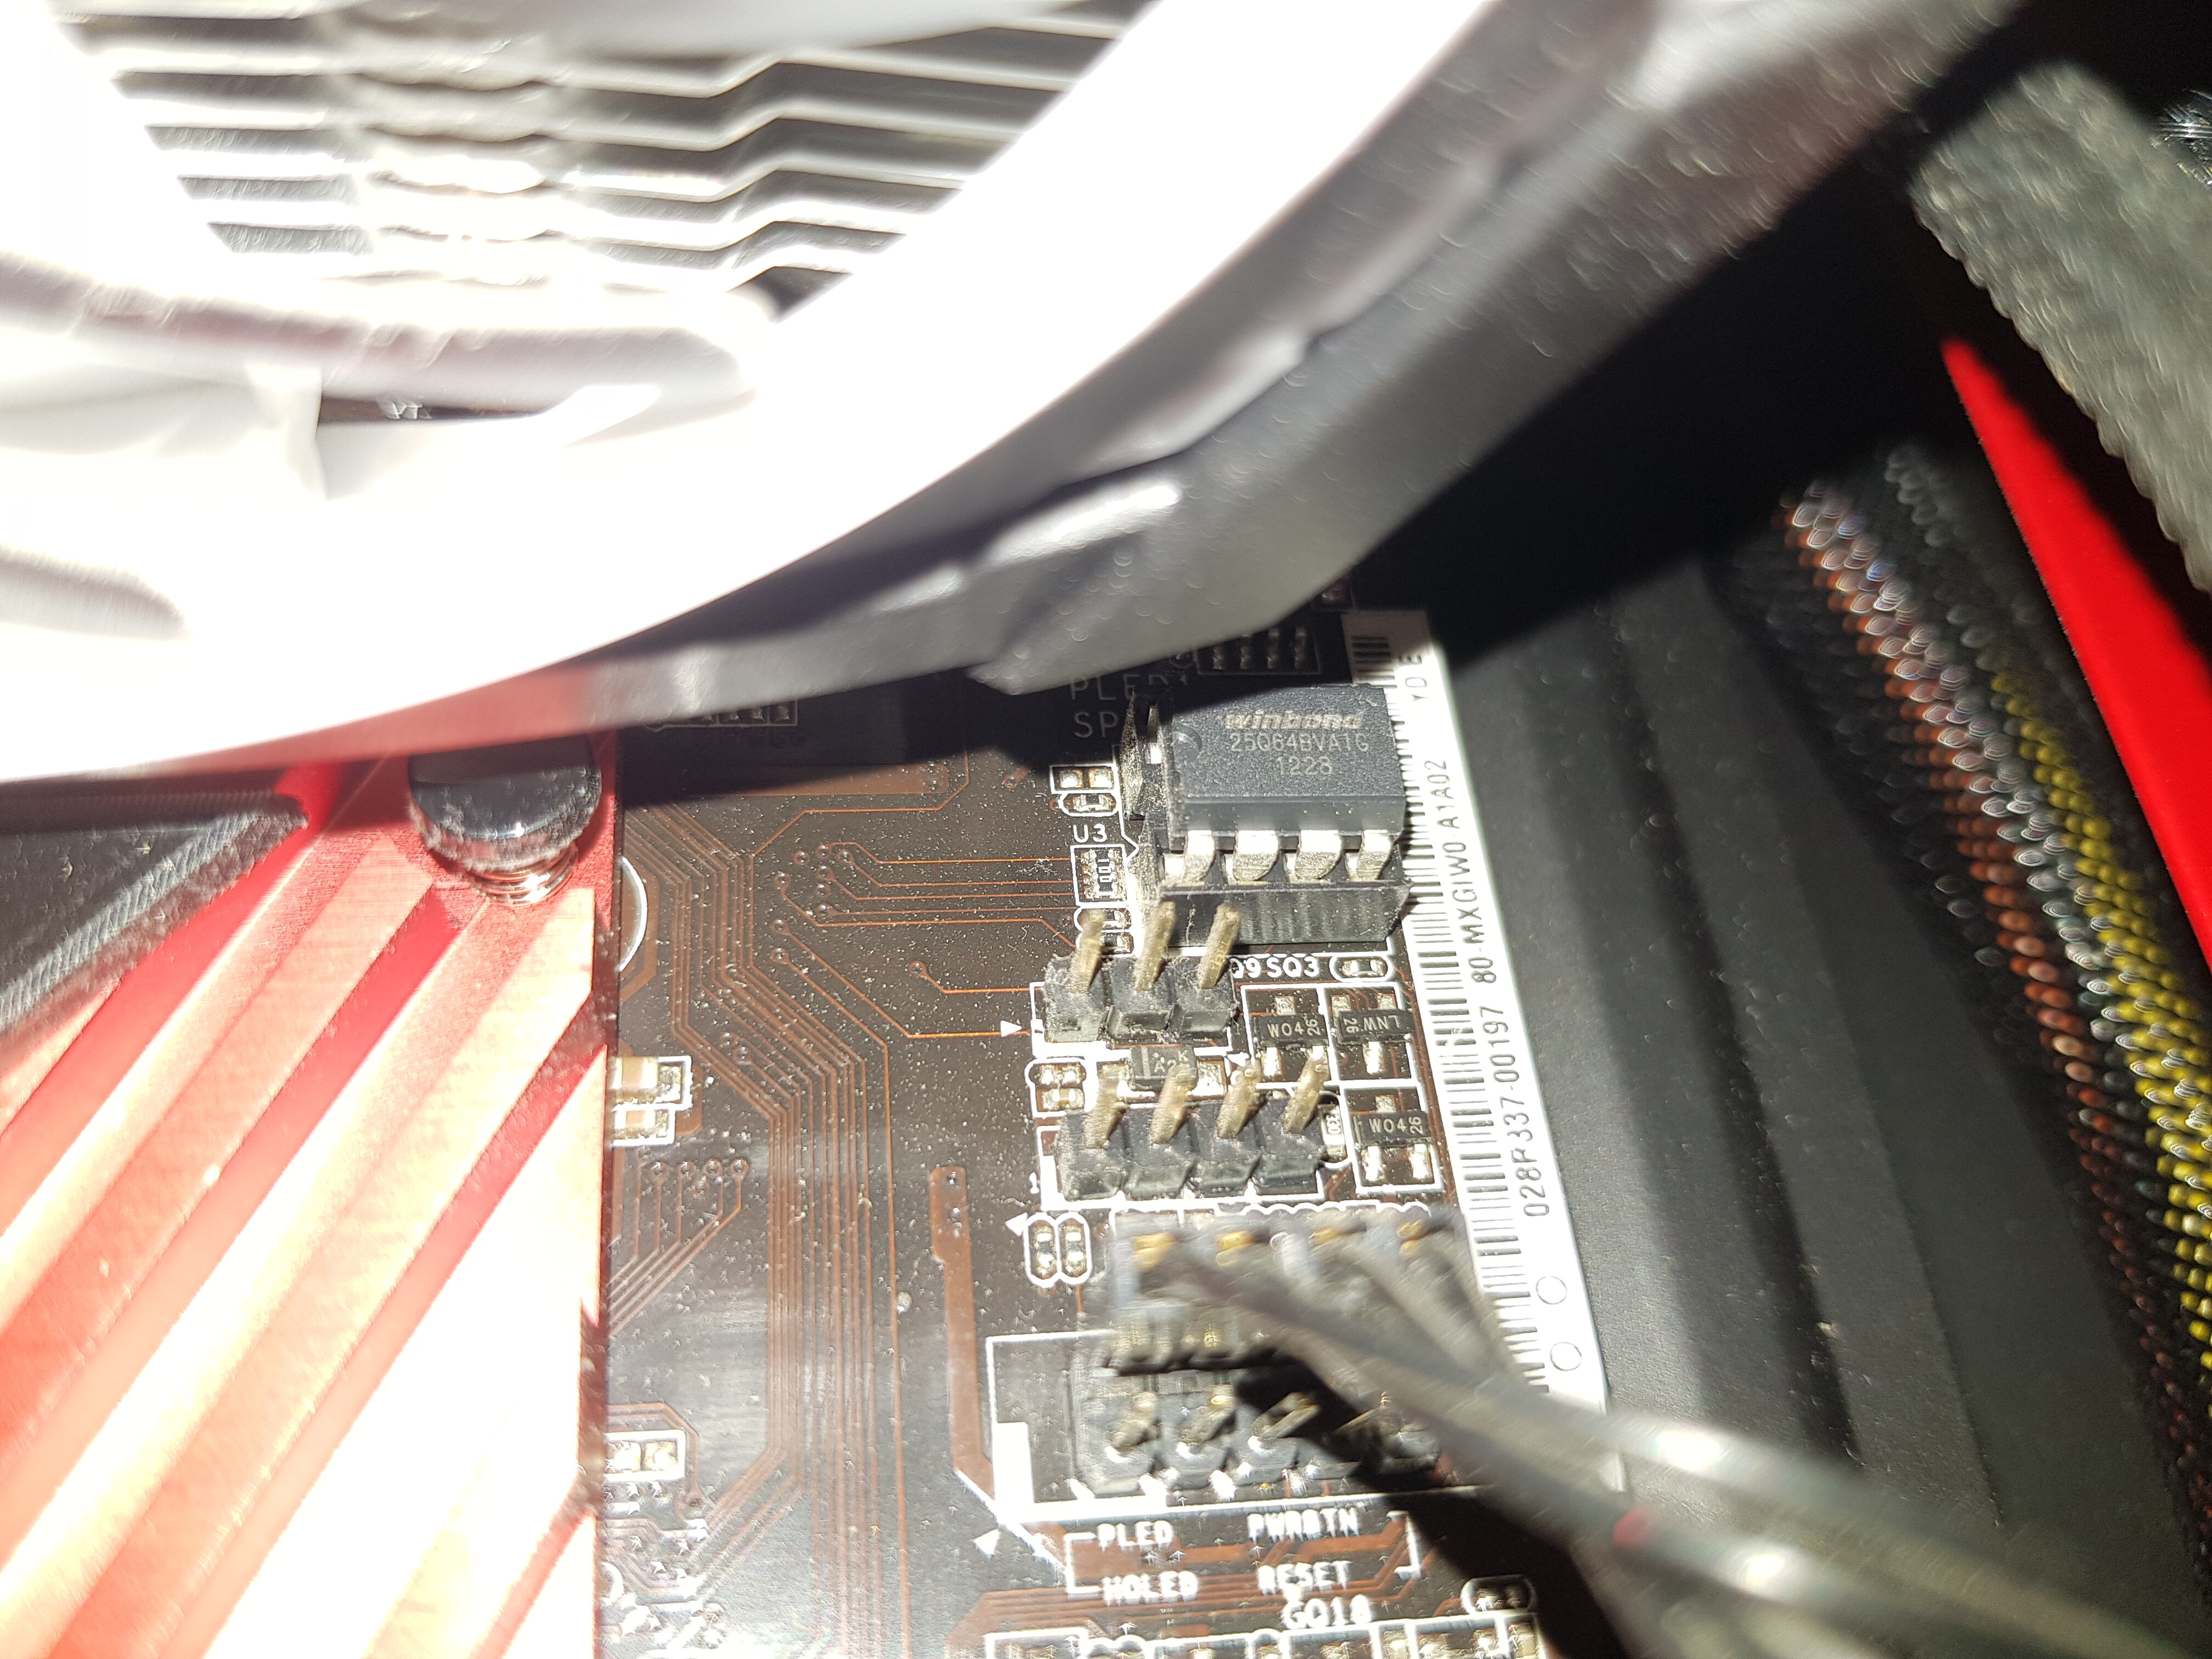
Found the chip. Seems like it’s the on in the socket. Can you share a link to buy the flash programmer?
Also, as you can see on the sticker on the chip, the bios version should have been 2.2
While when I got this mobo, I believe the bios version was only 2.0. I think this chip has already been replaced once, and the former guy that owned this mobo, didn’t got the OC working either, and tried another bios chip. Maybe he downgraded too 2.0 or so? No idea.
Not relevant either I guess hehe.

What do we do from here? When I get the programmer, what’s next?
I still have no idea what you mean about “Maps” maybe some translation error? Windows/Windows64 folder are not for use in DOS, only the DOS folder contents.
Yes, that is BIOS in a socket. Here’s examples of what you need on ebay, but you can get from other sellers that ship faster or are closer to you etc, or other local shops online also sell this kind of stuff
https://www.ebay.com/itm/332735579991
https://www.ebay.com/itm/123167465408
That BIOS sticker looks factory, so if someone replaced the chip they moved the sticker to new chip or salvaged a chip from another same model board that already had sticker on it.
When you get programmer, you dump BIOS contents, send to me and wait.
Do not erase the chip or try to write anything until I tell you it’s OK and I’ve checked your dump and it’s a good BIOS dump, this way you don’t loose any board specific details.
For W25Q64BV use software version 1.30, here is main driver and several software versions - http://s000.tinyupload.com/index.php?fil…257455007472602
Here is guide on how to use programmer
https://www.bios-mods.com/forum/Thread-G…341A-programmer << Same as one directly below, but with all images expanded/visible at once
[GUIDE] Flash BIOS with CH341A programmer
You will be placing chip into programmer instead of cable, make sure you notice the divot in the chip and socket, BIOS must always go into socket that direction.
Pin one is on divot side, so you know how to stick into programmer per the above guide instead of a cable w/ dip adapter.
Open software 1.30, and you can do this now, on the “Auto” function, uncheck erase/blank, that way nothing accidentally gets erased by you hitting auto on accident.
There here is steps once all setup and chip is in programmer
1. Read
2. Verify
3. If verify match (buffer and chip match) then save file and send to me to confirm valid dump.
Once ready, I will outline steps for you to write BIOS.
Damn, those delivery times …
I will get back to this topic once I have one! There are some for sale here in the Netherlands as well, a bit more expansive, but at least I will have it not in 2 months.
The guide you linked doesn’t show the images anymore. ![]()
---------------
There we go.
https://gofile.io/?c=plcpne
@Artyni _ I checked the guide just now, images appear OK. Maybe it was some issue that day, please check again now if you still need. Backup looks good.
What is your CHIP ID and what software version are you using, in case I need to advise you to use another ID or software version if write fails?
Here is fixed BIOS - http://s000.tinyupload.com/index.php?fil…231697472559527
1. Erase Chip
2. Blank check
3. Open BIOS file I sent
4. Hit Auto (should already only have Write/Verify Checked)
5. Once verify is done, if success chip and buffer match, close app
6. Open app, read chip
7. Verify - If success verify - chip and buffer match, save file
8. Compare that new dump in hex to the file I sent you, if 100% match, all is good, remove clip or pull chip from programmer and put back into board
Unplug PSU from the wall, or remove 24/8pin from the board, press and hold the case power on switch or short the power on pins for 10-15 seconds. Then let board sit without any power for 1+ minute, this resets the ME state.
Plug power back in and Boot to BIOS, load optimized defaults, reboot back to BIOS and make any other changes you need, then test if you can OC past 38 now - should be 
It works, thank you very much.
Running on a stable OC now, with just 42 degrees max temprature while stress testing.
You’re the best!

Please any of you guys have the version P2.20 bios of the asrock p67 fatal1ty performance not the exe one but the rom one please guys causs my motherboard got bricked any help ?
Use AMIUCP to extract
Annyone has a link to bios version P2.20 for the asrock P67 Fatal1ty performance please ?
Since AMI_UCP_extract now requires Python to be installed…
P67PERF2.20.EXE_extracted.zip (3.9 MB)
(But even then it wouldn’t have been necessary to spam the forum with several posts and even a new thread…)
2 Likes
Thanx and sorry for the threads i was in need and i didn t think someone would help so thanx again