[INFO] About "modded" drivers and how to get them installed

Introduction

The Hardware manufacturers do not only develop and build special devices, but are responsable as well for the delivery of appropriate drivers, which are needed by the OS for the detection and a proper function of the related hardware device. Sometimes it happens, that hardware manufacturers do release or have released device drivers, which are running fine with a specific Windows Operating System and the HardwareIDs of a device, but cannot be manually installed from within the Device Manager because of a faulty or incomplete INF file.

Here are some examples:

  1. There are some brandnew and very good device drivers, which are running fine with Vista or Win7, but cannot be installed while running Win8/8.1 or Win10 (not even after having forced the driver installation by using the “Have Disk” option).
    Example: all Intel USB 3.0 drivers
    The simple reason is, that the related information files named .INF do not contain the required entries for the support of newer Operating Systems.
  2. Other necessary device drivers cannot be manually installed, because the original INF files are faulty.
    Example: latest 64bit Intel(R) Smart Connect Technology driver v1.1.0.0 (32bit entries instead of the required 64bit ones, additionally wrong driver version and date)

With the intention to make such drivers available and usable for as many users as possible, I started many years ago with the modification of various drivers from different manufacturers and offered them in different Forums (nForcersHQ, MSFN, Win-Lite etc.) and continued and extended my work since May 2013 within the Win-RAID Forum.


What has been modified?

To avoid any misunderstandings: Although you read about “modded drivers”, I have never changed the code of the drivers themselves (=
.SYS files). The only files, which have been customized by me, are the associated files with the extension *.INF (for XP additionally the file named TXTSETUP.OEM). These *.INF and .OEM files are no drivers, but just contain the needed informations for the OS about how to get the associated real driver (.SYS file) installed. Since all *.INF and *.OEM files are simple text files, each user can easily read their content by just opening the related files with the Windows Editor (notepad.exe) and compare it with the original files.


Advantage/disadvantage of “modded” drivers

Advantage:
Due to the customization of the associated text files the users are able to install and use drivers, whose original *.INF or *.OEM files do not support the related hardware device (or Operating System).
Disadvantage:
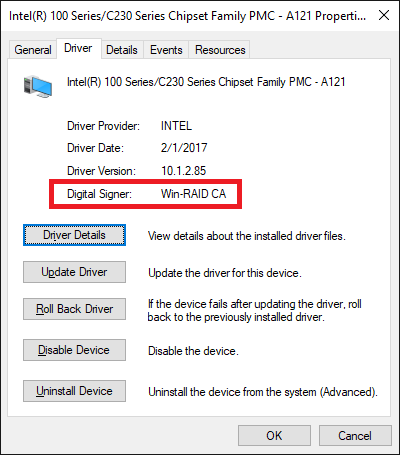
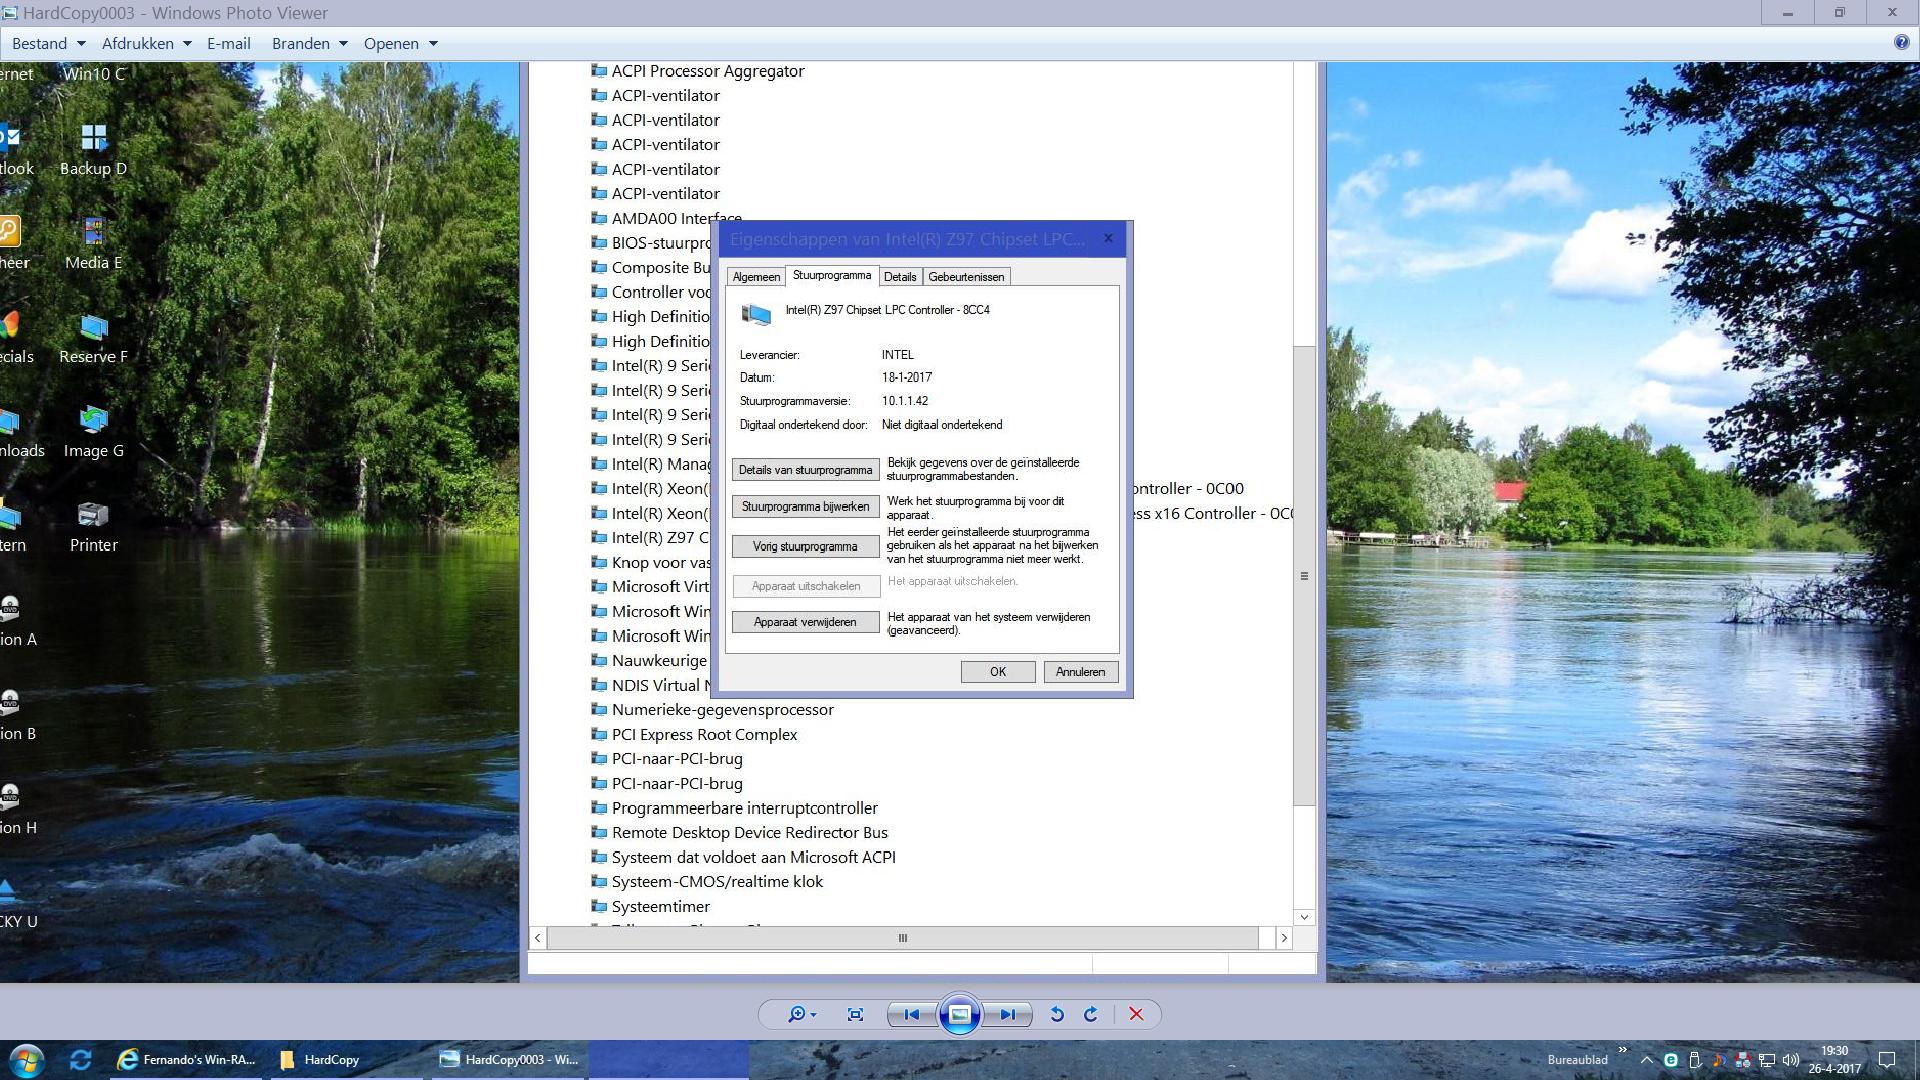
The modification of the *.INF (or *.OEM) file has no impact at all on the functionality of the driver, that means on the stability resp. performance of the related device. The only disadvantage of the “modded” drivers is, that their installation may have to be forced by using the “Have Disk” button (see below). Otherwise the driver installation may fail with the message, that the “best” driver is already running. This message is caused by the fact, that each modification of an .INF file automaticly breaks the digital signature of the driverpack, which is layed down within the associated *.CAT file.


How to get a “modded” driver properly installed

A. Older Operating Systems up to Win7

The installation is very easy, but has to be forced. Otherwise the user will get the message, that the “best” driver is already running.
Here is the way how to force the installation of an unsigned or modified driver (“Have Disk Method”):
  1. Make sure, that the modded driver you want to install
    a) has the same architecture (32/64bit) as your OS and
    b) definitively supports the related hardware of your system.
  2. Run the Device Manager, expand the related Controller section and right click onto the device, whose driver you want to update.
  3. Choose the options “Update Driver Software…” > “Browse my computer…” > “Let me pick…”.
  4. Very important: Click onto the button “Have Disk”.
  5. Then click onto “Browse”, navigate to the suitable INF file and choose it.
  6. Agree with the installation by clicking onto “OK” and disregard the warnings you may get.

After the next reboot your OS will use the modded driver instead of the previously installed one.

B. Newer Windows Operating Systems (Win8/8.1/10)

Contrary to the previous Windows Operating Systems the latest ones from Win8 up do not allow the manual installation of any modded driver by simply hitting “Have Disk”.
Nevertheless it is possible to get them properly installed and working.
This is the easiest way how to do it:
  1. Hit the “Shift” key while clicking onto the “Restart” option.
  2. After the reboot choose the options “Troubleshoot” > “Advanced Options” > “Startup Settings” > “Restart”.
  3. During the next reboot hit “F7” (= option “Disable driver signature enforcement”).
  4. Once the OS is up, you can get any suitable modded driver properly installed from within the Device Manager by using the “Have Disk Method” (see above).
  5. Until the next reboot you can install as many unsigned or modded drivers as you want or need to.


Regards
Fernando

1 Like

@Fernando :

Thanks for the detailed tutorial.

As far as I know Windows 8+ versions already contain USB 3.0 drivers for Intel’s hardware and you don’t need to install anything else to get your devices working.

Do you know any specific advantages of this method, or do you perhaps have some interesting benchmark results? I didn’t test it myself, I’m just curious.

Yes, the Intel USB 3.0 Controllers and Hub devices are supported by generic MS drivers, but these drivers make a lot of problems (look >this< post written by plutomaniac).

Since I have installed the specific Intel USB 3.0 drivers instead of the Win8.1/10 in-box MS drivers, all my Intel USB 3.0 ports are running much better than before.

I can only agree with Fernando.
I always got problems with my Western Digital USB 3.0 external drive because it is not always recognize by windows 8.1. On windows 7, I’ve never had any problem… That being said, it could also be the fault of Western Digital for not providing the good drivers. I don’t know.

@Fernando I am amazed of what this forum has become. It is simply amazing. Keep up this great work !
TschĂĽĂź

@ Hannay:
Welcome at Win-RAID Forum and thanks for your contribution regarding the modded USB drivers!

I will try my very best!

Regards
Dieter (alias Fernando)

Hum, I can’t install these ones : 64bit Intel USB 3.0 Drivers v3.0.4.65 on my HM87 motherboard (laptop).

Details : \VEN_8086&DEV_8C31&SUBSYS_05AA1028&REV_05\3&11583659&0&A0

It says I already have the last one installed but I still have the windows ones…

Has someone a clue?
thks!

You have to force the installation by hitting the "Have Disk" button.

Yes, it worked. But my mouse isn’t powered anymore…


EDIT : Forget it, it also worked :slight_smile: Never forget one single step of the tutorial ^^

Connect your mouse temporarily to an USB 2.0 or a non-Intel USB 3.0 port, then install the required Intel USB 3.0 Hub driver.
After the next reboot all Intel USB 3.0 ports will work fine with the new Intel drivers.

Using the "Have Disk" button has been mentioned within the start post as well.
It is always better to read before you write.

@ all:

Since I have renamed the “AHCI/RAID Drivers” sub-Forum to “Important Drivers” and created a new thread named “USB Drivers (original and modded)”, I decided to move this thread from the “Special Topics” to the “Important Drivers” Forum section.
Furthermore I have removed the last part of the start post, where I had offered some especially modded Intel USB and Smart Connect Technology drivers. You can find the modded USB drivers now within >this< thread.

If you should have a better idea regarding the location of this thread, please let me know it.

Regards
Dieter (alias Fernando)

@ all:

Today I have put some additional informations about the "driver modding" procedure and the advantage/disadvantage of their installation into the start post.
Furthermore I have customized the thread title.

I hope, that these informations may destroy some worries regarding the usage of a "modded" driver.

Regards
Dieter (alias Fernando)

Is there any way to load the modded drivers during a Windows 10 setup?.

If i hit the load controller and select a modded driver it obviously doesn’t “find” any driver since they are not certificated with M$ certificates and i cant load your certificate during the setup :confused:

The better option may be to insert the mod+signed driver into the OS image. Look >here<.

Does this also works in the latest 1703-Win10x64 ??
Is there an other way ( more easy !) for getting these inf-files signed ( with your certificate ) ?
Are you sure you dont get BSODs etc. by using "unsigned" drivers cq inf-files ??

Yes. The only difference concerns the import of the Certificate (has to be done just once). You have to run the CMD file from within the Command Prompt or Windows Powershell as Admin.

If you want to give any driver a digital signature, you need to create such Certificate yourself. The Win-RAID CA Certificate can only be used by me.

Why do you want to use unsigned drivers?

" You have to run the CMD file from within the Command Prompt or Windows Powershell as Admin "…How will I do this ??
I know how to start CMD but then… ( sorry, Im not so smart as you are, Im only a starter )
I want to update all my old MS-inf-files to latest , signed by you. I got this old stuff with the upgrade from 1607 ( with latest drivers ,signed by you ) to the 1703.

@Pete12 :
If you had already previously imported the Win-RAID CA Certificate, you can update the Intel Chipset Device INF files by doing the following:
1. Run the Device Manager and expand the section “System devices”.
2. Do a right click onto the first listed device, whose name begins with the word “Intel(R)”, and choose the options “Update driver” > “Browse my computer”.
3. Click onto the button “Browse” and navigate to the folder, which contains the desired mod+signed INF files (folder name in this case: “INF+CAT Files”).
4. Click onto the button “OK” and “Next”.
5. If the folder contains any suitable newer INF file for the related device, it will be installed automaticly.
6. Repeat the procedure - one after the other - with all listed devices, whose name begins with the word “Intel(R)”.
Don’t worry about getting a wrong “driver” installed. If the related device needs any other driver and not an Intel Chipset Device INF file, the Device Manager will give you the information, that “the best driver has been already been installed”.

If the Win-RAID CA Certificate has not yet been imported, do the following:
1. Download the attached INF Files package and unzip it.
2. Create a folder named “Certificate” within your drive C and copy the 2 files, which are within the “Certificate” folder of your just downloaded and unzipped package, into the folder C:\Certificate.
3. Run the Windows PowerShell as Admin, edit “cd C:\Certificate” and hit the Enter key.
4. Edit “.\import.cmd” and hit the Enter key.
5. hit “y” (for Yes), when prompted.
6. Now you should see a lot of messages inclusive the one, that the Win-RAID CA Certificate has ben successfully imported.
7. To close the WindowsPowerShell, edit “exit” and hit the Enter key.
8. If you want, you can delete the folder C:\Certificate thereafter.

Latest Intel Chipset Device INF Files v10.1.x.xx mod+signed by Fernando.rar (372 KB)

Well, did exactly as you said, drivers are all installed/updated, only they are not digital signed , I can not find your certificate on the info-tab of each driver !
Am I doing something wrong…?

Run the Device Manager, expand the section "System devices", do a right-click onto any Intel Chipset Device and choose the options "Properties" > "Driver".
Then you should see something like this:
[[File:mod+signed Intel INF files signature.png|none|300px|200px]]

mod+signed Intel INF files signature.png

Well, I did see this in my previous 1607-version, but not in my upgraded 1703-version !
Its showing "not signed "

Not signed.jpg


It seems the input of the certificate does not function in this latest Win10 ( 1703) !!