Big thank you! On my motherboard, I install NVMe Sumsung (3200 read/2000 write MB/s, PM981 chip). But the possibility of overclocking the RAM was lost (4770k was easily overclocked to 4.3GHz now). But any attempt to set the frequency / timings or voltage for the RAM is completely ignored (but the value in the BIOS is saved, but not applied). Prior to this, the khx1600c9d3/8gx RAM worked stably on 2133Hz. Maybe it’s about updating the rest of the BIOS modules. Can you make BIOS 2103 only with the added NVMe mod? Now RAM worked on 1333Hz. Thanks again!
Hello Guys!
I have a question please. I have a z87-plus motherboard, and i make the bios flashback.
After the pc is workin. Not problem. I put the axagon adapter, this one:
https://www.alza.hu/axagon-pcem2-s-d5447…v8aAuz5EALw_wcB
This is my m2: https://www.pcland.hu/kingspec-128gb-m2-…nt-128?forras=4
After i start the system, and computer dont see the item. I try in pcie 2 and pcie 3 port. What i soing this worken? Thank you the answer.
Cheers, Paul
Hi, i follow the settings but dont work. Second speed is 0 in my board. Why? You know?
What is the problem?
My system is now: 120gb kingstone ssd - system
Second drives is 2x1TB WD in RAID.
I want change the ssd to m2.
Hi, i put this mod bion in flashback mod. I looking one BUG, after installing, dont work the dual channel. My 2400mhz memory worken in 1333mhz, just… nost more… I dont know why, i put back the original bios, memory is worken. What is the problem?
yess, for me same.
I have the same problem with the ram set to 1333mhz even if i change overclocking. Has anyone found the problem?
I can confirm the same issues with RAM ![]()
Hello!
Currently trying to boot on a Samsung M.2 SSD 970 Evo Plus.
Got a Z87M-Plus as motherboard (and not a Z87 Plus).
Do you know if this bios will do the trick? Or will it brick my motherboard?
I started looking on my own modded bios, but I don’t really feel comfortable with that and I’d like to keep that as last chance.
Thanks!
Okay update to Asus Z87 Plus as follows: first the vanilla flavour with no NVMe update
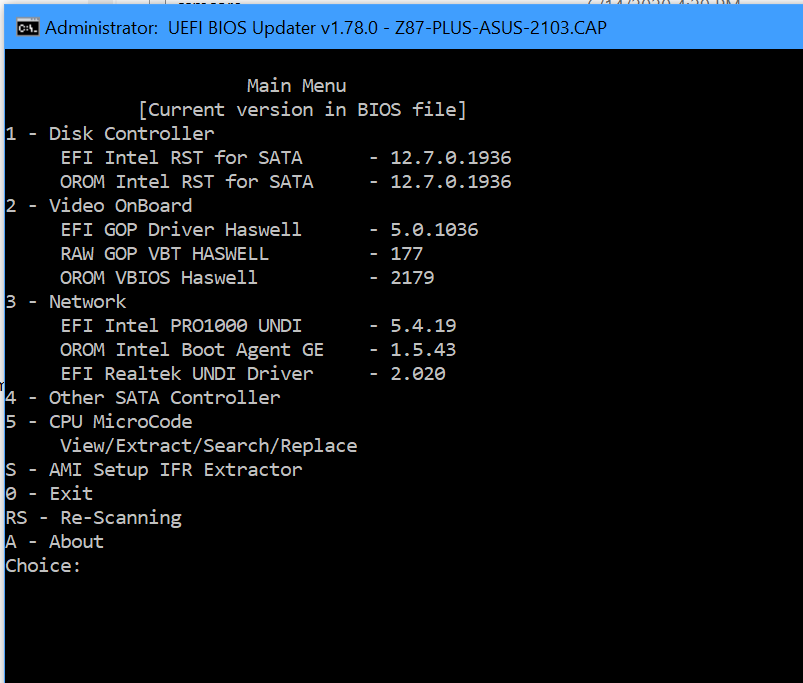
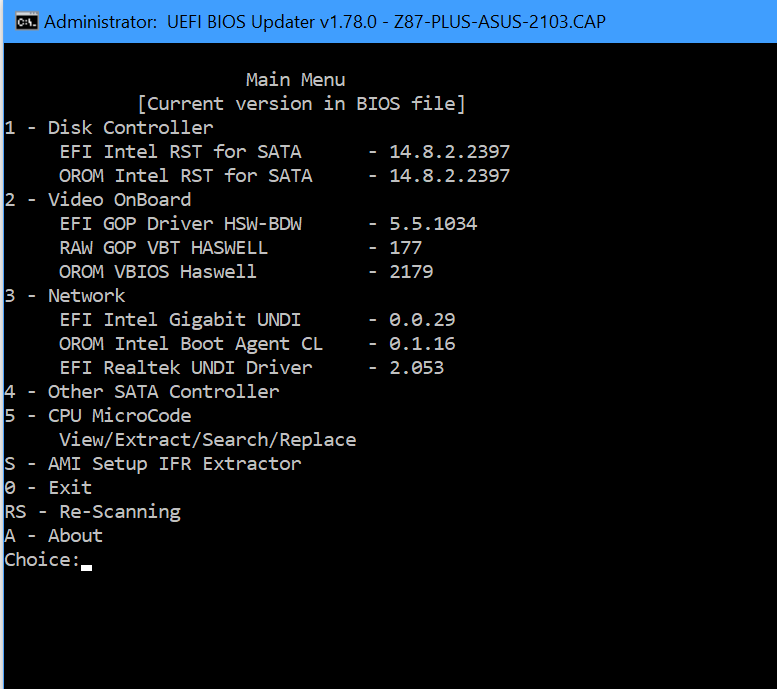
UBU detect:
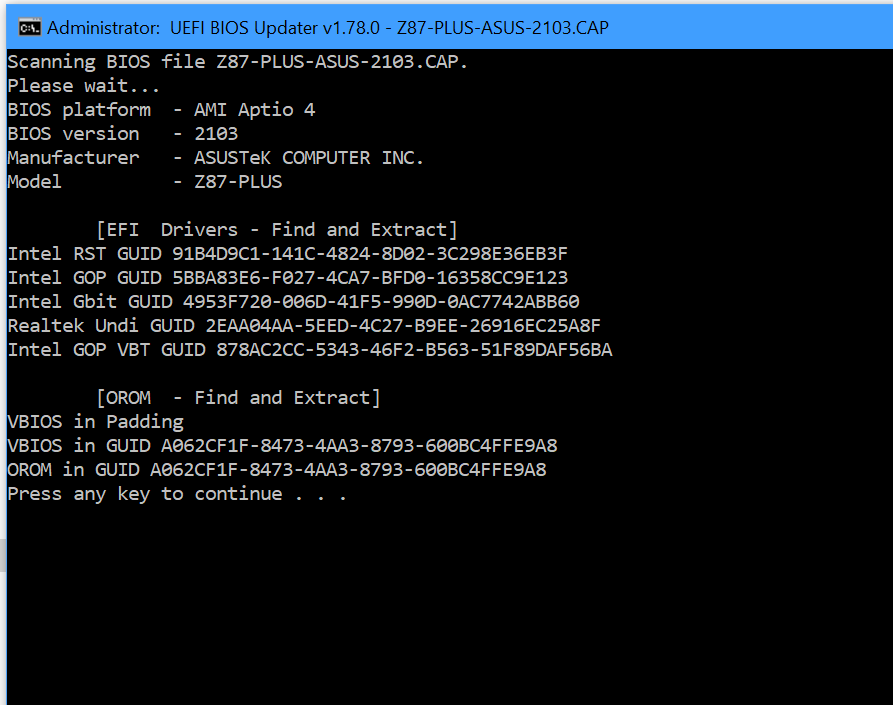
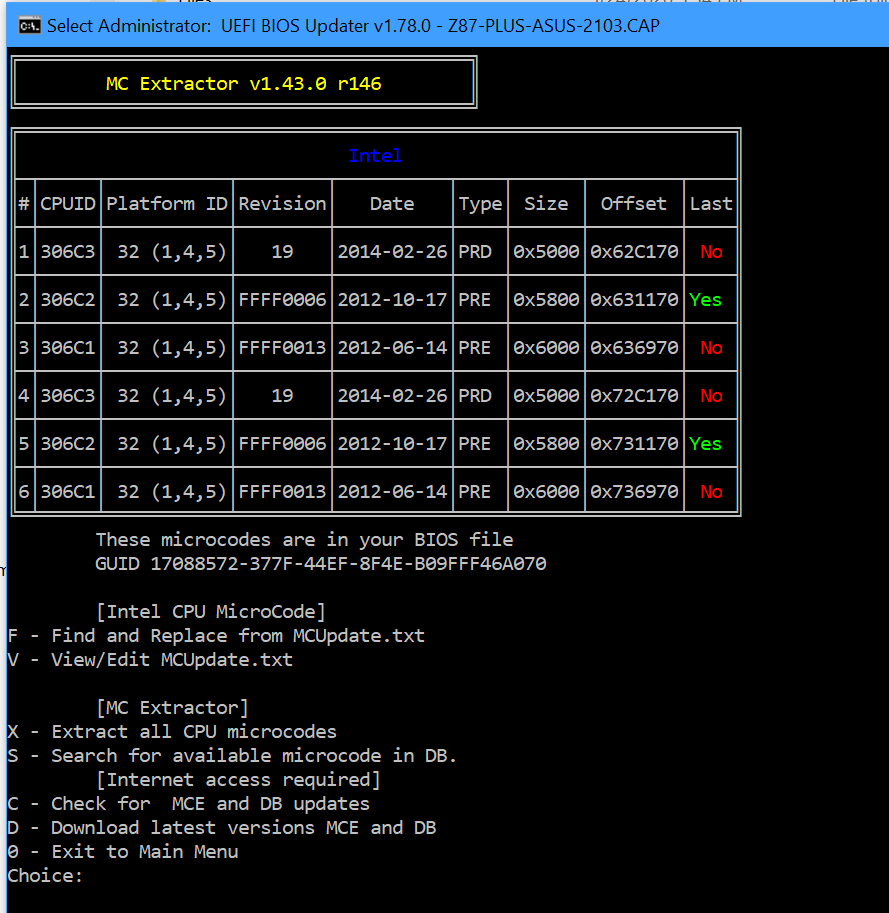
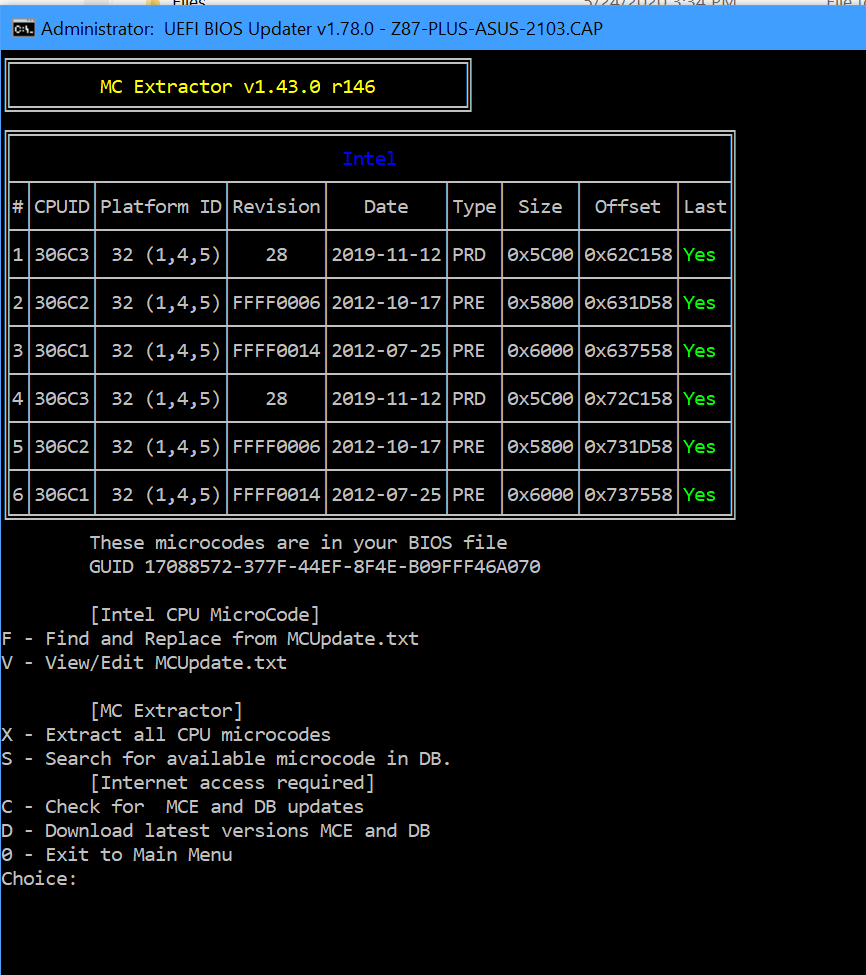
UBU detect EFI ROM modules UBU detect Microcode
UBU mod EFI ROM modules UBU mod Microcode
Z87PL_no_NVMe.rar (4.74 MB)
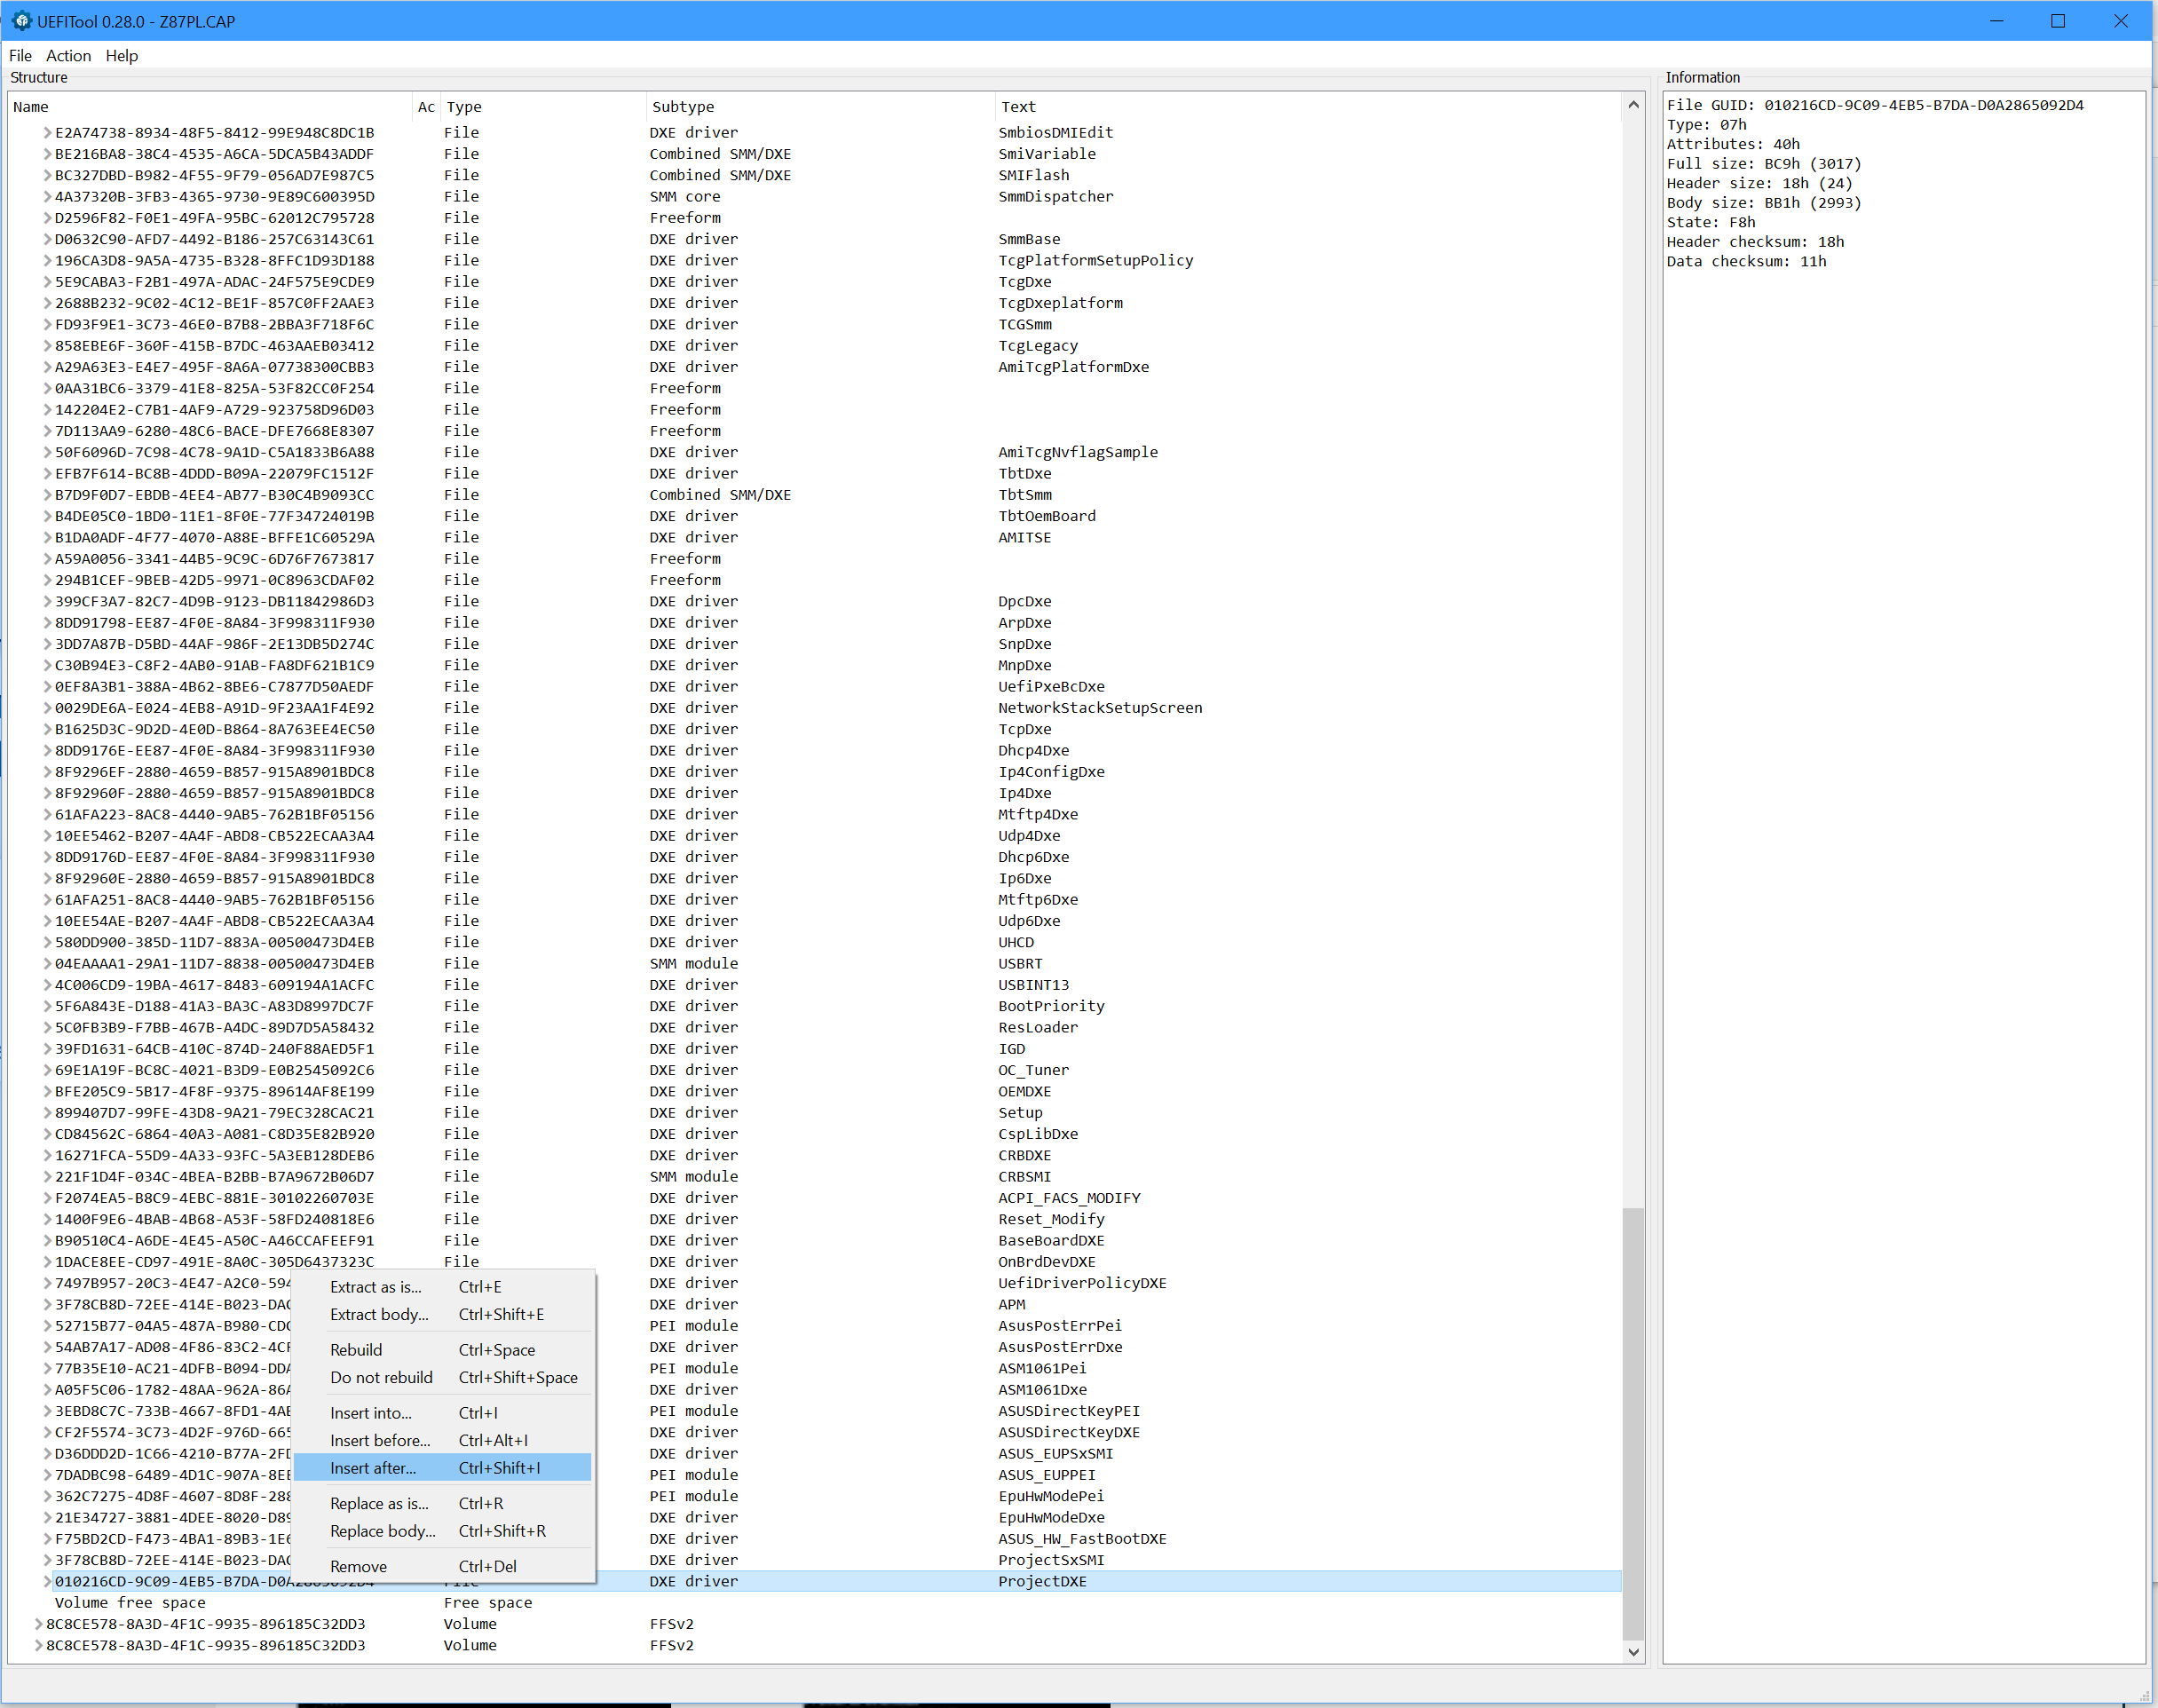
Now the NVMe mod:
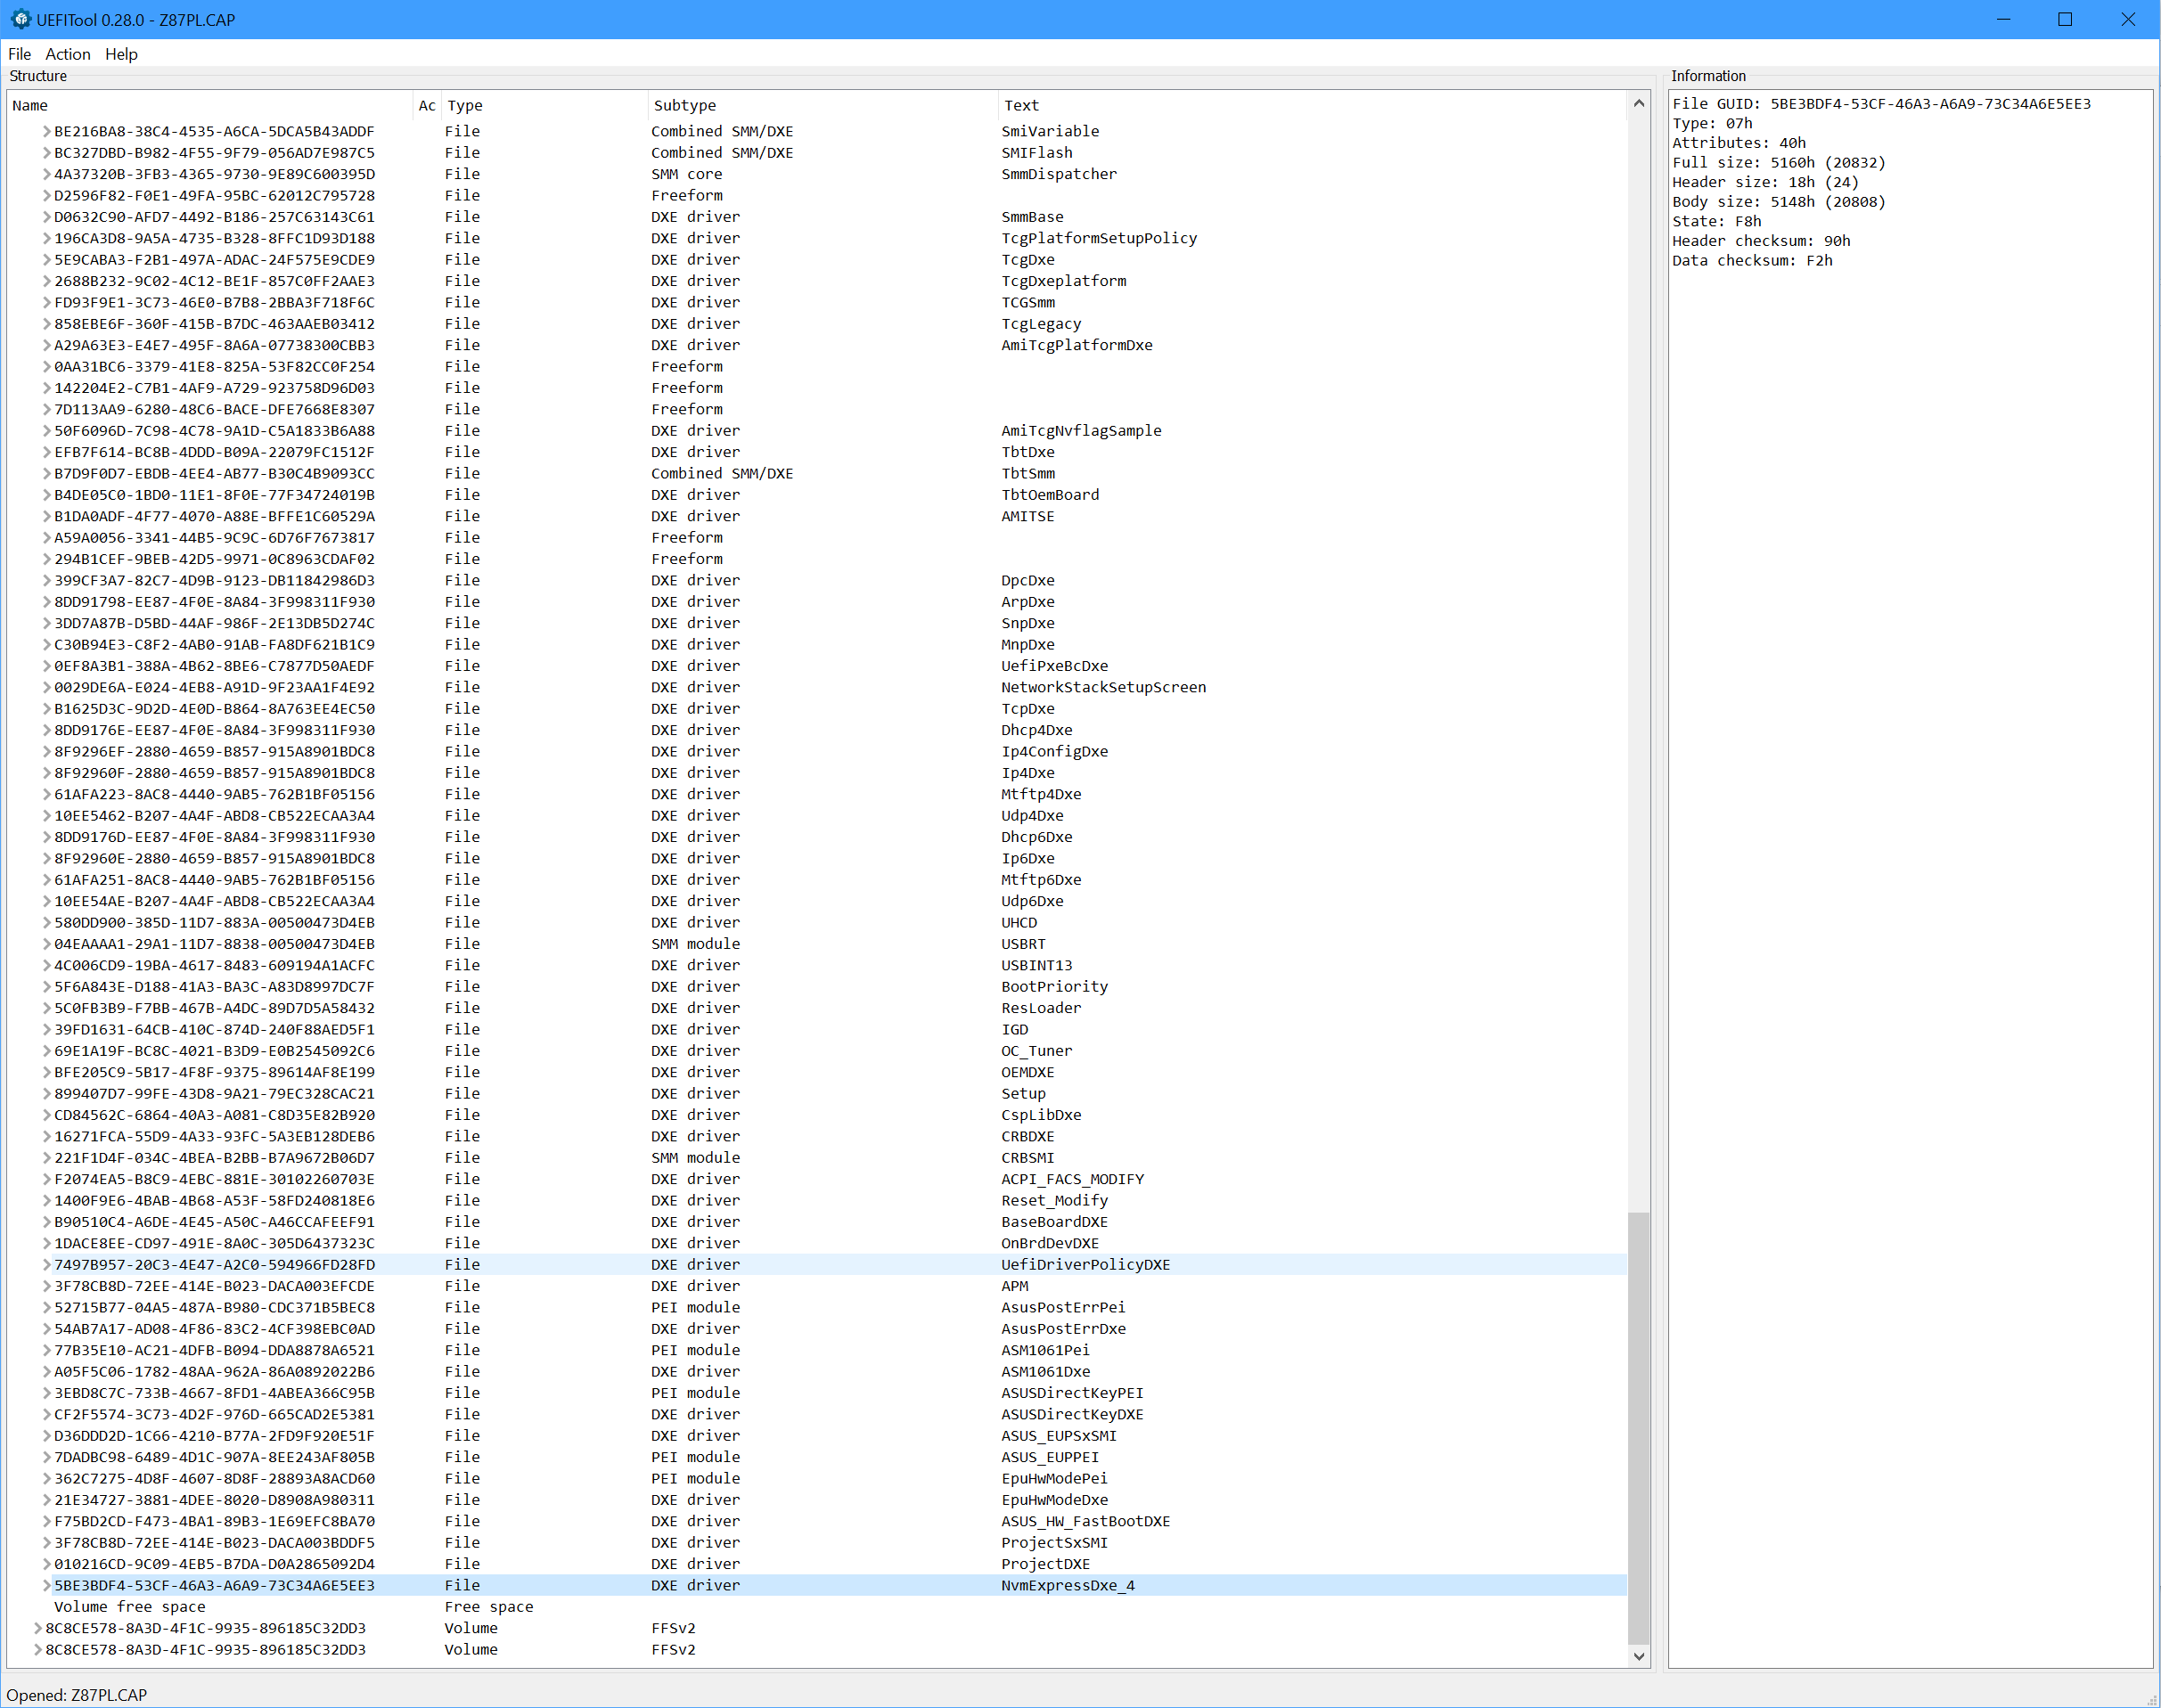
Insert NVMe module after last DXE: NVMe module insertion complete:
For those with odd memory behaviour etc. you can try the “small NVMe” file below
Cheers
Z87PL_NMVe_mod.rar (4.75 MB)
Z87PL_NVMe_small.rar (4.75 MB)
@NrvXenon
No you want a the separate bios image for your specific board.
See here:
[OFFER] ASUS Z87M-Plus - compl. modded BIOS 2103
Cheers
OK. I am new to the custom mod flashing process, but I have read the related posts on this forum. However, I am still having some questions:
1. Installation
Step 1
-Check that all existing drives are GPT
-If not, convert drive to GPT
Step 2
-Put the content of Z87PL_no_NVMe.rar on a USB flash drive
-Reboot
Is there any visible output during that process?
Step 3
-Put the content of Z87PL_NMVe_mod.rar on a USB flash drive
-Reboot
Any visible output?
2. Validation
How do I know that the new BIOS is installed? Does it show with a different version # or date? Any new features in the configuration utility?
I do understand that I should be able to connect and boot from an NVMe drive if the BIOS has been updated successfully, but is there a way to confirm proper installation without having NVMe hardware?
Thank you for your feedback!
U read the related posts…where did u saw a motherboard using a bios file jkdfgkfdjghdgjk,df.RAR, compressed???
Read the beginning of this post and follow @hancor guidelines…to the letter if u dont want to brick ur motherboard.
Thank you for your reply.
I said very clearly: "Put the CONTENT of …" which is Z87PL.CAP
I am also using the proper USB port and the flashback button on the motherboard. Just in case there are concerns that I am not closely following the flashback process properly.
My main question is: Are there any visible indicators in the BIOS configuration indicating that I am using a custom BIOS?
@Todd_Sauve @outlawist @Trigun @paulmartinez @luca79rio @mrB4el @ jst68 @MeatWar
EFI ROM updates:
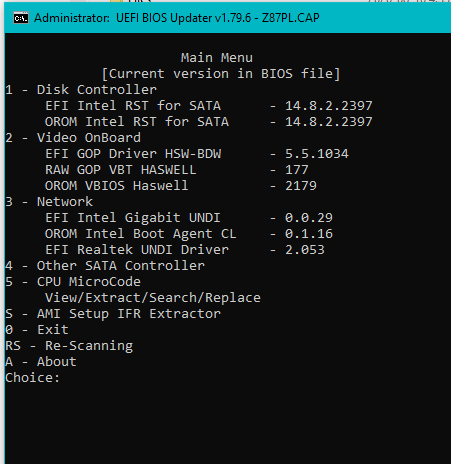
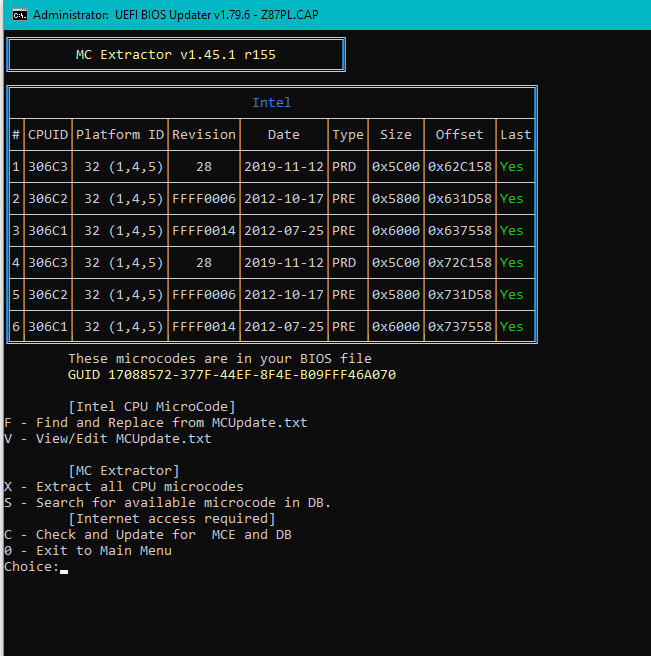
microcode updates:
Okay, I went back and did a manual NVMe mod via MMTool v 4.50.0.23 as per the pic shown below:
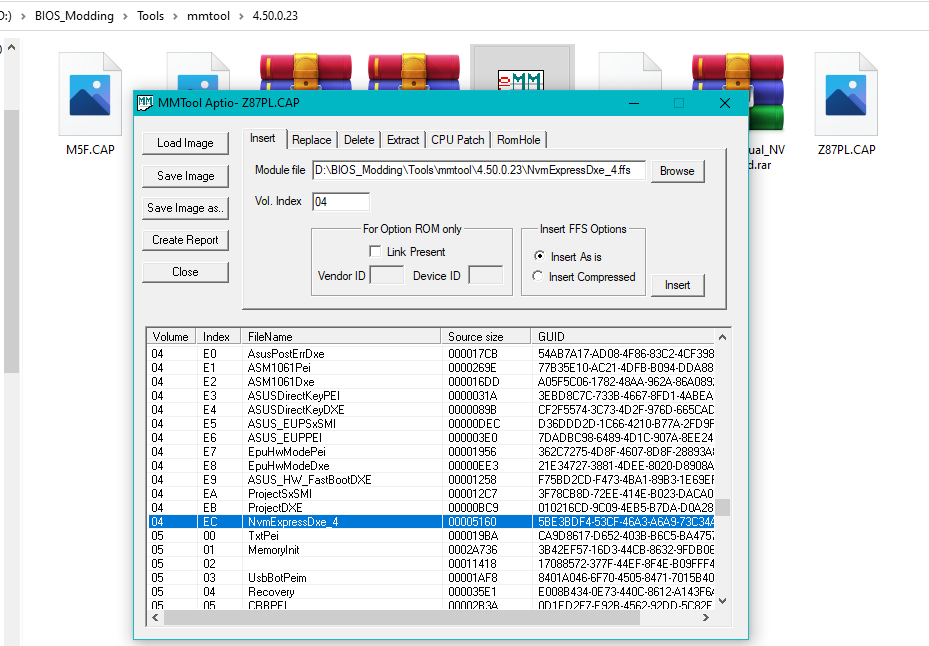
This corrected mod should fix up the memory hiccups with the previous NVMe mods and lead to the NVMe "Promised Land"
Please note post#1 with updated bios available!

Cheers and much success!
Z87PL_manual_NVMe_mod.rar (4.75 MB)
I finally got my hardware. 
I got an Adata SX8200 Pro and a Yateng M.2 NVME SSD PCIe Adapter.
After some fiddling, the system is booting Windows 10 from the SX8200 Pro. However, I am getting less than 800 MB/s (read) in CrystalDiskMark.
I have already checked the driver and Windows 10 is using the Standard NVMe driver. I have put he controller in the last PCIe x16 slot (the one furthest away from the CPU).
Shouldn’t I see better performance?
Any help is appreciated!
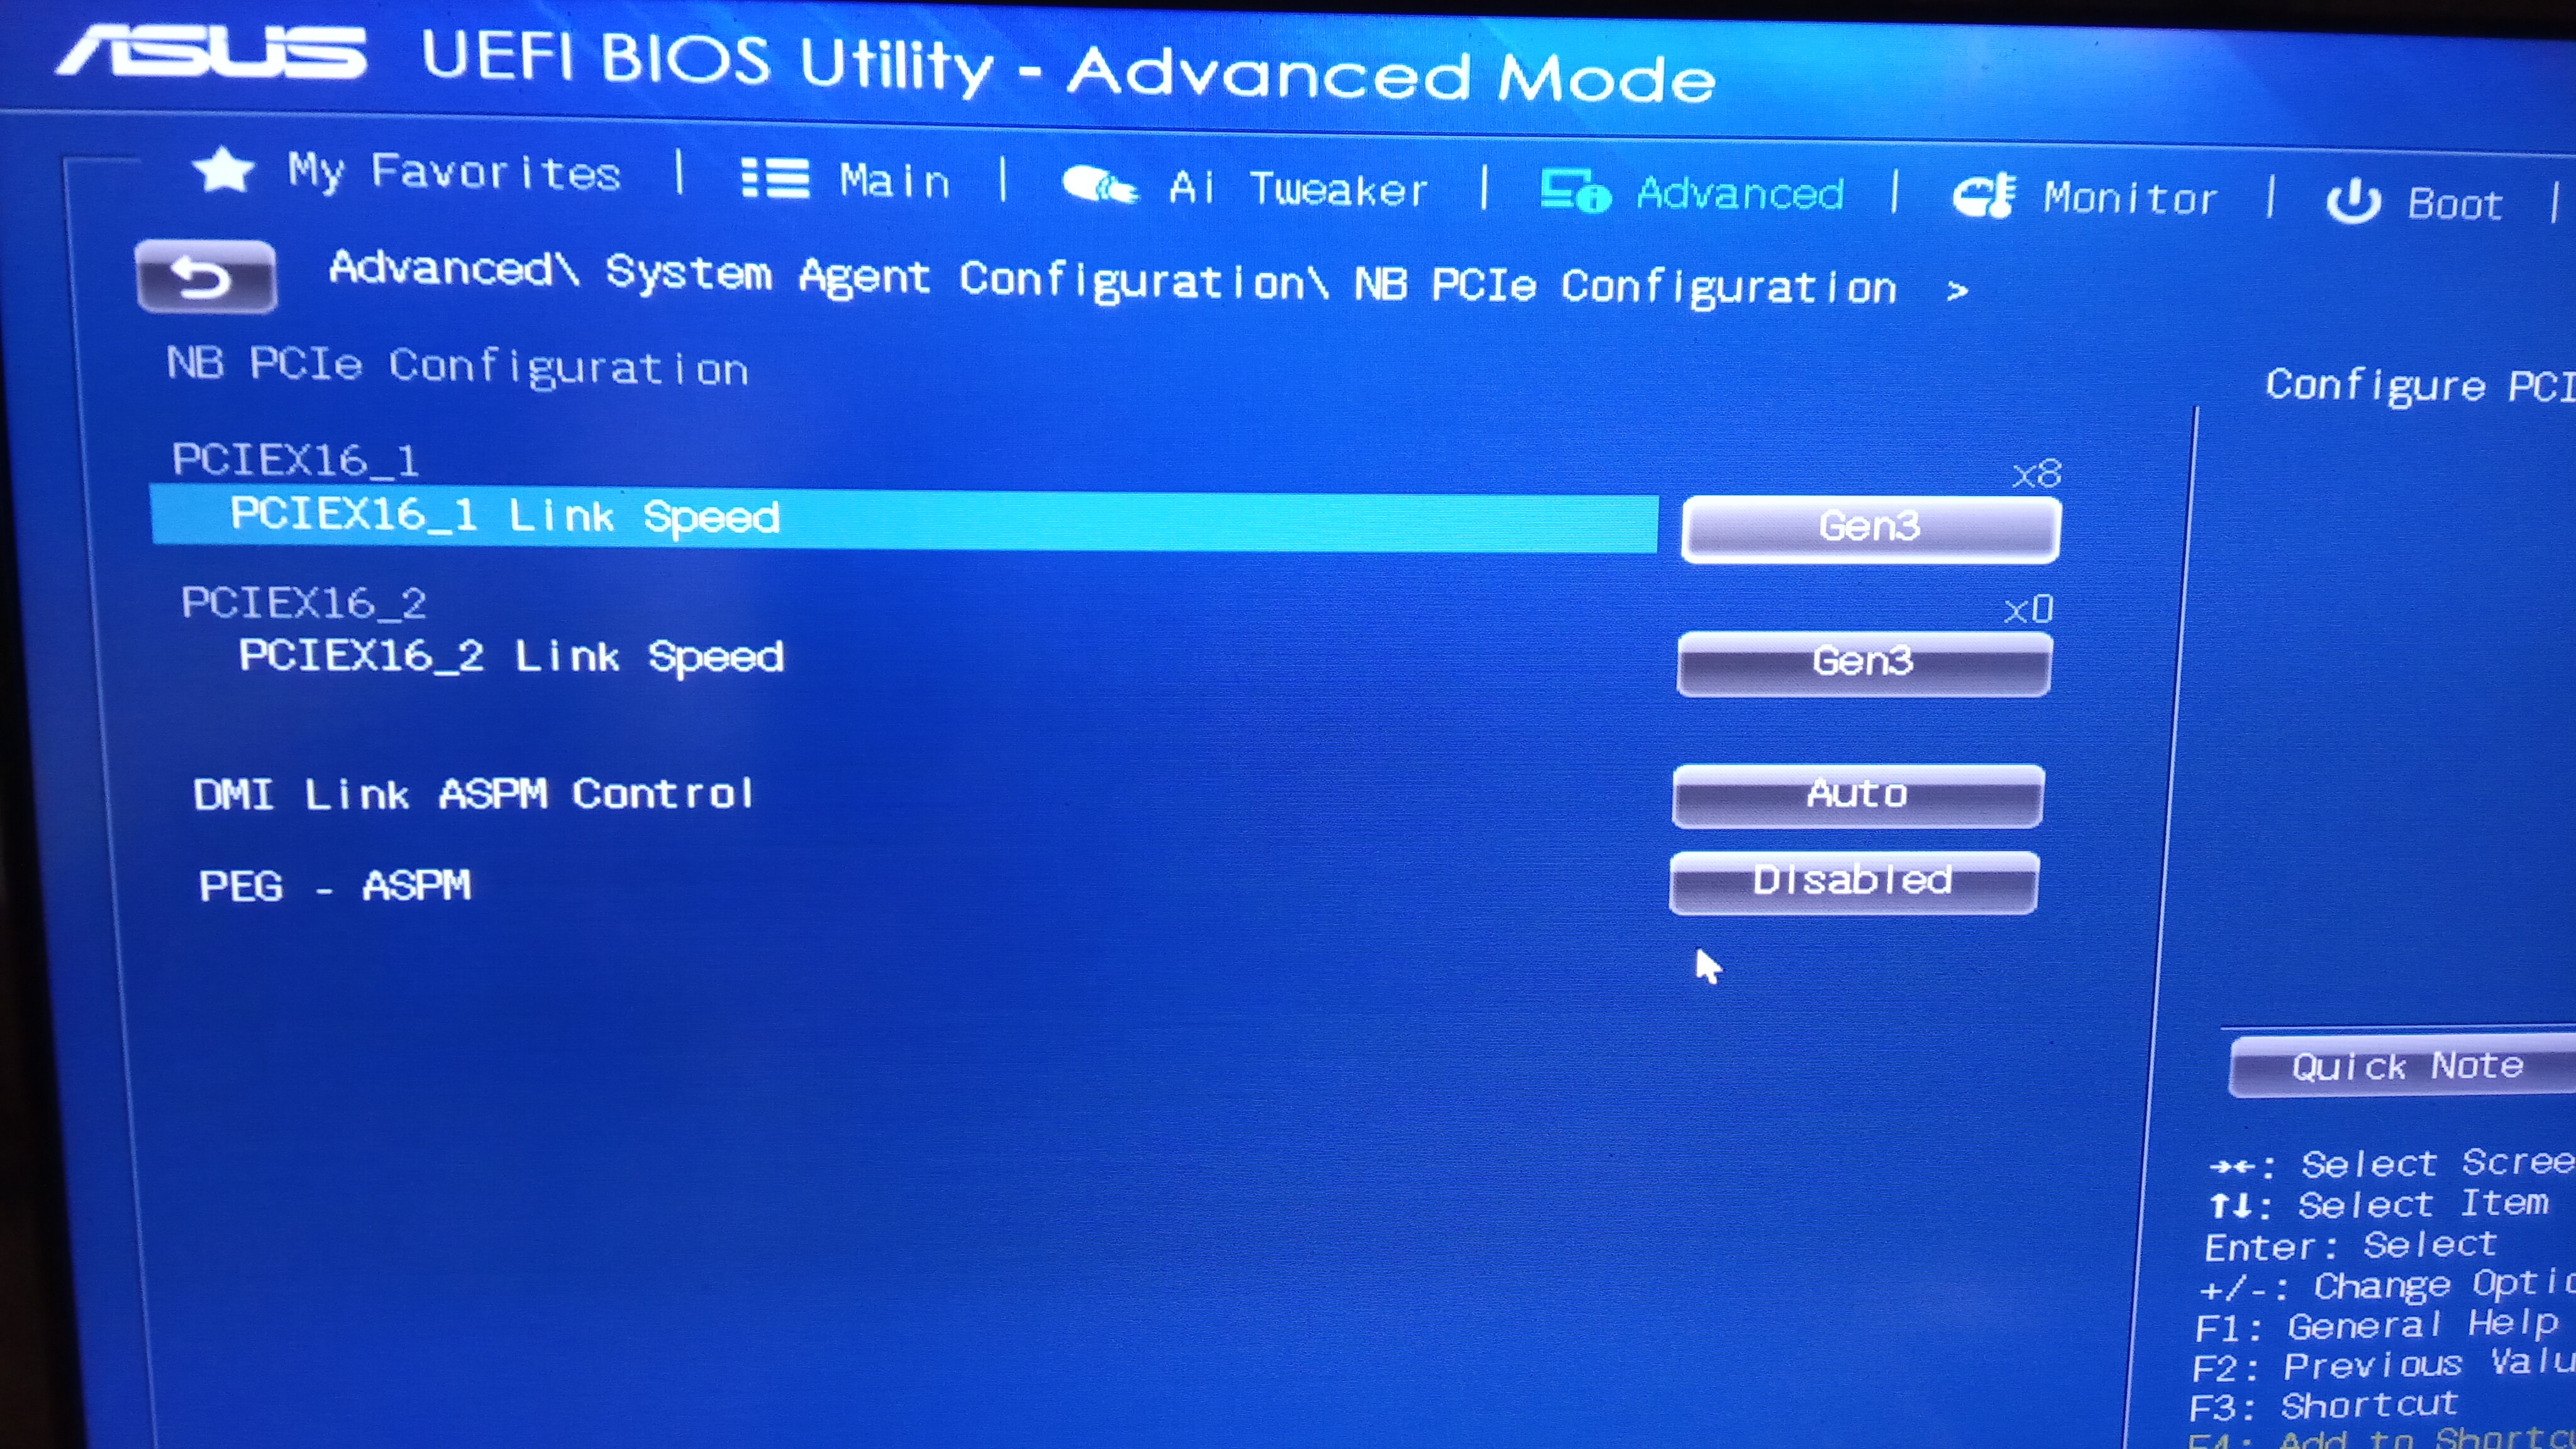
This is PCIe 2.0 x16 (x2 mode) slot (speed ~ 1.0 GB/s). Rearrange in the second slot (PCIe 3.0 x4 speed ~ 3,94 GB/s).
@begemot Thank you! You are correct! I have made the same discovery after taking another look at the board specifications yesterday evening.
Anyhow, I am up and running. Getting around 2.8 MB/s read performance on my Windows 10 boot drive. Not bad I think.
Here is what worked for me:
1. GPT Check
- Confirm that all existing drives are GPT
- If not, convert them using a tool like Paragon Partition Manager (that’s what I used for one of my drives; it’s free!)
2. Install @hancor 's ROM
- Download the ROM. IMPORTANT: Make sure you are having the exact same motherboard! See first post!
- Extract ROM archive to a newly formatted USB flash drive (FAT or FAT32)
- You should end up a with a USB flash drive containing one file: Z87PL.CAP
- IMPORTANT: Connect your USB flash drive to the specially marked USB port
- Open your case and press the BIOS flash button on the motherboard. You need to hold it for a few seconds until an LED fires up. Once you release the button, the BIOS will be flashed
3. Hardware Installation
- Install NVME adapter and drive
- Important: Use PCIe slot 1 or 2. Slot 3 is only x2 mode and won’t give you full performance!
4. Validate BIOS
- Check the Boot tab in your BIOS (advanced mode). It should show your new drive.
- Comment: It would be nice if there would another indicator somewhere showing that we are indeed running a different BIOS than before.
5. Install OR Migration
You have two options here. You can either way install your system from scratch or you can migrate you existing Windows 10 system disk.
IMPORTANT: I have been using Windows 10 2004 which didn’t give me any trouble with recognizing the new disk for migration, but it is my understanding that 2004 includes some new functionality for NVME that wasn’t there before.
a) Install
- IMPORTANT: Remove old disk before installation!
- Use a Windows 10 USB flash and install Windows to your new drive.
- Reboot
b) Migration
- IMPORTANT: Requires the new disk to be bigger than your system disk!
- Boot into Windows 10
- Locate your new disk in Disk Management
- Use a third party tool like AOMEI Backupper (free version is sufficient) to “clone” your existing system disk to the new disk.
- IMPORTANT: Use Paragon Partition Manager (or another similar tool) to move the recovery partition on your disk to the end of the disk. Then increase your system partition to use all the space your new drive has to offer.
- Shutdown and remove old disk
- Reboot
- Confirm that your new disk has the desired drive letter. IMPORTANT: It needs to match the drive letter of your old drive!
6. Validate Drive Performance
- Use a tool like Crystal Disk Mark 7 to confirm drive performance
- Done!
Hope this will help someone!
Big thank you to @hancor for creating the BIOS!
This is exactly for this board. On most Asus z87, this slot has x4 mode (~ 2 GB/s), so there you need to look at which ssd you install. Perhaps this slot will be enough.
Just look at the microcode in the BIOS. It will change to 28 if the firmware is successful.