EDIT: Read the entire discussion before downloading and flashing.
Discussion was before in [BIOS Modding Requests]
OFFERED: AN1_BIOS-TPM_3550H_3750H_1AVSZ024_modded.zip vv Read below!! vv.
Done from Bios downloaded from the Chatreey AN1 support page marqued “3550H/3750H version”. It is dated 2022)
!!Works for Mini PC → T-Bao MN35, Chatreey AN1!!
There is a problem with NVME on Minisforum DMAF5 with that bios, see post.
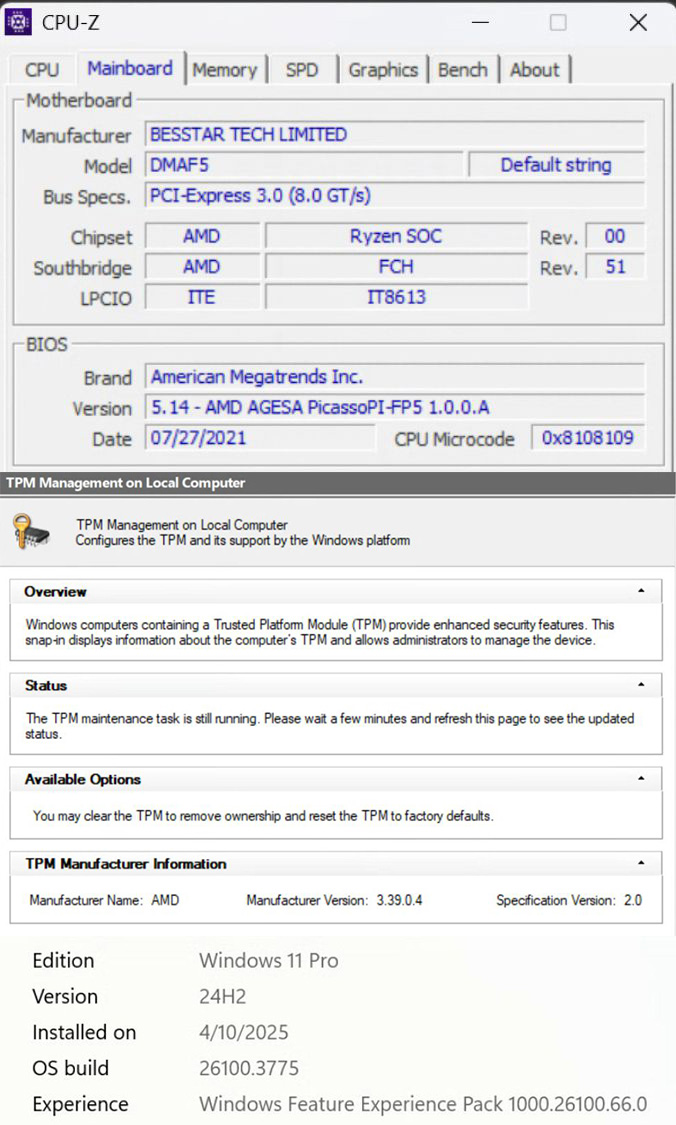
You should use the bios that first introduced TPM support for DMAF5 given by minisforum (1AVSZ017) DMAF5_BIOS-TPM_1AVSZ017_modded2025.zip).
I just did the same mod of the bios, as explained below and explained what it does here with a user.
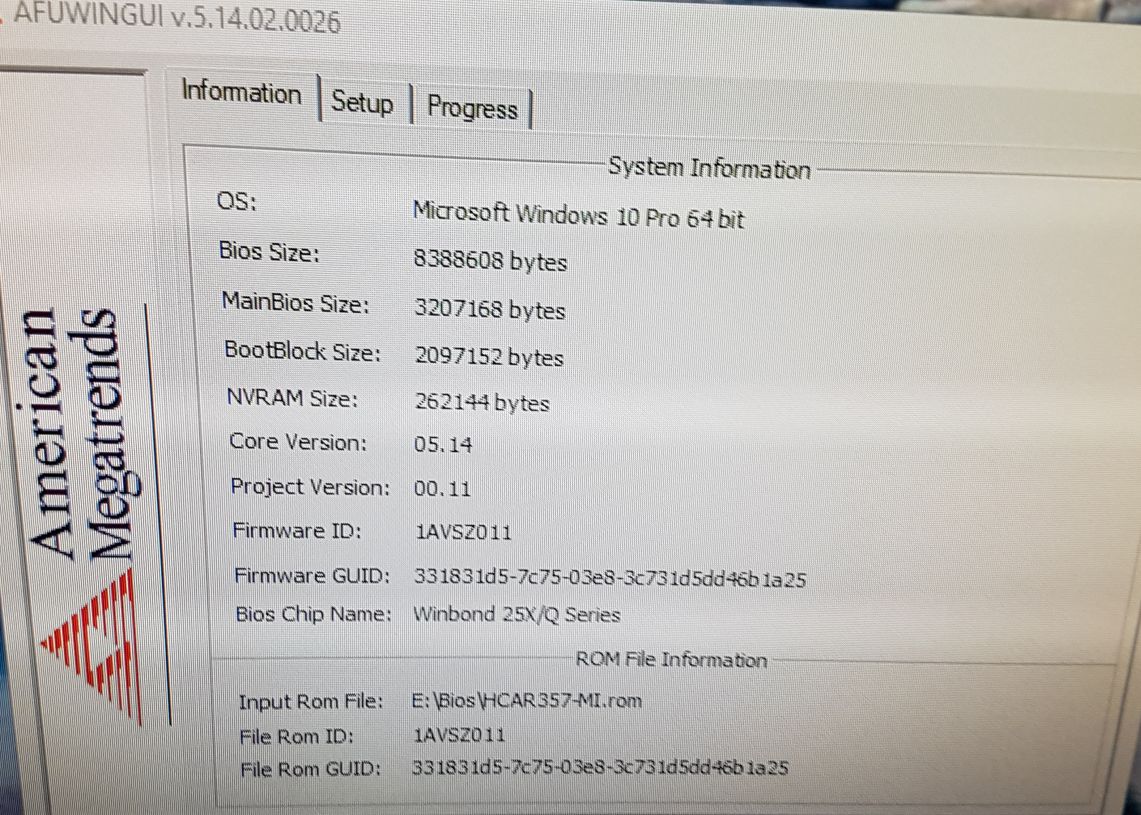
With AFUWINGUI.exe in the zip package, load the bios and check in “Information” tab that your computer is an increment of “Firmware ID” like 1AVSZ017 to 1AVSZ024 and the same “Firmware GUID”.
Pc dealers do different pc with the same names with different Cpu/Gpu or components that need a different Bios.
(ex: AN1 exist with 2700U, or AN1 with a 3550U Vega 9, so each one have a different bios)
I flashed the Bios of a similar mini pc the Minisforum UM350, same “Firmware ID” (1AVSZ024), same “Firmware GUID”, same Motherboard.
System started, but no Wifi because that model have dual Wifi. So caution.
Before I was using the AF5PN01_mod Firmware ID 1AVSZ017 (found in this forum).
It was based on the Minisforum Bios for the DMAF5 from 2021 that added support for TPM and secure boot.
(First I had AR357V3P01.rom 1AVSZ011 on my T-Bao MN35, it didn’t have secure boot and TPM)
What's already done, before and after:
From Matt85R22
run AFUWINGUIx64.EXE open the .rom and then from the setup tab select “program all blocks” and then press the Flash button , then press ok at the prompt to continue (it is vital to keep powered the pc until flash is done and you see all green blocks , with few grey blocks that remained untouched , it is normal )
after that shutdown the pc clear cmos (via jumper or software using load defaults from bios setup) and you’re done tpm should be recognized straight away (however you must have uefi & secure boot in bios to be w11 compatible, but that’s another story, very simple to do that if you can reinstall the system from scratch )
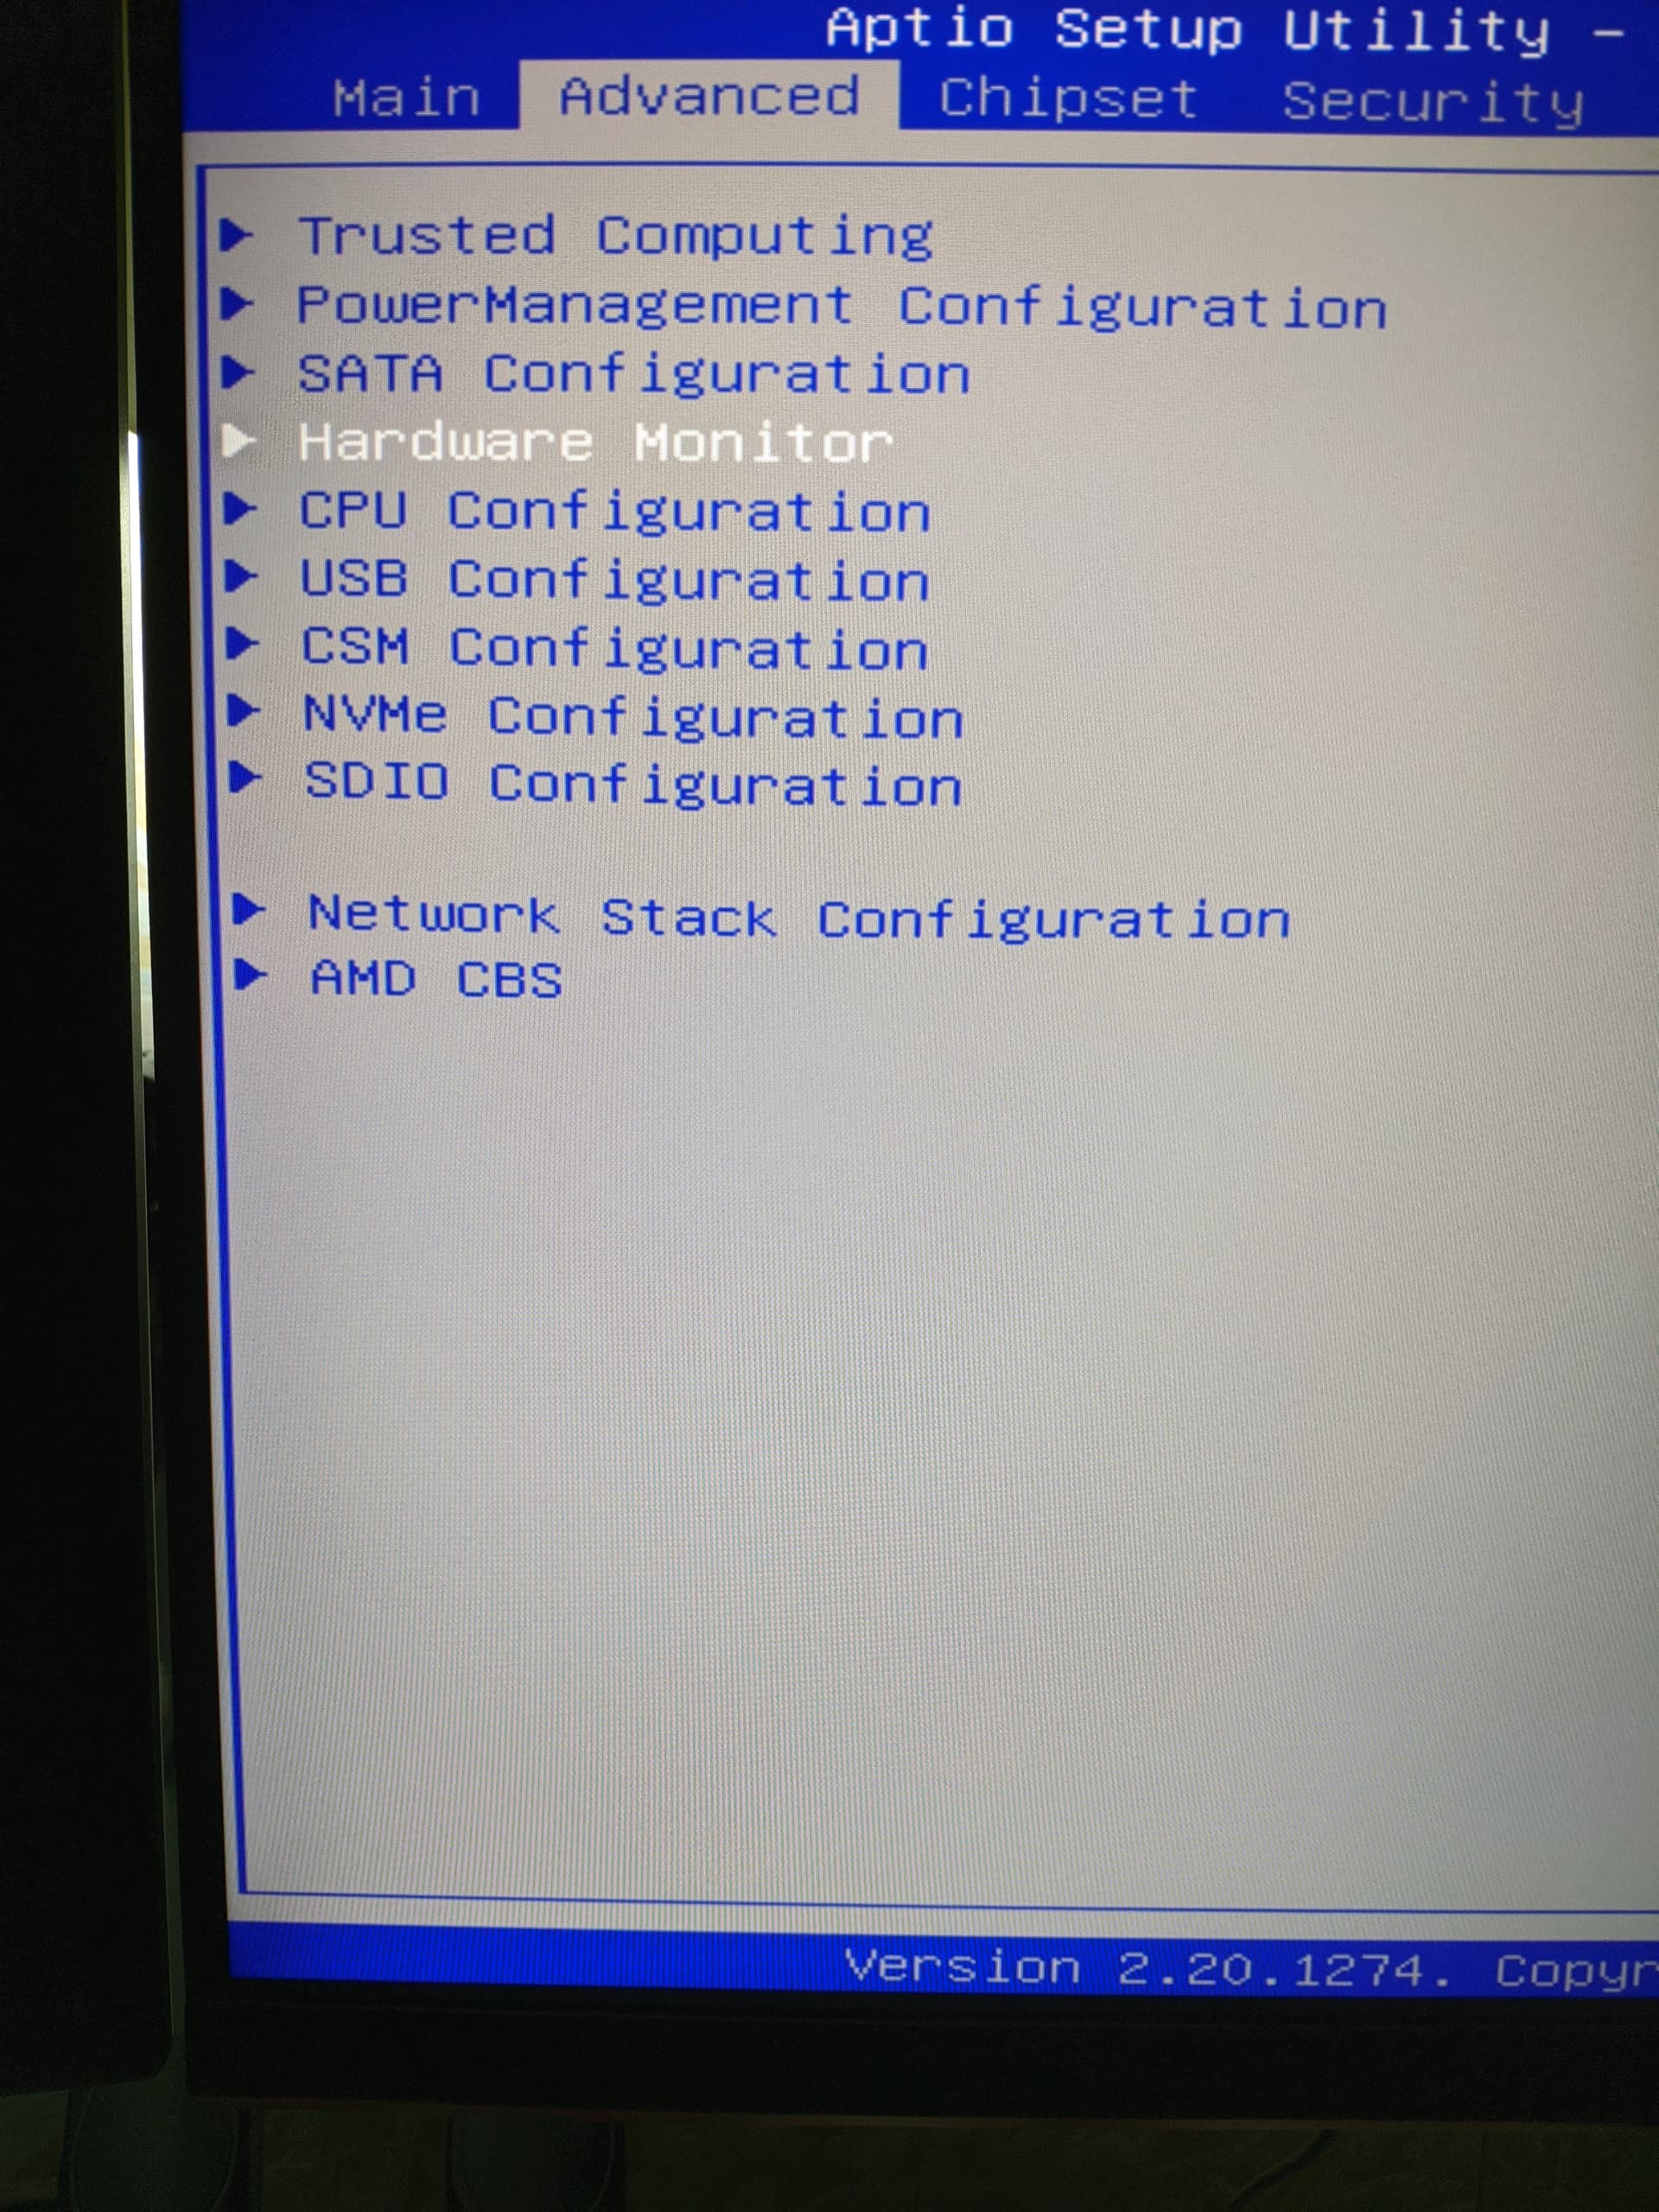
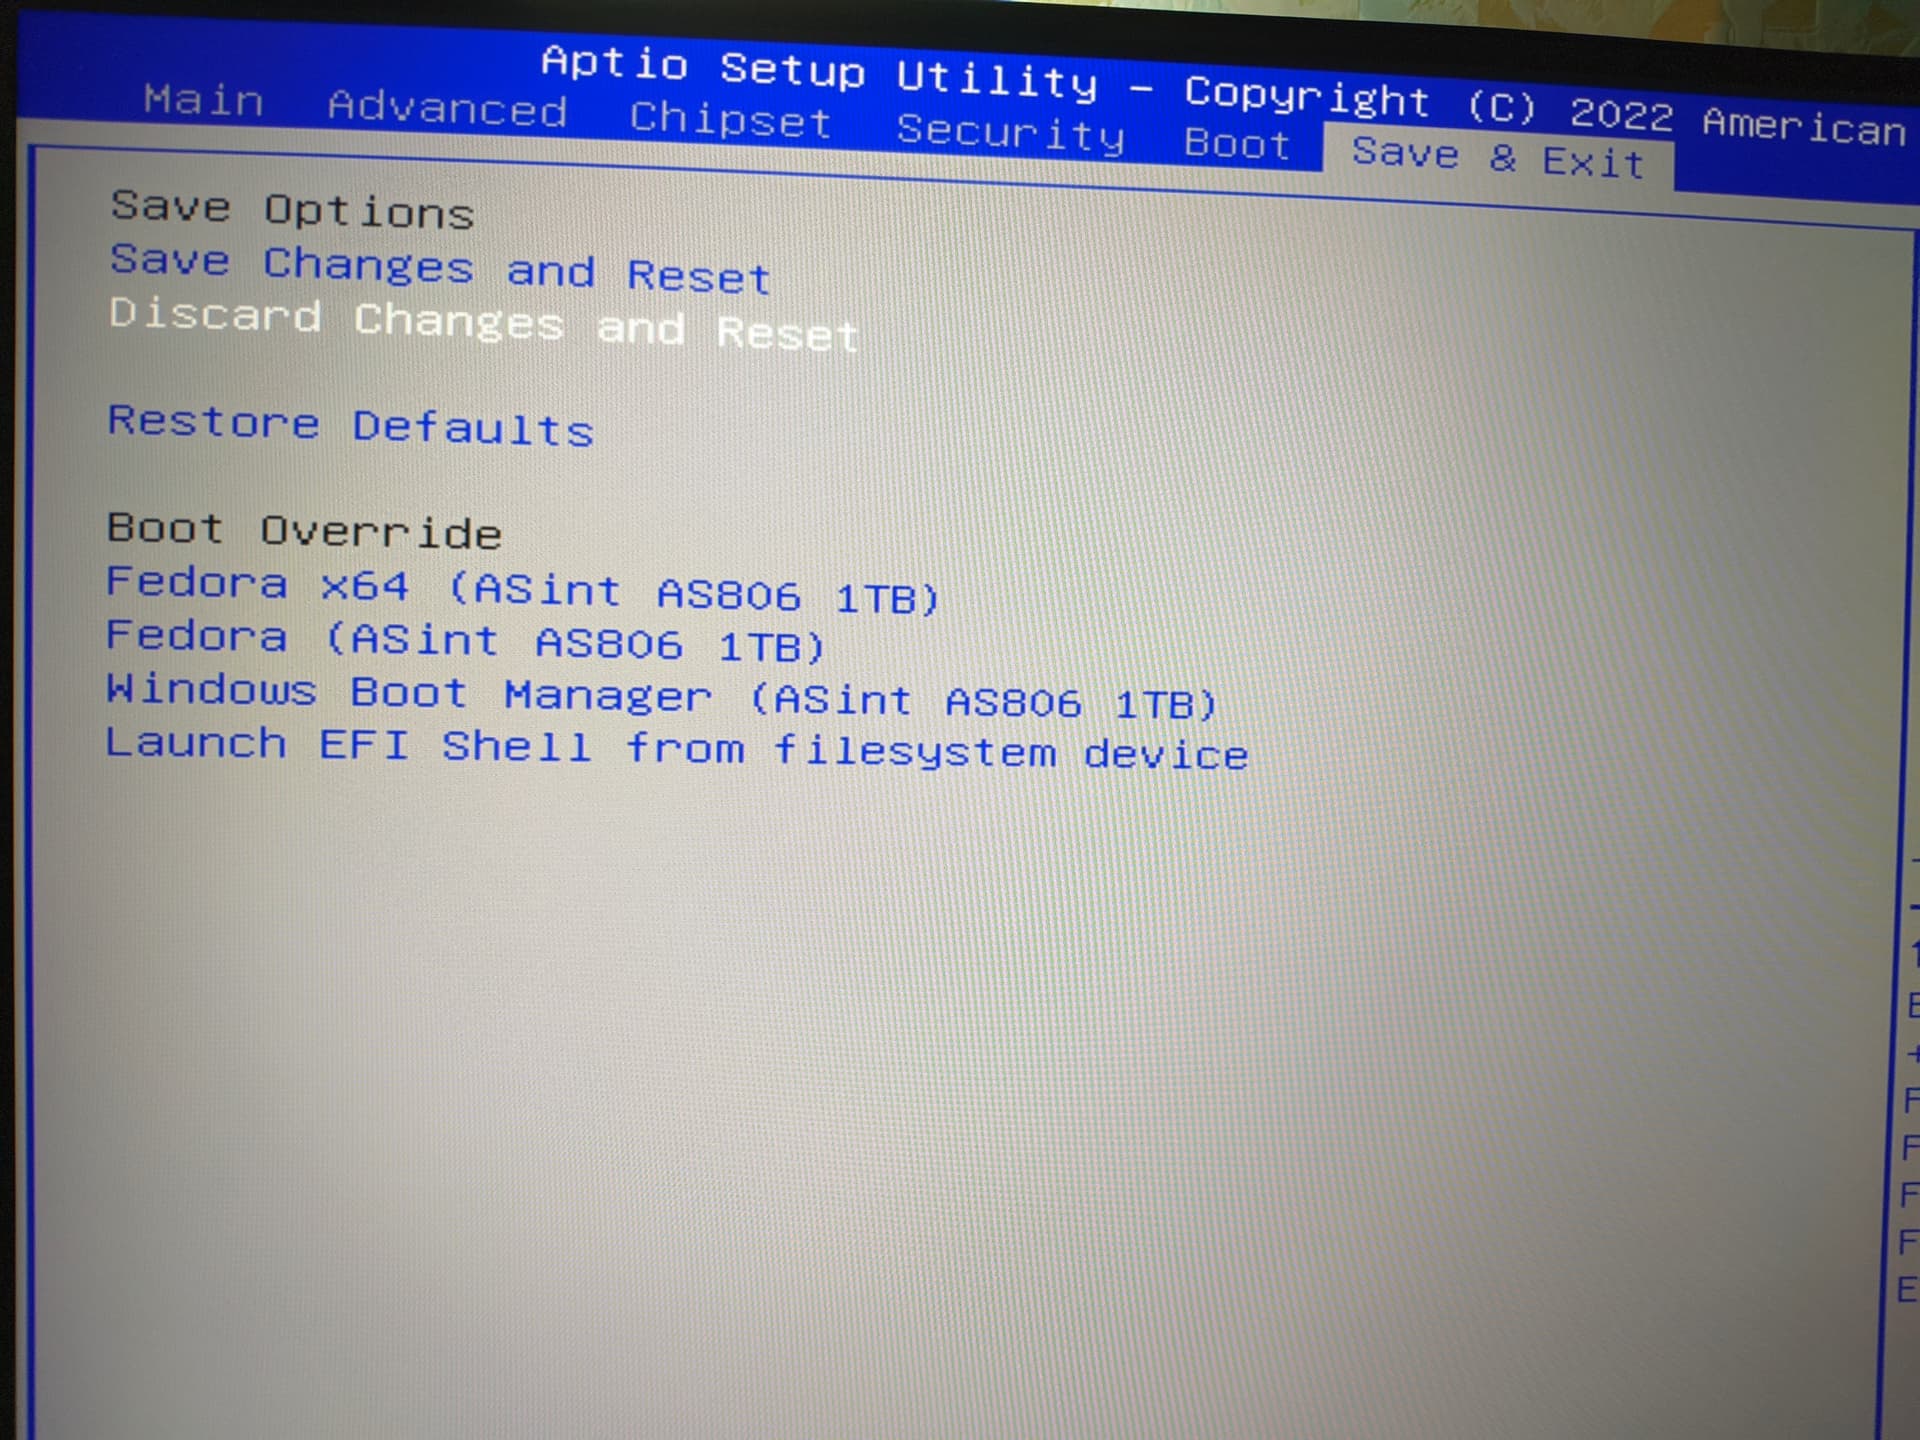
You need to disable “CSM support” and enable Secure Boot in Bios to have TPM after flashing, because default setting is CSM.
By default Boot is set to “DUAL” (legacy and UEFI, not to be confounded with dual-boot). If all your systems installed (Linux and Windows are UEFI installed, you can switch to UEFI.
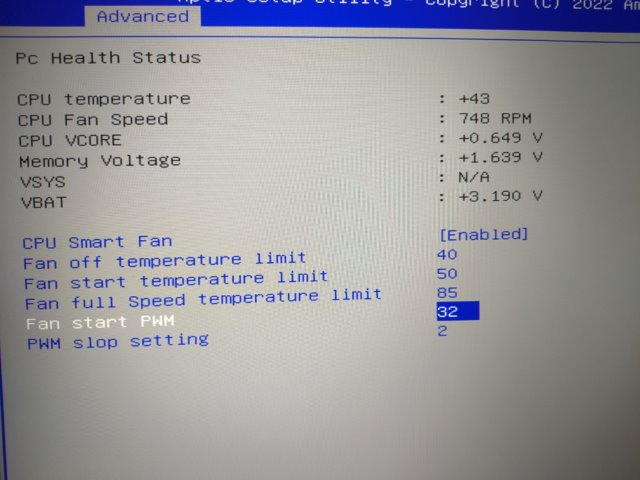
You might wanna change the values of the fan to ones that make more sense:
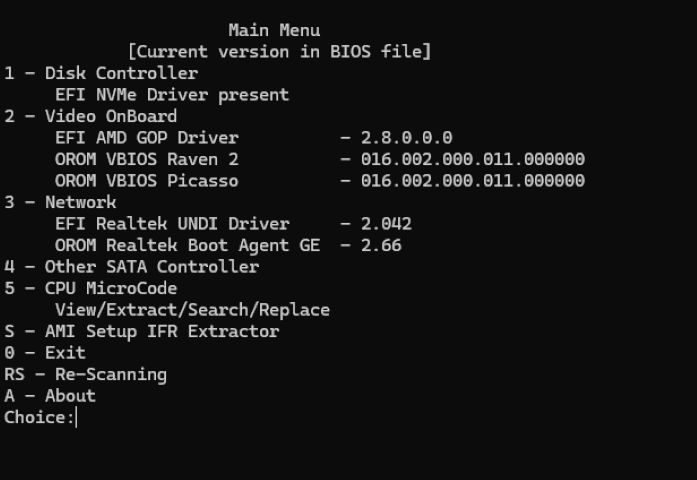
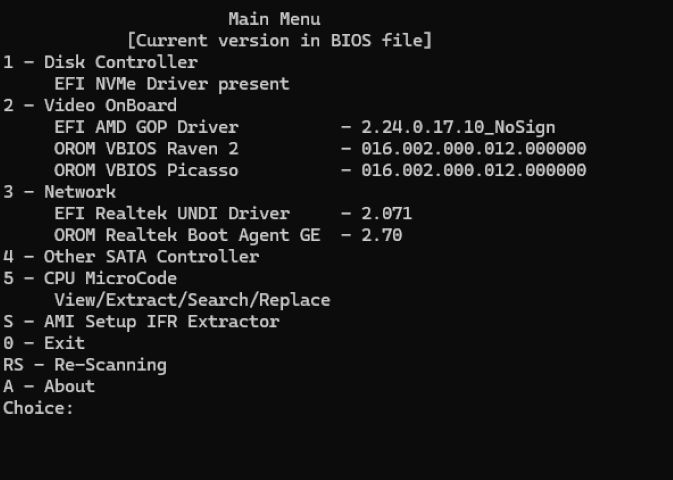
I couldn’t update the Cpu Microcodes within UBU, since I have not the options with that AMD bios.
I asked: But can I insert directly in an Hex Editor replacing the old ones with the new one since it’s exactly the same size and occupy the same space in the Hex Editor and will that not work?
Answer from experts:it can work but it’s risky.
Cpu Microcodes cpu00810F80 cpu00810F81cpu00820F01 Old and New.zip (New from 2024)
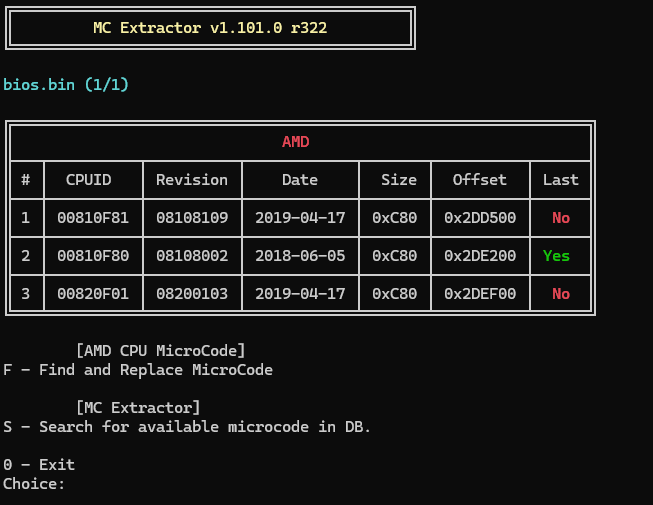
I searched to mitigate the cpu microcodes in the bios file not patched:
For Linux, the solution I found for Fedora (or CentOs), you can install “Real-Ucode” from divestedcg on github that provide the latest Microcodes for the system rathet than those included in the distribution right now, worked for me for the moment. (edit:not working nicely anymore)
I saw while doing research that there is a method for Ubuntu.
For Windows the system Microcode patch mcupdate_AuthenticAMD.dll is 2024 in Windows 11 last update but does not include the latest Microcodes…
Edit by Fernando: Thread title shortened