Hello! I’m a new member here. I hope this post is a good fit for this forum and this category. If not, feel free to move it (or remove it). Note that this topic is technically not about modding or using a modded BIOS and then having a bricked BIOS as a result. (Well… someone does have to create or mod something before others can use it, but that’s a topic for philosophy.) This is a BIOS story, as told from an advanced user’s perspective, when updating a BIOS using normal update procedure. With this post, I want to share my frustration and disappointment, and also ask the big question: what went wrong? I will tell the story from the beginning to the end. If you find this boring already, you might find it more interesting to jump straight to the Flash! section. (Just don’t forget to come back and read the fun part of the story!)
Background
So I have this Windows 10 tablet that was working normally, but I had to reinstall Windows on it. It’s not a common brand or model, because it’s a POS terminal. It’s a PartnerTech PAT-120 X2. There are two versions of it, with different specs: one running Windows and one running Android. I believe they’re referred to as X2W and X2A in a datasheet I saw. I have the Windows version, and it came with Windows 10 Enterprise LTSC 2019 operating system and Windows 10 IoT Enterprise LTSC 2019 license. (Because Microsoft never made a dedicated IoT edition of the system for the LTSC 2019 release.)
After obtaining the much needed Windows ISO, and successfully installing and activating this special edition of Windows, I went on looking for drivers. The touchscreen did not work, and there were a number of devices with a warning triangle in Device Manager. Before I even reinstalled Windows, I took precautions and imaged the whole disk to a VHDX file. So before I even visited the manufacturer’s website, I extracted the drivers from the image with DISM, and installed them on the tablet with pnputil. I cleared all the warnings and restored function to touchscreen. But I was too dumb curious for my own good, and went on looking for the manufacturer’s website.
Looking for a newer NIC driver
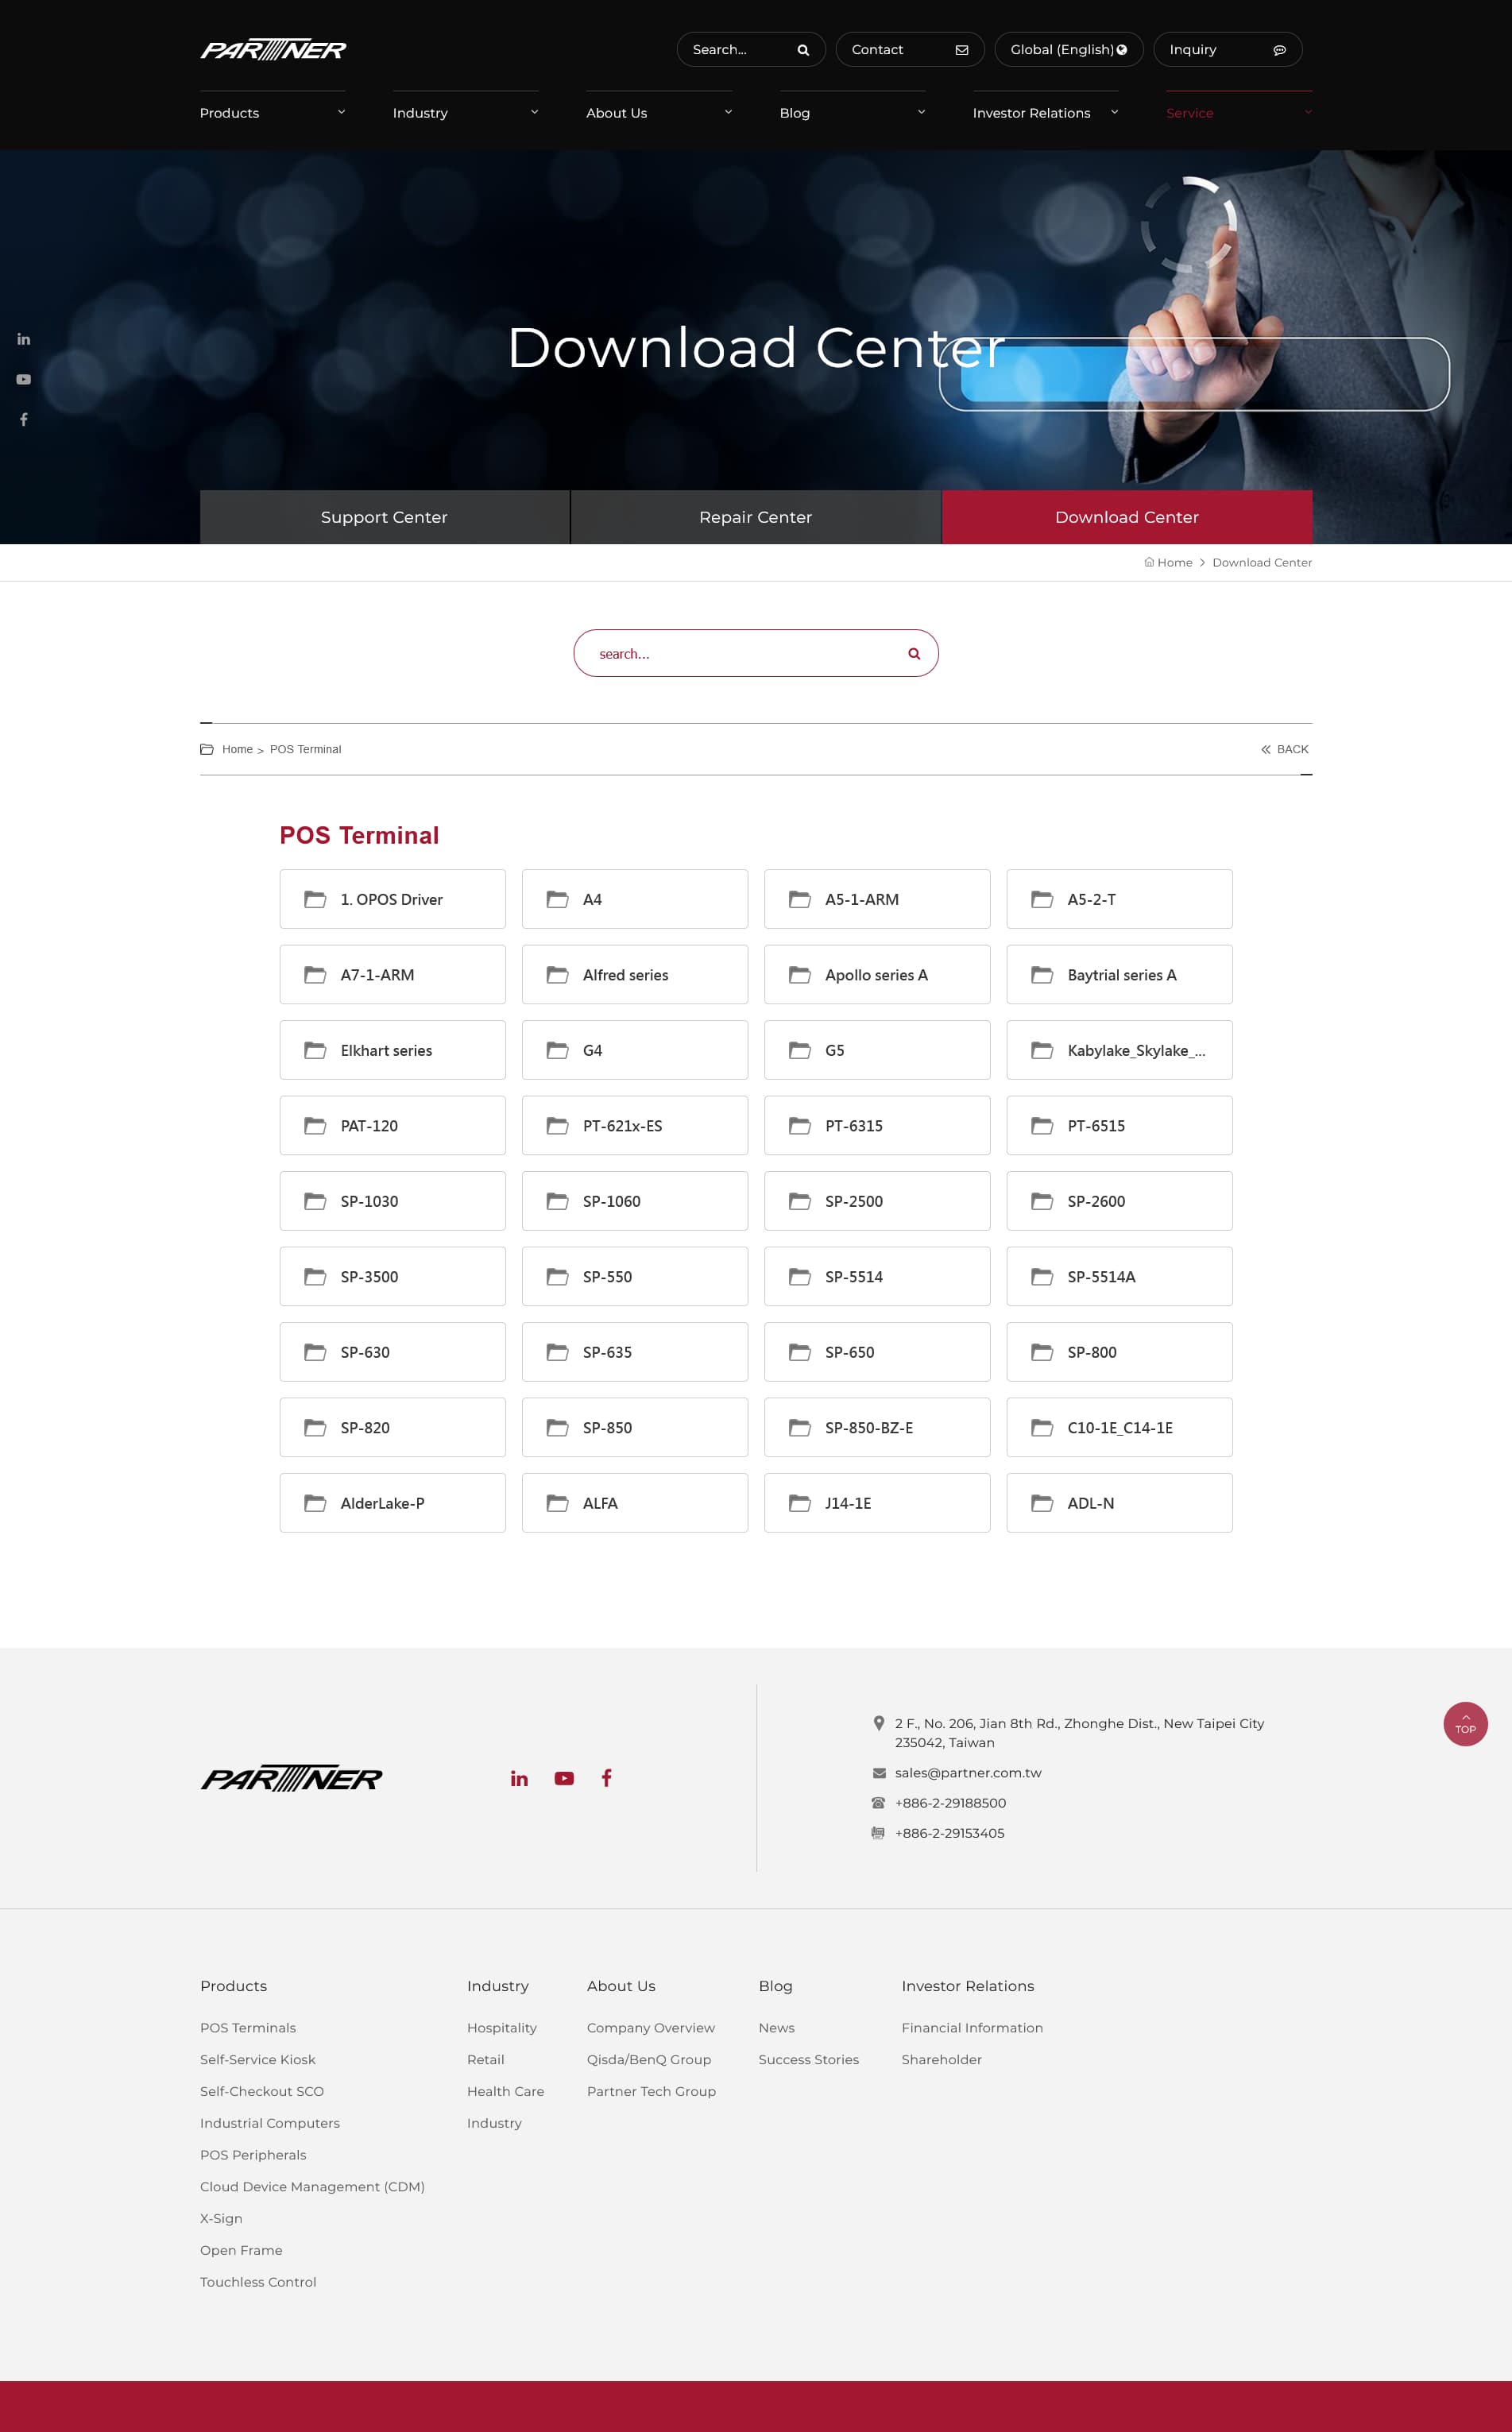
What I found was that PartnerTech is a Taiwanese company, and a big player in the POS terminal market, with global presence. I found their Australian website first, and on there, they had a Download Center. Unfortunately! As I later found out.
I wanted to see if they had a newer driver for the wireless NIC, because it didn’t reconnect the WiFi sometimes when the tablet woke up from sleep. I found plenty of user complaints about this issue, on the Microsoft Answers website, among other places. (Microsoft Answers is a place where users answer, not Microsoft. They should rename it Microsoft NotAnswers. Hah!)
This issue is reportedly caused by a Broadcom driver. I did visit Broadcom’s website and found their downloads page for drivers, whatever little they had publicly available. But I could not find anything relevant, like a universal driver installer for RF/WiFi devices/chips. I didn’t know the “BCM” model numbers they had a device filter for, but even without that, they didn’t seem to offer many downloads. So I could just scroll through most of it. The impression they made on me was “we don’t do drivers, we only do devices”. So it’s basically up to the OEM to do and provide the drivers. They are that kind of company I suppose (i.e. avoid them when you can). So I was not just being curious, I also had a good reason to find and visit the manufacturer’s website!

Finding a newer BIOS (instead)
I didn’t find a newer NIC driver. I didn’t find any NIC drivers. I think this Broadcom chip, whichever it is, is supported by generic Windows drivers. However, as I was browsing through PartnerTech’s website, I saw that they had a folder for BIOS. I should never have looked in there!
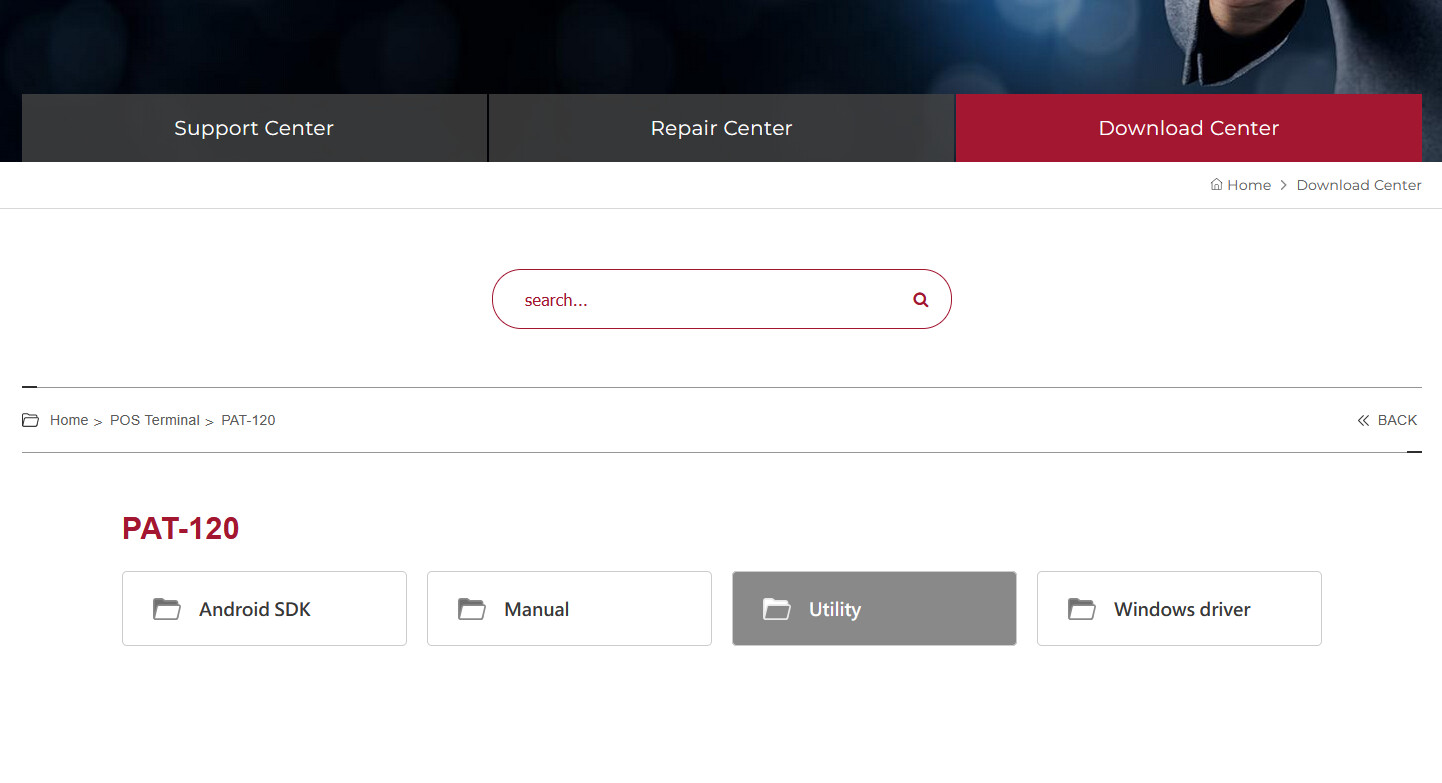
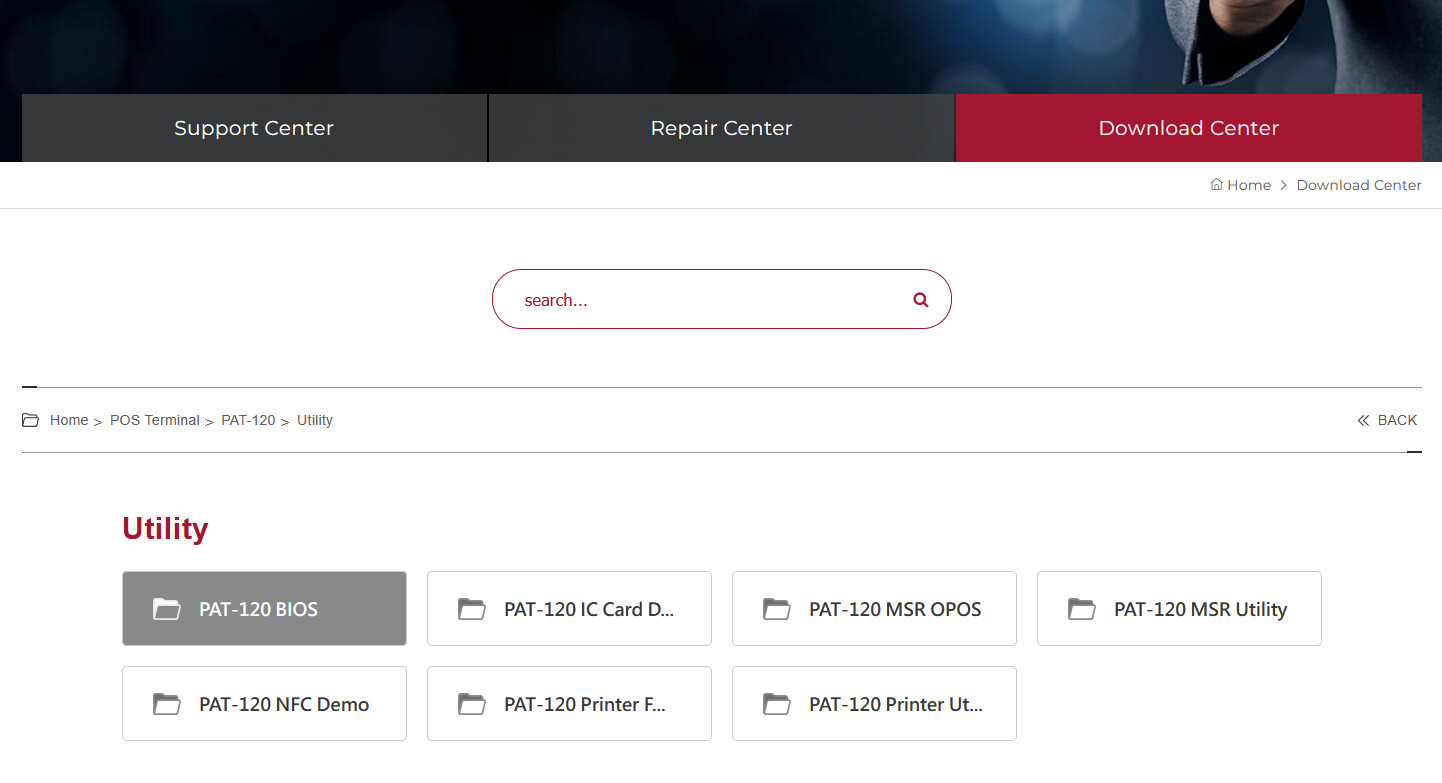
From the “Download Center”, I went to:
- “POS Terminal”,
- then “PAT-120”,
- then “Utility”,
- then “PAT-120 BIOS”,
- and then “Windows BIOS”.
This is where it gets a bit fuzzy and I would like your comments and thoughts on this. Just, what is this??.. what is it I have downloaded? I’ll get back to that shortly! They have a two option selection here: “Android BIOS”, or “Windows BIOS”. My tablet runs on Windows, so I naturally assumed that “Windows BIOS” is meant for my version of the tablet!
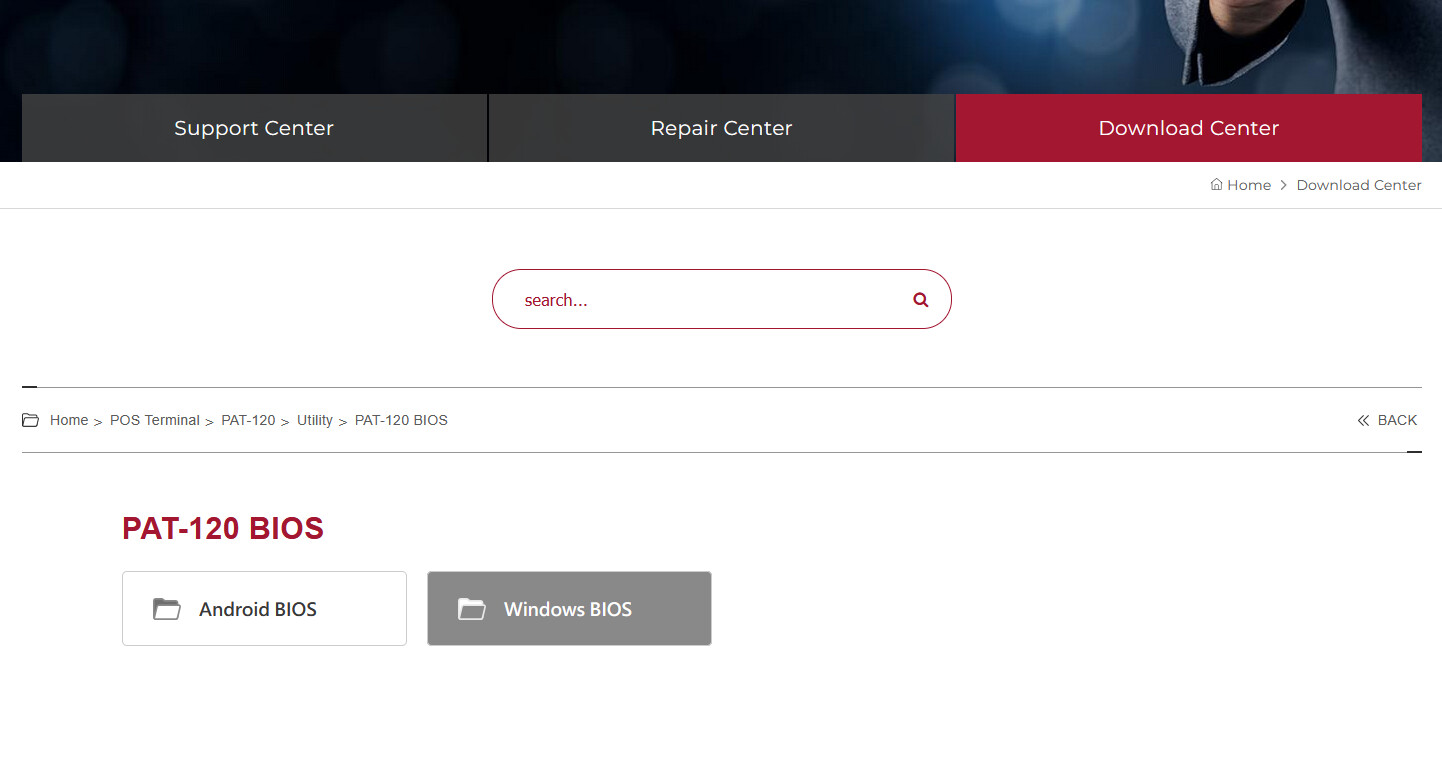
I know I clicked on the “Windows BIOS” folder for PAT-120 on the website, and not the “Android BIOS”. Because I know what I’m doing and what hardware I have. Well… I thought I did, anyway.
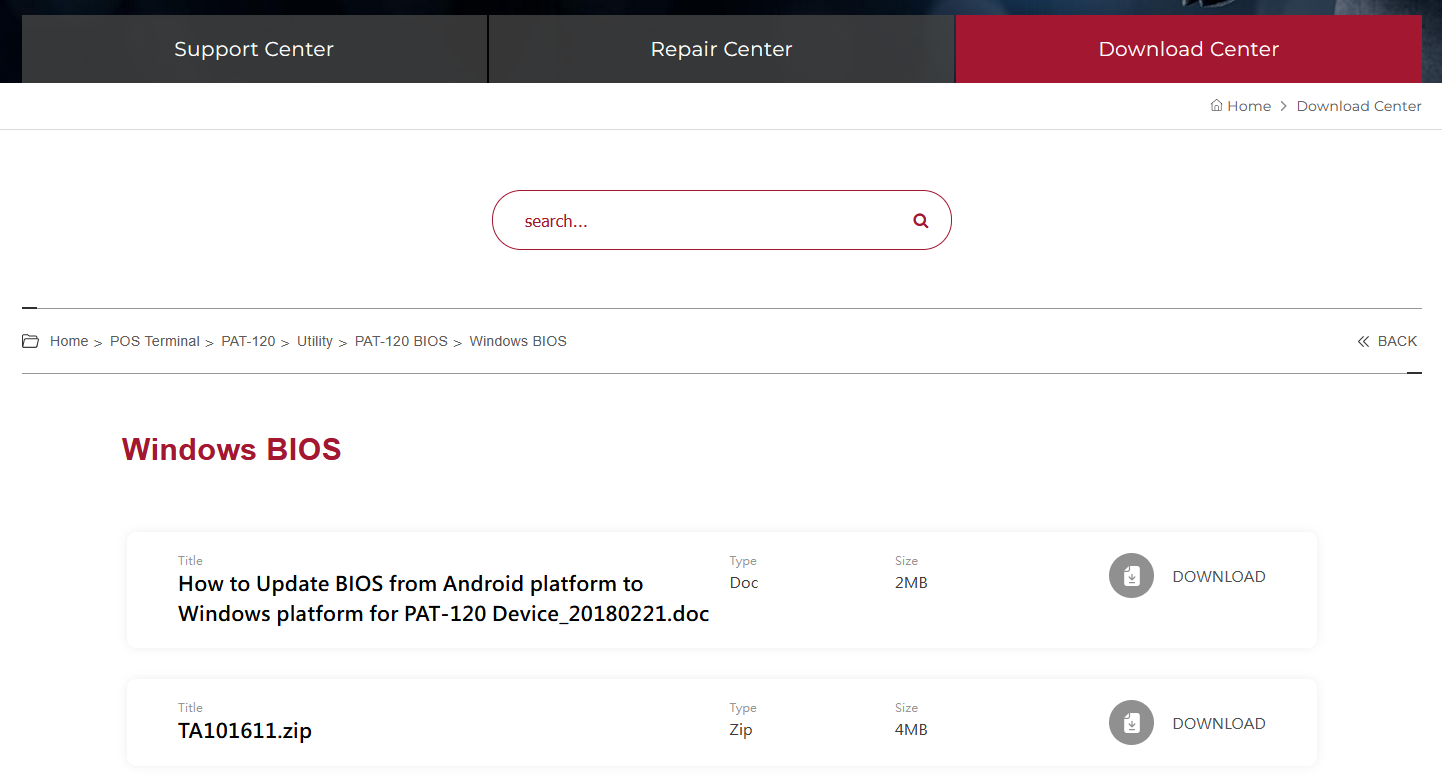
There were two files in the “Windows BIOS” folder.
- One ZIP:
TA101611.zip - And one DOC:
How to Update BIOS from Android platform to Windows platform for PAT-120 Device_20180221.doc
I checked the current BIOS version. It was TA101326.NB6. So it seemed like I would be upgrading from TA101326 to TA101611. What could possibly go wrong, right? I’m not doing a BIOS mod… it’s a routine BIOS update process.

A bit about me
For some added context and as a short introduction: One way or another, I have worked with computers for about 25 years. I have updated or “flashed” the BIOS of many x86 PCs in my life. I have never, ever bricked a BIOS before! This is the first time! But you know the saying? There is a first time for everything. So you can imagine my big surprise when I realized what just happened! I am still puzzled by this! What could possibly have gone wrong? I keep asking myself. Do you remember your first BIOS brick? Please share in the comments.
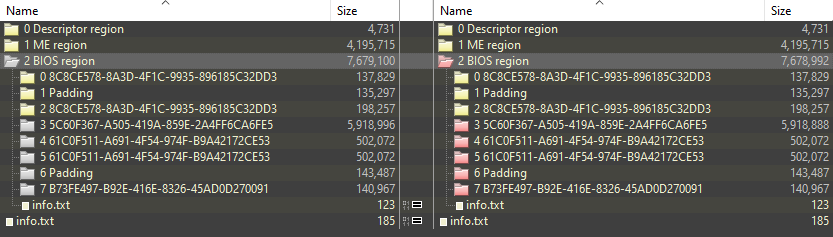
These are the contents of the downloaded BIOS ZIP file.
TA101611
│   AfuEfix64.efi
│   ifu.efi
│   startup.nsh
│   TA101611.C46
│
└───EFI
    └───BOOT
            BOOTX64.EFI
            BOOTX64A.EFI
You can download it here:
TA101611.zip (4.0 MB)
Preparing to flash the newer BIOS
I downloaded both files, and I made sure to read the DOC first. The process seemed pretty straightforward. Nothing unlike what I have done many times before. I have summarized the main points from the DOC file below.
- Make sure the battery is at least at 30% charge.
- Use a USB hub to attach a keyboard and a flash drive with the new BIOS.
- Extract the ZIP file.
- Format the flash drive with FAT32.
- Copy the files to flash drive.
- Power the tablet on and press DEL to enter Setup.
- Disable Secure Boot, save changes and reboot.
- Press F11 to access the boot menu.
- Select the flash drive and press Enter.
- Once done, power off.
- Power on and press DEL to enter Setup.
- Make sure the new version is installed.
- Press F9 to load optimized defaults.
- Press F10 to save changes and reboot.
- Done.
The steps that are highlighted in bold are the steps that I think are most crucial, and I may have failed one or two of these.
For starters, I had well over 40% battery charge. I already had a USB hub attached for the same purpose of being able to use a physical keyboard, but in Windows. So I only needed to plug in a USB flash drive to it. I used a Kingston DataTraveler Exodia M 64 GB USB 3.2 (USB hub was 2.0 or 1.1 by ST Lab).
I was not able to perform step 7 because such option did not exist in the current/stock BIOS. In other words, these instructions are not well suited for the device model at hand (despite the mention of “PAT-120” in it). I therefore skipped past that step, assuming that Secure Boot was not enabled and did not need to be disabled on this model. (Assumption is the mother of all fuckups. So I heard… recently.)
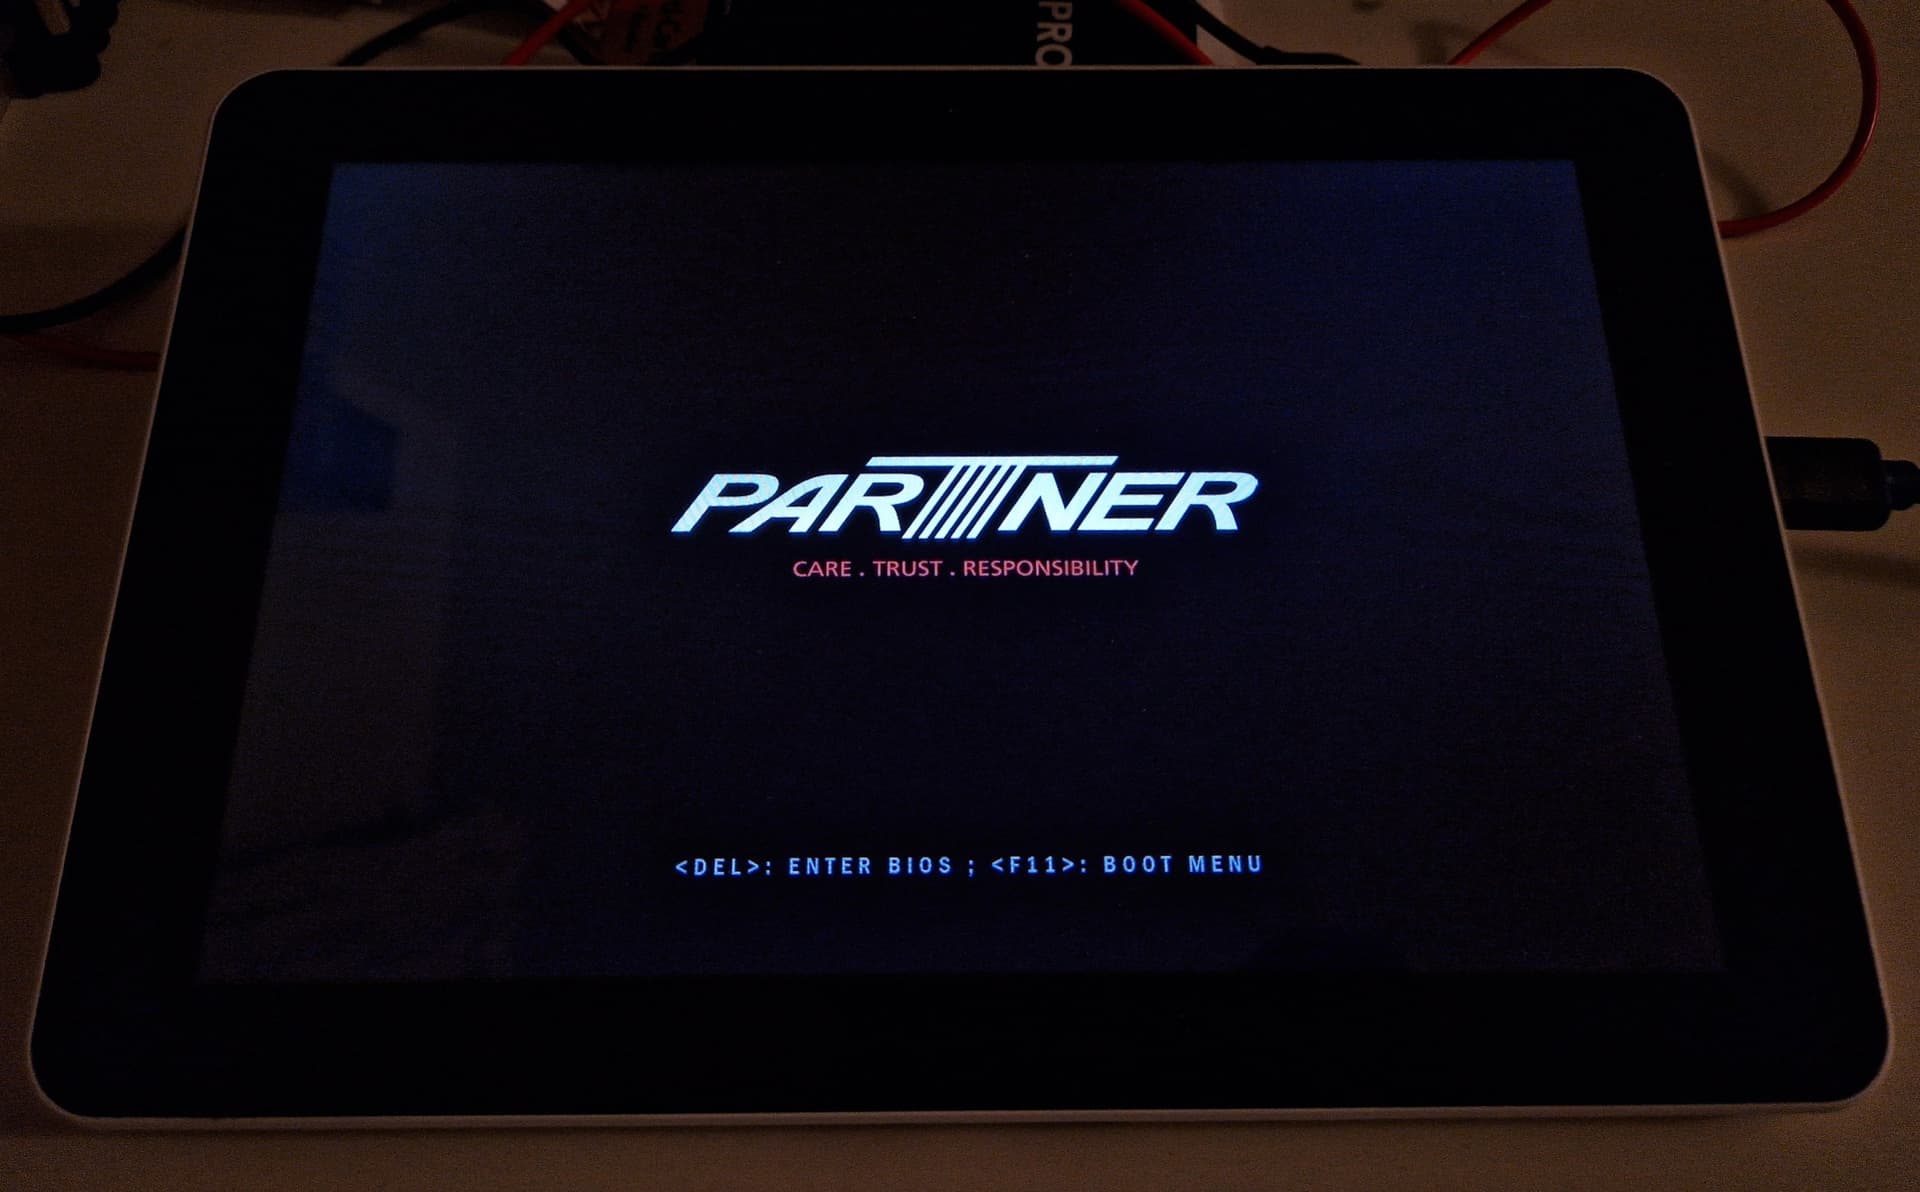
Flash! A-ah!.. (Uh-oh!)
After step 9, the EFI shell starts, and the script takes care of starting the flashing process. It can be aborted within about 5 seconds. I allowed it to run (regrettably).
The BIOS is Aptio BIOS, made by AMI. It’s UEFI firmware, but I often call it BIOS for old time’s sake. Specifically, it’s compliant with UEFI 2.4; PI 1.3. This is the “AMI Firmware Update Utility” in action. The issued command was: afuefix64.efi TA101611.C46 /P /B /N /X
Reading flash ............... done
- ME Data Size checking . ok
- FFS checksums.......... ok
Erasing Boot Block .......... done
Updating Boot Black ......... done
Verifying Boot Block ........ done
Erasing Main Block .......... done
Uadating Main Block ......... done
Merifying Main Block ........ done
Erasing NVRAM Block ......... done
Updating NVRAM BIock ........ done
Verifying NVRAM Block ....... done
All done and it stopped at the EFI shell prompt. The whole process took no more than 5 minutes. I have it on video actually, but I’m sharing a photo of the last moment it was seen alive.

Bricked (in the wall)
At step 10, after successful erase, update and verify operations on Boot block, Main block and NVRAM block, I failed to power it off. Instead, I rather reflexively gave it the three finger salute : Ctrl + Alt + Del. Is that what bricked it though? It seems unlikely. Either way, it did not boot up again after that. So I was unable to follow through on the rest of the steps and load optimized defaults, which is perhaps what needs to happen to set things in motion again.
The only sign of life now is a power LED on a connected USB hub that comes on when I try to power on. (It doesn’t have a power indicator of its own.) The battery also gets warm. It stays on until I press and hold the power button to power off, and the battery cools off.
This is a 2-in-1 device, with a docking station. But I only use the tablet. I don’t use the docking station, so I had it stored away. Is that a problem perhaps for updating the BIOS? Maybe it’s trying to initialize some of the external components, and when that fails, then so does the rest of the initial procedure like loading optimized defaults? Although, most BIOS systems will fall back on system defaults anyway after a few failed boot attempts. So it seems unlikely to me, but I don’t know… it’s just a thought. At this point, anything is possible.
So these are the BIOS versions:
-
TA101326.NB6 – Last known good BIOS and also stock BIOS that came with the tablet. Unfortunate for me, I don’t have a backup of it. I have requested a copy from the manufacturer. But I’m not sure if that would be the same? I think some things are unique to each BIOS, like the embedded Windows product key. Tell me I’m wrong.
-
TA101611.C46 – This is the bad BIOS that bricked the tablet, after downloading it from PartnerTech Download Center for Australia.
I may be able to roll it back to what it was before, and be happy. But I am totally green when it comes to BIOS recovery and not to mention BIOS modding. Is there no recovery or flashback option for Aptio BIOS? Does anyone here know? I read on some forum for a Chinese brand of tablets/laptops that you can hold down the F7 key with the USB stick in and the right BIOS, and it will boot and recover from that. I don’t know what BIOS they use though. Is something like that possible maybe?
God I hope I don’t need to bring out my floppy drive. There are no new floppy disks being produced, and the new old stocks that are currently sold at extortionate prices are as good as dead. (I read some stories from the past where people had to use floppy drives to recover their BIOS.)
Analyzing the DOC file
It’s only after I bricked it, and after reviewing the DOC file again that I began to question the accuracy of it and the meaning of this title: “How to Update BIOS from Android platform to Windows platform for PAT-120 Device”. What on Earth does that mean? I thought at first this was yet another example of a quickly slapped together “guide” for tech products coming out of China or Taiwan, in a broken English. So I didn’t pay close attention when I first read it.
Does it mean what I think it means?.. the purpose of this BIOS file is to prepare a tablet for conversion “from Android platform to Windows platform” and vice versa? Is that a thing? Is that something companies do? The differences in hardware specifications between the two tablet versions are quite significant. This is what I need your thoughts on.
It would make sense with respect to this naming convention. Please tell me I’m hallucinating!
Please use corresponding PAT-120 BIOS file for BIOS update purpose.
TAxxxxxx.C4A: For PAT-120 Android platform
TAxxxxxx.C46: For PAT-120 Windows 64bit platform
The more I read the DOC file, the more convinced I became that the intended purpose of this BIOS update was not at all what you would expect for a BIOS file.
You can download it here:
How to update BIOS on PAT-120.zip (2.0 MB)
I may be mistaken, but these instructions seem to be written for people higher up the chain at PartnerTech, like maintainers, developers or packagers. Why should I as an end-user or technician ever need to rename these files? They are supposed to be ready-made by the people who produce them and make them available.
The only reason to use a specific file name that I can think of, is as a safety measure, to have the startup script only run when presented with a specific file name and avoid flashing the wrong BIOS. (Like a missile launch switch.)
Here is another clue…
The BIOS version might different from the latest version; please contact FAE Engineer to obtain the latest BIOS version.
How do I as an end-user and customer, contact a “FAE Engineer”?
There is also this…
Due to the BIOS has been change from Android platform to Windows platform for the PAT-120 device,
if the PAT-120 device with Android OS inside the eMMC before, the user might observe below
“OEM1 ACPI table parse error” screen when loading Android system.
(This is normal symptom due to BIOS platform changed)
How on Earth do you change BIOS "from Android platform to Windows platform?.. what does that even mean?
As I’m trying to sort out this BIOS-bricked PartnerTech tablet, I would very much appreciate it if you could straighten out some of these question marks for me.
Lessons learned (this far…)
- If it’s not broken, don’t fix it!
- Always backup the current/original/stock BIOS before flashing!
- Don’t trust the OEM to provide the correct BIOS for your model.
- Don’t count on the OEM to provide a BIOS on request.
- Avoid Broadcom chips in products.
Avoid PartnerTech products.Stop being so curious!