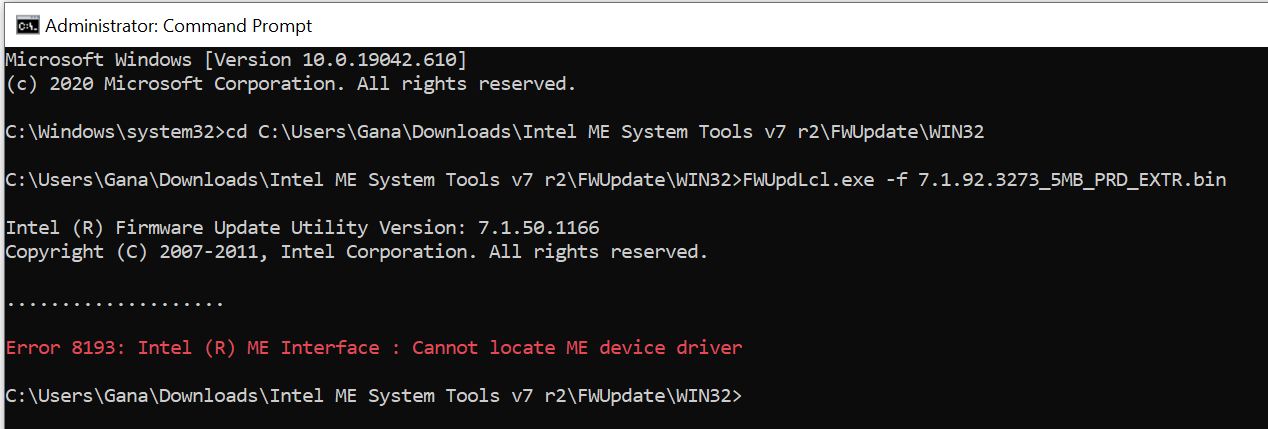
@gana_000 - Hmm, maybe something in your OS, or old/wrong version of ME FW drivers causing issue in windows? Anyway, good thinking ahead and going to DOS
Here, in DOS flash this back via command following >> FPTw.exe BIOSREGNVME.BIN
http://s000.tinyupload.com/index.php?fil…449639519676843
*** WARNING * - This BIOS is user specific! If you are not user gana_000 at Win-RAID.com forum, DO NOT USE THIS BIOS!!
If you do, and you are not gana_000, then you will loose your Serial/Service Tag, Asset Tag, UUID, OG NVRAM, and possibly LAN MAC ID as well.
You have been warned!!!
If this system does not boot UEFI by default, then you may not be able to use NVME, I don’t see OS Type, or UEFI/Legacy boot modes or CSM related settings in the BIOS.
Ohh, I found image of BIOS “Boot Sequence” page, and you do have UEFI setting, so set that and you may be OK
You may need to crossflash to T7610 BIOS instead (Programmer tools suggested if you want to do that, but if you insist we can do with FPT and jumper in place, I think). You will also need SOIC8 / SOp8 test clip + SOIC16 / SOP16 test clip due to BIOS chips are different sizes.
Additionally, since this is 2012 system, you will only have PCIE 2.0, so speeds will be limited to nearly half of any normal NVME speed. May not be worth your time risking crossflash stuff, especially without programmer and clips in hand
Then follow all steps at #4 in the “This is what you should do” section of this guide
[Guide] How to get full NVMe support for all Systems with an AMI UEFI BIOS
Before you do that, I suggest you make NVME RAW, to avoid any possible issues installing, as outlined below.
Also, make your Win8-10 USB with Microsofts tool (ignore system requirements, it works for 7-10) - https://www.microsoft.com/en-us/download…s.aspx?id=56485
You can use diskpart in windows from OS (Direct from any CMD Prompt), or from installer ISO (press Shift + F10 on the first setup screen where you pick language)
Or from repair/troubleshoot options in the installer/setup. Remove all other drives, so you have only USB and target win10 drive. Then from CMD prompt do the following
1. Diskpart
2. List Disk << Here, identify what your target disk is by size/name etc, and make note of it’s #, you will use it’s # next - (If in windows, these #'s will match what you see the drives shown as in Disk Management) - Be sure you do not select your USB or main OS drive if in OS
3. select disk # << Here, instead of #, put target disk #, example >> select disk 0
4. clean
5. Exit
Reboot and run the installer again, then point it at the raw/blank drive, do not load any drivers or create any partitions etc, just select drive and click next
Or, you also have these non-BIOS options, to load USB Bootloader and boot NVME from that method
[Guide] NVMe-boot without modding your UEFI/BIOS (Clover-EFI bootloader method)
[Guide] NVMe-boot for systems with legacy BIOS and UEFI board (DUET-REFIND)
X58/LEGACY BOOTING FROM NVME DRIVES (PIZUSKI METHOD) (MOST QUICK&SIMPLE WAY)
Or, you can use Samsung 950 NVME’s, those have built in legacy roms, so they can boot in legacy BIOS systems