Not much structure left:
B21000 is read though  attached element in zip
B21000.zip (332 Bytes)
Try the attached files. If the first one doesn’t work, try the second one. Don’t forget to Erase-> Blank Verify-> Write-> Verify each time.
bios1.zip (5.33 MB)
bios2.zip (5.26 MB)
I would add these tips to the step-by-step list, after many hours of pulling my hair out googling and trying to read/write from the IC.
* use asprogrammer 2.0+ so it has the native IC in the dropdown list. (i used 2.1.0.13)
* the CH341a programmer from Amazon is VERY FINNICKY with the cable. do not bother reading/writing to the BIOS IC unless you can "detect chip" successfully. a huge mistake on my part. the led light on the programmer was lit red, and i thought that meant it was a successful connection. it is not. it took me about 30 attempts to place the clip on the bios successfully.
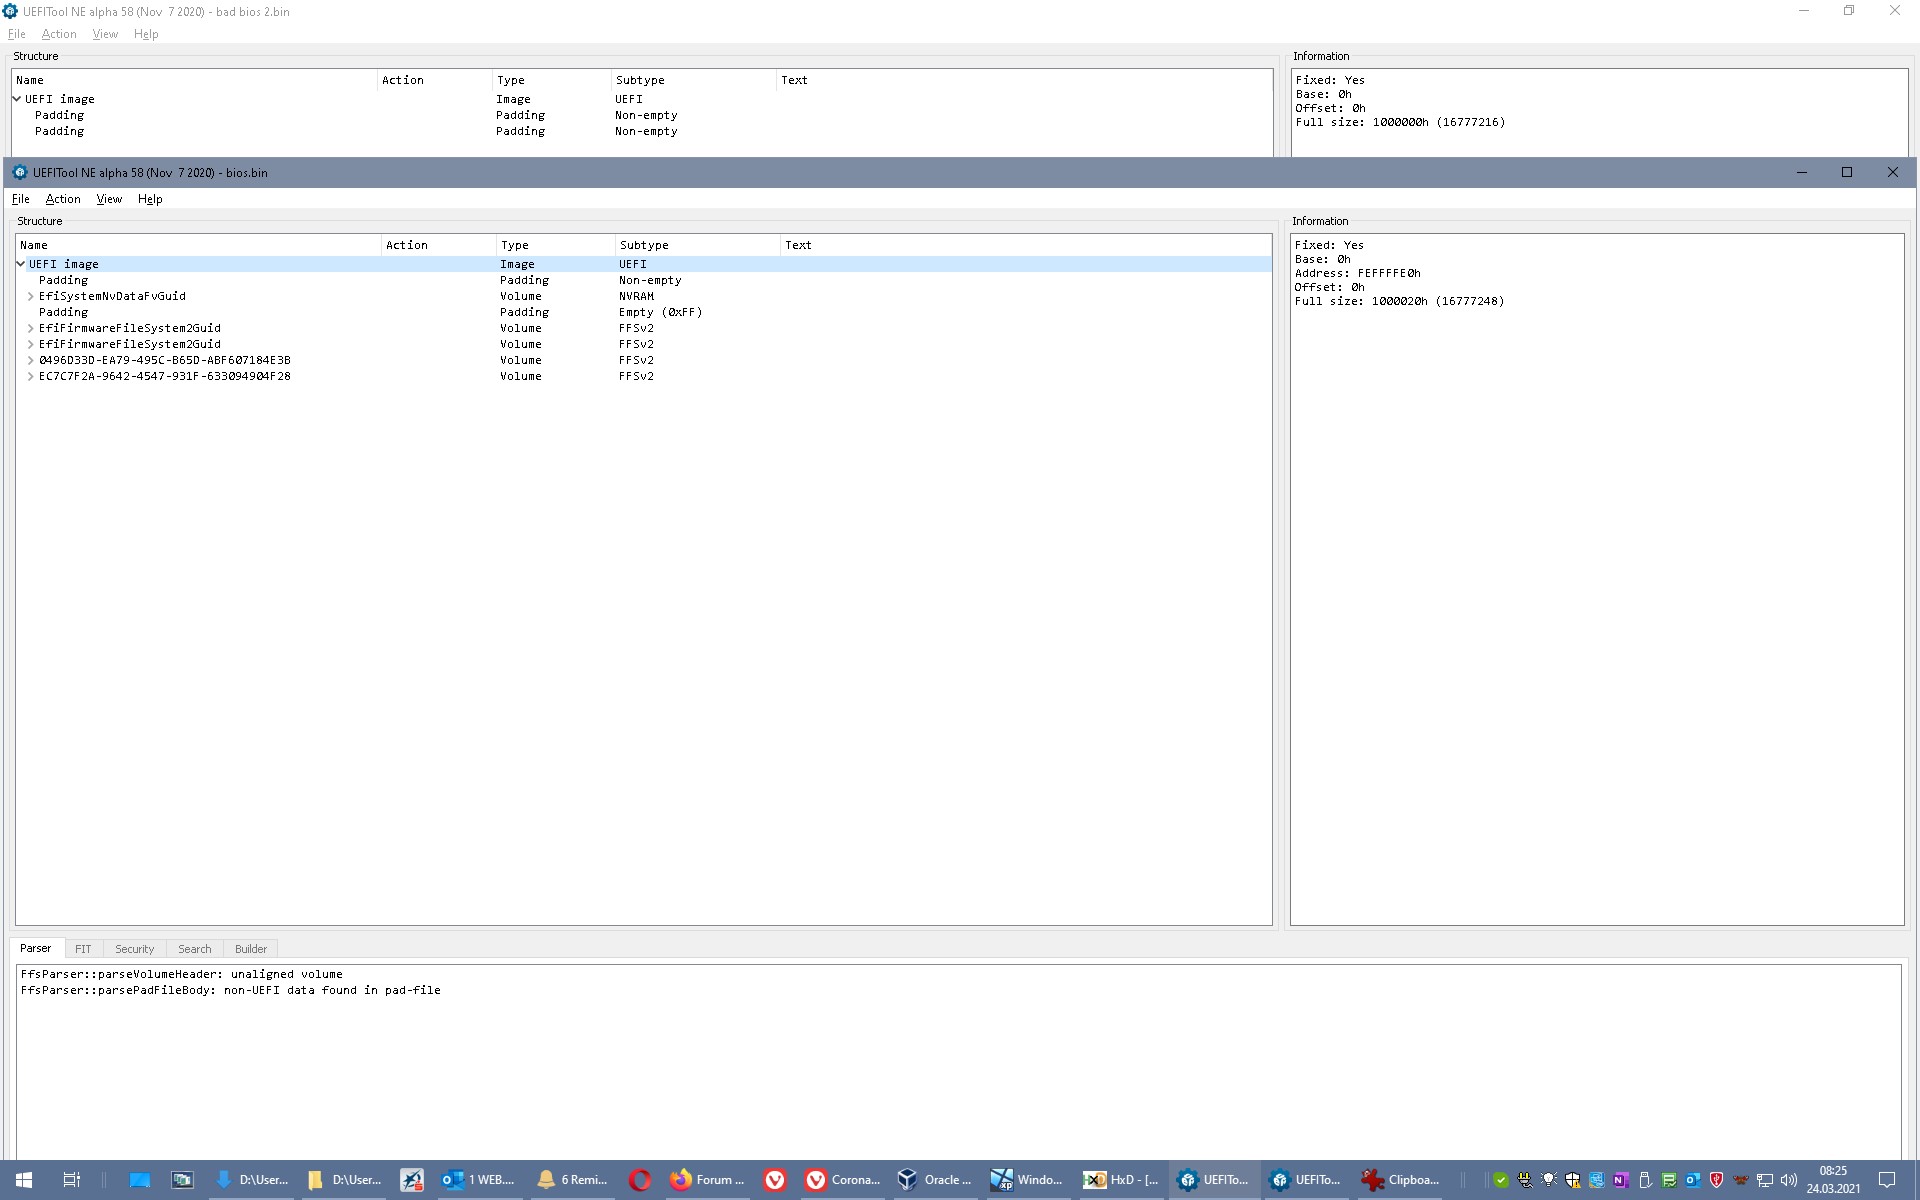
* the latest bios (1.31) is larger than the IC size. you need to extract the body of it using an UEFI tool. (i used UEFI Tool 0.28.0)
* at that point you should replace your machine-specific info using a hex editor, which i did not. since i did not successfully read my initial bios file.
* AS programmer has a dropdown next to the "program ic" button. i would select all of them (off-protect, erase, blank check, write, verify)
* Another forum said you have to use specific drivers for the CH341a. Version 1.18. I am not sure if that is true or not.
* definitely read your initial bios and save it multiple times, so you can read your machine info and put it into the new BIOS file.
* the links for the CH341a are not easy to find.
* complete list of programs used/files needed : ASProgrammer, CH341a drivers, UEFITool, the latest drivers from lenovo, and INNOextract (i used 1.9 for window)
sadly if i had to do this all again it would probably be less than 30 minutes now that i know. but the initial learning curve was steep.
@hb123 You didn’t read the 2 last posts? The main block of your machine specific data seems to be OK.
For you it did because you have a different IC. The GD25LB128D in mine is still not in v2.1.0.13 so I would have needed to select GD25LQ128C_1.8V just like I did in v1.4.0.
The biggest complaint about the cheap programmer is the clip. Even though I had to fix a bad solder joint on the 1.8V adapter, I didn’t have any problems with the clip on mine. It made a good connection every time.
No sympathy from me there. I had to do all the research and risk myself. Took me at least 12 hours start to finish between first researching and having the laptop fixed.
Also, did you see my last reply to you? Send me a picture of the sticker on the box with the serial number if you still have it and I’ll try to make you a BIOS file with your serial number.
@ifb6, Somebody else posted their bios. not me… i believe you are referring to Cowlikks’s question? i did not post my bios.
@Plastixx , i am Re-reading posts. they are intermingled with someone else seeking help (cowlikk), apologies.
I am surprised you have a different bios model with the same model and issue, but what do i know.
I will send you a pm with my sticker.
@hb123 You’re right.
@Plastixx Thanks for the efforts. unfortunately it didn’t help. I got as good flash and verify but it still does the same thing. perhaps something else is going on with it.
hello I have the same problem, I was updating the BIOS and the power weynt out. At the moment I have not been able to fix the problem, and my IC is mx25u12873f . Follow these steps
1 download the BIOS file
2 I extracted .cap with innoextract
3 I copied the region they say with UEFITool and export it as .bin
4 I tried programming the IC with the ones that some had the similar name in Asprogrammer but it didn’t work.
>> could you pass me the version you have of Asprogrammer or the link
it is happening to me that the bios is not written, the data protection is at 010000000000000 (0x40) .
NeoProgrammer 2.2.0.6
@Plastixx Hey can you tell me which .cap file did you use?
I got the eecn34ww extracted, and what name do you rename it to before writing to the bios chip.
Thanks in Advance.
You extracted the .bin file using UEFITool?
You got a clean read of your corrupted BIOS and saved it?
You copy and pasted the relevant info from your dump into the clean .bin file using a hex editor?
If yes to all, it doesn’t matter what you name it… AnYtHiNgYoUwAnT.bin
Yeah already figured that out !
Thank you so much for figuring out how to fix this issue.
Saved me so much time and energy ![]()
can you please send the bios file, I lost the data on my corrupted bios by accident.
(It is perfectly fine not to send due to copyright issues and etc)
Send what BIOS file? You need a dump of your corrupted BIOS to copy over the serial number and OEM Windows activation key.
Greeting Plastixx
Seems that I can’t PM you as my account is new.
I’m having trouble merging my BIOS info. I’ve tried a few things, but the machine never boots with the merged BIOS file I make.
Are you able to help with this?
I can try. Post a copy of your dump.
Not sure why I can’t PM you.
Personally, I don’t want to post my BIOS as I’m not sure what sensitive info is in there like, the S/N and other identifiable info.
I’ll take a look later to see what’s up with the PM. I need to run some errands.
@Plastixx
How did you test that the 1.8v adapterwas putting out 2.8v?
Also assuming yours is a ryzen 7 version, is there a dedicated CMOS battery? I cannot see one from the year downs online. I’m yet to open the case.
"After fixing the 1.8V adapter that had a bad solder connection on the vreg causing it to sporadically put out 2.8V and doing the 3.3V fix on the programmer (did I need to?), I got it all working."
I want to ensure the programmer is in order before I attach it and risk burning chips out.
Also will Asprogrammer and the ch341a programmer driver work on win7 I have had to fall back to an old laptop ![]()
I cannot believe Lenovo pushed this rubbish unattended. Congrats for fixing.
I was using a multi-meter to double check that I had the adapter inserted in the correct orientation. That’s when I discovered the voltage problem and traced it back to a bad solder joint on the ground leg of the 1.8V VREG.
Mine is a 4500U model. There’s no CMOS battery. It would be redundant to have one on a laptop design with a non-removable battery.
Yes, I used my old Win7 laptop for the process.
Here’s a pic of the programmer connected if that helps any…
https://i.imgur.com/iPpiGdq.jpg