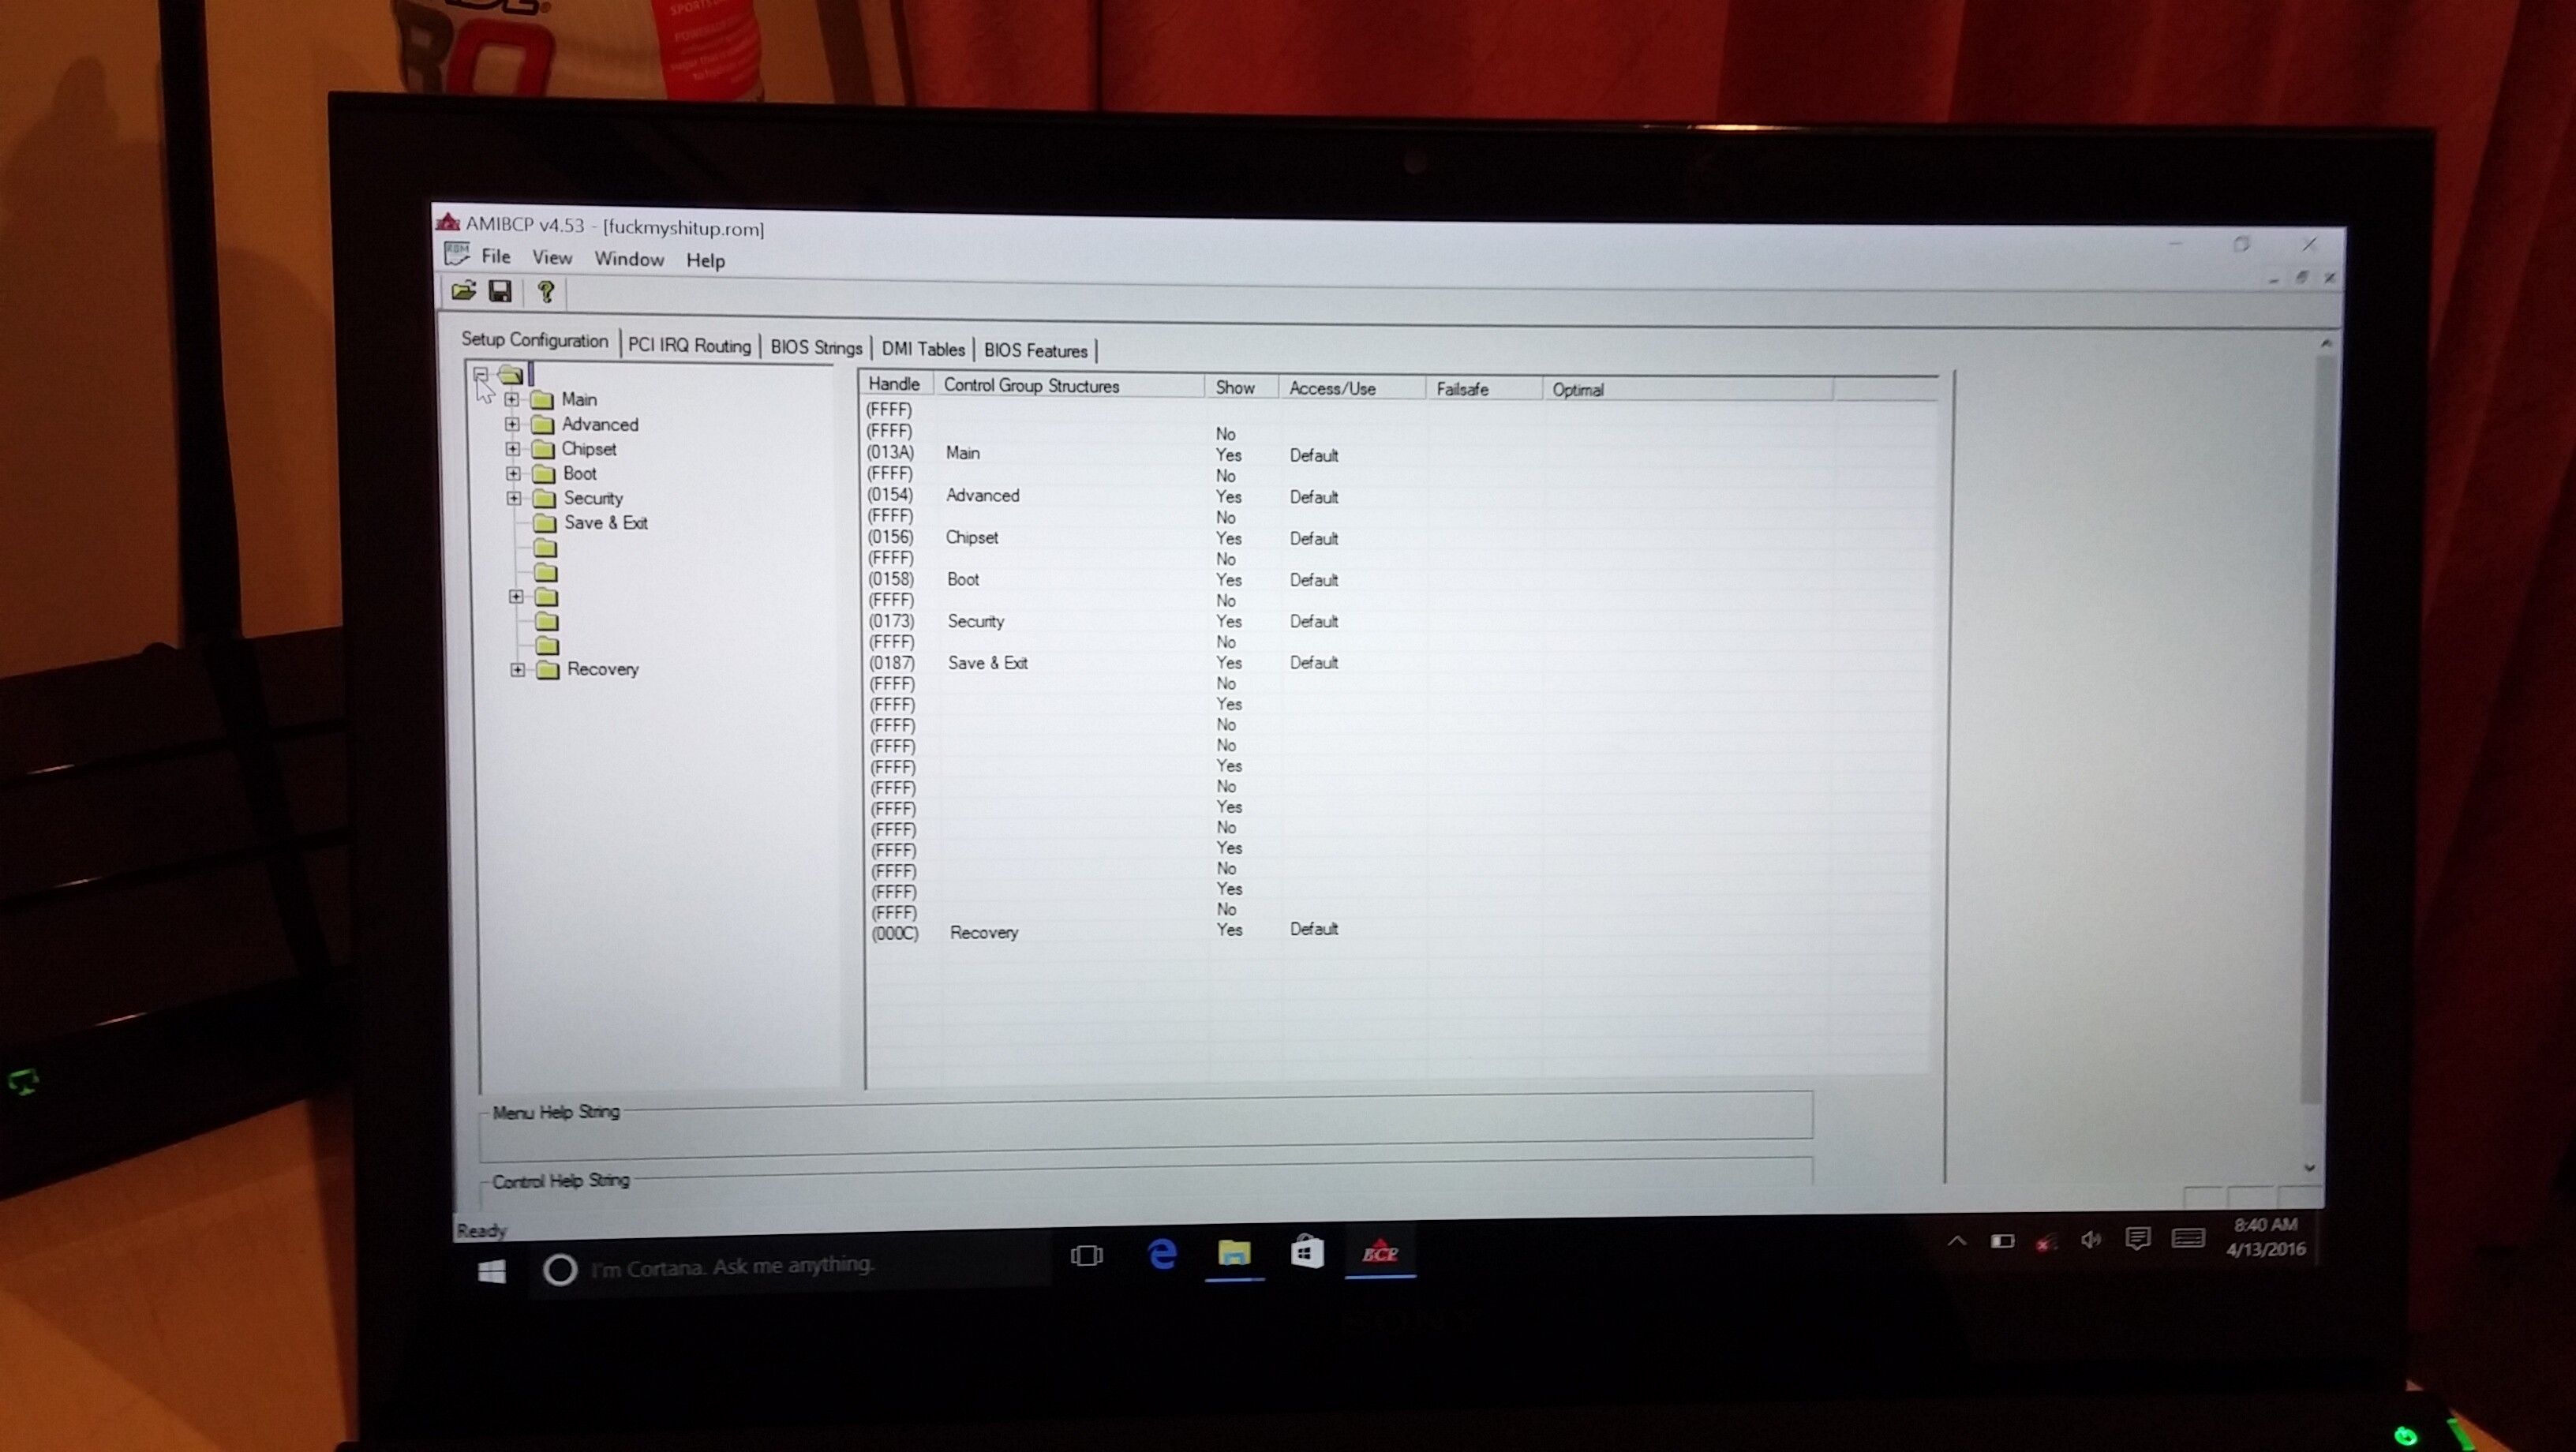
Hey, im very new to the magical adventures of bios modding, i’m on a Sony Vaio Pro 13 also and enabled everything with amibcp to the saddening reality of what’s described in this thread… but by any slim chance has there been any more developments?
I made a leap of faith and completely removed "SonySetupCallback” to interesting effect, it showes the full extended AMI “Main” tab but none others are visable, I made a video to demonstrate: https://drive.google.com/file/d/0B_oeOAv…w?usp=docslist_
There must be more Sony logic hiding the tabs? I’m far too new to this but hopefully this adds some information that might help?
I’m quite confident that playing with these settings isn’t going to brick, but I recommend anyone trying this to make sure you default legacy mode with amibcp, else if you lose access to those uefi/ legacy settings and you’re stuck it uefi mode, you can’t boot freedos .
Also I’m wondering if its possible to enable/ (set as default) extended options via amibcp even if they arnt shown in the tabs?
Many thanks guys
Hi Guys,
I have vaio pro 13 i7-4500u with PCIe 2.0 x4 ssd drive there (mzhpu128hcgm), and was thinking about updating it, but reading posts and comments from other users it would appear that VAIO PRO 13 does not support NVMe drives as it lacks its support from the BIOS level, and as we know SONY finished supporting the VAIO’s
I have seen some instructions that could enable NVMe support
[Guide] How to get full NVMe support for Intel Chipset systems from 6-Series up
Theoretically it should work while modding the BIOS, but i just wonder whether any of you have succeeded in this,
I’m at the stage of preparing to mod the bios and purchasing smth like EVO 960, and was thinking about using new VAIO’s BIOS (S13, Pro Mk2, or Z) to compare with my current one and see how NVMe support should be placed,
Would be very grateful if someone could share successful story with enabling NVMe support over their SVP13
PS. my BIOS version is R2091V7
I’m having an sdd that isn’t working too, would love to colaborate on this problem. Please contact me…
As soon as i have time i will work on this again. This really drives me crazy. About the SSD Problem: I would make a BIOS if you could test it @CvR_XX
Sorry to all for the delay… espacially to Fernando!!!
And again: THANKS TO EVERYONE WHO IS CONTRIBUTING TO THIS WONDERFUL FORUM!!!
I could help testing, at the moment i flashed a boot loader to a sd card and just have that permenantly in my laptop.
Hi everybody!
I am a newbie on this forum, just registered here to share my experience with SVP13 BIOS modding.
I’ll start with a little background here: last month I got some Samsung SM961 M.2 NVMe SSD. Decided to use it as an upgrade for my Vaio Pro 13 since it is my main PC at the moment. Needless to say it was impossible for me to check if it works with my VAIO so I just took my chances and bought the drive. And when the time came to open the laptop to replace the SSD it appeared it was impossible to boot Windows from new drive.
So my goal was to somehow make it work =)
I noticed that Windows setup launched from USB drive DOES see the disk and successfully copies files to it, but after reboot nothing happens. So the situation was not that bad—at least the device is detected by hardware which means the missing part should be software.
My guess was it is the EFI driver for NVMe that is missing. I pulled NVMExpressDXE-64.efi from Clover bootloader image and fired up EFI Shell to check how it works. As expected, SM961 was not visible from there. I then loaded the driver manually and then it detected my SSD with all its partitions. Yay! The only thing left was to make it permanent, i.e. put the driver module in the ROM image so that system (BIOS) could load it automatically at startup.
After quick googling I found some instructions for enabling NVM Express SSD support on AMI BIOSes. Which is exactly what I needed ![]()
Thankfully I have some positive experience with UEFI and AMI BIOS modding and am familiar with MMTool and such. The process is actually pretty straightforward and is described well here: [Guide] How to get full NVMe support for Intel Chipset systems from 6-Series up
The difficult part was to flash the modified image (preferably without botching up the entire system :). Sony does not provide an actual tool to update the BIOS—only the one that comes with BIOS update package, but I could not get that one to work. Downloaded AMI BIOS tools from here and found a version of AFUWINGUI utility that successfully reads the flash and writes the factory images provided by Sony. Now here’s a problem—it cannot burn the modified image because of Secure Flash failure. So I ended up using AFUDOS v3.04 which supports /GAN switch that overrides Secure Flash checks.
First time I ended up flashing slightly wrong image that overwritten some factory data such as Model Number, Serial Number etc. Nevertheless I was actually able to boot from SM961! Yipee!!
And after all, it’s a good thing I made a backup before burning the image ![]() so I managed to build the correct image to restore the factory data.
so I managed to build the correct image to restore the factory data.
Long story short, here is what I did:
1. Read BIOS image from flash using AFUWINGUI, save it to ROM file.
2. Modify the image with MMTool following this guide. I added the first version of NVMExpressDXE.ffs (uncompressed one) that the author recommends using.
3. Save it to ROM file and flash it with AFUDOS 3.04. (Don’t be confused with that Supermicro website—the archive with Supermicro BIOS image contains the required version of AFUDOS). I used the following command:
afudos nvme.rom /P /GAN
Not sure if /P switch is needed but anyway—it worked for me. Please note this command overwrites the ENTIRE flash so be careful. I noticed AFUWINGUI can write separate regions of flash without touching other areas, but as I said before, it did not work for me. Not sure if it is a side effect of /GAN switch or just the way AFUDOS works.
4. Done! Your Vaio now supports NVMe boot.

Big thanks goes to @Fernando for the NVMe BIOS modding guide and of course to @e.v.o whose posts gave me the courage to try this mod :D Honestly I was afraid of bricking the laptop but after reading this thread I decided to give it a try.
@e.v.o I remember you mentioned using AFUWIN v4.05 but I could not find this one anywhere. It would be very helpful if you could share the link or upload it anywhere—it is much faster and simpler to use than AFUDOS. I mean you don't need to make bootable USB stick with DOS and all that stuff… :) But thanks anyway for this thread. Hope you succeed in your research of unlocking hidden BIOS features :)
P.S. This post sure does not look like a complete guide but I hope it will be useful for someone. Questions and suggestions are welcome of course!
Also, I hope anyone who tries to follow the steps described here knows what he/she is doing. In other words, USE AT YOUR OWN RISK :) I am not responsible for any damage to your system caused by flashing custom BIOS etc.
@pcfist :
Welcome at Win-RAID Forum and thank you very much for your detailed report and guide, which will help other users to mod the BIOS of their Sony Vaio Pro 13 and to get it successfully flashed.
Enjoy your Samsung SM961 NVMe SSD!
Dieter (alias Fernando)
Zitat von pcfist im Beitrag #47
Hi everybody!
I am a newbie on this forum, just registered here to share my experience with SVP13 BIOS modding.
I'll start with a little background here: last month I got some Samsung SM961 M.2 NVMe SSD. Decided to use it as an upgrade for my Vaio Pro 13 since it is my main PC at the moment. Needless to say it was impossible for me to check if it works with my VAIO so I just took my chances and bought the drive. And when the time came to open the laptop to replace the SSD it appeared it was impossible to boot Windows from new drive.
So my goal was to somehow make it work =)
I noticed that Windows setup launched from USB drive DOES see the disk and successfully copies files to it, but after reboot nothing happens. So the situation was not that bad—at least the device is detected by hardware which means the missing part should be software.
My guess was it is the EFI driver for NVMe that is missing. I pulled NVMExpressDXE-64.efi from Clover bootloader image and fired up EFI Shell to check how it works. As expected, SM961 was not visible from there. I then loaded the driver manually and then it detected my SSD with all its partitions. Yay! The only thing left was to make it permanent, i.e. put the driver module in the ROM image so that system (BIOS) could load it automatically at startup.
After quick googling I found some instructions for enabling NVM Express SSD support on AMI BIOSes. Which is exactly what I needed :)
Thankfully I have some positive experience with UEFI and AMI BIOS modding and am familiar with MMTool and such. The process is actually pretty straightforward and is described well here: [Guide] How to get full NVMe support for all Systems with an AMI UEFI BIOS
The difficult part was to flash the modified image (preferably without botching up the entire system :). Sony does not provide an actual tool to update the BIOS—only the one that comes with BIOS update package, but I could not get that one to work. Downloaded AMI BIOS tools from here and found a version of AFUWINGUI utility that successfully reads the flash and writes the factory images provided by Sony. Now here's a problem—it cannot burn the modified image because of Secure Flash failure. So I ended up using AFUDOS v3.04 which supports /GAN switch that overrides Secure Flash checks.
First time I ended up flashing slightly wrong image that overwritten some factory data such as Model Number, Serial Number etc. Nevertheless I was actually able to boot from SM961! Yipee!!
And after all, it's a good thing I made a backup before burning the image :D so I managed to build the correct image to restore the factory data.
Long story short, here is what I did:
1. Read BIOS image from flash using AFUWINGUI, save it to ROM file.
2. Modify the image with MMTool following this guide. I added the first version of NVMExpressDXE.ffs (uncompressed one) that the author recommends using.
3. Save it to ROM file and flash it with AFUDOS 3.04. (Don't be confused with that Supermicro website—the archive with Supermicro BIOS image contains the required version of AFUDOS). I used the following command:
1
afudos nvme.rom /P /GAN
Not sure if /P switch is needed but anyway—it worked for me. Please note this command overwrites the ENTIRE flash so be careful. I noticed AFUWINGUI can write separate regions of flash without touching other areas, but as I said before, it did not work for me. Not sure if it is a side effect of /GAN switch or just the way AFUDOS works.
4. Done! Your Vaio now supports NVMe boot.
Big thanks goes to @Fernando for the NVMe BIOS modding guide and of course to @e.v.o whose posts gave me the courage to try this mod :D Honestly I was afraid of bricking the laptop but after reading this thread I decided to give it a try.
@e.v.o I remember you mentioned using AFUWIN v4.05 but I could not find this one anywhere. It would be very helpful if you could share the link or upload it anywhere—it is much faster and simpler to use than AFUDOS. I mean you don't need to make bootable USB stick with DOS and all that stuff… :) But thanks anyway for this thread. Hope you succeed in your research of unlocking hidden BIOS features :)
P.S. This post sure does not look like a complete guide but I hope it will be useful for someone. Questions and suggestions are welcome of course!
Also, I hope anyone who tries to follow the steps described here knows what he/she is doing. In other words, USE AT YOUR OWN RISK :) I am not responsible for any damage to your system caused by flashing custom BIOS etc.
@ pcfist
Thanks for the guide.
Which model vaio pro 13 do you use?
I can't NVMe BIOS modding. It gives the following error.
"Invalid UEFI Volume"
Where am i making mistakes?
After you get my bios backup.
I'm doing them, respectively.
Step-1
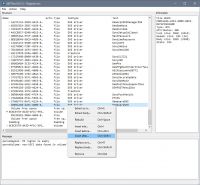
Step-2
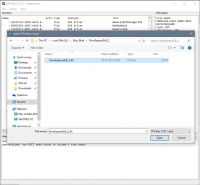
Step-3
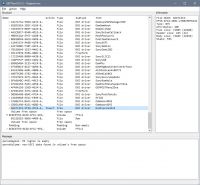
Step-4
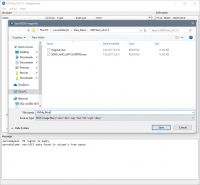
Final :(
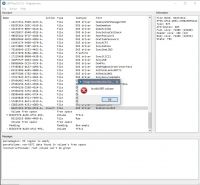
I'll be glad, if you help me.
|addpics|e2c-1-eea4.jpg,e2c-2-672a.jpg,e2c-3-984a.jpg,e2c-4-e328.jpg,e2c-5-fb1d.jpg-invaddpicsinvv|/addpics|
Hi @tezcan34 ,
You are welcome! My Vaio model is SVP1321ACXB, it is Core i5 with 4GB RAM and (formerly) 256GB SSD.
About that error you are getting: I am sorry, looks that I was not accurate in my guide after all. Just noticed it suggests using UEFITool, and I used MMTool for this operation.
Please try this guide: http://www.overclock.net/t/1571271/tutor…n-intel-chipset
Just skip all this stuff about extracting a driver from othe motherboard’s ROM, start from step #11. In short:
1. Open your BIOS snapshot in MMTool
2. Click any module that contains “Dxe” in its name
3. On the “Insert” tab click “Browse” and select your NVMe driver file (with ffs extension)
4. Click "Insert"
5. Click “Save image as…” to save the modified image
6. Done! Next step is to flash the image.
Please make sure that the BIOS image you are modifying is an actual snapshop of BIOS taken from your laptop with AFUWIN, not the image downloaded from Sony website. The ones from Sony are not complete images and if you flash them you can lose important info like serial number etc. and probably even brick your PC!
So, hope that helps. Let me know how it goes man!
Best regards,
Roman
@pcfist :
Thank you for your tutorial, but as far as I understood tezcan34 his problem was not how to get the BIOS modified (by the way: It doesn’t matter, whether it is done with CodeRush’s UEFITool or with AMI’s Aptio UEFI MMTool).
tezcan34’s problem is, that he doesn’t know how to get the modified BIOS properly flashed into the BIOS chip of his Sony Vaio system.
@Fernando
I understand it does not make any difference which utility one uses to make modifications to the ROM, but as far as I understood tezcan34’s problem is this:
So it is clear he is unable to insert the NVMe module into BIOS ROM. I only recommended MMTool since that is what I used to create the customized ROM and it worked for me, and I have never used UEFITool so I cannot say much about it. Maybe the version tezcan34 is using is not compatible with SVP13’s BIOS—I recall that in case of MMTool there are different versions that work with different versions of AMI BIOS. But I think you have much more experience with this than me (:
Anyway, let’s wait for tezcan34’s reply and see if it solves the problem for him.
Hi guys,
I tried it with mmtool. But I get an error on it too.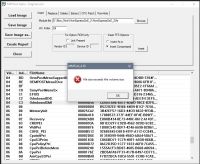
@pcfist
What is your bios version? Can you send me a copy of the your customized ROM.
My vaio model SVP13219PTB and bios versiyon R2092V7.
And it’s a copy of my bios file. Can you try to mod it?
https://mega.nz/#!xZdWgaIT!l_VKY1SrEQTum…eQy-E6_vjlVHpPI
Rom link updated.
|addpics|e2c-6-9a4a.jpg|/addpics|
Hi tezcan34,
Unfortunately I could not download your ROM, Mega just asks me for file password/key. Looks like your link is missing the key.
My BIOS version is different—R1045V7, but I doubt it has something to do with your problem.
BTW which version of NVMExpressDxe are your using? Just checked the BIOS NVMe Modding Guide page I referred to and it appears there are 3 different versions of that file. this is what I found out: there are
Looks familiar, doesn’t it? (: So I think it’s a good idea to try inserting different versions of NVMe driver and check if the error persists.
P.S. I see that page was last updated in February, and at the time I modded my BIOS (it was November I guess) I actually looked different. It did not have references to UEFITool (used MMTool instead) and I recall the NvmExpressDxe files were also different. I guess the older file was smaller in size, that is why I did not encounter this problem you are having. If it does not work, I can upload the older version for you or maybe you can find the link to it somewhere in that forum thread.
Best regards,
Roman
@pcfist
Sorry… Rom link updated.
Could you send me your ROM and moded ROM?
Also, I tried all versions. (uncompressed NvmExpressDxE_2 / pre-compressed NvmExpressDxE_2 / “pure” NvmExpressDxE_2 module without GUID header)
But, I get the same error. 
Thanks…
@tezcan34
Sorry for late reply, have been busy lately ![]()
Thanks for fixing the link. I downloaded the file and it looks like it is not your BIOS image, just a factory image you got from Sony website. Am I right?
If yes, then this is not going to work. In the best case you will f*ck up your VAIO’s internal data like I did when I flashed the wrong image. I was lucky and got away with it, but I really DO NOT RECOMMEND trying this at home. 
Instead please make a full image of your BIOS flash with AFUWINGUI and then modify it with MMTool/UEFITool. I think I described it in my first post. If you have any questions, please let me know.
Apart from that, it looks like I can successfully insert the NVMe ROM in you image. In does not give me that error. BTW what MMTool version are you using? Mine is 4.50.023 and it seems to work just fine with your file. I tried inserting both compressed and uncompressed files and got no errors.
P.S. Just tried UEFITool and it also works OK for me with your image… very strange.
Best regards,
Roman
Hello everybody! I read some article about edit bios and i use this for add a NVMe support SSD. But if i want flash that didn´t work because security flash can´t enter me . I try command like /gan via version afudos 3.04. i try ver. 2.20 successful flash but without any change. I try newest version of afudos but still i have that problem. I don´t know if I must have some else NVMe driver or I don´t know ![]() I try unlock advanced menu via this but i dont know what does it mean “IDA”.
I try unlock advanced menu via this but i dont know what does it mean “IDA”.
I read post in here but it didn´t work for me,so I try delete sony security flash and i flash this rom and now afudos speak me:“46 - error problem getting flash information” with any command ![]() Here is link for o(original rom)onvme(original with nvme) and last rom without sony secure flash link
Here is link for o(original rom)onvme(original with nvme) and last rom without sony secure flash link
sir I badly need your help! I’m a newbie when it comes to bios modding. Can you guide me on how you have manage to successfully mode your sony vaio pro? I have a sony vaio pro 11. I hope you could guide me on doing this
just bricked my vaio pro 13…
haha, it’s pretty risky to do so …
@leeosx What did you do?