Hello Fernando and all specialists on win-raid forum. 
Since it’s my first post here, i want to regards all members and guests and ask some questions about how to do, such task quoted in the name of new thread. I hope i would succeed to solve a problem, with your help.
Best wishes to all
Don
Currently i am using Biostar A10N-8800E motherboard 4x3.4GHz AMD8800 processor, with ssd 60gb disk as primary boot and m2. xpg sx8200 ssd. I want my primary boot disk be sx8200 and swap initial boot disk with new 512Gb/1Tb ssd disk as archive ssd.
I have updated system bios before couple of days with newest biostar’s bios named A88EW724.BSS, dated 24.7.2019 using built in bios updater. It has done perfect and bios has recognised m2. xpg sx8200 ssd. But what should to be done more?
I know clean win7x64 dvd has no generic MS NVMe driver, nor MS hot fixes to recognize m2.ssd. Currently i have mounted MS hot fixes patches in the win7x64 and used Samsung Electronics Co., Ltd storage controller with driver version 3.1.0.1901 dated 17.1.2019. For SX8200 Pro i am currently using MS m2.ssd driver version 6.1.7601.19133 dated 21.6.2006.
What should i need to to make clean work win7x64 at A-Data SX8200 Pro ?
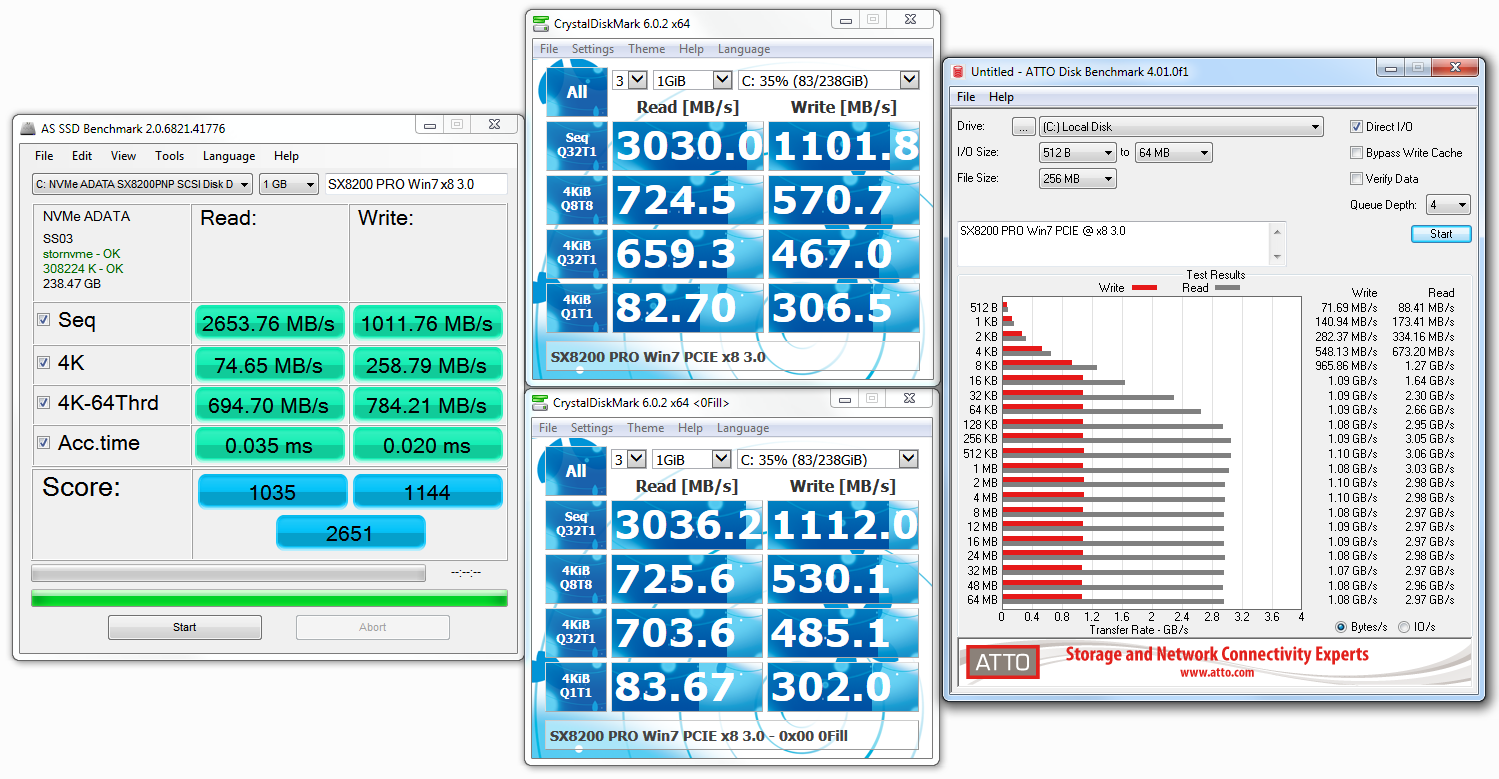
ps: I have recently done TRIM testing both ssds with Vladimir Panteleev TrimCheck version 0.7.and results are excellent. TRIM work at both.
Thanks for help !!!
Don
I’m trying to accomplish the same.
Intel H370 chipset, SX2800 Pro NVMe.
Subscribed…
For what it’s worth, I’ve accomplished my goal.
As a matter of reference, I’ll list the sources for packages used to successfully install Win 7 on Intel Coffee Lake and a NVMe boot drive.
See end of post for software/package list.
I slipstreamed the KB2990941 & KB3087873 HotFixes into the Boot & Install WIM files.
Despite Micro$oft’s best efforts to cripple the Windows 7 community, these updates are readily available on the web.
The GigaByte Windows USB Installation Tool that I will reference later has these files embedded in it.
I did all of my test slipstreams on the Boot.wim. It’s smaller, and therefore much quicker to mount, modify, commit, and unmount.
After successfully slipstreaming the hotfix packages, I went to work on drivers.
The three collections of drivers I used were sevenforums.com user SIW2’s 7UPv36.ZIP, Gigabyte’s USB Installation Tool, and cannonkong’s Intel USB 3.1 Mod.
SIW2 updates the package regularly, so don’t expect the link to persist. However, he has maintained the thread titled “Update your Win 7 installation media” on that forum for over a year…
First in was canonkong’s modified USB 3.1. This is the only package that stopped Windows install from complaining for drivers on my hardware.
I have the wonderfully unsupported A36D device ID USB 3.1 (VEN8086&DEV_A36D).
Most users could probably stop here and move on to installing the hotfix and USB + NVMe drivers in Install.wim. However, I am permanently updating my Win7x64 install media, so I will add more drivers to the Boot.wim…
Next in was SWI2’s 7UP.
Lastly, I utilized Gigazyte’s Windows USB Installation Tool.
At the time of this writing, version B18.0213.1 was the latest and greatest. Again, that should change with time.
Goto the site, and search “USB Installation Tool”, and download the highest version.
The tool itself did not actually work for me - I had to use Microsoft DISM to facilitate my slipstreaming.
But, it is a good collections of advanced drivers, and contains the Win7 NVMe hotfix files that Micro$oft has tried to hide.
Once I started to use the DISM utility, I was able to see which drivers failed, and remove them from the process.
This allowed a clean, successful integration.
At the time of this writing, both SIW2 and Gigabyte had the same Intel versions for both USB3.x and NVMe.
Neither SWI2 or Gigabyte had the USB 3.1 device ID’s I needed, so they were discarded leaving canonkong’s USB 3.1 Mod.
I added the NVMe drivers from SIW2’s package.
I then added the Samsung NVMe drivers from Gigabyte’s package, followed all USB drivers except Intel, and Intel Thunderbolt drivers.
Later, I had to remove the Samsung NVMe version v1.4.7.17 b/c Windows Setup boot complained about the driver being corrupt.
This persisted even though I integrated that driver from multiple sources. It could have just been my hardware, tho.
I also had a number of AMD drivers fail to be integrated, as well as the Intel Thunderbolt driver.
Completing this integration allowed me to boot into Windows Setup without being prompted for additional drivers.
Having success here, I went on to tackle the Install WIM.
There are multiple images in the Install WIM. Since I’m doing this to permanently update my install media, I did all 4 images in the MS Win7x64 refresh ISO (X17-24395.ISO).
Removing the \sources\ei.cfg allows this to be a AiO 64bit install for Home Basic, Home Advanced, Professional, & Ultimate editions.
Also, remember that to completely do this, you need to mount %mount_dir%\windows\system32\recovery\winre.wim (an embedded WIM in each image), and patch it with the two hotfixes and drivers, - for each image.
Since I was doing packages anyway, I first added KB3020369 & KB3125574 to Install.wim.
KB3125574 is a “Convenience Rollup” that is essentially SP2. KB3020369 is a prerequisite.
You can get REALLY gutsy, and install all current updates, though I’m not sure I can actually recommend this.
If anyone does do it, let me know how it turns out.
I keep a copy of WSUS Updater on a flash drive, and update it a couple of times year.
It allows me to block problem updates, and is extremely quick on good hardware.
Next, I slipstreamed the NVMe hotfixes and all drivers that were successfully integrated in the Boot.wim.
After copying Boot.wim & Install.wim to an existing boot USB, I installed windows.
Installation went perfectly.
Points Specific to H370 ChipSet:
The H370 chipset has UHD630 embedded graphics.
WinTel has really upped the game for denying drivers to anything but Win10 for this GPU.
Fortunately, some enterprising and industrious individuals on this forum have a working solution.
This >post< has links to two working driver packages.
However, the one attributed to CoolEAP was apparently done so in error, as pointed out in this >post<.
Reading indicates DeathBringer’s (CoolEAP) is targeted more for Desktops, and canonkong’s is geared more for Laptops.
Note the Device IDs mentioned in this >post< to determine which package to use with your system.
After you have installed all other drivers you can find, go to intel.com and download the latest Chipset INF Utility.
You want to do this last, as much of the “utility” is just to make the “yellow-bangs” (yellow triangles w/ !) go away.
While it does install some legitimate drivers, most of the unknowns are simply covered up…
Software/Packages
DISM.exe (version 6.1.7600.16385 for Windows 7)
Your installation of windows may or may not have DISM.exe.
If it doesn’t, or it doesn’t have version 6.1.7600.16385, download the Windows AIK (version 2.0.0.0)
Windows 8/8.1 uses Windows ADK.
I can’t tell you how to use DISM in Windows 10. But, it’s supposed to be there…
cononkong’s Intel USB3.1 Mod
SIW2’s 7UP. Currently, Version 36.
Gigabyte’s Windows USB Installation Tool. Currently, Version B18.0213.1.
I also highly recommend WSUS Updater.
I keep this on a flash drive, with all of the Telemetry, Nag, and “UhOh” updates culled out.
On a decent system, I can have Windows 7 fully updated in 30 minutes.
This can also be done in this fashion, maybe a little easier for those who don’t want to slipstream/mod the install (or want to clone current setup)
1. Install Win7 as you want on SSD/HDD to legacy MBR (or as in current MBR setup on SSD/HDD) - Make sure aligned to 4K
2. Install to this system KB2990941 & KB3087873, shut down system
3. Connect NVME drive to system, boot into the win7 on MBR SSD/HDD - this to let NVME be detected and drivers installed - then shut down and remove NVME to avoid any confusion next
4. Download and install EaseUS Partition Master 13.5 - https://www.easeus.com/partition-manager/personal.html
5. Open EaseUS Partition master, select main drive with the Win7 install on it, right click, convert to GPT - it will reboot to complete this once you apply.
6. Once #5 process is done, boot to BIOS and change to UEFI mode
7. Boot to windows, download and install Macrium Reflect - https://www.macrium.com/reflectfree (For next step using this, you need secondary spare SSD or HDD or large USB)
8. Open Macrium Reflect - select main (entire) SSD/HDD with win7 on it, and choose “image this disk”, default options are fine, you can enable verify if you want and disable any of the incremental backup functions as you proceed through the next >> Next >> Finish process.
9. Shut down, insert back in the NVME
10. Boot to windows, open Macrium and go to the restore tab and select your saved image, choose NVME drive as target and restore to it (resize right side of target main OS Partition if needed, this can be done here with Macrium or later with EaseUS)
11. Shut down, remove original drive leaving only NVME
12. Boot to BIOS, move NVME drive to first position in the boot disk priority section
13. Boot to windows on your NVME
Done 
** Same process can be done with Win10 as well, but if cloning Win10- start at step #4, skip #5
I did both of these systems on this exact NVME drive this past week (256GB one)
Samsung drivers (force/have disk method) work for these drives on Win7 if you want/need to view smart data/use ADATA’s SSD tools, but those drivers do not perform as well as the stock MS one