hi @_haru do you have any proof to show that? i am curious since i really want to buythose cpus and asus board, but i am afraid.
hi @Lost_N_BIOS , i would like o try, but they are costly and hard to return and get refund.
i would like to buy MB from Asus and insert the cpus to check, but not sure what if Asus allows me to return and get full refund for the board.
Then you must wait for someone with 50654 similar CPU to mod BIOS, or ask me/someone to mod BIOS, to re-insert some revision of the 50654 ucodes
Or as I mentioned, using stock BIOS it should work, just as _haru said too, since 8160 is on the QVL - https://www.asus.com/Commercial-Servers-…E/HelpDesk_CPU/
H0 stepping is what was used by Linus Tech Tips and worked with a stock bios.
@avd
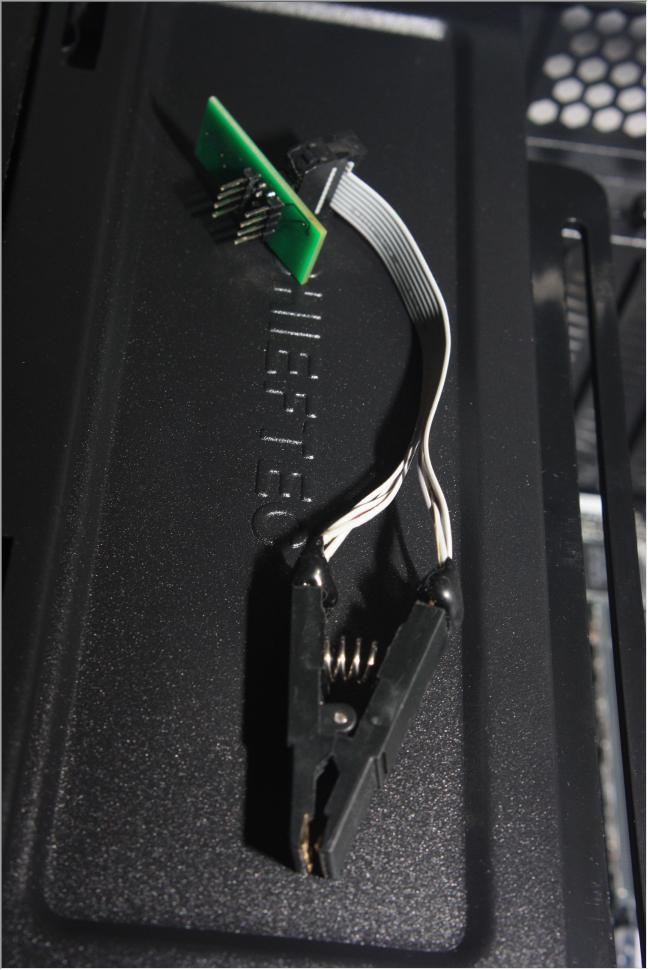
In your pics you look to be using an SOIC8 clip rather than an SOIC16 clip? Will an SOIC8 clip be ok?
EDIT: Ignore me being daft.
@nhan72nn the cpu-world DB entry you linked has all the information - it’s the same stepping as retail, with identical specs.
@Lost_N_BIOS H0 is a retail stepping, and this chip is a QS (Qualification Sample), so no BIOS modding is needed.
@_haru thanks for the confirm. yes, it would work with Asus board.
here is the link from ebay that show QS cpus work with Asus board.
https://www.ebay.com/itm/Intel-Xeon-Gold…0-/323311430010
For those playing along at home, you can also use the included serial port header to connect to the programming connector on the board. This might be a more attractive option if you don’t fancy cutting up a USB3 lead as mentioned earlier.
@malucul
Do you have any pics of this and how you connected it up?
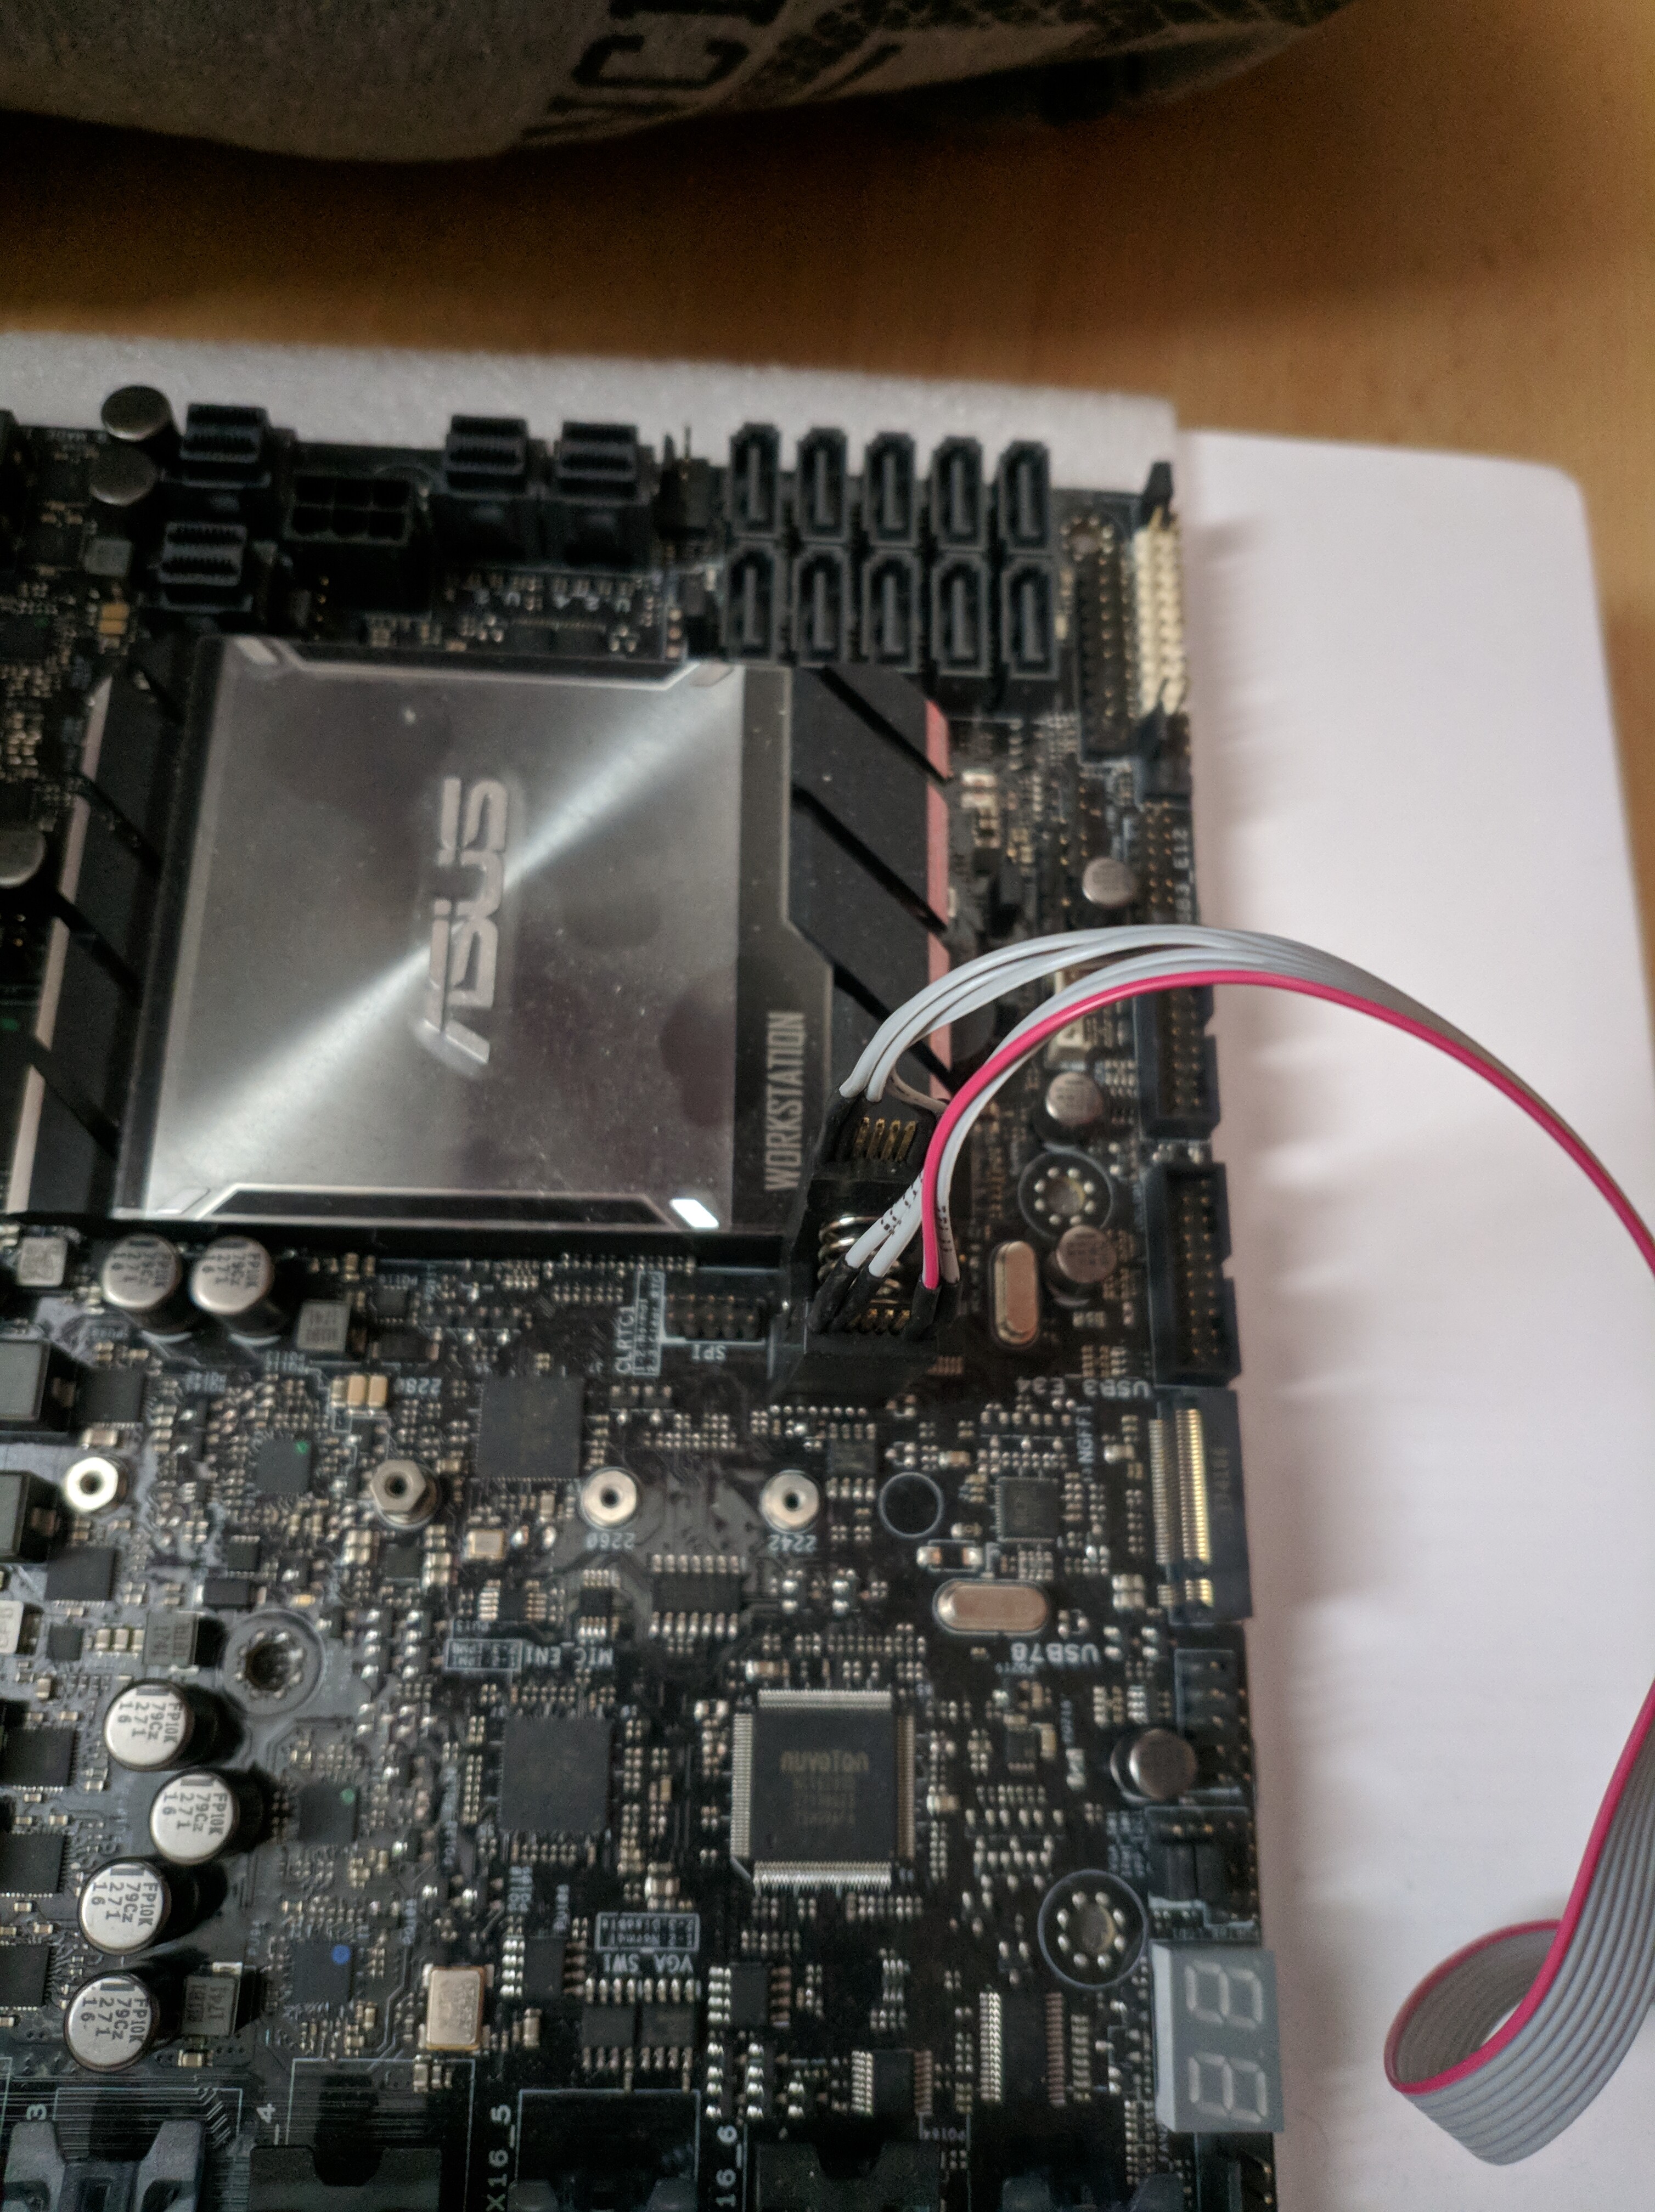
In the link below are two images showing what I did. You MUST use the serial cable tail provided with the motherboard for my wiring guide to work, as not all of them are wired the same even though they may look similar.
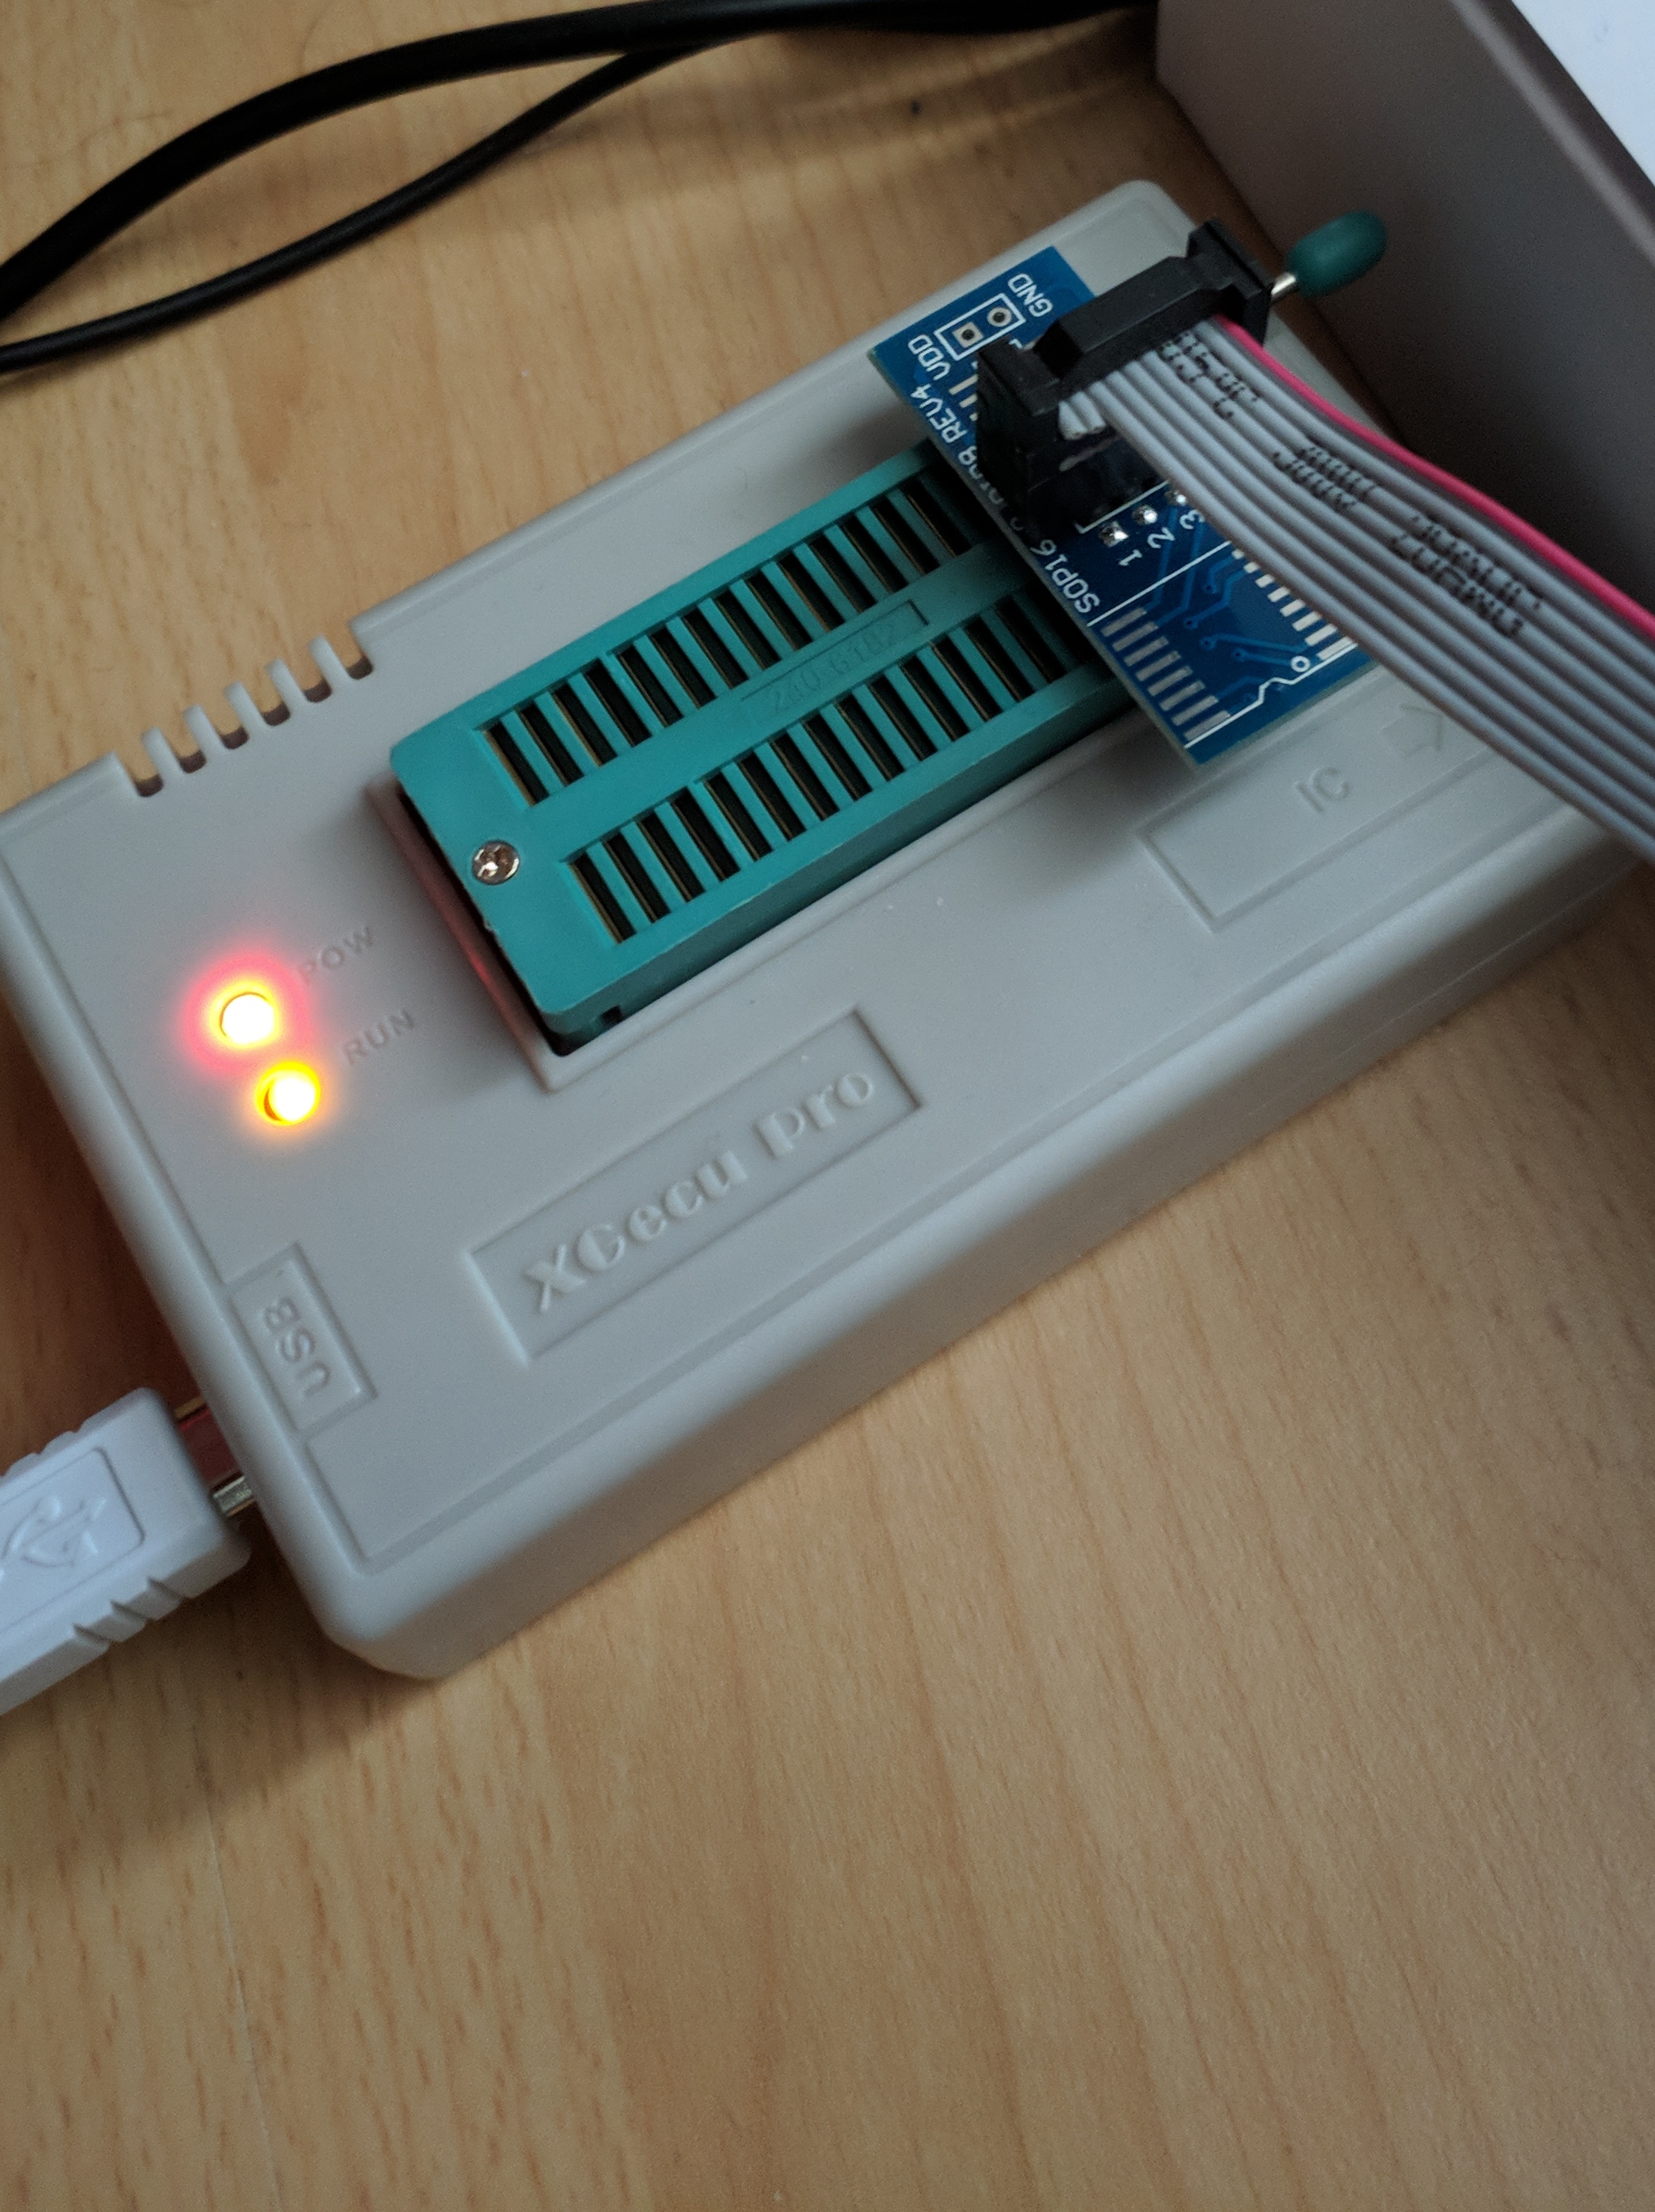
I used the TL866 II Plus programmer (the old TL866/TL866A model will not work, it does not support the flash chip used on the board), which whilst fairly common, is a more expensive device than the programmer the other guys suggest. If you’re in the market for a device to just do this one job, get the other programmer and the SOIC clip instead, it will be cheaper.
Provided with the programmer are a bunch of adapter boards. I used the one intended for TSOP32 use (it also has SN001-4 printed in the top corner). It needs to be connected to the serial pin numbers as indicated in my picture. The pin numbers are usually physically printed on the serial connector if you look closely.
You can either cut the plug off of the serial cable provided and wire it directly to this board, or use a matching DE9 female connector if you still want the serial adapter to be usable for it’s intended purpose afterwards.
Once you are done, plug the serial cable into the motherboard’s SPI header. The pin on the connector that does not have a wire should line up with the “pin” on the motherboard where there is no metal pin.
https://imgur.com/a/VAygLJC
------------------------
Now that we have verified that the provided image does actually work, can someone please see if they can wrap it up in a flashback container such that it’ll be easier to apply for those who do not want to go through all this wiring and programming stuff?
Ahh thought you used the CH341A
I shall dl a full guide video for this once ive got it all sorted out and make it as easy as possible with simple 1,2,3 steps
@malucul - I can do that, but this will only work if USB Flashback reflashes (Downgrading, against ME FW set rules) the ME region each time.
That can easily be tested, by updating to latest stock BIOS, check ME FW version, then test the flashback file and see if it downflashes the ME or not after flashback is done.
First I will have to dig out avd’s board details and remove them from the BIOS, copying in whatever is the stock bytes for those areas
Please confirm for me, if you dump entire BIOS with programmer, is your PTT region filled with DATA or no? If it has data, please send me a copy, so I can compare and see if it looks like anything important/related or if empty stock region will be OK in the flashback testing we eventually do.
There is one issue here though, NVRAM. Stock BIOS contains one largely empty NVRAM volume containing standard stuff, and I’m not even sure if this is written during a BIOS write using EZ flash or flashback (I think not, maybe only replacing the stock data with stock data, if at all since same/same).
But, a dumped BIOS contains two, hugely populated NVRAM volumes, and I’m unable to tell what if any of that in his original dump is mod related, so unsure if any of that needs to be in the file or not.
Additionally, if it does need to be there, flashback may or may not overwrite your NVRAM for the files NVRAM, this is something we’ll have to test with, without, and see if it’s needed for the mod or not, and if flashback overwrites your NVRAM with the contents of flashback file or not.
In order to do that kind of inspection you’ll have to dump your BIOS region before/after and we can compare. << That would only be required, if I send you a BIOS without the NVRAM volumes from avd’s mod BIOS and it still works for your B0 CPU’s, in that case no further messing around needed.
But I’m assuming due to some of the changes I noticed NVRAM volumes will need replaced and this may not be possible via flashback (it’s like serial, UUID, MAC, should be left in place/as-is during a standard BIOS update procedure, even with flashback)
Once we get into testing, I’d like to give you two files too if you don’t mind, one with correctly constructed FIT table, so we can test if that was just his bad editing, or whoever originally created the BIOS, or it’s messed up like that to allow the mod to work in some way.
@Lost_N_BIOS once my programmer arrives (hopefully today) and I’ve got everything tested as working with AVDs original mod I’m more than happy to do any dumps and testing you need.
I told you in post 204 all you need to do to get b0 to work is to insert 0652 ucode and to make sure your bios has the new seccore (which 5503 already has, as well as 5103, also tested, but not earlier versions). That’s all, very easy. And the bios was originally created by me, i did not buy it.
I actually tried to buy the mod on ebay but seller denied my request to sell me a bios image only without sending the motherboard or to send me the modified bios chip. I decided to do my own research because shipping a motherboard to US from Ukraine (where i’m located) wasn’t an option for me due to high shipping cost and import taxes. I’ve told that i’m gonna try something in this thread before… So the research has ended up with success. Sorry maybe my English is too bad so you don’t understand me.
I’ve added another modified bin (with empty nvram, no mac, uuid etc) to the google drive - same link. Cheers
@Lost_N_BIOS @TechStream
@avd
cool.
any chance of a pin out description for the setup you used in the picture below?
have the same programmer here and an soic16 clip

I made it like this


@levelud
Do you have a lin diagram for that?
no, I just tried how the flash was recognized and it worked
Sucess!!
Modded bios flashed and verifyed!
Now for my CPUs and water blocks to arrive!!
My god it takes ages when you are sitting there watching the bar come across!!
@TechStream gratz! That first boot with the 5 or 6 resets is hell on the nerves, isn’t it? If you’re using windows, have you noticed an issue where the first cold boot tends to fail but succeeds on the second attempt? A number of other multisocket Xeon machines I have demonstrated similar behaviour so I don’t think it’s an issue with this board, chip or BIOS but it’s annoying nonetheless.
@malucul
No cpus to test with yet…
There is a windows 10 setting for fast boot, try disabling this. Funnily enough had the same issue with my laptop after a Win10 update.