Yes Please Lost_N_BIOS every thing to the latest drivers (sorry I didn’t know there is a new ME FW version 8.1.70.1590) …You are my hero…
 Thank you Thank you.
@Jen - sorry for delay, I too have issue with the ME Guide on this one, please wait I’ve asked Plutomaniac to assist in a PM
Thanks Lost_N_BIOS, please take your time…
@Jen - here is BIOS, Plutomaniac did the ME FW update, I’m still not getting that to work properly so we’ve been discussing this back and forth for a few days.
But, I know you’re probably tired of waiting so here is file he did the ME stuff on few days ago, rest I had already done for you and was hoping to sort out the ME Stuff myself since I usually don’t have issue with that (But X79 seems to be a pain!)
This has all previous changes, updated microcodes (All), NVME Mod, and ME FW update to latest.
http://s000.tinyupload.com/index.php?fil…157168479192602
Thanks Lost_N_BIOS and Plutomaniac very much for your time . I did a successful flashed the new final BIOS, unfortunately the PC restarted with black screen, fans spinning, graphic card light on, PC’s just running, but It doesn’t reboot, it stacked at black screen no Asrock logo no thing, just black screen. I tried every thing that I can find online, like taking all RAM sticks out, just left only one RAM stick on, do the clear CMOS jumper, remove CMOS battery from the mainboard, but still doesn’t work. I try to flash back to the original BIOS, but I can’t 'cause black screen.
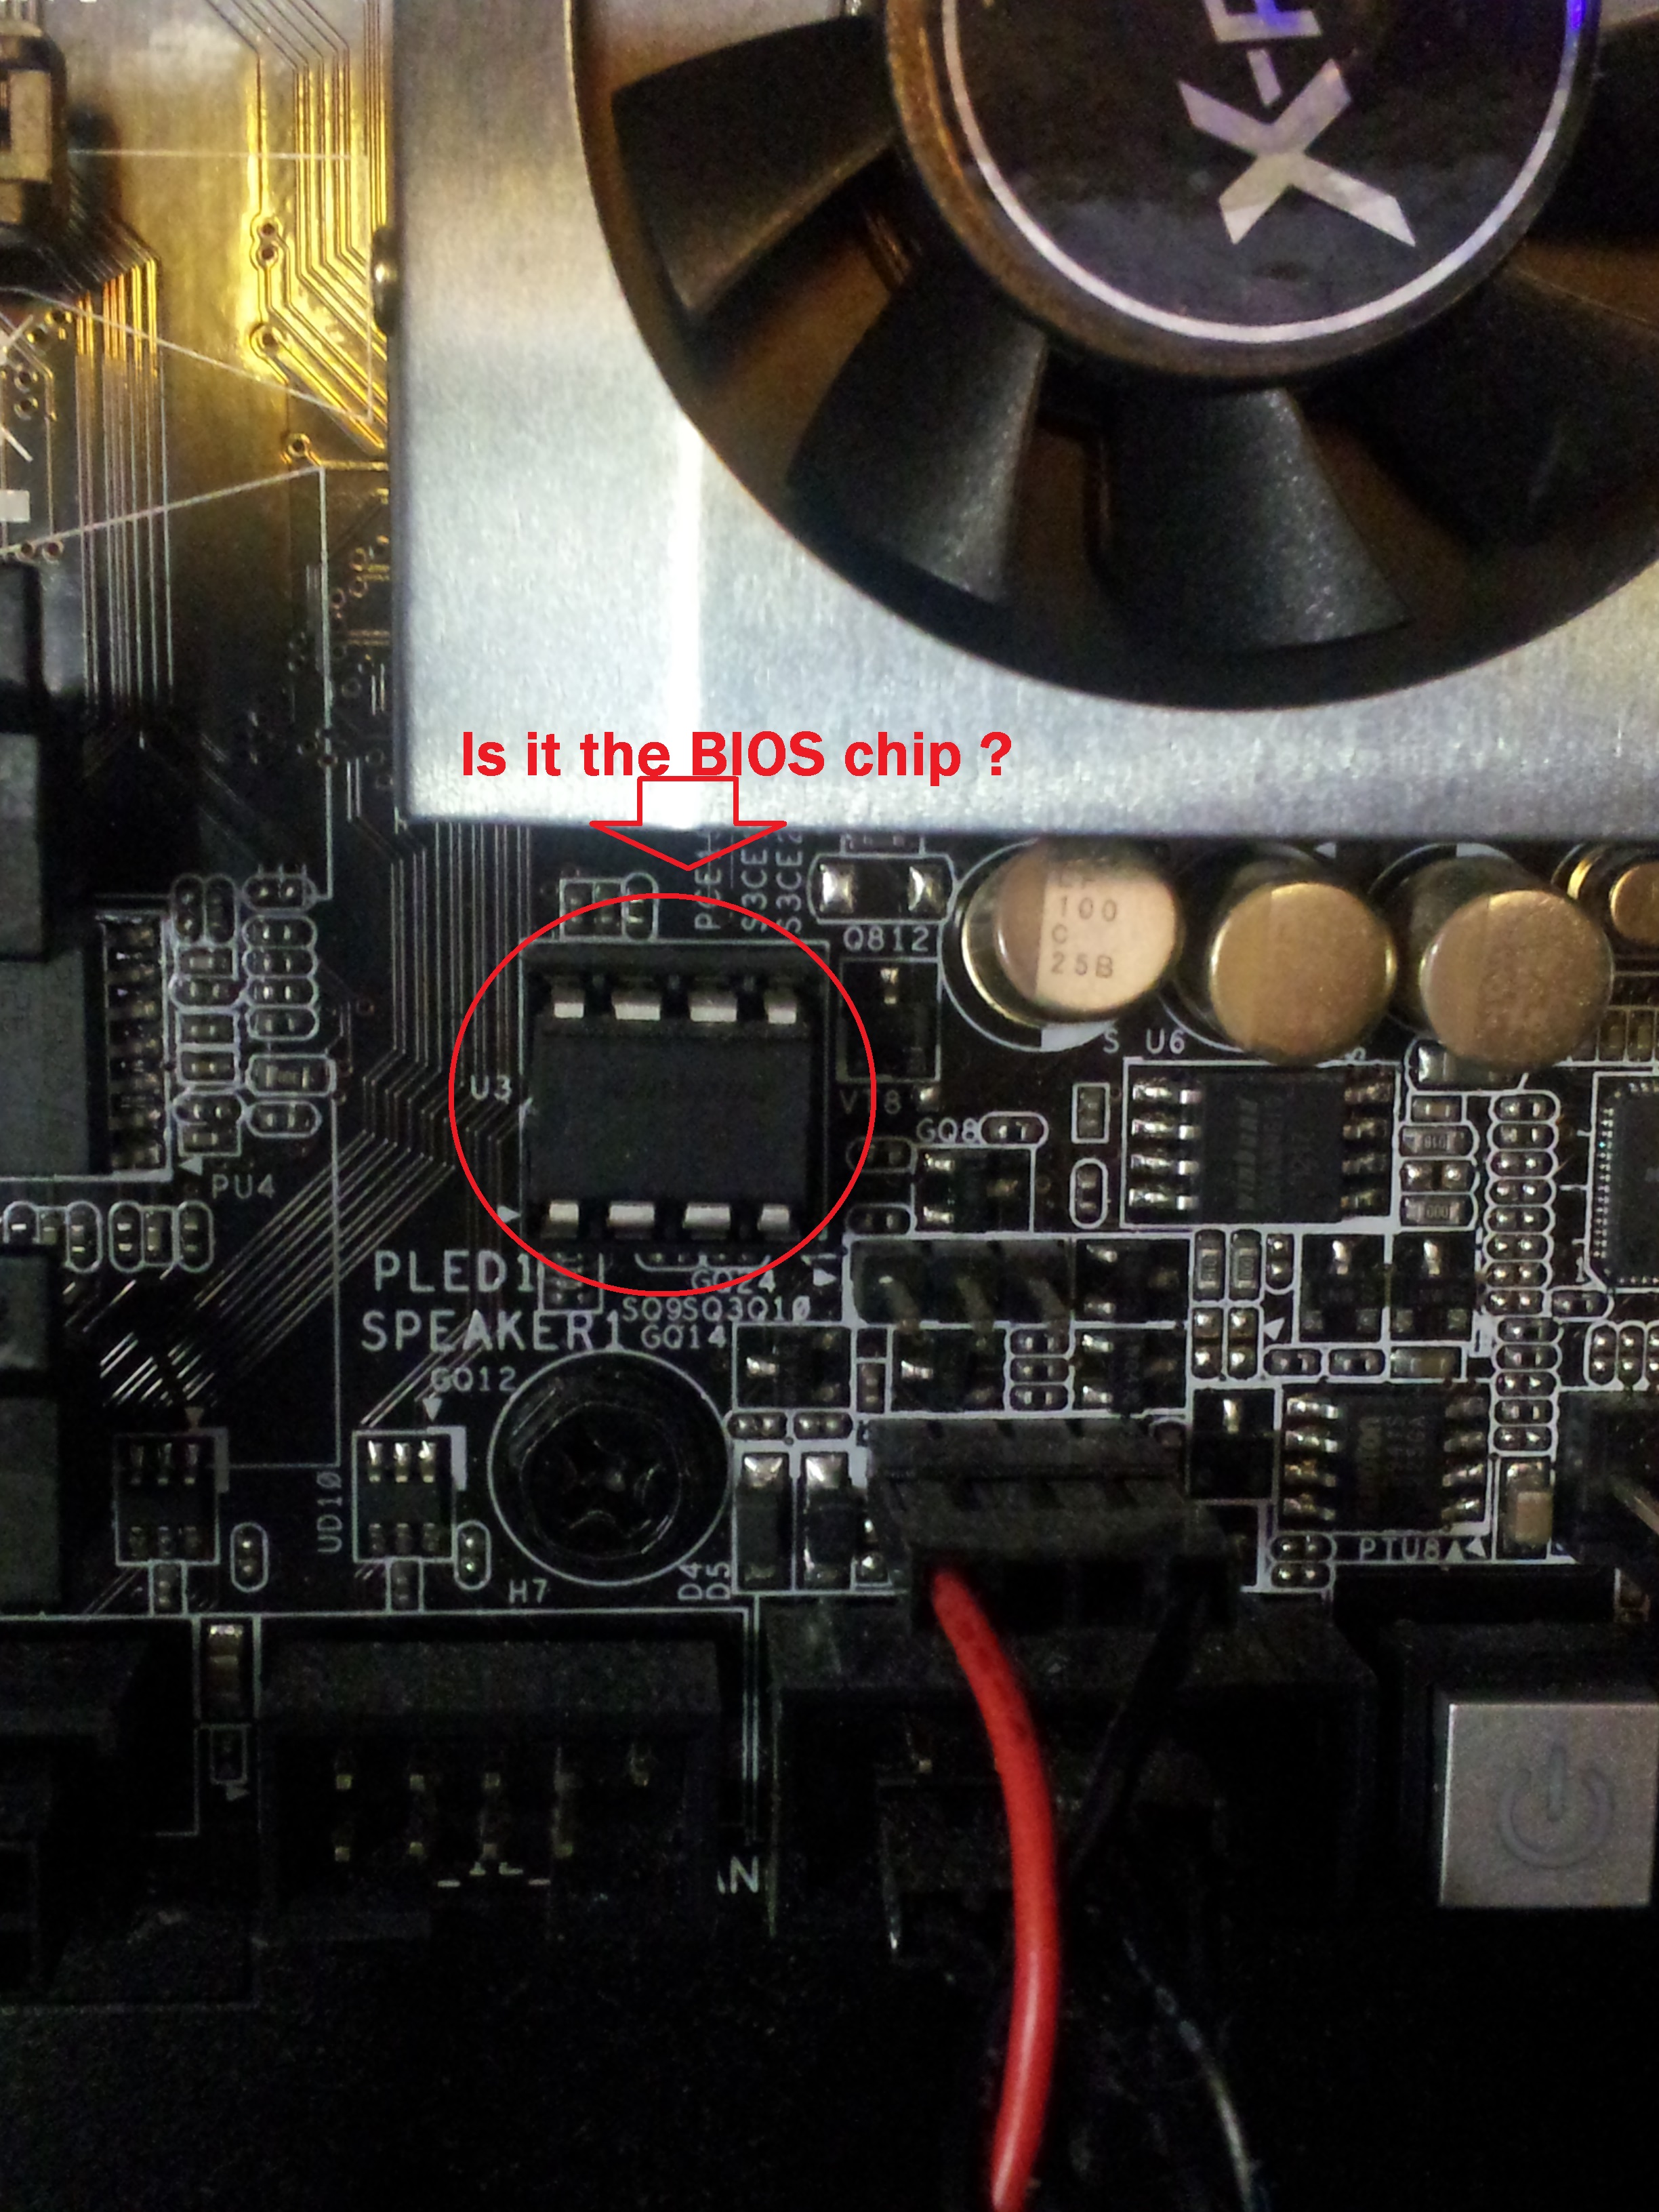
Please help… do you think about replacing the BIOS chip ? very much appreciated for your great help…
Crap @Jen - very sorry to hear this! Only way to recover is via CH341A flash programmer, and you need U Type Flat IC extractor if BIOS is in socket, or if BIOS is soldered flat to board then you need SOIC8 test clip.
Please let me know if you need links to examples of these on ebay, they are cheap $2.50 for the programmer and $1 for the IC Extractor, or $.3.60 for the SOIC8 clip/cable if needed, but at those cheap prices delivery time is 3-5 weeks from China.
Once you get them, do not erase or write to the chip, you need to dump it first and wait for me to confirm the dump is OK so we can proceed. This lets you find which software works properly for your chip, and lets me get serial/UUID and LAN MAC from your BIOS before you erase it to fix.
Yes please Lost_N_BIOS, I need those links and instructions how to, Thanks again,
Is BIOS in socket, or flat soldered to board?
https://www.ebay.com/itm/332735579991
https://www.ebay.com/itm/123167465408 << If BIOS is in socket, this all you need (+ Programmer)
https://www.ebay.com/itm/382486015977 << If BIOS is soldered to board, this all you need (+ Programmer)
You can get these items on ebay from other sellers that ship faster for more $$, or from other local sellers on ebay, or other stores that sell computer stuff like Newegg/Amazon etc, but price will always be much more than ordering cheapest way from ebay.
@Jen - This either caused by the ME FW that gave us so much hassle and oddities while we tried to check things in the background, or possibly the update of ucodes manually instead of using MMTool in this instance.
I checked BIOS and all looks OK, but we wont be able to tell for sure until you get recovered and then I make you BIOS updating one of these things at a time so you can test and narrow down the cause.
Again, very sorry this happened! It’s always a risk to flash BIOS, even stock, I wish everyone had flash programmer and backups made before we edit BIOS, but that’s rarely the cause.
Don’t worry, you will get it fixed easily, once you have the tools in hand
Thank Lost_N_BIOS. don’t worry I know it’s not a easy tasks, you spent a lots your times try to help, I’m very much appreciated for your assistant…  . At the moment I don’t know where is the BIOS what it look like, I’ll let you know when I find it.
Hi Lost_N_BIOS, I found this combo, Is it the right one for the job ? Thanks
https://www.ebay.com.au/itm/CH341A-Serie…N0AAOSwgS9dOMQv
@ Lost_N_BIOS please check the image, Is it the one and the tool I need is “U Type flat IC chip protect plier ROM circuit board extractor removal puller” ? Thanks.
@Jen - Edit this BIOS is pretty easy, but the ME FW is troublesome since we only have a non-fully-compatible FITc tool to work with X79 BIOS/ME FW, so can be hassle.
The failure It may all be due to how I edited the microcodes, but since that ME FW gave us such hassles it is high up on my possible causes list too, we’ll find out later
I hope you have other system you can easily use while this one is down
BIOS for Asrock Extreme9 X79 is directly below the SB heatsink (bottom left corner of SB heatsink), I think. Do you see a chip in that socket? * Edit, yes, I checked manual, and this is the BIOS location (let me know if you need image)
I checked on stock image at Asrock site and there is no chip there, so if you have empty socket there too then this is not BIOS, and BIOS is probably under that SB Heatsink.
If you do have chip in there, then you have socketed BIOS and you need the U Type Flat IC extractor only (+ Programmer)
@Jen - sorry for delayed reply, I didn’t notice your edit until just now!
Yes, that is your BIOS in a socket, so unless you want the SOIC8 test clip/cable for later usage on other boards, you don’t need it.
This would be all you need, and I assume you are in Australia, if not look around again for just this
https://www.ebay.com.au/itm/173878758440
You also need U Type Flat IC Extractor, those are only $1 from China, I couldn’t find any in AU only, except $8-9 ones and that’s too much money for this item.
* Edit - BIOS can be removed without this, but it’s very tricky until you know how to do it, and even then it’s always a risk to damage easily. The BIOS legs are very fragile and bend/break easy, and without this tool it’s very easy to damage them beyond repair.
If you want to try without the extractor tool, find some small plastic or wooden item you can use as a wedge. Then wiggle from side to side upward from underneath the chip only (not the socket), little on one side, then little on other side, etc, until you see it start to move upward.
Once you see it moving, go even slower and more careful. once you have it about halfway out, try to slide some thin ribbon or thin cable/wire etc underneath the chip. This way you can pull upward from both sides at once, straight up.
If you do not do that, and try to wiggle it out all the way that’s when damage happens, it will pop out very easy once you are almost out and that always damages the legs due to popping out from pressure at one side and then legs all bend sideways as it pops out.
It can be done, without damaging it, without extractor, even just by wiggling it out directly, but it’s better if you can get something between it and the socket with it partially out and then put it straight up and out, less chance of damage that way.
Thanks Lost_N_BIOS for follow up and your instructions . Yes things are a bit expensive in Australia, but found one for $4.5 and order the Programmer, hopefully they will arrive at the mid of next week, I can’t wait to have fun next week… .
.
Have a good weekend
You’re welcome! So you found U Type Flat IC Extractor for $4.5? If yes, Good, sorry you had to spend so much more to order these locally But now, at least you will have them and can fix any BIOS next time for any board.
Since you don’t need it fast, for now anyway, I’d go ahead and order one of the SOIC8 test clip cables from China for cheap too, that way you’ll have it for later and then you can fix any boards BIOS in the future.
Unless you ordered that first set you linked me too as well, it has the cable/clip already.
Look on your BIOS chip, with flashlight and magnifying glass if you need to, and tell me the chip ID, so I can tell you which software might work best and if you need to select anything different than exact ID.
I will already have BIOS you can recover with ready for you, but you’ll need to dump BIOS first and let me see it to confirm it’s OK/Valid/proper BIOS, that way you see how it all works and we confirm your software is dumping OK that way we know the write will be OK too.
Here is some guides on how to use with lots of images and info you can look over while you wait
https://www.bios-mods.com/forum/Thread-G…341A-programmer << Same as one directly below, but with all images expanded/visible at once
[GUIDE] Flash BIOS with CH341A programmer
[Guide] Using CH341A-based programmer to flash SPI EEPROM
[GUIDE] The Beginners Guide to Using a CH341A SPI Programmer/Flasher (With Pictures!)
Thanks Lost_N_BIOS, I’ve quick looked through those links that you posted. seems very challenging process…. Hopefully I can pass the test easily with your assistant. I attached the pic of the chip serial numbers, and I don’t know which pin is number 1 (as in pic above PLED1 with the arrow on top that pointing to the first bottom left corner PIN is PIN1 ?). Yes tools are on the way sometime next week. Thank you.
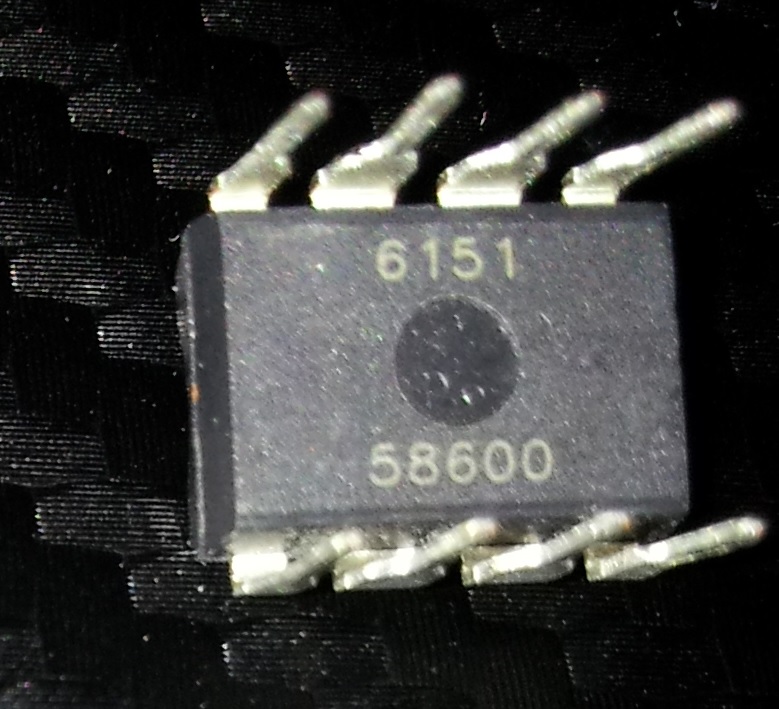
It’s easier than it may look. I need to see the top of the chip for the BIOS ID. Pin one will be on the side with the half-moon or notch, that always must line up with the notch in the socket itself and it can only go in one way when you match up with the notch
Looks like you bent the legs, you’ll have to straighten them out with some tweezers, be careful. Or, could just be that image making them look a little un-straight.
Process will be pretty simple for you, remove chip from board, put into program and program, then put back into the board. The guides show a cable, you put your chip in same way and location, instead of the PCB/Cables
Chip will go into middle socket of the programmer, with notch facing the back (this puts pin 1 at middle, on lever side)
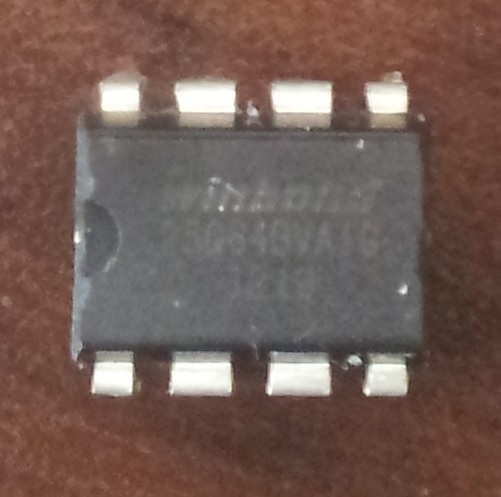
@Lost_N_BIOS Wow you’re an expert…, the legs bent when I pulled the chip out, can’t hide from you…. I managed to magnify the chip ID, but not very clear…Wnbond 25Q64BVAIG 1219…pic att. Thanks
I’m just used to playing with BIOS all the time, so I spot stuff like that quick and easy 
For W25Q64BV use software version 1.30 or 1.34. Make a dump and send to me so I can check, once it arrives.
For W25Q64FV we have to choose W25Q64BV, so same may be true in reverse for you, I can’t remember for sure with actual BV chips. I’ll dig one out and find out for sure, if you have issues
Hello Lost_N_BIOS, I’m back to the business.. I attached the dump (you mean the back up BIOS from the chip)…Would you please check that I do it right…and let me know the next step. Thank you
BIOS_backup.rar (4.94 MB)
@Jen - Yes, dump I mean backup from the chip by programmer, thanks. I will check it in a second and fix a BIOS for you to recover program with, be sure to use same software version to write it back (unless I tell you it’s a bad dump, try again etc)
Then, we will test those last three changes one at a time until we find the cause of the brick (microcode edit, NVME edit, or ME FW edit). I suspect microcode edit, may need to be done other way, or ME FW, we’ll find out shortly!
Hmm! Are you sure this is a dump from your chip, not mixed up with some other file I sent you and then uploaded by accident? This has updated ucodes and NVME, but the ME FW update is not there.
How are you flashing these BIOS in, before I mean?Here is fixed BIOS (See next post by me), back to the unlock only for now, once you program this back and are up and running again let me know and I will make you other package updating one thing at a time until we find the culprit
I bet microcodes now, since ME FW was not updated, unless you sent me wrong file by mistake. And on that, I don’t think you did now, since I see in this dump a second NVRAM volume which was not in any previous files you sent me
1. Open program, in “Auto” Function, uncheck erase, blank check, close program
2. Open program again, detect chip ID, select chip ID BV for now - if write fails to verify, use FV
3. Erase
4. Blank Check
5. Open BIOS file
6. Hit Auto - this will write, then verify - if success main buffer and chip match then OK, pull chip and put back in board.
If it fails to verify, do all steps 2-6 again in order, but at step 2 choose FV instead of BV
Yes that the right dump from the chip after the last update failed. I’ll let you know later with the result of your attached BIOS…very sorry I’m off line now. Thanks for your instructions.
Ps I’m using CH341A programm v1.34 to backup the BIOS.bin