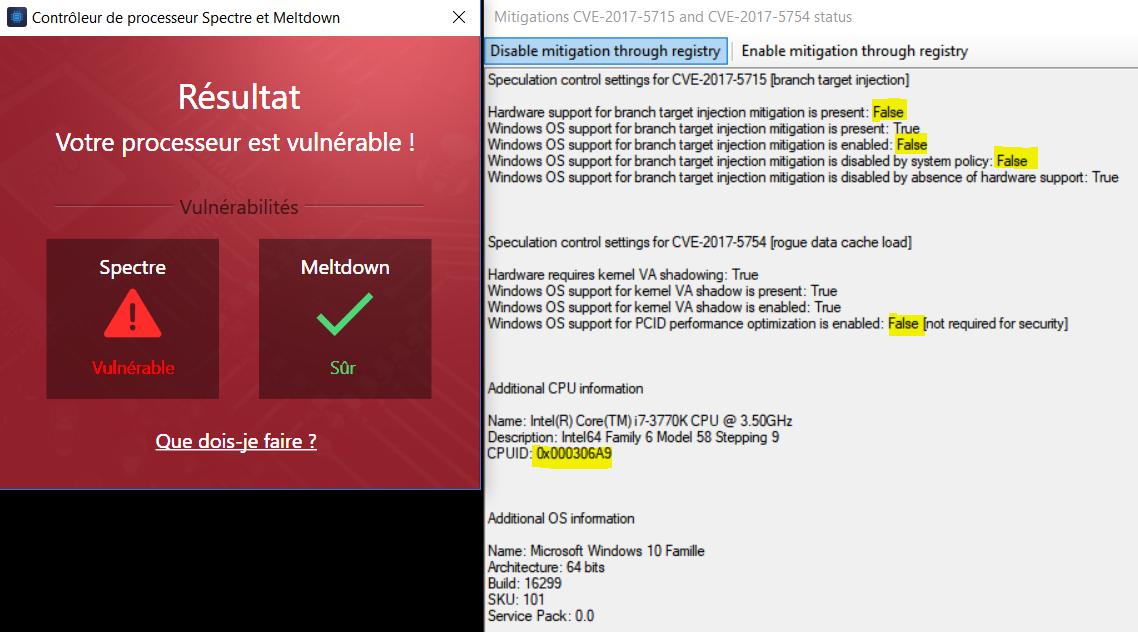
First things first. There are two attacks, Meltdown and Spectre, and three total vulnerabilities, with two being variants of Spectre. Only one of the Spectre variants requires a microcode patch. Here is a more accurate description:
Spectre CVE-2017-5753 Variant 1 Bounds Check Bypass Requires software/browser update.
Spectre CVE-2017-5715 Variant 2 Branch Target Injection Requires microcode AND Windows update.
Meltdown CVE-2017-5754 Variant 3 Rogue Data Cache Load Requires Windows update.
Source
Now, the fix for variant 2, has a hardware (microcode) and software (Windows) component. Windows will only enable the mitigation IF it detects hardware support for the patch. This hardware support is delivered through a microcode update.
On Jan. 8, Intel released a new >>>Linux Processor Microcode Data File<<<. This is essentially a package that contains the latest microcode revisions for most of Intel’s CPUs going back decades, revisions that can be applied by the Linux kernel on boot. However, it’s important to understand that not all microcode updates in this package have the Spectre patches, so not all CPUs have received the fix yet. Some microcodes in this package are very old, so this seems to create some confusion.
Another thing that creates confusion is that even the microcodes updates that DO have the Spectre patches were not actually compiled on Jan. 8. Some of them have creation dates from November. It’s just that they were made public on Jan. 8 when the new package as a whole was updated. Remember that Intel has known about the Spectre vulnerability since early June when it was reported to the company by researchers at Google. Therefore, it had a lot of time to come up with fixes and prepare them, which is why an actual microcode revision date of November is not unusual and is not an indication that the microcode update does not contain the Spectre patch. Intel said that it will release microcode updates for additional CPUs by end of January, so we will likely see yet another Linux Processor Microcode Data File update until then. Here are the changes compared to the previous Microcode Data File release from November:
– Updates upon 20171117 release –
IVT C0 (06-3e-04:ed) 428->42a
SKL-U/Y D0 (06-4e-03:c0) ba->c2
BDW-U/Y E/F (06-3d-04:c0) 25->28
HSW-ULT Cx/Dx (06-45-01:72) 20->21
Crystalwell Cx (06-46-01:32) 17->18
BDW-H E/G (06-47-01:22) 17->1b
HSX-EX E0 (06-3f-04:80) 0f->10
SKL-H/S R0 (06-5e-03:36) ba->c2
HSW Cx/Dx (06-3c-03:32) 22->23
HSX C0 (06-3f-02:6f) 3a->3b
BDX-DE V0/V1 (06-56-02:10) 0f->14
BDX-DE V2 (06-56-03:10) 700000d->7000011
KBL-U/Y H0 (06-8e-09:c0) 62->80
KBL Y0 / CFL D0 (06-8e-0a:c0) 70->80
KBL-H/S B0 (06-9e-09:2a) 5e->80
CFL U0 (06-9e-0a:22) 70->80
CFL B0 (06-9e-0b:02) 72->80
SKX H0 (06-55-04:b7) 2000035->200003c
GLK B0 (06-7a-01:01) 1e->22
I guess you could try to figure out which CPUs got updates from that, but if you really want to make sure, you can use the >>>VMware CPU Microcode Update Driver<<<, also known as a fling, to temporarily test. You can follow the instructions on that page, or the ones bellow. It’s pretty simple:
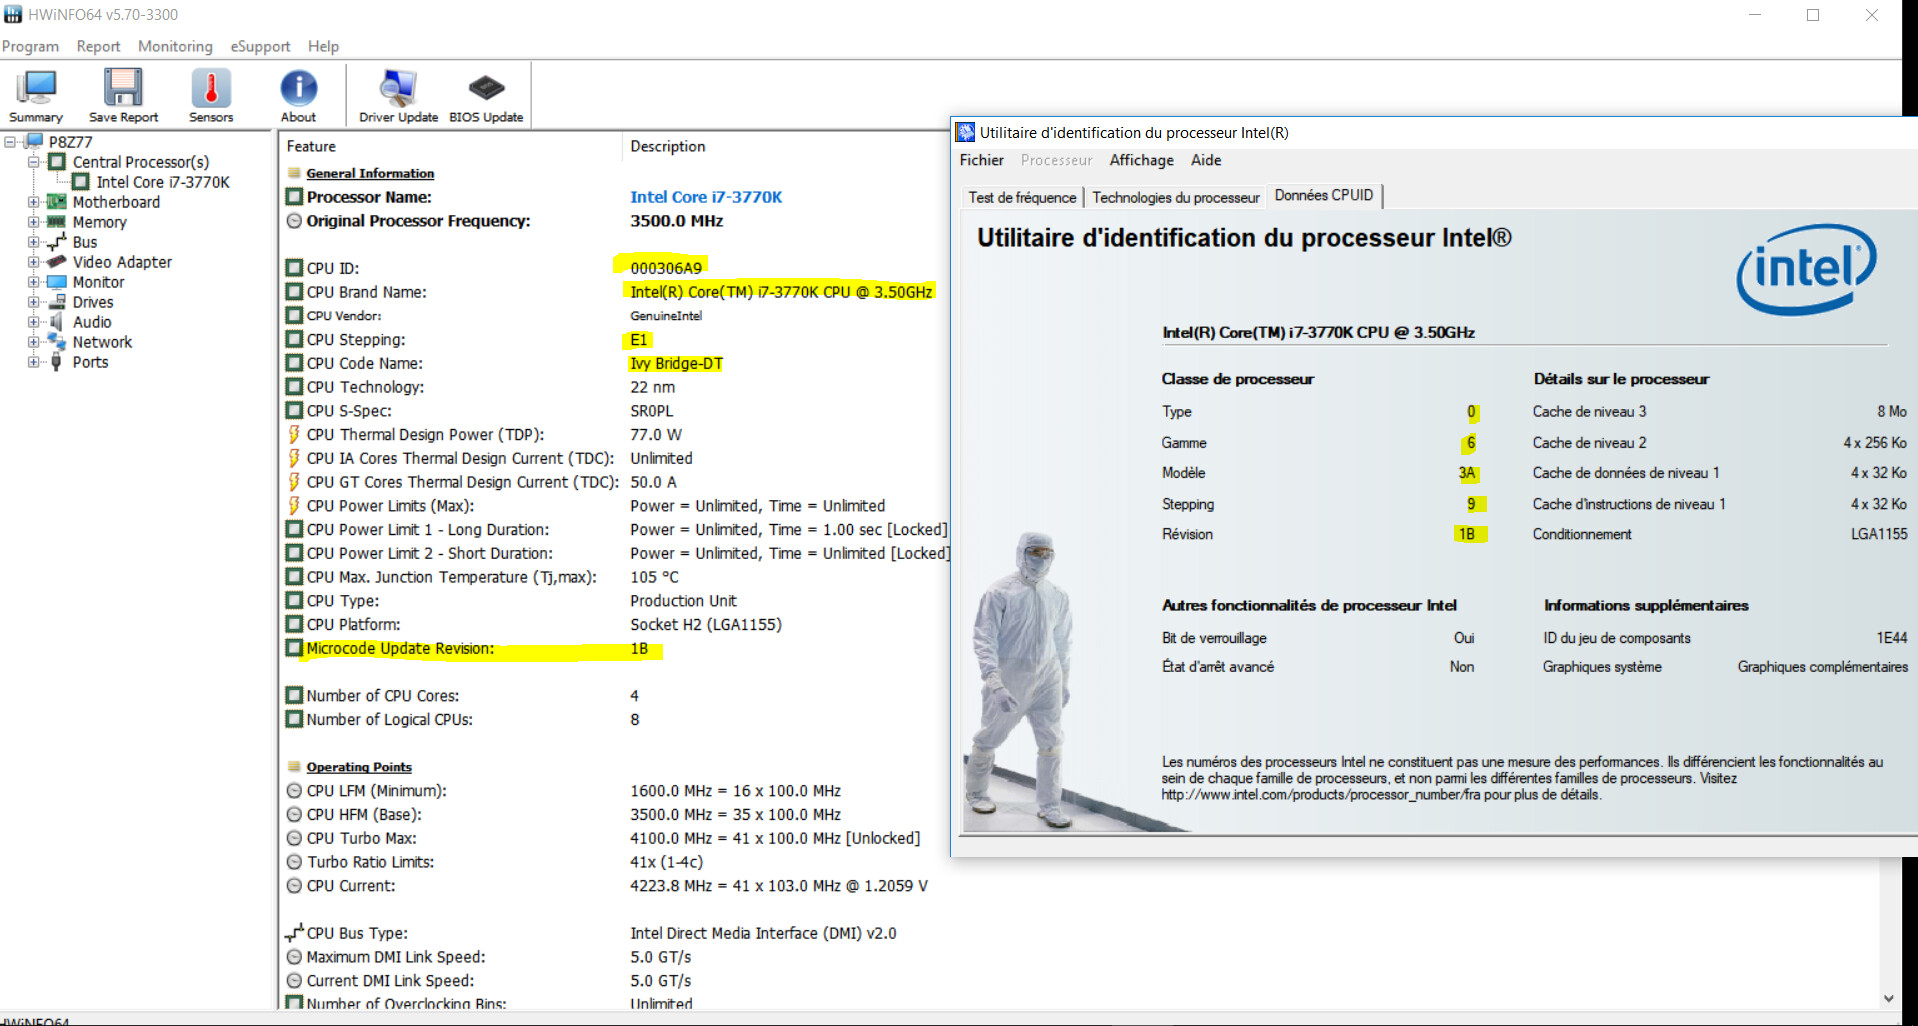
– First, use HWiNFO64 or some other tool that can read your CPU’s current microcode revision and note it down.
– Download and unpack the VMware driver to a folder of your choice.
– Download the AMD microcode updates from the Linux Kernel repository. The tool needs both the Intel and AMD microcode update packages to be present, but will only use the Intel one if you have an Intel CPU. Unfortunately, AMD no longer distributes its microcode updates publicly but does provide them to the Linux kernel developers. So grab them from >>HERE<<. You need the microcode_amd.bin AND microcode_amd_fam15h.bin. Put these files in the same folder as install.bat from the VMware application.
– Download the latest Intel Linux Processor Microcode Data File (see link above). This will be archived as tgz. Unpack it and you should have a file called microcode.dat and a folder called intel-ucode. Copy only the microcode.dat file to the same folder where you copied the AMD files.
– You’re now good to go. Right click on install.bat and execute with administrator privileges.
– Open the Windows Event viewer (Win key + R, type eventvwr). Go to Windows Logs > System and look for an event from cpumcupdate. Click on it and it should say “Successfully updated microcode on one or more CPUs” if a microcode update was found for your CPU and was applied. If it says something else, there’s nothing new for your CPU.
Note that this does not mean the microcode update actually has the Spectre patches. It just means the tool has found a newer microcode for your CPU than you had and applied it.
– Reboot your computer and then use HWiNFO64 to check the CPU’s revision. It should be different.
OK. At this point we want to check if this new microcode has the hardware patch for Spectre. For that we will use Microsoft’s Speculation Control Validation PowerShell Script. You can follow the instructions in this Microsoft support article, but I’m pasting them bellow for convenience:
1. Go to https://aka.ms/SpeculationControlPS.
2. Download SpeculationControl.zip to a local folder.
3. Extract the contents to a local folder, for example C:\ADV180002
4. Start PowerShell and type these commands:
2
3
4
5
6
7
8
9
10
11
12
13
14
15
16
PS> # Save the current execution policy so it can be reset

PS> $SaveExecutionPolicy = Get-ExecutionPolicy

PS> Set-ExecutionPolicy RemoteSigned -Scope Currentuser

PS> CD C:\ADV180002\SpeculationControl

PS> Import-Module .\SpeculationControl.psd1

PS> Get-SpeculationControlSettings

PS> # Reset the execution policy to the original state

PS> Set-ExecutionPolicy $SaveExecutionPolicy -Scope Currentuser
If the microcode update contains the Spectre patch, the output should look like this:
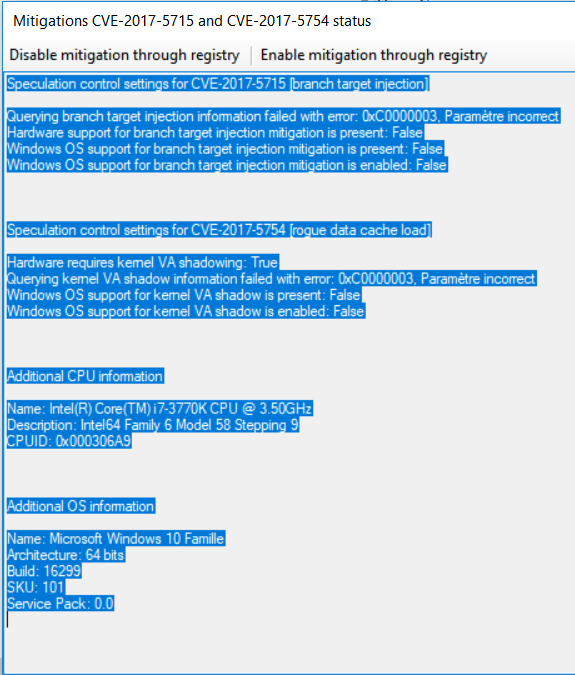
Hardware support for branch target injection mitigation is present: True
Windows OS support for branch target injection mitigation is present: True
Windows OS support for branch target injection mitigation is enabled: False
and lower:
BTIHardwarePresent : True
BTIWindowsSupportPresent : True
BTIWindowsSupportEnabled : False
If you see False instead of true, but your microcode got updated, it means your CPU had a newer microcode available, but not one with this particular patch. You might also have noticed the line saying "Windows OS support for branch target injection mitigation is enabled: False" even if you have the hardware patch. This happens because the microcode update is re-applied at every reboot and the VMware driver is a kernel driver. This means it starts later in the kernel initialization process after the kernel has already seen the older microcode update applied by your BIOS and has disabled the Windows support for the Spectre mitigation. The PowerShell script, however, gets executed much later (manually) and sees the new microcode eventually applied by the VMware driver.
So, while offering an elegant way of applying microcode updates, the VMware driver can only be used for verification purposes and not for mitigation in this case, because it executes too late in the boot process. You need something to apply the microcode update earlier, before the Windows kernel starts. And that something is BIOS/UEFI. You can go ahead and remove the microcode update and the VMware driver at this point, by using the uninstall.bat provided with the application.
If you're one of the lucky people who got a microcode update with the Spectre patch, you can use the other guides on this forum to extract the specific microcode for your CPU from Intel's .dat file, insert it into your BIOS/UEFI image and flash it. That process won't be covered here.
