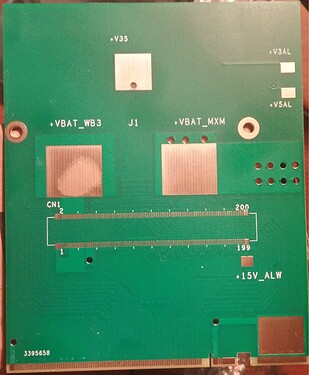
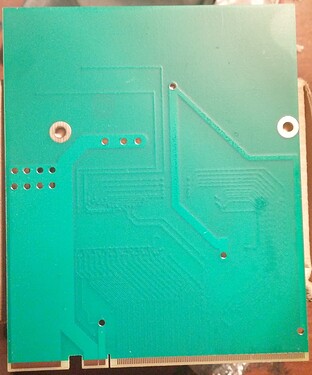
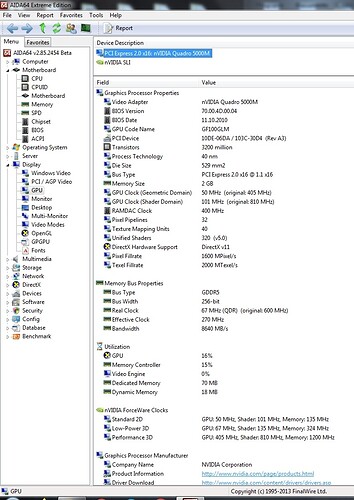
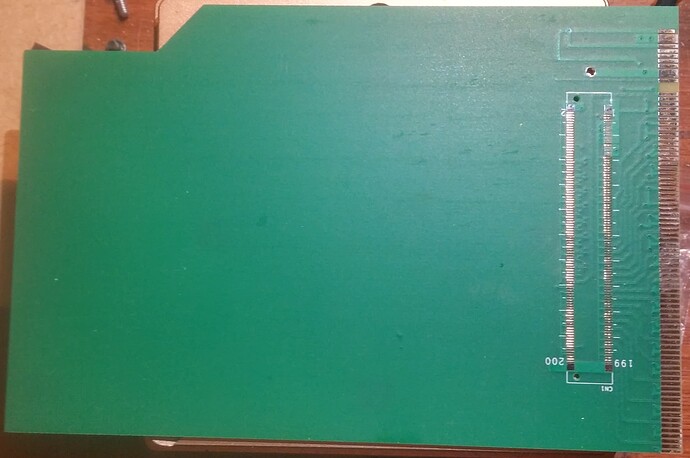
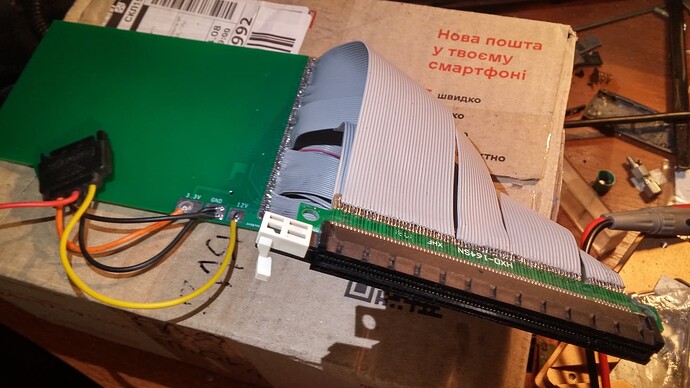
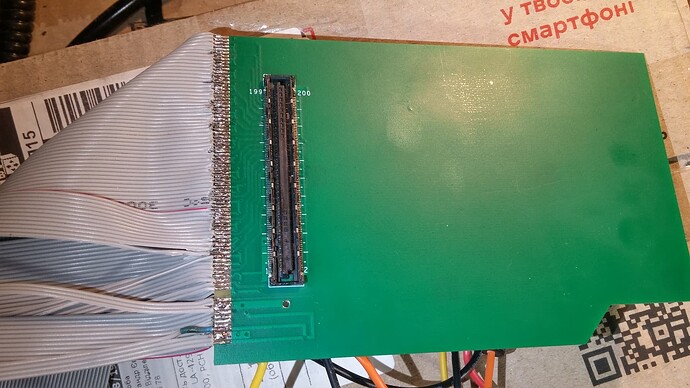
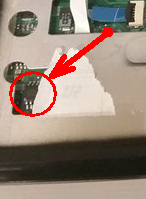
Another impressive experiment has been completed by me. This time it was a Quadro 5000M mod. I developed an MXM adapter for custom Dell video cards which use a JAE WB3F200VD1 female connector.
I needed just one, but the minimum quantity order was 5pcs. Actually, I received 10 for an unknown reason, so if anyone wants to get one, just let me know.
It needs to be improved, but I doubt if I ever need to use it again. Maybe I will before developing a modded 5000M if I come up with this idea.
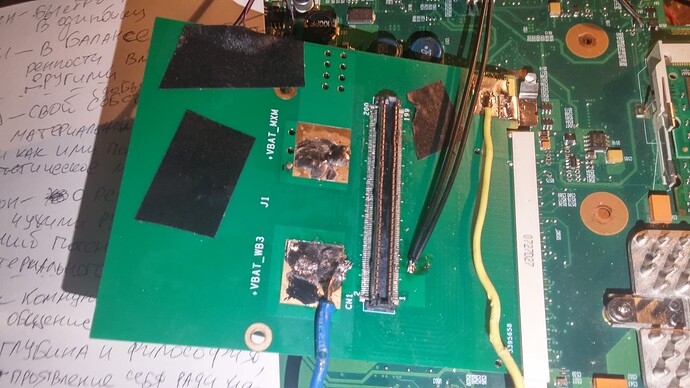
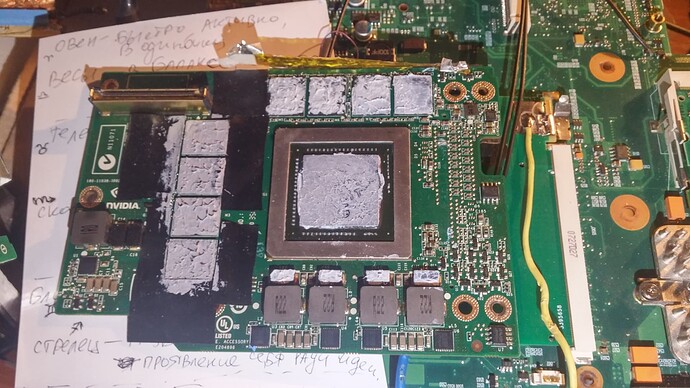
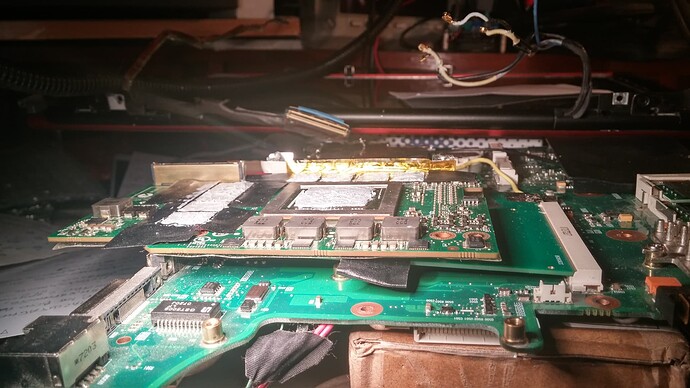
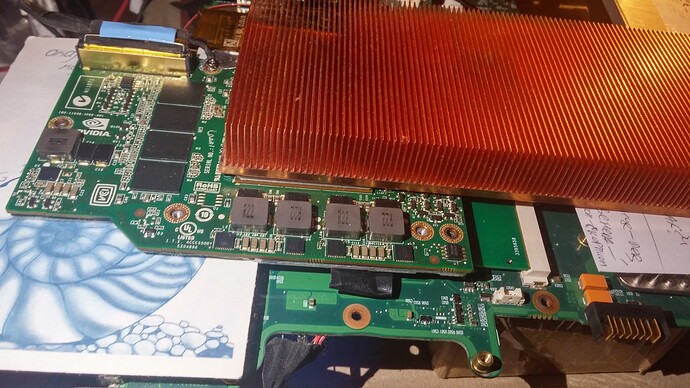
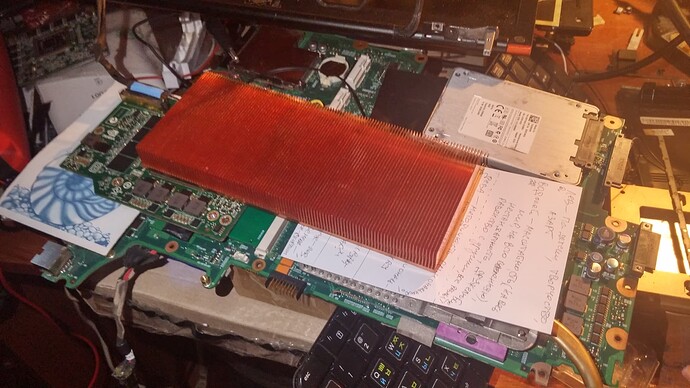
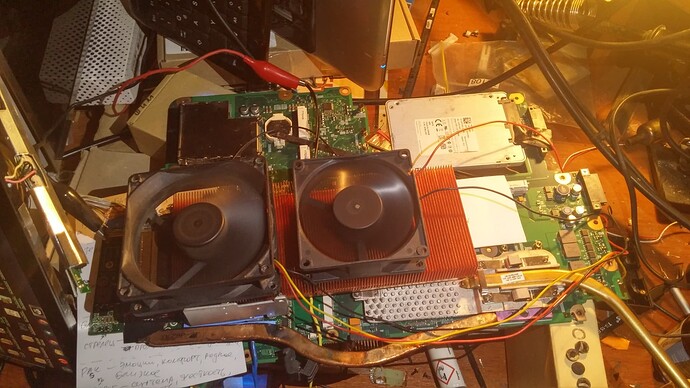
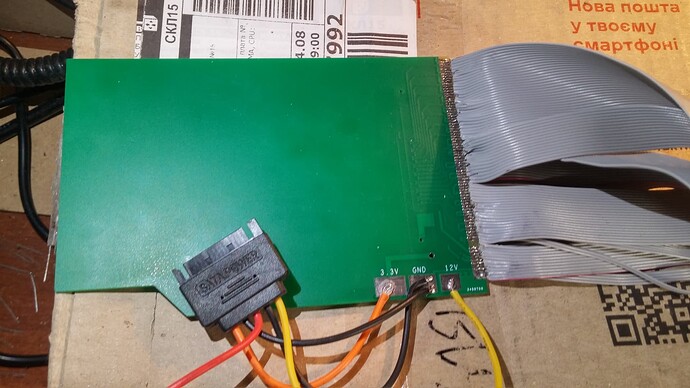
The main reason for making the demo adapter was to understand if Dell video cards would work with our Dragon. On the pictures below you can see how it looked after the installation. I was using an ATI version of the Dragon as you can see, so I restored the missing power connection at the connector. But it was useless because the power was not enough in the end, so I ended up using an external power supply
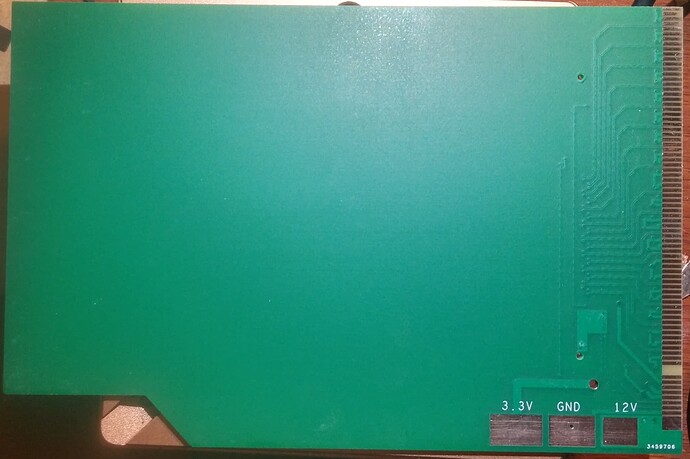
The J1 is a jumper connector and it includes 2 pads: +VBAT_WB3 (WB3M200VD2 male connector side) and +VBAT_MXM (MXM side). It is the main power rail for the video card. I made these pads just right for this case when there’s a need to use external power source. It turned out to be the case because I was getting crashes (just a black screen) during the final tests which were the most power consumptive. I left this jumper open to cut off power coming from the Dragon and used an external 700W power supply from Eurocom, it allowed me to monitor current at each stage of testing and see the peak of power consumption.
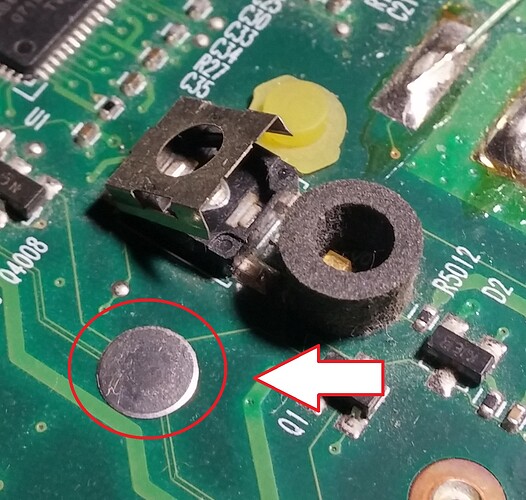
+V3S is a 3.3v power rail in the Dragon. I had to cut the copper track (I should have made another jumper in the design for this reason) on the adapter and use another external power supply with current monitoring because the number of MXM pins was not enough. But I’m wondering why 3 pins were not enough to provide 1A current (the Dell is using 5 pins for this connection while the Dragon does only 3), but the situation improved when I connected an external 3.3V.
Interestingly, when a VGA monitor is used instead of LVDS, there is no need to use any external power supplies to do all the Passmark 3D tests. The LVDS connection requires more power to be delivered through both +VBATR and +V3S.
+V3AL and +V5AL are required for Dell video cards, but they are not hardwired in the MXM connector, so I had to wire them out as external pads and get them elsewhere from the main board.
+15V_ALW is used to switch on LVDS LCD power according to Dell’s schematics, but I don’t know why it wasn’t working that way. The screen was working well without the 15V. Additional investigation needs to be done into this.
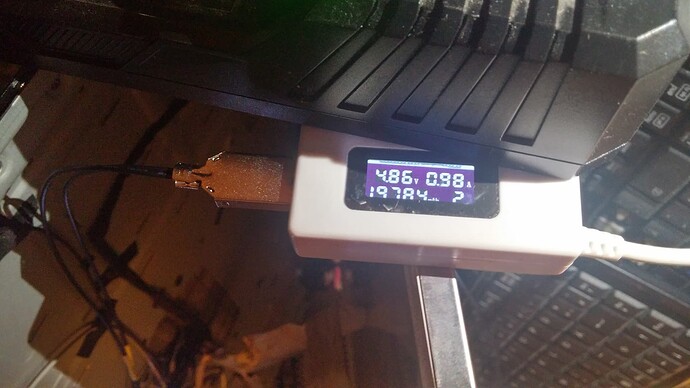
I used Dell M6400’s native 1200p screen first, but there was no backlight for an unknown reason. So I ended up using the Dragon’s Chi Mei 1920x1200 screen. But the main motherboard was starting automatically right after attaching power supply and it didn’t POST. The reason was the 5V power rail which didn’t provide enough power to the Dragons screen. It was consuming 550mAh when power is off. It wasn’t enough which probably led to triggering an overcurrent protection and abnormal behavior of the Dragon’s motherboard. It was sorted after I connected an external 5V to the screen directly (by using USB to LVDS connection). You will see in my further video I was using this white USB power meter. The LVDS current at 5V can go above 1A when the screen is active.
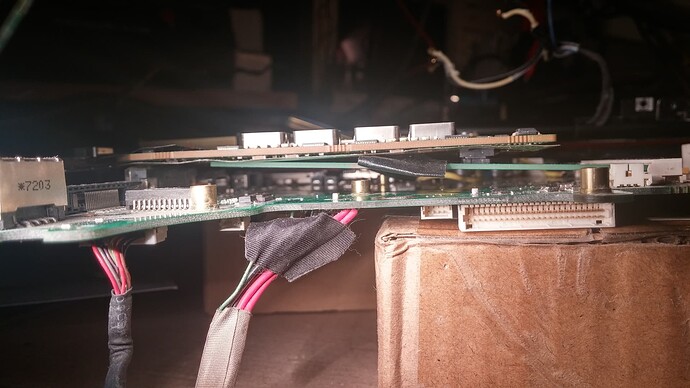
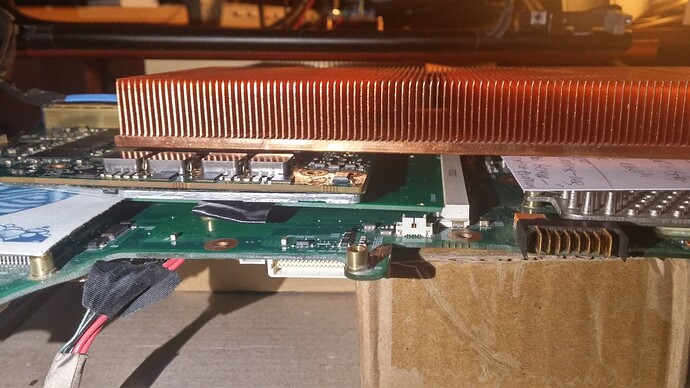
The picture below shows the adapter installed
I wasn’t able to mount it with screws because the video card was pretty long and the Dragon’s side connectors became an obstacle.
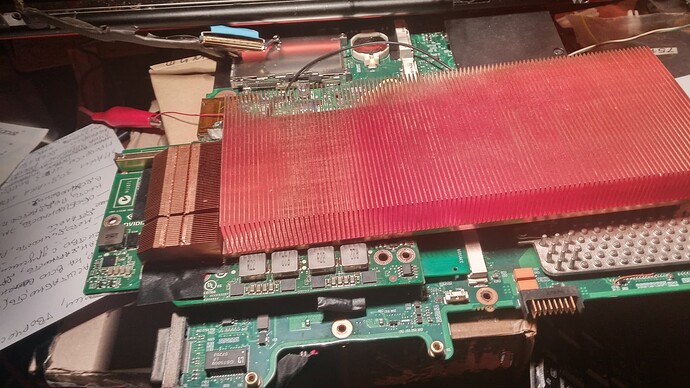
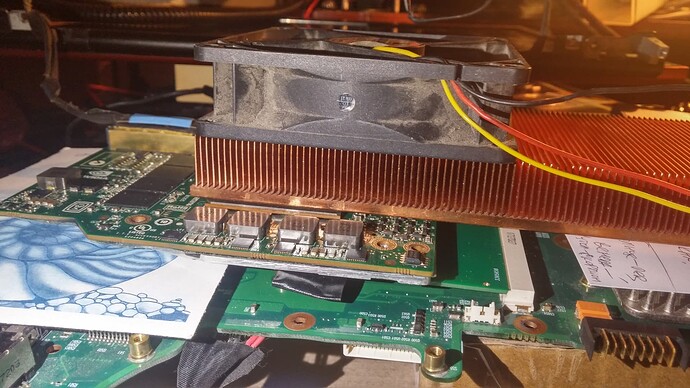
I had to remove 5000M’s native heatsink because it didn’t fit. So I used a big and heavy copper heatsink instead. I grabbed it from Aliexpress some years ago.
I also had to cover RAM and some GPU power parts with something for heat dissipation. They were going hot like crazy while RAM power elements stayed warm.
The video card has its own LVDS connector, so I didn’t have to go in trouble with swapping any LVDS pins on the Dragon’s board. The only thing I had to take care of was the M6400’s LVDS cable. I had to do a pin shift inside it to get the Dragon’s screen to work. I did it once a long time ago, so the cable was just sitting in the box prepared. The only problem was the inverter. I had to use another Dragon to provide power for backlight. I remember I tried to get the original Dell’s LVDS cable to work with the Dragon’s inverter, but the connector was gone when I opened the box. I removed it back then.
My biggest concern was the PCIe lanes. I was worrying that I could mess up with them during the PCB development because the wiring rules are quite strict, but the interface was working fine after the installation.
The final setup:
My biggest regret was that I wasn’t able to connect the Dragon’s keyboard because the connector was on the opposite side and it was hardly or inaccessible at all. Even when I got to connecting the keyboard somehow, the keys were unresponsive (maybe due to bad contact). So I wasn’t able to check hot keys for screen switching.
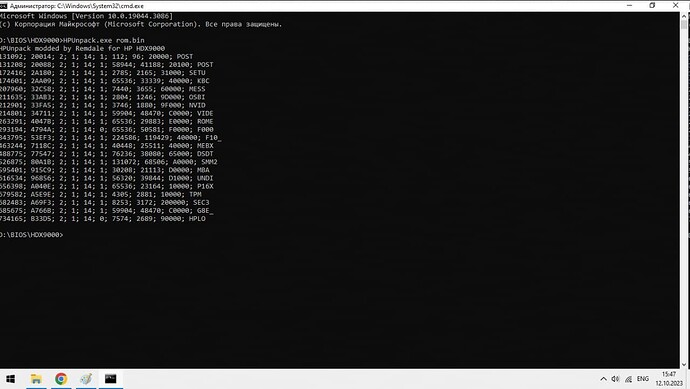
In order to get the 5000M to work, I replaced vBIOS in the system BIOS with the same HPUnpack which I modded for use with HDX9000 models. This is the BIOS (Quadro 5000M vBIOS, CPU microcodes updated, quad core DSDT, EIST, no wifi whitelist, G8E useless video module removed, CompuTrace and MEBX (Intel ME extension) not removed)
https://www.mediafire.com/file/mpdv3aprc2izp5r/HDX9000_5000m_BIOS.BIN/file
Here’s HPUnpack for HDX9000
https://www.mediafire.com/file/i7nz502ukk7bcr5/HPUnpack.exe/file
The video driver I was using was coming from Dell. Just needed to mod the inf file in order to install. I forgot to test the HP version, but I think it would be the same as it was with FX3700M.
One thing to mention. The picture quality on the VGA screen was not satisfying. It was the same problem like with the FX3700M. Too much brightness and EMI. The EMI waves were pretty much visible. Maybe the brightness can somehow be adjusted in the settings, but I’m not sure if it can be achieved. I’m wondering why the picture gets distorted at all. Maybe it has something to do the how the Dragons BIOS works or maybe it’s because of not enough EMI filtering, I don’t know.
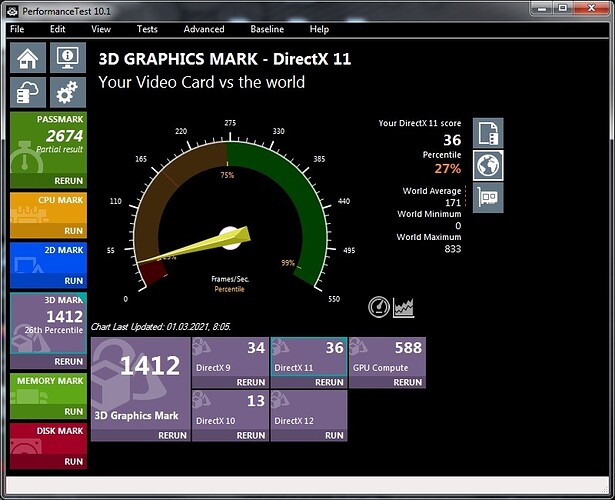
Now, the most impressive part. Testing.
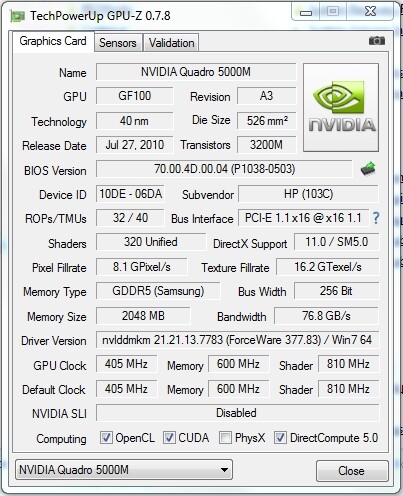
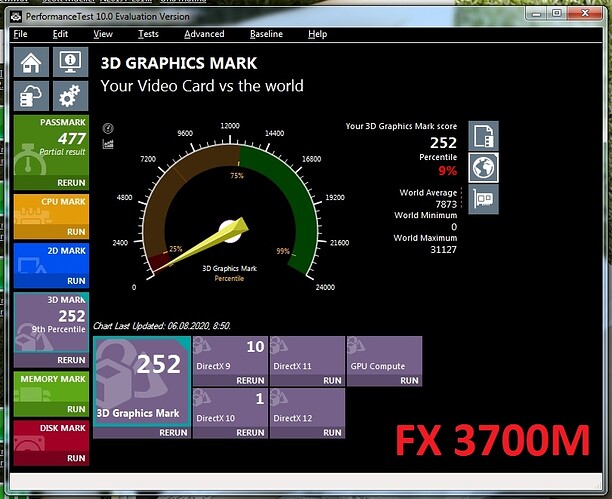
I was stunned after seeing the results. I thought the FX3700M mod showed us the limits of the PCIe 1.1 interface, but 5000M has crushed my theory. I can now conclude that FX3700M can’t possibly deal well with PCIe 1.1.
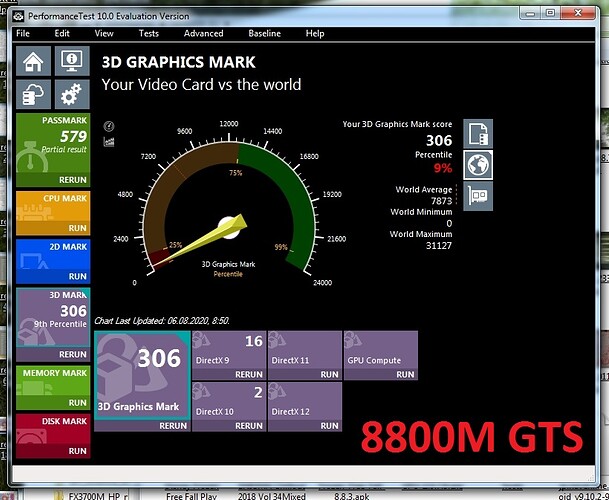
I will remind you the results of the 8800M GTS and FX3700M just for comparison:
In the video below I’m showing you power consumption of the 5000M upon each stage of the test. During the most power consumptive GPU Compute test the power consumption maxed out at 104W. The Dragon can’t handle it for sure nevermind the poor GPU heatsink. The 8800M GTS’s power design is only 50W (if google is correct).
https://www.mediafire.com/file/5fgm06wp0crsuvd/Tests.mp4/file
I played Driver San Francisco using a VGA monitor
https://www.mediafire.com/file/deco3d1p7fl9r57/Driver_San_Francisco.mp4/file
The DC connection of the Dragon is very poor. Dell M6400 is using the same power plug, but it has more pins inside and should be capable of providing more power. I think it would be enough to replace the power connector in the Dragon and wire out a direct connection from it to the MXM slot. It’s pretty much achievable with the MXM-HE connector which can provide up to 16A according to the specification.5000M requires 5A, so we would definitely have to use a 240W power supply.
The maximum temperature of the 5000M got around 75 degrees with that huge heatsink and those 2 fans. I can’t guarantee that the heatsink was sitting perfectly on the GPU die, so I assume the temps could be lower. Especially if the die was in the middle of the heatsink.
The problem I have now is the CPU and GPU fans are running at max speed even after reverting back to 8800M GTS. Maybe there’s a driver issue or it’s an electrical malfunction. Will sort this out later.
Conclusion
The 5000M is pretty good, but requires a lot of power and good heatsink. It’s possible to replicate it, but it will definitely take a plenty of time because I don’t have its schematics. It’s utilizing LDVS, VGA and two Display Ports. 1 display port can be converted into HDMI right on the video card by building in some small DisplayPort-to-HDMI chip, so we could have a working HDMI port. The other DisplayPort could be wired out as a separate connector inside the Dragon’s chassis or used for conversion into S-Video.
This all can be done, but the original Dragon’s heatsink and 1 small fan would not be enough for good heat dissipation.
Another experiment is coming up soon which is about figuring out if a desktop PCIe video card can be installed somehow. I have a converter PCB already. It’s designed for Dell M6400, but it doesn’t matter since M6400’s video cards work fine with the Dragon.
