Hi,
I have a couple of Dell T7820s which seems to be stuck in Bios recovery mode. I have tried the instructions online for standard bios recovery but I simple get no post.
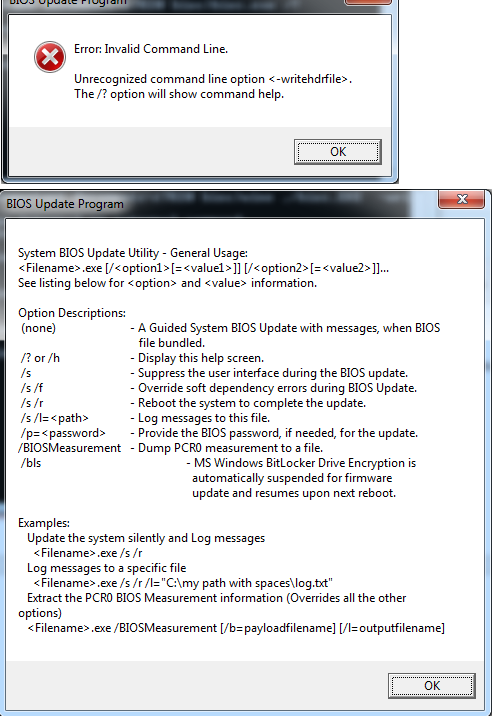
I can download the bios.exe file from the Dell website, but I got know idea how to extract the HDR file, I tried the instructions to do so but it always come back with an error. I would like to try that before trying a new bios.
My other question is I do have some other working machines, can I remove and copy data from a good bios and then replace the bios that has failed. A friend can help with this as he has a programmer and reader.
Any help would be appreciated as these are good machines and I’m sure they can be saved. I don’t want to replace the whole motherboard
I am open to any help or options you guys can provide.
Edit by Fernando: Thread title customized
.
Much appreciated, thank you
Hi @MeatWar , unfortunately the extractor was no good as it didn’t contain valid HDR file. After lots of trial and error I managed to recover both my systems, I’ve used Chat GPT for quick summary write-up below
 Dell T7820 BIOS Recovery Summary
(W25Q256JVFQ, CH341A Programmer, No .HDR Available)
If your Dell Precision T7820 is bricked due to a BIOS update failure (no POST, black screen, fan spin only), here’s what actually works — since no forums gave a full working answer when I searched.

.HDR File Not Present — USB Recovery Won’t Work
Dell BIOS .exe files sometimes contain a hidden .hdr file used for recovery via USB, but:
 The T7820 BIOS file does not include an
 .hdr or .cap, even after extraction with tools like 7-Zip, BIOSUtilities, or UEFITool.
This means:
- USB BIOS recovery won’t work
- BIOS Recovery Mode (blinking amber/white power LED) is not enough to restore it
- You must flash the BIOS chip manually
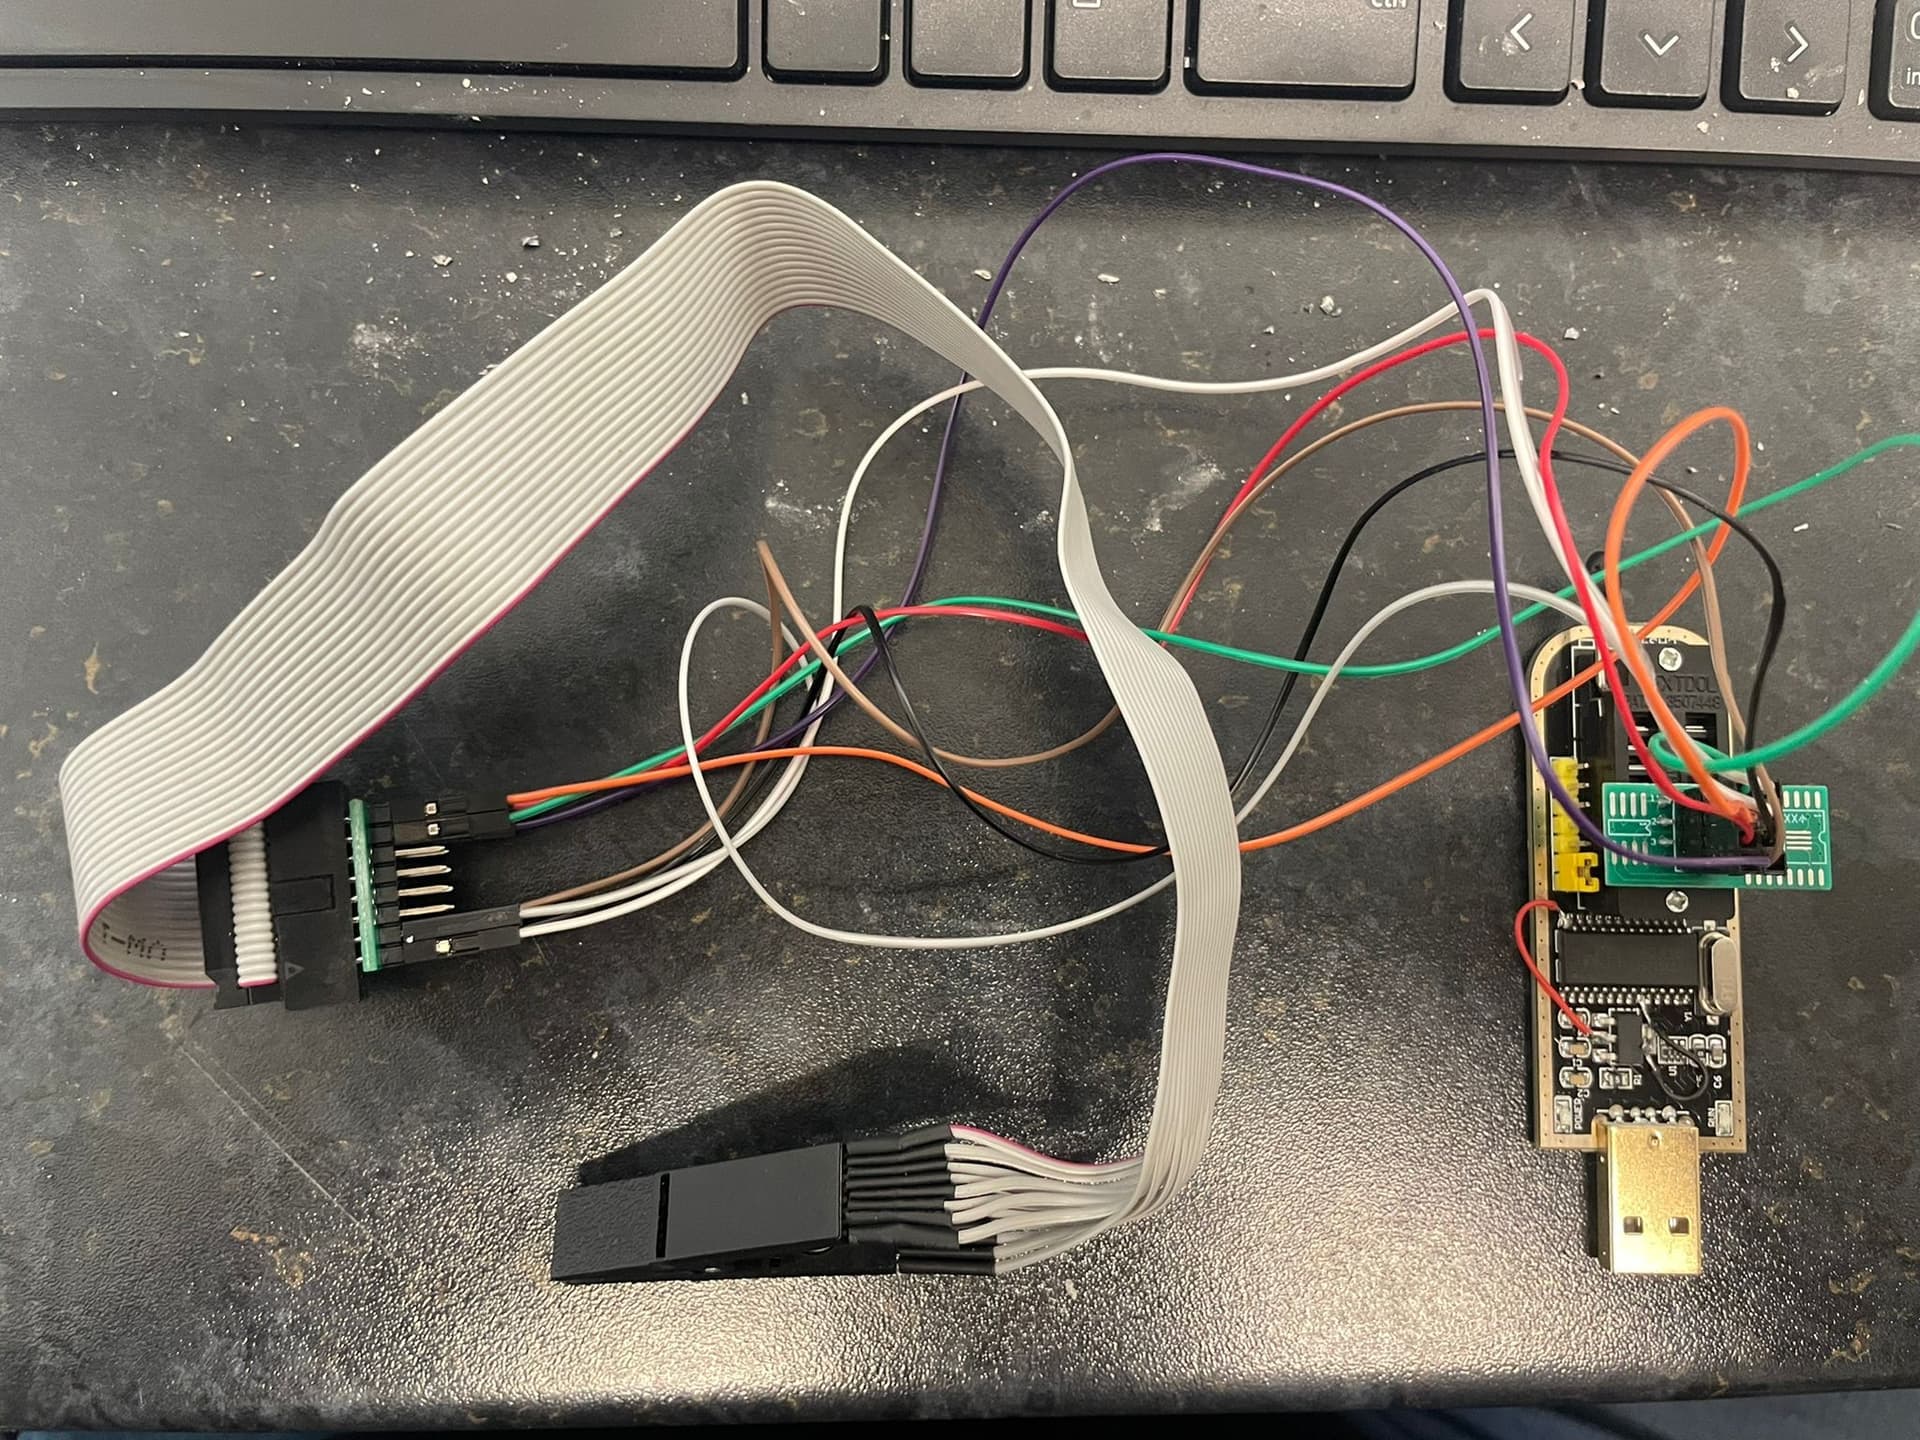
The Only Working Fix: Manual Flash via CH341A Programmer
 What You’ll Need:
- CH341A programmer
 Default “black/gold” models output 5V data lines, which can damage 3.3V flash chips.
- Recommended: Use a CH341A v1.7, which supports 1.8V / 2.5V / 3.3V / 5V logic levels natively — no modding required.
- 16-pin SOIC clip
- The BIOS chip is in a 16-pin WSON/SOP package — not an 8-pin SOIC.
- Proper wiring (see below)
- Software: NeoProgrammer (or ASProgrammer)
- A known-good
.bin BIOS file (32MB, dumped or sourced)
 BIOS Chip Information
- Model:
Winbond W25Q256JVFQ
- Capacity: 256 Mbit (32MB)
- Voltage: 2.7V – 3.6V → requires 3.3V
- Package: SOP-16 (Wide SOIC / WSON-16 format)
- Protocol: SPI NOR Flash
 Correct Pinout (Pin 1 Top-Right, Standard Orientation)
sql
Copy
        TOP VIEW (Pin 1 is TOP-RIGHT → ●)
       ________________________
      |                      ● |
      | 8  7  6  5  4  3  2  1 |  ← Top Row (SOIC clip)
      | 9 10 11 12 13 14 15 16 |  ← Bottom Row (SOIC clip)
      |________________________|

🟩 Pins to Connect:

Pin  1 → HOLD#
Pin  2 → VCC (3.3V)
Pin  7 → CS#
Pin  8 → DO (MISO)
Pin  9 → WP#
Pin 10 → GND
Pin 15 → DI (MOSI)
Pin 16 → CLK
These are the only 8 active pins. The others are NC (Not Connected).
Use a multimeter in continuity mode to test and label each SOIC clip wire before wiring to your CH341A.
 Step-by-Step Process
- Connect your 16-pin SOIC clip, using only the 8 pins above
- Supply 3.3V via CH341A or external adapter (1.8V will not work)
- Set the software to chip:
W25Q256FV (fallback for JV)
- Read the chip and save a full dump (32MB) as a backup
- Flash your known-good
.bin BIOS file
- Disconnect, reassemble, and power on — you should see POST
 Important Lessons Learned
- Do not use 1.8V — this chip is 3.3V only
- An unmodded CH341A can damage the chip due to 5V data lines
- CH341A v1.7 is safer — fully supports 1.8V, 2.5V, 3.3V, and 5V
-
.HDR extraction tools will not help — it’s not present in the Dell BIOS file
- A 16-pin SOIC clip is required — not 8-pin
- Only 8 of the 16 pins on the BIOS chip are used — wire them correctly!
 Tools I Used:
- CH341A programmer (v1.7 — highly recommended)
- 16-pin SOIC clip (wired manually to 8 pins)
- NeoProgrammer v2.1
- 32MB
.bin BIOS file (from known-good system or Dell extraction)
- Multimeter (for voltage and continuity testing)
If you’re stuck with a bricked Dell T7820 and getting no help from forums or Dell, this is the method that actually works. Happy to answer questions or share wiring diagrams — I made every mistake along the way so you don’t have to.
Good luck, and I hope this post saves someone a few days of trial and error.
Well…glad you made it, you were the one that asked for it and only for an .HDR…
Hey there I have a question, I had a t7820 where i tried to change the bios from uefi to legacy boot to flash a LSI HBA card and when i restarted it wouldnt come on. i tried to do the bios recovery using ctrl + esc but i was only greeted with a blinking underscore in the top left corner. I followed your instructions to wire a CH341A programmer to the chip, but everytime i read the chip I get a different output, what am i doing wrong? also i was using the dell pfs extractor tool, how do i know if the bin file works? does anyone have a known good bios bin file?
Hi,
1)the CH341a needs to be modded to run 3.3v
2) You need a 16 pin Soic Clip to read this particular Bios chip.
3) The pinout of the chip needs to manually matched using dupont female jumper wires on the CH341a clip
4) The programmer needs to be in 25xx position.
5) You need to keep a back-up of your original dump
6) Find new Bios Bin file (I can send)
you basically need the thing above