So, all working as you wanted now? That’s cool if yes, he’s good, and fast like you said!
ItxLeo, Hi friend, please share the firmware dump dx79to
Thanks!
@pavlik - I sent you some dumps, did they get this sorted out for you? If not, I’ll ask @ItxLeo if it’s OK, but I doubt he cares, see post #58 for the final modififed BIOS he’s using
@Lost_N_BIOS does the board boot if i use a full dump of another board, so the ids and so would be the same or do you have to edit the bios for each board specifically?
I have nearly the same problem with this board.
I have an 3930k SR0KY which should be supported from BIOS version 280.
I bought the board so I don’t know which version is on the board. But the board stays at code 00 all the time, so it doesn’t post at all.
I wanted to flash the latest 650 bios but I would have to update the ME region, but I’m on linux, so I don’t have all the fancy tools written just for windows.
Could you help me?
I have done a full dump with flashrom
latest bios 650
Original dump
Hi Everyone. I am not sure whether this is the right place to post my problem so please accept my apology.
I have been running an i7-3960x CPU on an Intel DX79TO motherboard for a year without any issues. Problem occurred two weeks ago when I migrated the motherboard to a new housing case and replaced the CPU with i7-3930k. During the transition, the board battery was taken out for a few days and replaced with a new one. The BIOS was in version SIO650P.
Upon power up, the system gives no beep nor video display and the system seems to run in a loop. Revert back to the 3960x CPU did not solve the problem and the system gives the same fault as follows:
A. The board status LEDs show the followings:
LED K is in red, flashing
LED F is in long green
LED G flashes green and goes out and repeats the pattern
The Port 80h POST codes show the following sequence (as far as I can capture) and repeats indefinitely:
bF, 2b, E4, 60, 00, 0b, b0, b1, b7, b9 then repeats from the beginning.
B. Further tests and results are as followings:
1. No memory stick, no graphic card ---- 3 long beeps, pause and then repeats
2. With memory stick, no graphic card – no beep, status LEDs and POST code sequence same as in A.
3. Change the BIOS configuration jumper from 1-2 to 2-3, same result as in A except LED K is off.
4. Trying to recover the BIOS by removing BIOS jumper and insert an USB formatted in FAT32 and with the SIO650P.BIO file, the Port 80h gives another sequence:
2b, 31, 33, 34, 60, 00, 0b, b0, b7, b9, then repeats indefinitely.
Status LED same as in A except LED K is off.
Is my BIOS corrupted and requires an external programmer to re-program it? I took a picture of the BIOS chip and it is situated in a socket bolted to the PCB. This is different from what was discussed in this thread. How can I go forward?
Would greatly appreciated you guys for any help and advice to fix my problem.
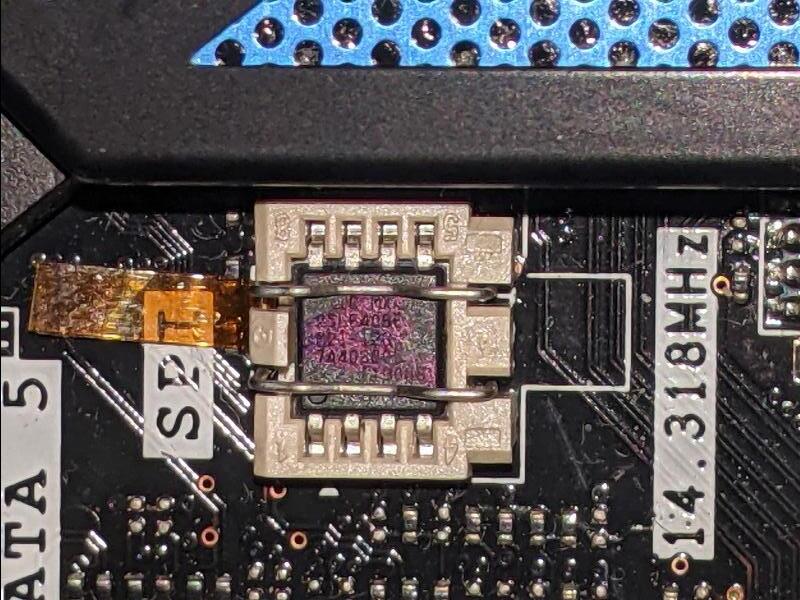
I would carefully do a socket inspection for now.
Port 80h codes
Thanks MeatWar. That didn’t do the trick. I think the BIOS is corrupted.
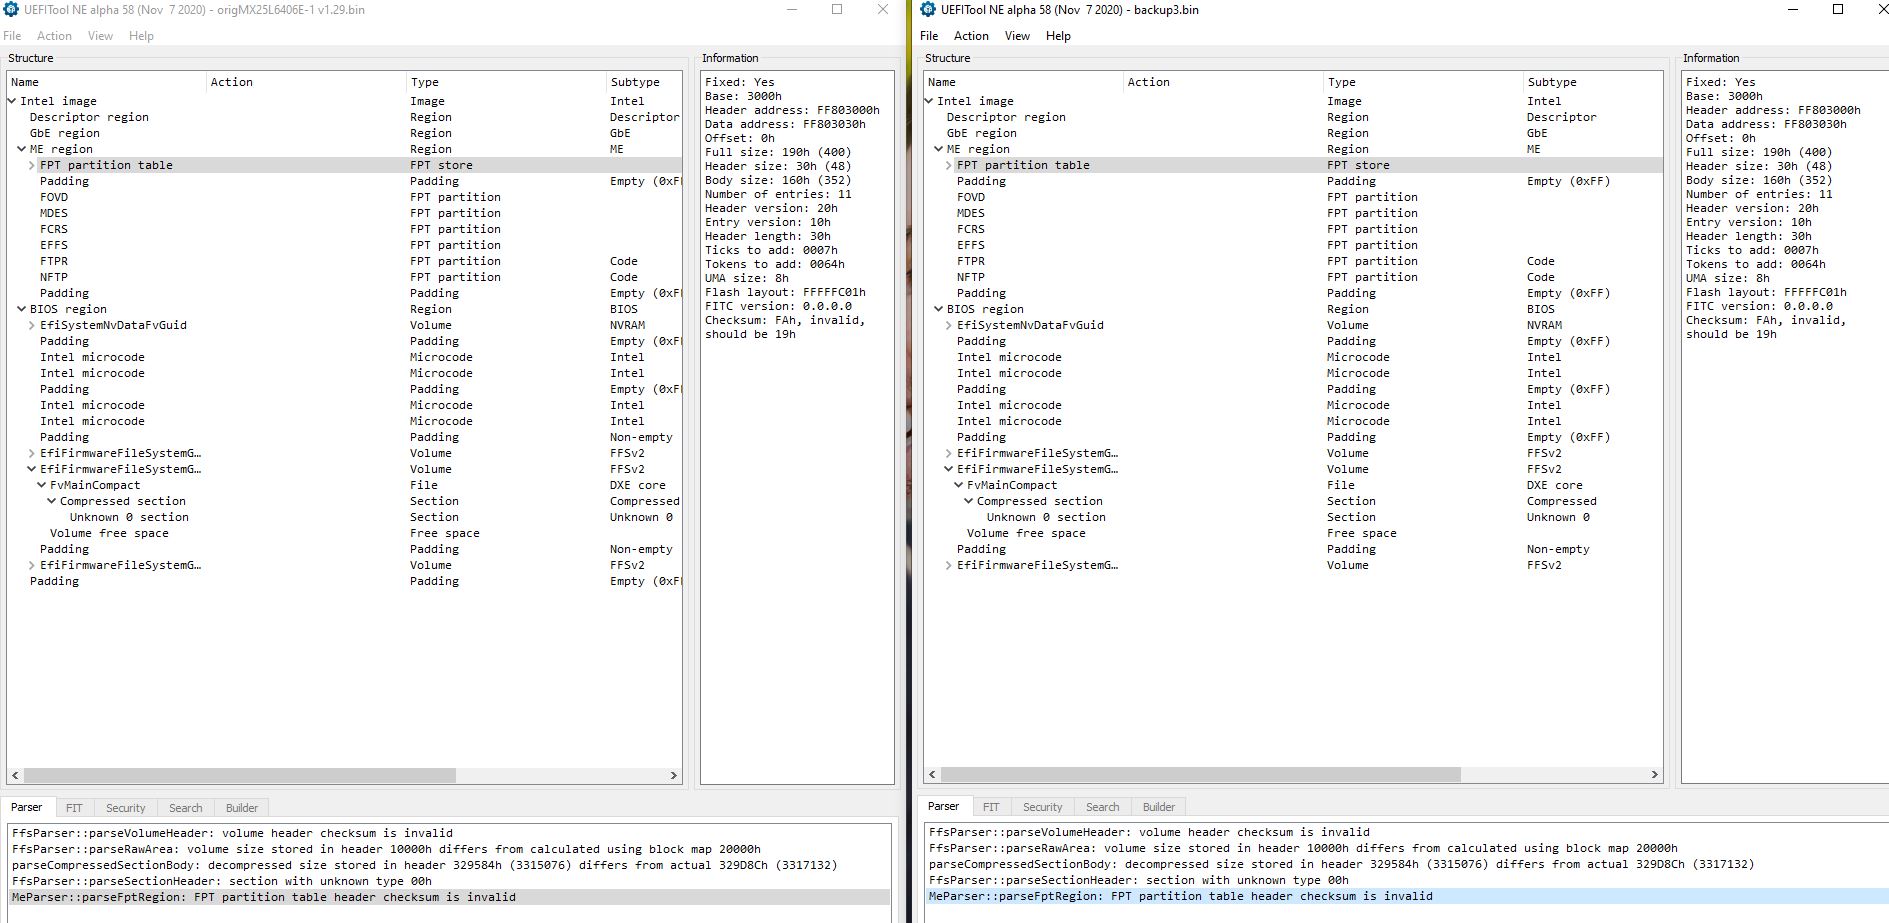
After some delay and effort, I managed to get hold of a working CH341A programmer and read the BIOS image from the flash chip (model number MX25L6406E). While I can read the data from the chip, there are always errors when I try to verify the data between the buffer and the chip no matter which version of CH341A software version I used. However, if I used an hex editor to compare the files read, there are only a few bytes in error. I am not sure whether this is good enough but I have uploaded two files read by two different CH341A software here.
sendspace.com/file/tgz7lg by program v1.18 in the CH341A tools
sendspace.com/file/utz44q by program v1.29
@Lost_N_BIOS , can I request your help to look into the files and fix the corruption to solve the problem I encountered with my DX79TO motherboard? If possible, can you help to update CPU microcodes as well? Thanks in advance.
@Lost_N_BIOS , OR Anyone, could you help to fix my corrupted BIOS file please?
Apparently, I cannot attach a hyperlink for the files in sendspace.com as I am a new member. Therefore, I attach a rar file here.
Thanks very much for your help in advance.
[edit]: I have exhaust all my options including purchase bios files from vinafix.com but I still could not bring up the board!
Broken DX79TO BIOS.rar (3.06 MB)
@MKFriends
Lost has been away since January…
Can the SPI chip be defective?
@MKFriends
I used to own a DX79SR and may be able to help. @MeatWar makes an excellent point. From your photo it looks like someone has soldered a socket on your DX79TO motherboard. Was that you?
I performed this mod on my DX79SR. The bios chip was definitely originally soldered to the PCB and not socketed like in your photo.
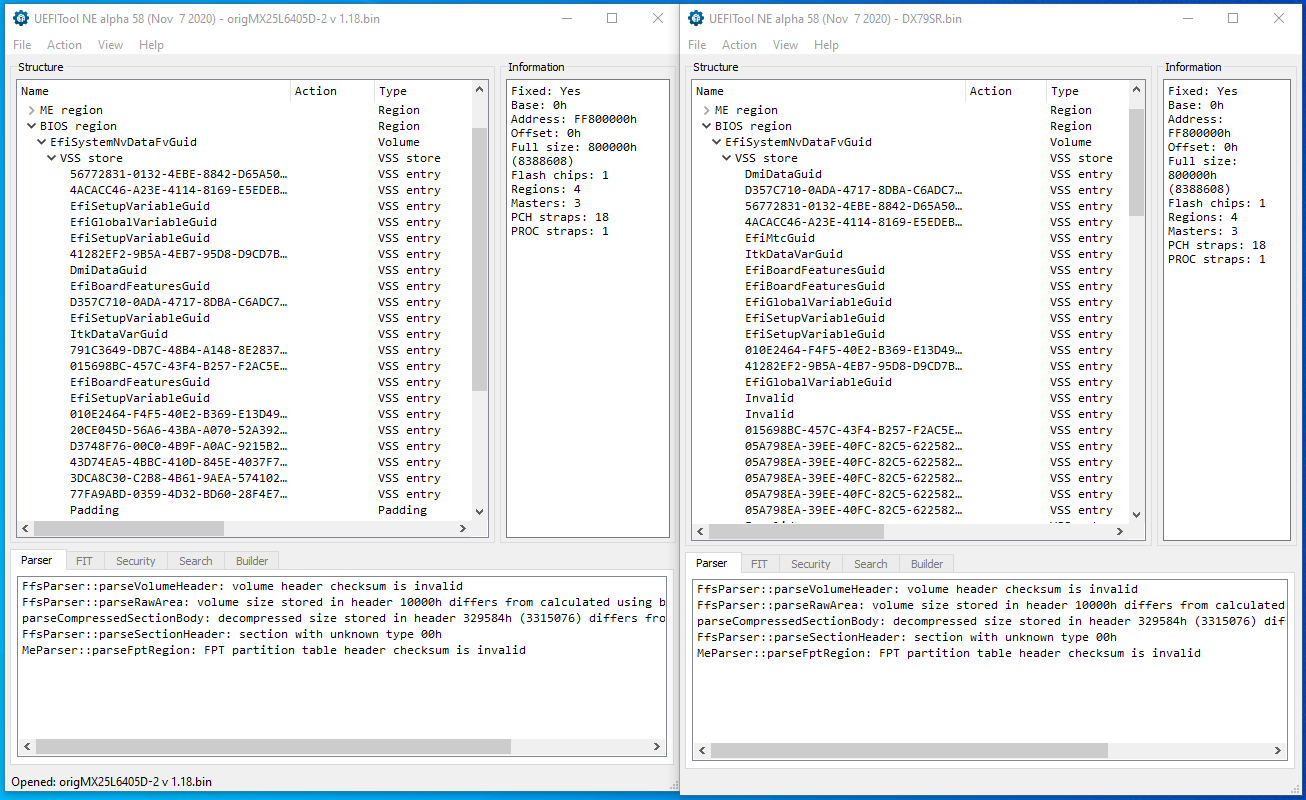
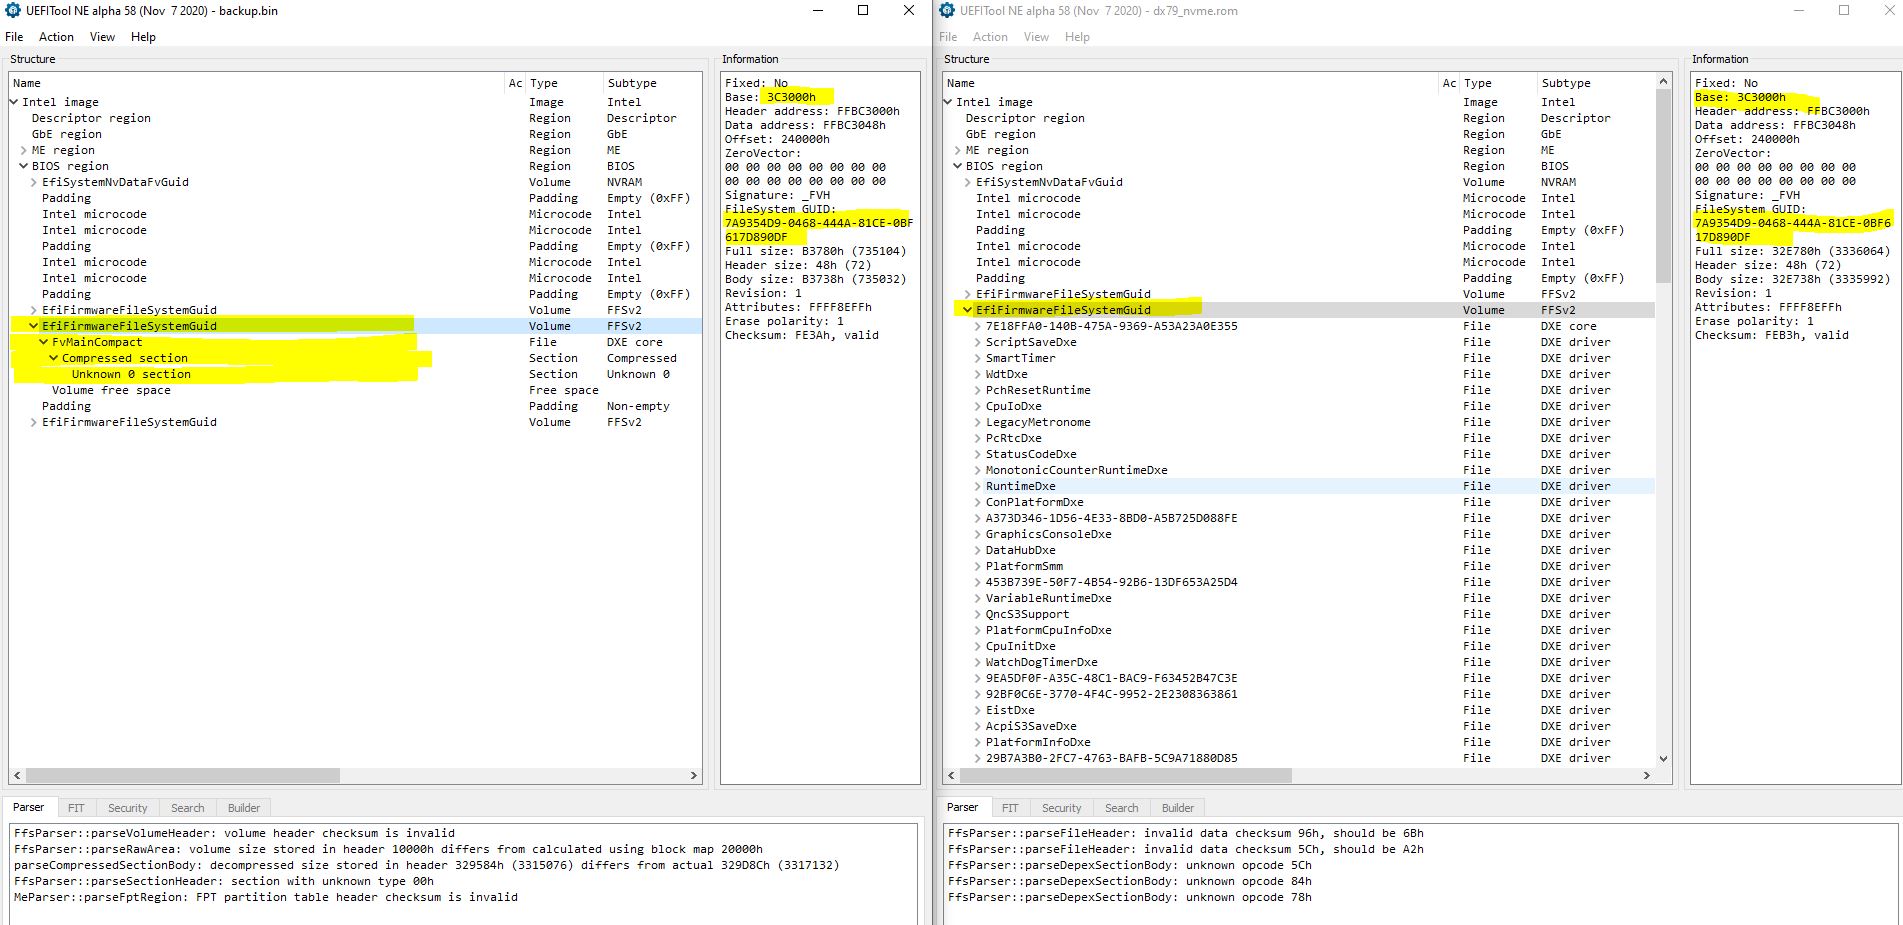
I do not know if your bios is corrupted. In the attached image you can see your bios on the left, and my DX79SR bios on the right (also SIO650P at the time). The errors displayed by UEFITool are the same (which is a good sign). This was a working board/bios combo.
However, there is some padding at the base of your bios after the PEI/SEC region. I don’t know how that got there or why its there.
@IntelModder , The board was passed to me by my Intel friend and was a pre-production board hence the BIOS chip is in socket. Later production boards would have soldered chips. I consider this as my luck since I can remove and keep the original chip for reference. I have purchased a new chip and program it with the file purchased from vinafix.com but I still have problem to bring up the board. I think if I can get a proper BIOS file and patch it with my MAC address, I should be on my way.
@MeatWar , The original chip may be defective since there were a few bytes differences among files read in different times. But this should not matter as I am using a new chip for programming and testing.
[Edit] : 1. The chip used in my board is MX25L6406E, not a Winbond chip.
2. @IntelModder , could you check the other file (origMX25L6405D-2 v 1.18.bin) please? This file is read by the tool ‘CHA341 Programmer 1.18’. The file origMX25L6406E-1 v1.29.bin was read by the tool ‘CHA341 Progreammer v1.29’ and has 64 more bytes at the end (0x0080000 to 0x008003F)
@MKFriends okay that makes sense.
origMX25L6405D-2 v 1.18.bin has the same errors as my DX79SR, as expected. If you needed to work off a bios dump, use that one. Alternatively, try AsProgrammer for CH341 to get a good dump.
I’ll attach my bios dump too. Obviously this will not have your MAC address etc, but might work if you want to try flashing and testing. It doesn’t matter that its for the DX79SR they’re mostly the same bios.
DX79SR.zip (1.56 MB)
@IntelModder
Many thanks for the file. A quick feedback: Progress has been made but not to a successful boot yet. The system stopped at 80h Post code of 5b and there is no display on my monitor and no success beep. The status LED have good results with LED B,C,E,F,G all green. As the system issued a CPU hot alarm later on, I need to get a better heat sink before I can do more testing.
I have also compared your file with my v1.18.bin file. There is major difference in the BIOS Region System DataF area as shown in the attached figure. Not sure whether this is the issue.
Anyway, let me do more testing before I come back to you. Thanks again.
SUCCESS!
@IntelModder , Thanks very much for your help. I have been able to boot up the board with your file.
Two more questions:
1. In patching the MAC address, do I over-wirte directly into the bin file or use UEFITool to copy and replace the GbE region? I am worrying about the checksum.
2. Is it possible to mod the BIOS to support some of the Ivy Bridge-E CPUs? (I am greedy here).
@MKFriends awesome news. Glad its booting!
1. Re MAC/GbE, yes you’re fine to use UEFITool to extract and replace the GbE region from your dump into mine. You need to use the non-NE version of UEFITool, which you can get from the Github page. I think version 0.28 is the latest non-NE version.
2. No, we can’t add Ivy Bridge support. I eventually sold my DX79SR for this reason. We’ve discussed it a couple of times on the forum. Basically, Intel never released a bios with Ivy Bridge support. It’s not just a case of adding the microcode, the ME must be updated a major revision to 8, and modules within the bios must be changed to support Ivy.
What you can do though is update the Sandy microcode and add Nvme boot support to the bios if you want.
@IntelModder ,
Thanks for the answers to MAC/GbE and Ivy Bridge questions.
Yes, please provide me information on how to add Nvme boot support to the bios. Thanks very much in advance.
Because it’s Intel, last I checked UBU will refuse to work. Unfortunately that means both mods have to be done manually.
In the case of the microcode mod; get the latest version for the CPUID of the CPU you want to use. You have to use a hex editor and insert it manually. You can find the address using UEFITool. Check your work with the latest version of NE UEFITool to make sure it shows up.
In the case of the NVME mod. Get a copy of the .BIO file and open it in UEFITool 0.21 (<<must be this version). There is a copy of the DXE volume in the BIO that is readable instead of encrypted like it is in our bios dumps. Once you’ve match the volume you can insert it into the bios dump. I can’t remember if you need to do this by hex edit or whether UEFITool will work. However, if UEFITool won’t work, remember to chase down the relevant checksums.
After you’ve done this you can perform the standard NVME bios module insertion that you can read about on the forum and then flash back
@IntelModder , Thanks very much for the information.
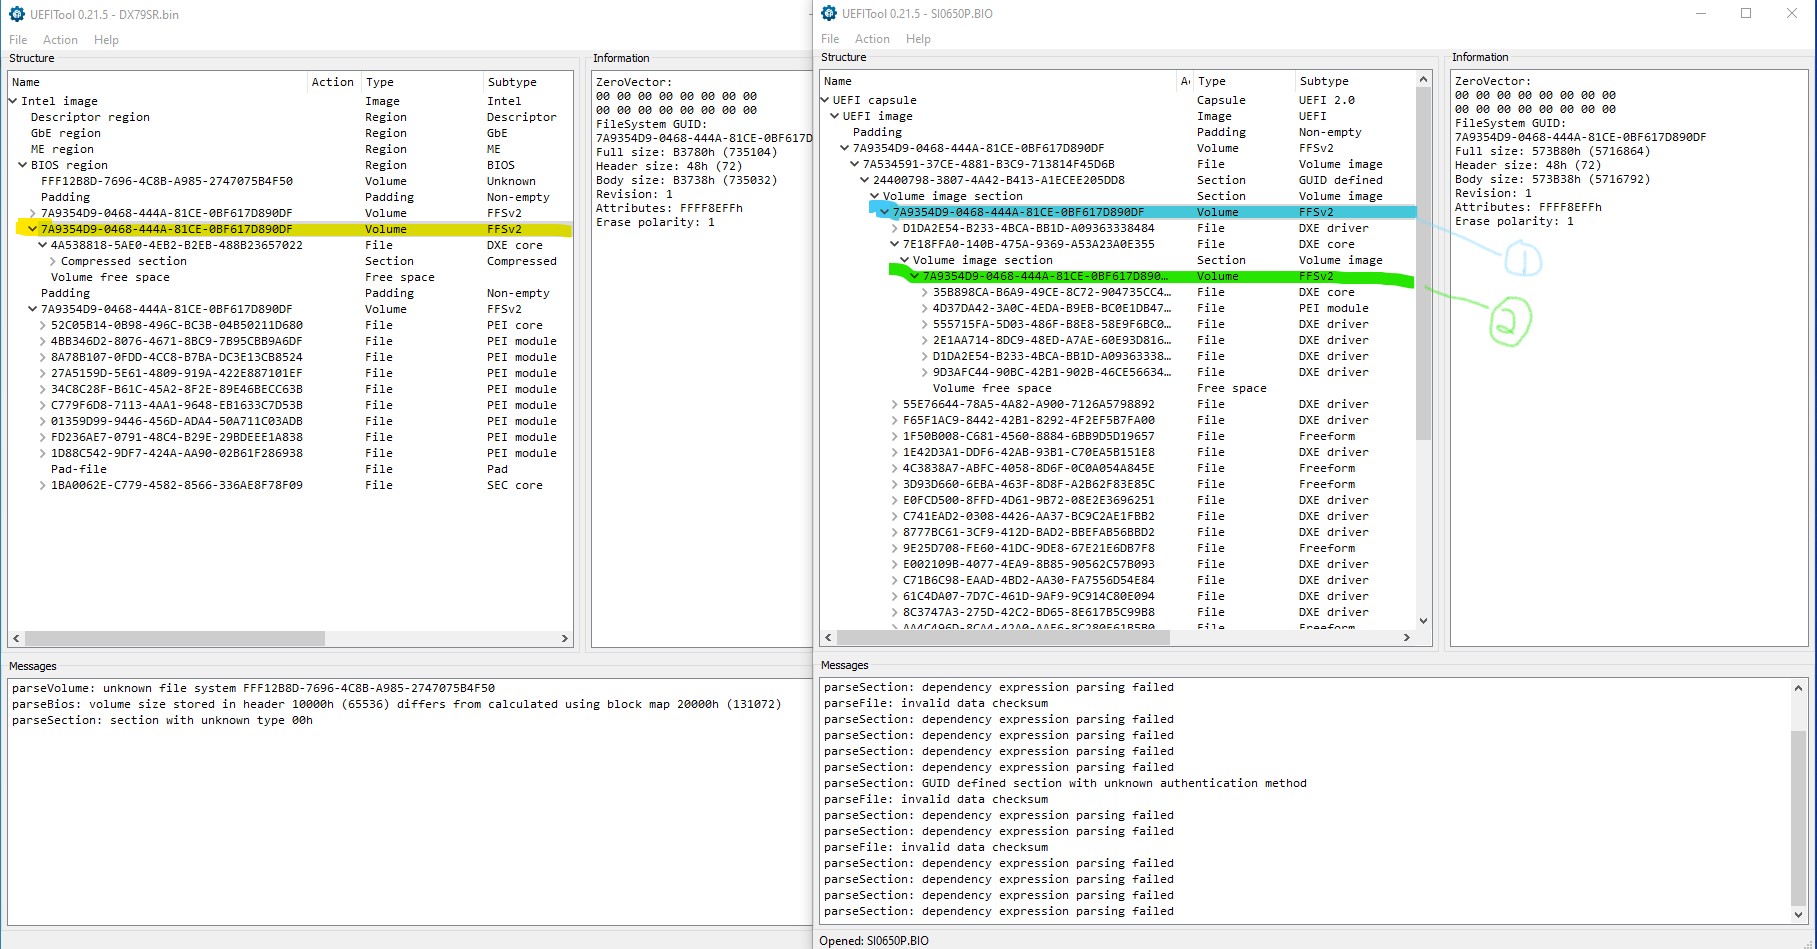
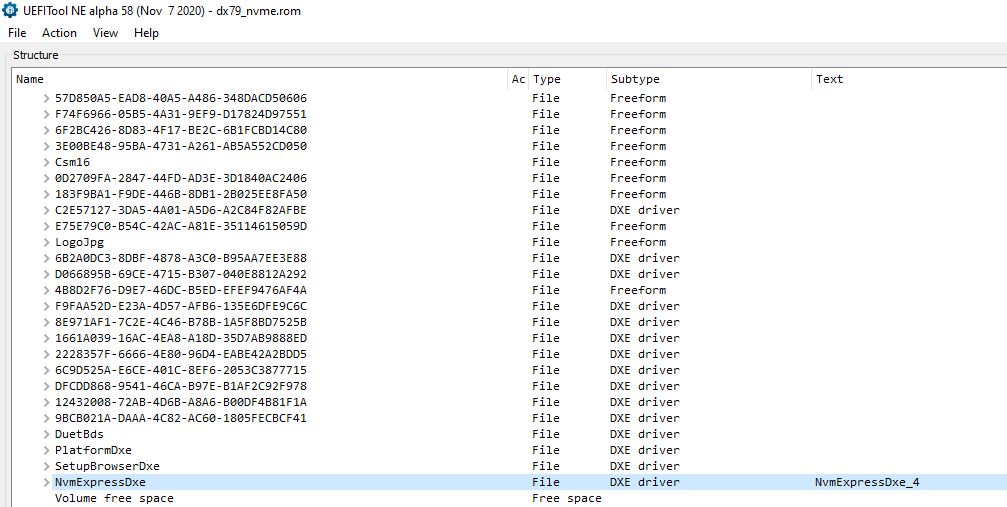
Just one final question: Please see attached for a comparison between your BIOS dump and 650P.BIO (right hand side). Is the highlight DXE volume image the one you are talking about? Should I use volume 1 or 2 as highlight for insertion?
@MKFriends close but not quite. I’m in lockdown again so I’ve done the NVME mod for you ![]()
I’ll leave it to you to do the microcode mod.
Make sure you have your CH341A handy. It’s been awhile since I’ve done this. Let me know if any problems.
dx79_nvme.zip (1.94 MB)
@IntelModder , You are amazing! This is beyond what I expected and thanks very much for doing this out of your busy schedule.
I have replaced the GbE region with my original one in your DX79_nvme.rom and flashed it into the BIOS chip. The system can boot into BIOS successfully. I cannot find any settings related to NVMe device but I guess it is due to no NVMe device installed yet. You have done enough so just let me do the rest of testing when I install an NVMe device later on.
And yes, leave the work of microcode mod to me. To be frank, I am hesitate to proceed if it cannot support Ivy bridge as not much gain will be obtained. I read elsewhere I need ME version 8 in order to support Ivy and don’t think we can get one from Intel.
Guess you are based down south in Australia. Hope you can get out of the lock down and the pandemic soon.