[Solved] NVMe Support for ASUS P8Z77-V LX Rev. 1.02

Hey, everyone.
I hope you’re doing great. :heart:

I’ve struggling with an ASUS P8Z77-V LX REV. 1.02 for almost a week now, trying to mod my BIOS in order to be able to boot from my new Samsung SSD 980 Pro 2Tb, and I wonder if you could help me. I’ll detail everything I’ve done so far in case you can, otherwise I can use it for future topic creating in case you are not able.

I’ve been following tutorials and guides but I’m not able to make it work.

1.- First of all I downloaded the official lastest ASUS BIOS for my MB (https://www.asus.com/supportonly/p8z77v_lx/helpdesk_bios/). I guess it supports REV. 1.02 and 2.0 as well as there’s only one link for that model. Tried to update from BIOS, EZ Flash 2 and it worked fine and updated, meaning the BIOS file was the correct one.

2.- Downloaded the nearest BIOS to mine with NVMe Support: P8Z77-V-PRO-ASUS-2104 (PRO version).

3.- With UEFITool 0.28, opened the PRO BIOS and searched for “nvm”: got 2 results:
Unicode text “nvm” found in PE32 image section at offset C320h
Unicode text “nvm” found in PE32 image section at offset C3C4h
Double-click on one of them and took me to he branch “nvm” is contained. Went for the header: 4953F720-006D-41F5-990D-0AC7742ABB60 > right click > “Extract as is” > Saved as “NVMe.ffs” > closed BIOS.

4.- Opened my original BIOS, searched for “DXE”, went for the last result, it’s the last DXE driver before “Volume Free Space” > right click on that last branch (010216CD-9C09-4EB5-B7DA-D0A2865092D4)> Insert after > inserted the extracted .ffs and saved as .CAP. Also right-clicked on the main tree branch “AMI Aptio Capsule” > Extract body > as .ROM.

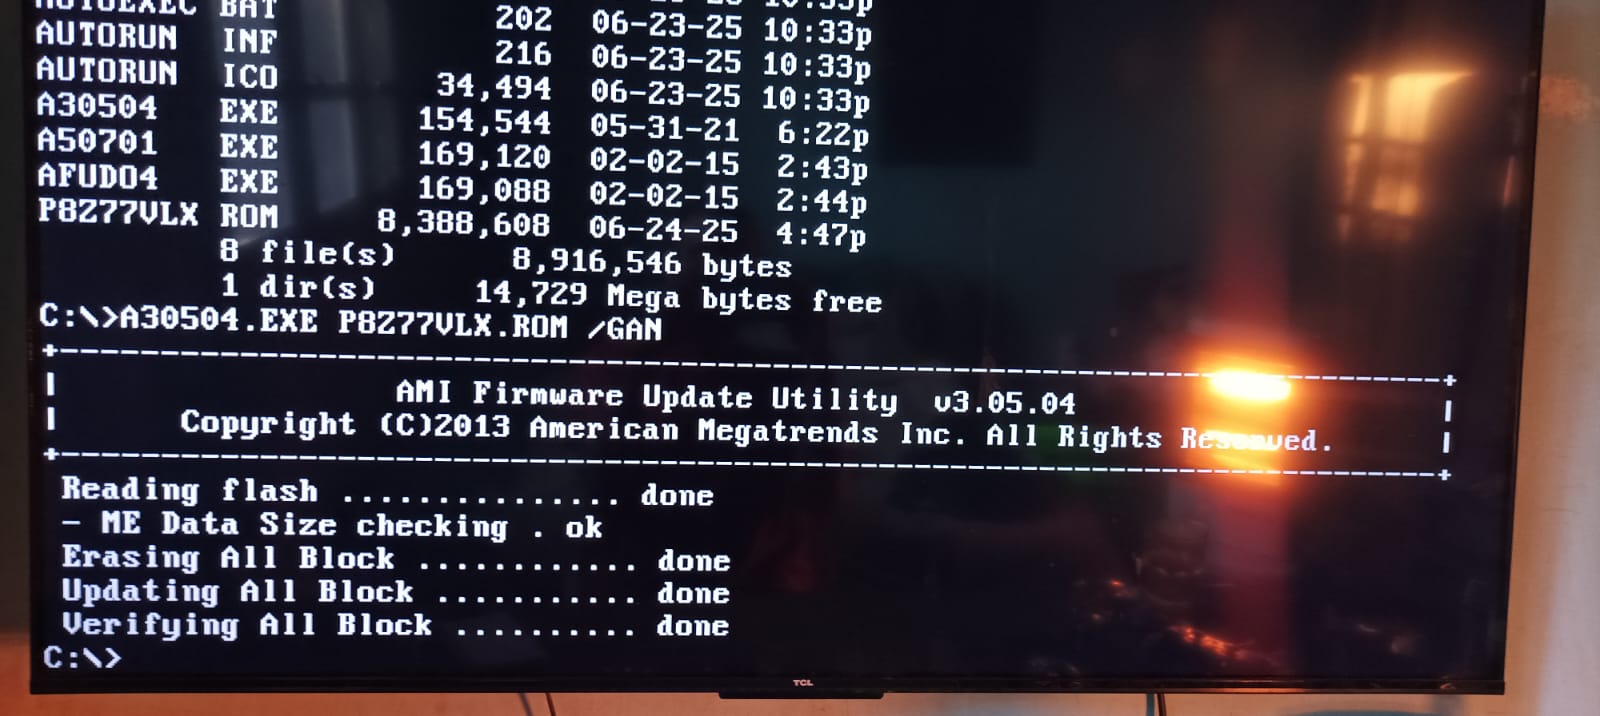
5.- Formatted a USB flash drive and converted to FreeDOS with Rufus 4.9 and copied AFUDOS 3.05.04 (last version with /GAN support) and modded BIOS to it.

6.- Restarted from USB, ran AFUDOS.EXE P8Z77VLX.ROM /GAN.

Running different versions of AFUDOS and trying with different extracts (mine or downloaded from different webs, as listed below) and parameters (/GAN /P /B /N /K) would always turn on one of these cases:

  • 18 - ERROR: SECURE FLASH ROM VERIFY FAIL
  • 3 - ERROR: ROM FILE SIZE DOES NOT MATCH EXISTING BIOS SIZE (even though the size is exact)
  • 1e - ERROR: SECURE FLASH FUNCTION IS NOT SUPPORTED ON THIS FILE.

EXTRACTS

Or successfully install it:

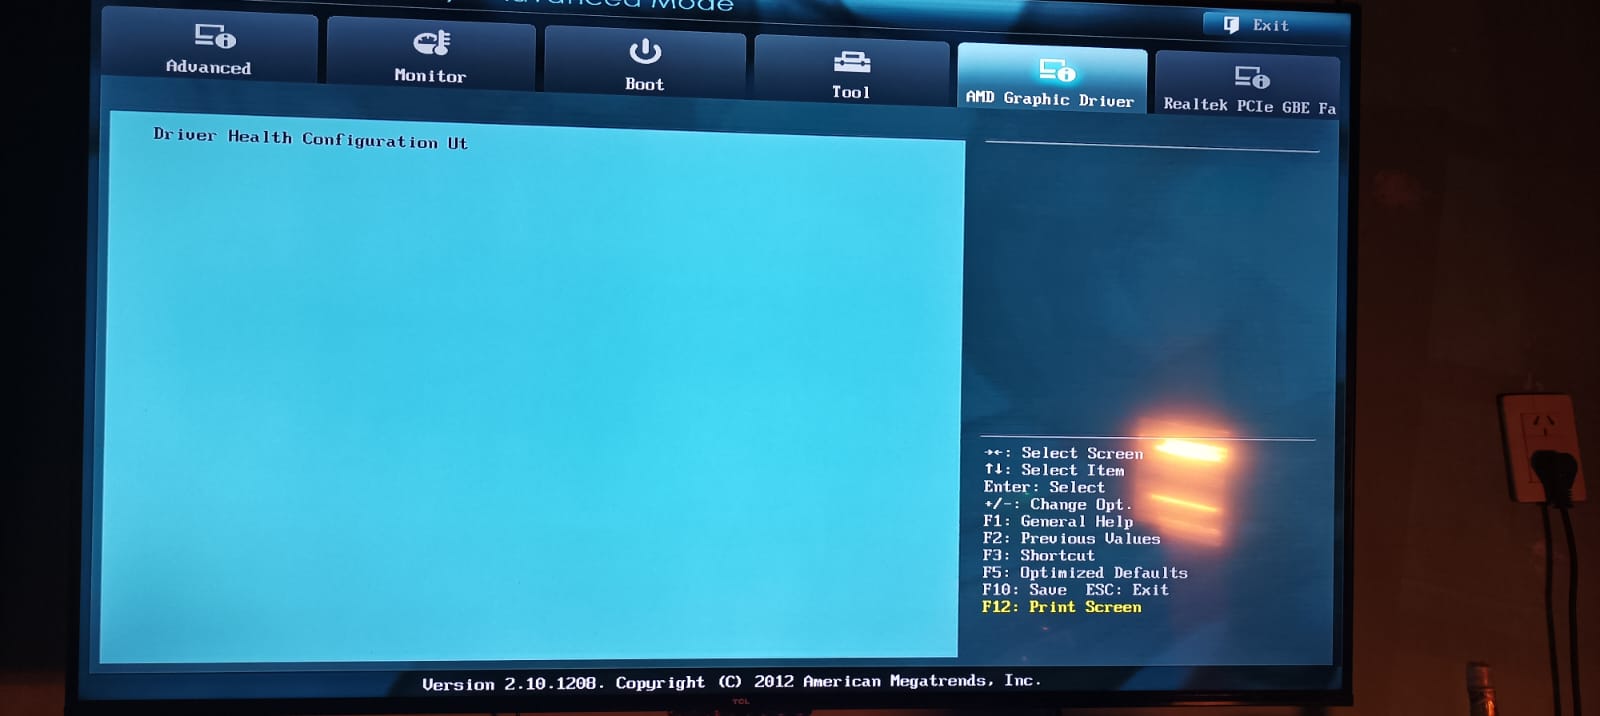
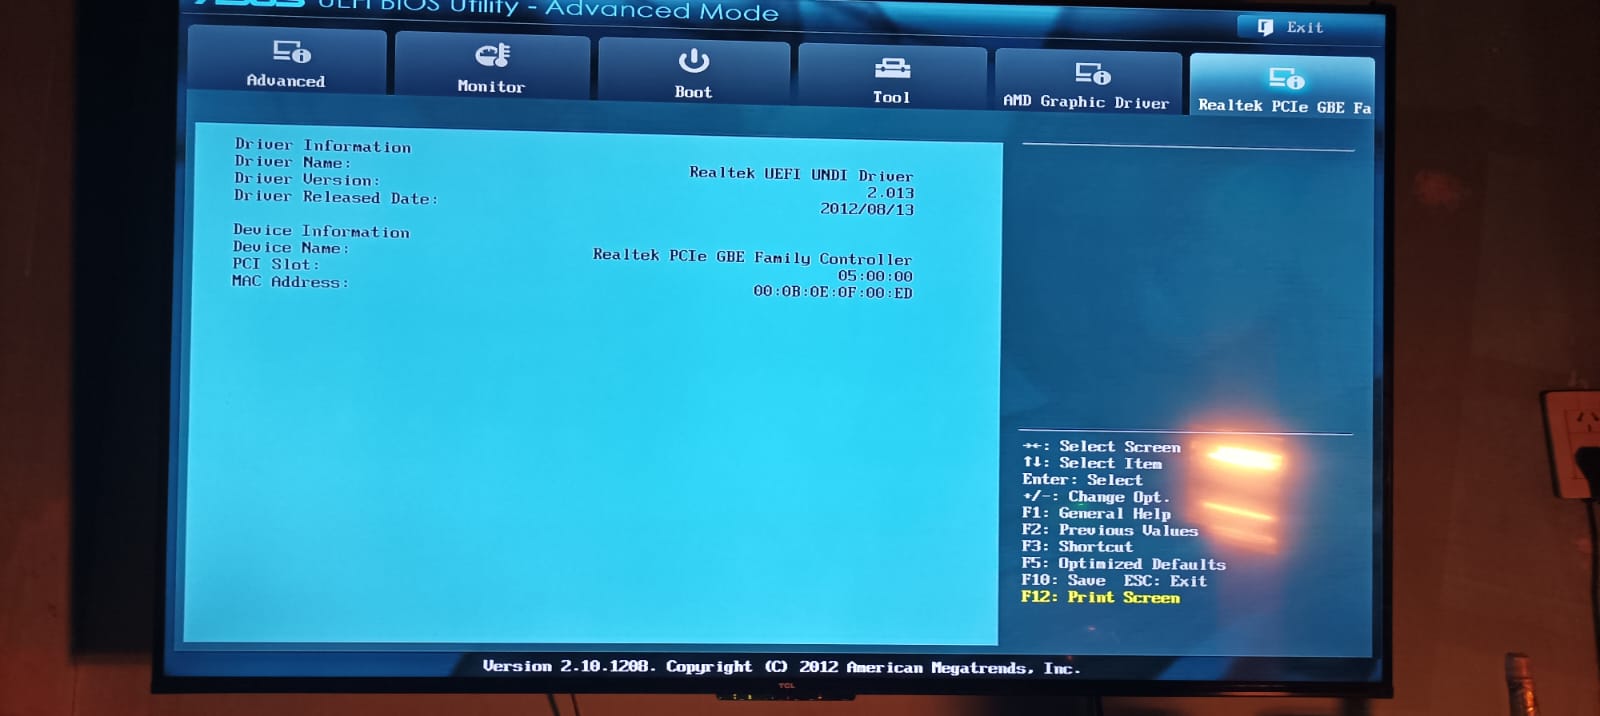
But then not list the SSD drive as bootable (even though it’s recognized as a drive and have Windows 10 installed on it) and I would get new weird tabs on my BIOS screen as: “AMD graphic driver” and “Realtek pci gbe fa”.

I also followed different tutorials (like the ones listed below) with MMTool but I get the exact problem. It installs but it’s unable to boot.

GUIDES AND TUTORIALS

So I’m drowning here. IDK if I’m doing something wrong or I may be downloading the wrong files. But it’s weird that I get the same result with different processes. Would you be so kind to give me a hand, or tell me where I could get some help?

Thank you so much in advance!

Most likely your’re using a previous OS installation Legacy/MBR boot partiton… as the board lacked NVMe before.
The guide specifies/advise a NEW clean OS installation using “PURE” UEFI enviroment, meaning no CSM/AUTO, only UEFI (dGPU needs EFI GOP boot support) and optional SB that can be activated after a couple of initial reboots OS pos-install
These boards/mod will not show an NVMe disk in bios, its all specified in the guide as also a verification method in the guide, so please read it and do not skip any detail, specially #4

Hi, MeatWar, thank you for your prompt reply.

Sorry if I sound dumb or don’t understand properly what you mean, English is not my native language.

Regarding #4, I temporarily enbled CSM and set Boot Mode to LEGACY along with all its settings instead of UEFI but the disk isn’t listed at all.

I also followed all the steps from the tutorial to install W10 on my SSD drive while connected alone (I unplugged all the other drives), so no booting files where mixed on different drives while the installation. Installed in a clean new partition made on the SSD drive. Sorry if I get repetititive, but I’m kind of lost to the point of considering returning the drive. :frowning: I’m concerned about the “ghost” tabs the BIOS interface shows after updating the ROM, and how short it takes for the process to complete (less that 30 seconds). So, basically, the only times I don’t get error msgs is when I extract the body from the modded bios, but then it doesn’t show the SSD drive. What it does show is these tabs that weren’t there before, showing some gibberish:

AMD Graphic Driver

Realtek PCIe GBE Fa

I even tried downgrading my BIOS version from 2501 to 2403 just in case my old MB doesn’t support so new updates, and I’m considering trying an even older one. I’m wondering if my MB can be really modded (P8Z77-V LX Rev. 1.02, because maybe it only works for Rev. 2.0), or maybe that .FFS file isn’t the accurate for me. I wouldn’t want to lose all this time and effort to do something that can’t be done. Or maybe, if you were so kind, you could mod it for me, so I can make sure the mod works or not, I take full resposability.

I’d really appreciate some help.

Thanks in advance! :smiley_cat:

Then it seems the mod was badly done or not flashed, as no PATA device showed in bios in leagcy.

That " AMD Graphic Driver" and the Realtek only becomes visible when the bios was set in UEFI, on Legacy the EFI drivers are not loaded so they are not presented, so they are correct.

Redo the mod and you can share it, for further analisys before flashing.

As written within my Guide you will not see the correct name of the target NVMe SSD, but you should see a device named “PATA” or “PATA_SS”. If you don’t see such device as being bootable in LEGACY mode, I suspect either a not correct BIOS modification or a failed BIOS flash.

@Fernando & @MeatWar:

Finally got to make it work. I’ll detail the process in case someone else has this problem in the future:

1.- Downloaded .CAP file from official website
2.- Used AFUWINx64 3.05.04 to install .CAP file as downloaded
3.- Used UEFITool v0.28 to extract body from .CAP file and save as .ROM
4.- Used AFUWINx64 3.05.04 to install .ROM file as just saved
5.- Used UEFITool v0.28 to insert NvmExpressDxe_5.ffs onto .ROM file
6.- Used AFUWINx64 3.05.04 to install .ROM file as just modded

Restarted and the “PATA” drive was listed.

NOTE: IDK if I misread or missed this point, but I was missing point 4 from this guide, and went directly from installing the original .CAP file to installing modded .ROM (jump from 3 to 5).

Later I had an issue when getting to the “Hello” screen right after installing: it kept rebooting asking to connect to the internet to get missing files, but it didn’t work and kept restarting. It was caused due to the latest Windows ISO I got (Pro 10 22H2 build 19045.5965 AIO 16in1 Multilingual June 2025), so retried with an official version downloaded from Microsoft (Pro 22H2 19045.2965 [05-2023]) and it’s working like a charm now.

I wanted to thank you for your time and patience. You’re awesome!
Thank you so much.

Best!

It is fine, that you finally succeeded and now can enjoy booting off the NVMe SSD.
Since your problem has been solved, I have customized the thread title.