Just an update.
The file hash is correct.
I have not tried flashing with the FPT tool as yet. But I have done a backup of my current bios (F12) using Q-flash and the FPT tool.
The thing is when I load them into Q-Flash it reports that both are “invalid BIOS image”. How can this be when they are taken from a fully functioning BIOS? Very strange!
Any idea’s?
It’s not just encapsulated BIOS that Q-Flash is having problems with; I’ve tried my previous BIOS files, F12c and F12k with Q-Flash and both of theses come up with “invalid bios image” at the same 73% I would have thought that they would pass the verifying stage at least?
@MickL Gigabyte does state that once you have flashed an encapsulated BIOS that you can’t downgrade:
Introduce capsule BIOS support starting this version.
Customers will NOT be able to reverse to previous BIOS
Q-Flash or EFIFlash may do a date/version check. I gave up with Gigabyte’s restrictive tools and just used FPT on my Z390 AORUS PRO WIFI.
1 Like
@chinobino Thanks for your help. I used the fpt tool exactly as you described, got the message bios had been written successfully and did the “-greset”. The PC restarted in a short time, and when I entered the bios it was on F13 with all settings back on default. I reset the XMP profile, resize Bar, CMS to off and secure boot to enables, basically all the settings I was using on F12. When I rebooted the PC tried to restart about half a dozen times before finally booting. When it did reboot it was back on F12. When booting into windows 11 it now gives me a screen asking me to choose from one of six operating systems!
Can you please offer any more advice.
@MickL Something has caused the MAIN BIOS chip no longer boot. It could be that you needed to clear CMOS before saving your new settings and NVRAM has been corrupted by incompatible settings from the previous BIOS.
If you are on F12 that means that you have likely booted from the backup BIOS - do not try to reflash F13 with FPT or you may face the same issue and the BACKUP BIOS chip may become non-bootable.
It is possible that Gigabyte’s DualBIOS attempted to recover the MAIN BIOS chip by flashing the contents of the BACKUP chip (F12) onto the MAIN BIOS. Did you see any message about recovering when it rebooted 6 or so times? e.g.
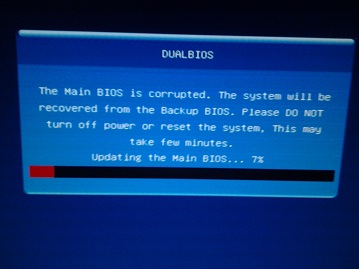
If you didn’t then I think you are booting from the BACKUP BIOS chip.
The first thing is to try to clear CMOS using a jumper i.e. put the jumper on the clear CMOS headers for a few seconds then remove it (and do not press the power button while the jumper is connecting the pins).
Then check if you are booting on F13. If you are back on F13 on the MAIN BIOS chip, make only one change at a time in the BIOS then save and restart (F10) to see which setting may be causing issues e.g.
- XMP on
- CSM disabled
- ReBar enabled
- Secure Boot Enabled
If this does not work and you are still booting to F12 from the BACKUP BIOS chip, try removing all power from the motherboard, both ATX (24-pin) and EPS (CPU 4 or 8 pins) and also the CMOS battery and leave the system for at least 15 mins to allow all power to drain.
This should clear CMOS, setting NVRAM back to defaults. Try to boot again and see if you are on F13 on the MAIN BIOS chip and then try making your changes one at a time as suggested above.
If the contents of the MAIN BIOS chip truly have been corrupted then I suggest that you obtain a hardware programmer to recover it.
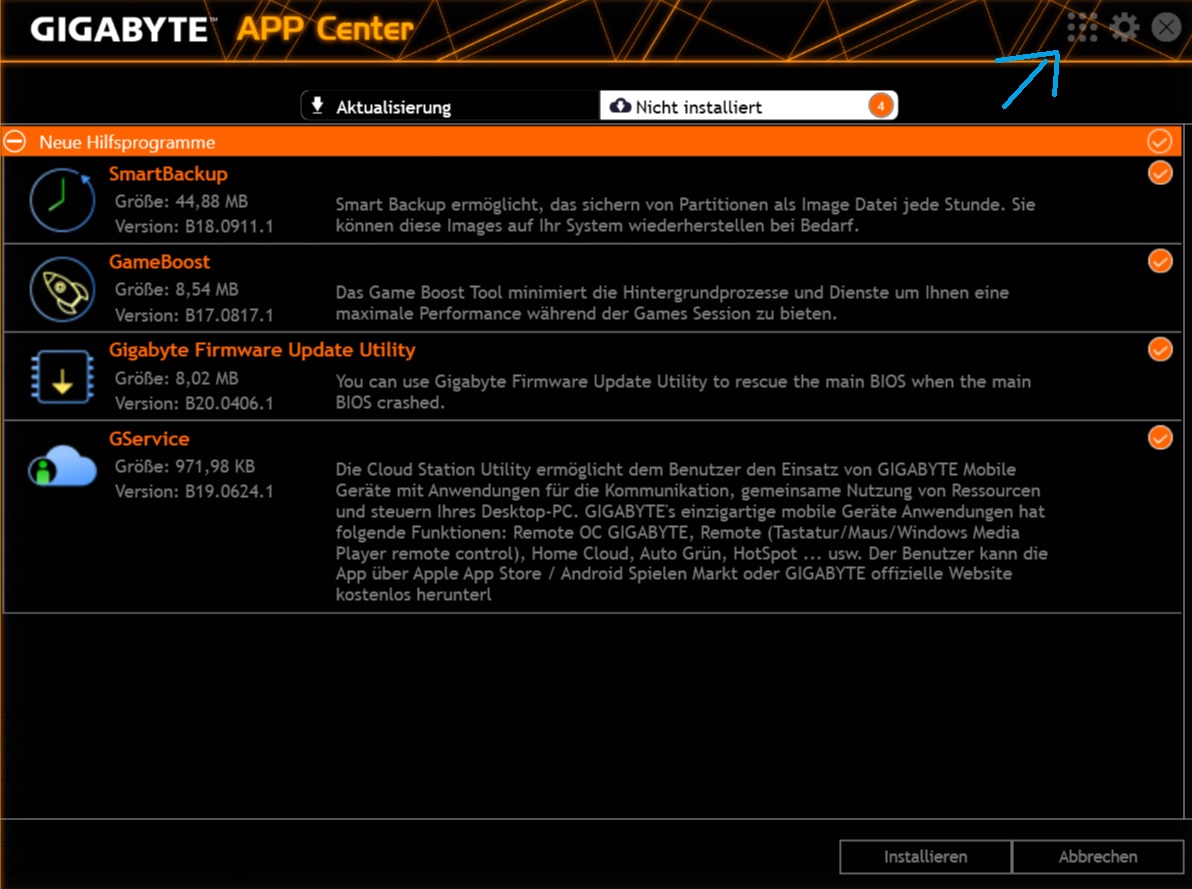
Gigabyte used to have a program called Gigabyte Firmware Update Utility that would allow you to flash the contents of the BACKUP BIOS to the MAIN BIOS, but unfortunately this app was not updated past 2020 and is not recognized by Gigabyte App Center like it used to be:
Q-Flash Plus is supposed to be able to recover the main bios but as you kept getting “invalid BIOS image” with your backup and the official Gigabyte BIOS files then I don’t think it will work.
As for the multiple Windows boot entries, this can be caused by many things.
I presume that the F12 BIOS on the BACKUP BIOS chip has booted with defaults i.e. CSM enabled and Intel RST disabled. This means the system may be trying to boot in legacy mode from an AHCI driver.
You will need to set your system back to how it was when Windows was installed i.e.
MBR or GPT?
AHCI or IRST?
How many drives are installed? You may have remnants of an MBR on another (usually older) drive that once had a legacy installation of Windows on it. In this case you need to remove all other drives except your boot drive to see if your boot menu is restored.
If you can get into Windows you can attempt to dump the MAIN BIOS with FPT with the command:
fptw64 -d bios.bin
You can then upload it here to be examined.
[Edit] Also, don’t use any previously saved BIOS profiles - please set everything manually.
1 Like
@chinobino Thank you, you are absolutely brilliant!! Cleared the CMOS then rebooted. PC booted into F13, then I made the changes to XMP etc. etc. manually one by one. PC booted up fine, and now I’m running F13 with my personal settings. Once again thank you.
1 Like
Hey, I recently discovered this post via another forum. I need some guidance here. I have a Gigabyte H510M-H motherboard, which I try to update but I get oemid mismatch error. What path should I choose? I’m thinking about creating a MS-DOS bootable usb using rufus, then copying H510MH.F19 and EFIFlash tool you provided to directory.
Okay I did all steps right but I still run into oemid mismatch. Sorry cannot post more then one image due to forum rules.
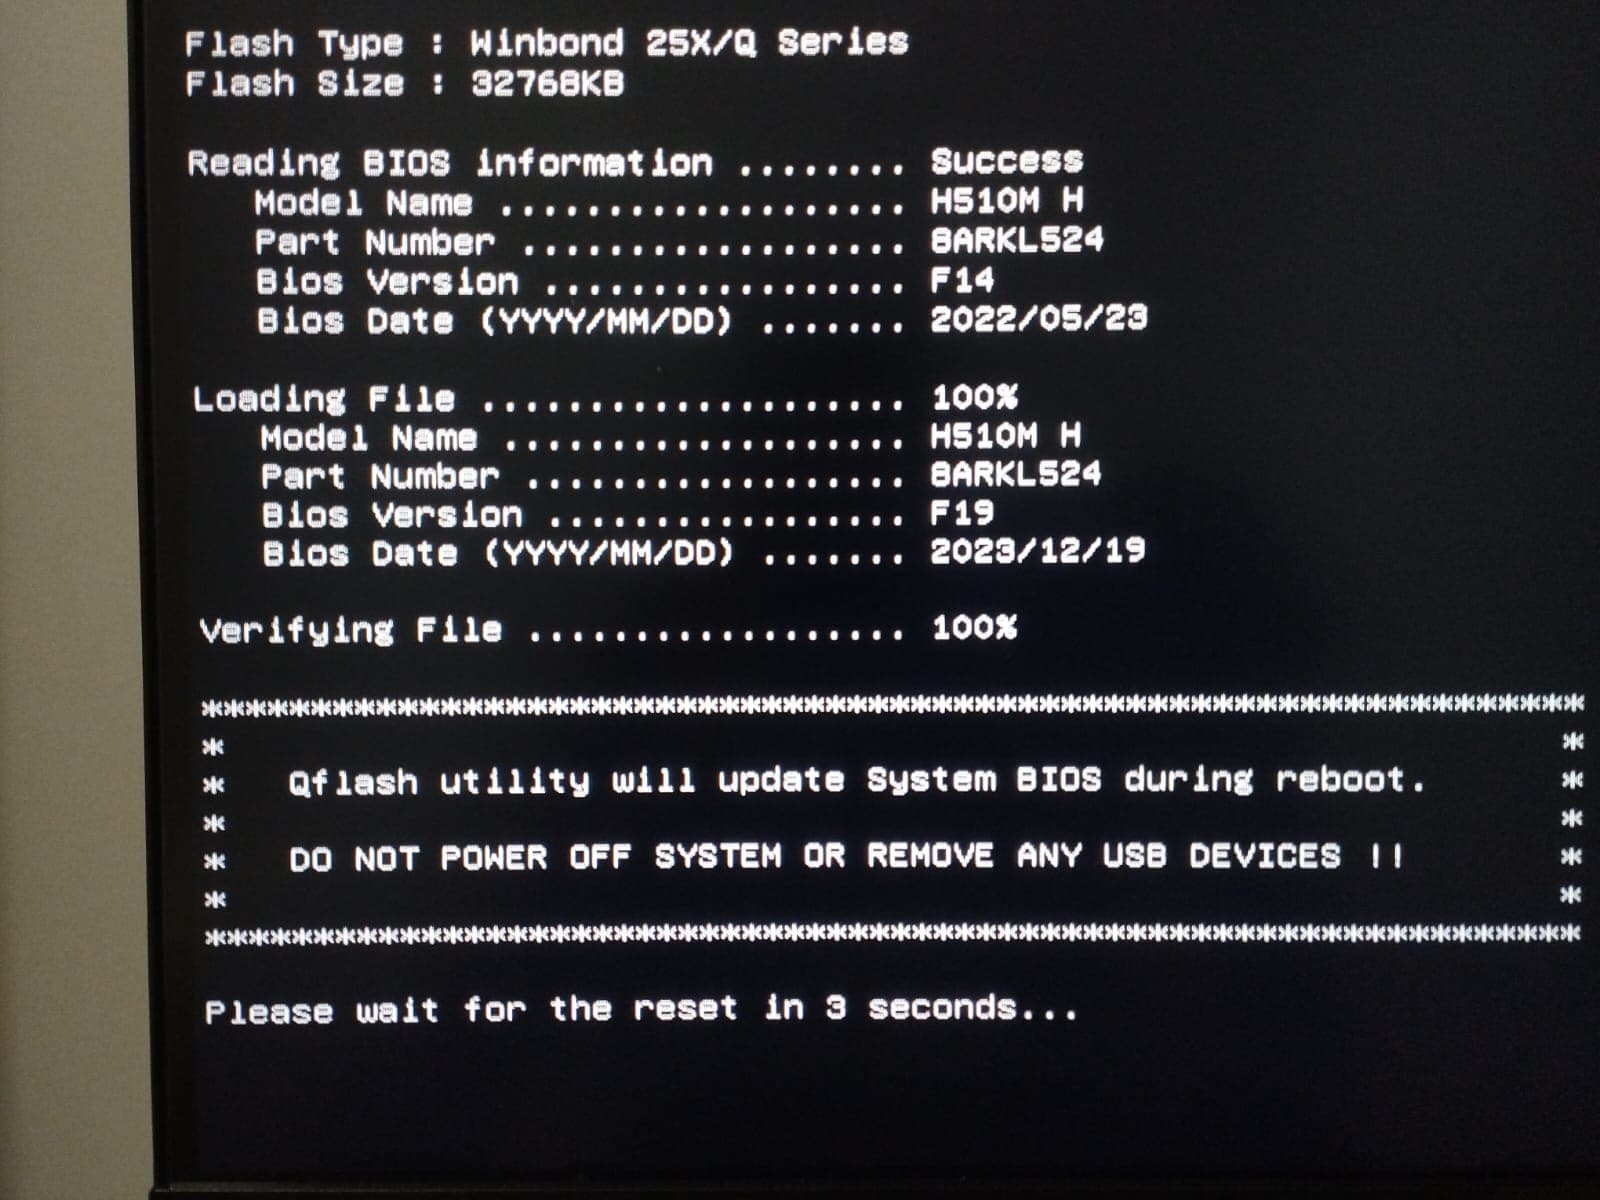
It restarts to q-flash automatically and tries to flash F19 file but failing and returns oemid mismatch. Another option for my case would be embedding oemid to BIOS update file.
I’m using UEFI Shell version of the tool. I saved the current bios file to my usb. I can provide it. Is it possible to take oemid or some kind of data from current bios file using a tool like UEFITool etc. and migrate it into Gigabyte’s F19? I would prefer flashing Gigabyte’s file directly so I won’t bother with these anymore.
@chinobino I need real help, like my BIOS is vendor-locked and so messy it gets me frustrated. I was barely able to get BIOS update file from vendor to fix secure boot. They won’t give me a newer version then F14. I need minimum F17 to fix RTX 3060 Blank Display issue.
@eren97 Hi and welcome to the Win-RAID forum.
EFIFlash has not been updated since 2021 and likely won’t work with 500 series motherboards.
You may be able to use Intel Flash Programming Tool (FPT) to get past the oemid mismatch but you must be 100% sure that the BIOS image you want to flash is compatible with your motherboard.
Unlike Qflash or Efiflash, FPT will not check if you are flashing the correct BIOS to a matching motherboard so you can brick your motherboard if you cross-flash the wrong BIOS! Be very careful!
First you will need to download the correct version of FPT for your motherboard (v15.0) from this thread:
Intel (Conv.Sec.) Management Engine: Drivers, Firmware and Tools (2-15)
Scroll down until you find ‘CSME System Tools v15.0’ and download the package CSME System Tools v15.0 r15.rar from Mega.
You will need to extract fptw64.exe somewhere to access it from a command prompt.
Before you do anything you should make a complete backup of your current BIOS.
You can do this by running the Windows version of FPT from an elevated command prompt:
fptw64 -d bios.bin
DISCLAIMER There is always a risk when flashing the firmware of any motherboard. You must decide if you think the risk is worth it - if you don’t know how to recover your motherboard from a bad flash then I don’t recommend that you attempt a BIOS upgrade/cross-flash. I am not responsible for any problems that arise from your actions.
To flash the F19 BIOS run the command:
fptw64 -f H510MH.F19
Once the flash operation says it has completed successfully type the following command to IMMEDIATLEY reboot and load the BIOS you just flashed;
fptw64 -greset
This will reset the ME microcontroller so that it loads with the new firmware.
Note that your PC will restart instantly without any warning as though you have pressed the reset button.
Once the system has restarted a couple of times you should enter the BIOS and check that it is on version F19.
Reset the BIOS to optimized defaults (F5) and then save and exit (F10).
Do not load any previously saved profiles, you will need to set up the motherboard manually.
Yeah I want to use this option however it seems like my Intel ME is broken. I am unable to install the driver. [Guide] Clean Dumped Intel Engine (CS)ME/(CS)TXE Regions with Data Initialization - #637 by eren97 I’m working on this issue for 24 hours straight rn and any help would be hugely appreciated. I tried to clean dump an intel me but couldn’t find any region drivers in station-drivers for Intel 500 series H&S. Intel Management Engine does not exist in Device Manager, and when I try to install it returns Error 20: Cannot locate ME device I’m about to go crazy.
2 posts were merged into an existing topic: [Guide] Clean Dumped Intel Engine (CS)ME/(CS)TXE Regions with Data Initialization
@eren97 Can you please link to the BIOS currently on the motherboard from the OEM?
It is possible that the OEM did something in the BIOS to disable ME functionality.