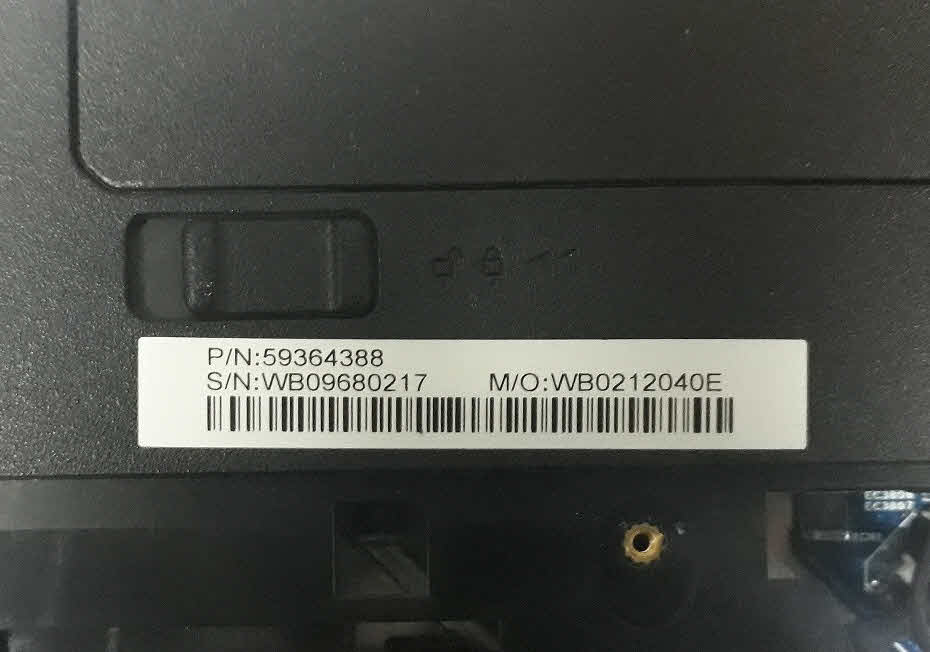
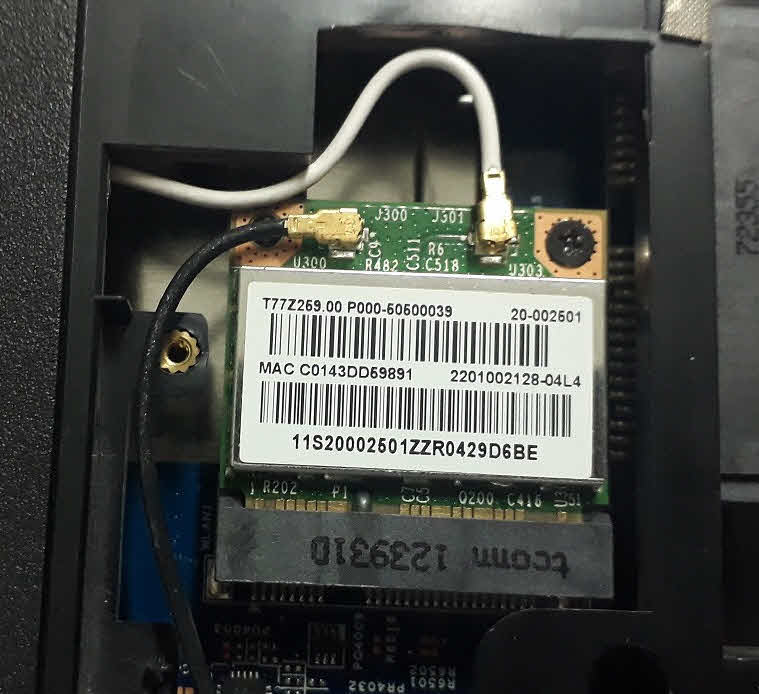
Hi, I’m not sure if I have to post my thread here, anyway, I own a lenovo G580 (BIOS Version: 62CN97WW) had a problem with the BIOS that has become inaccessible (System BIOS Shadowed/Video BIOS Shadowed) (common issue with some Lenovo models). tried to flash the BIOS from within windows but failed for two reasons: Secure boot was enabled and the same version is already flashed. Downloaded the BIOS version 62CN97WW.exe from the official site and extracted the BIOS Image 62CN97WW.cap. Also I searched the internet for a BIOS dump (.bin) and found one (same board ID) with BIOS version: 62cn34ww) just in case, then had to take off the BIOS chip of the motherboard, then went to a repair shop and gave the man responsible the BIOS chip alongside the BIOS dump (.bin and 62CN97WW.cap, asked him to make a DUMP of my current BIOS and he did, he flashed the Dumped BIOS I gave him instead of the 62CN97WW.cap BIOS. Assembled everything, BIOS’s working again but… the Serial Number is changed and also the UUID, So what I’m asking for is: to write back my Original Info’s (S/N, P/N, M/O, UUID, … etc) from my Original dumped BIOS. Question: is it possible to flash 62CN97WW.cap via a programmer ! if so, then why didn’t he do so, at least to save me the hassle of loosing my original Serial number and all other info’s ? I’ve attached my Original Dumped BIOS and all the Stickers found, Thanks in advance.
There might be Lenovo tools to change the information, for some manufacturers they’re accessible
On bios side one normally has a chance to extract the info from a bios dump and to transfer them to an empty stock image.
Lenovos bios (cap file) contains bios region and flasher, bios region can be extract with UEFItoolNE. For a complete firmware image you’re still missing ME and Flas Descriptor. And flashing the extracted region from bios update would not have conserved your specific information, flashing with programmer means overwriting every singel bit, and since the update is empty you’d ended with missing serial instead of wrong serial.
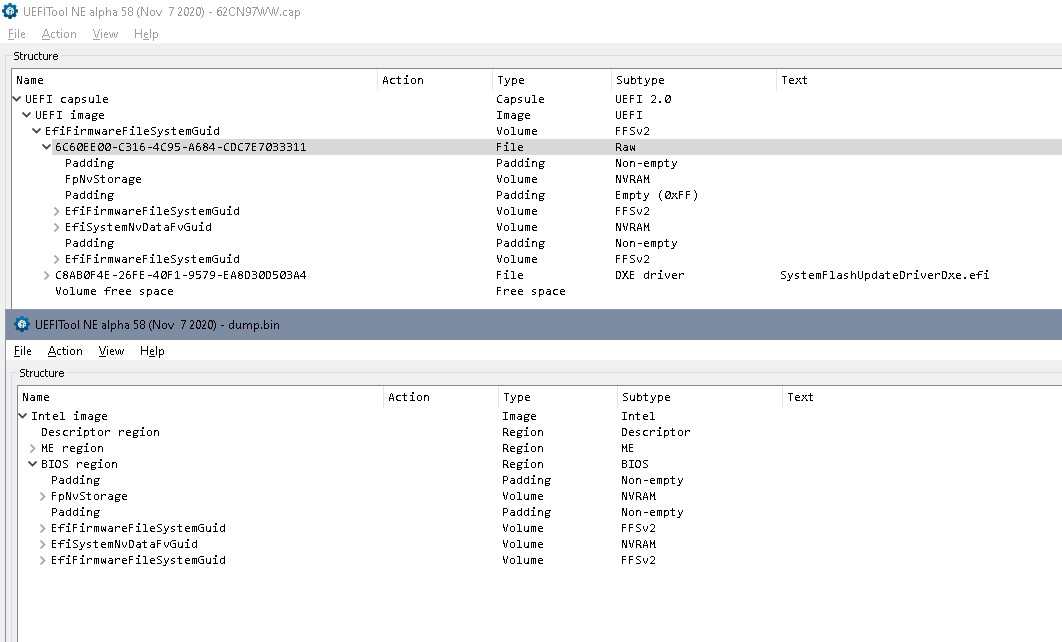
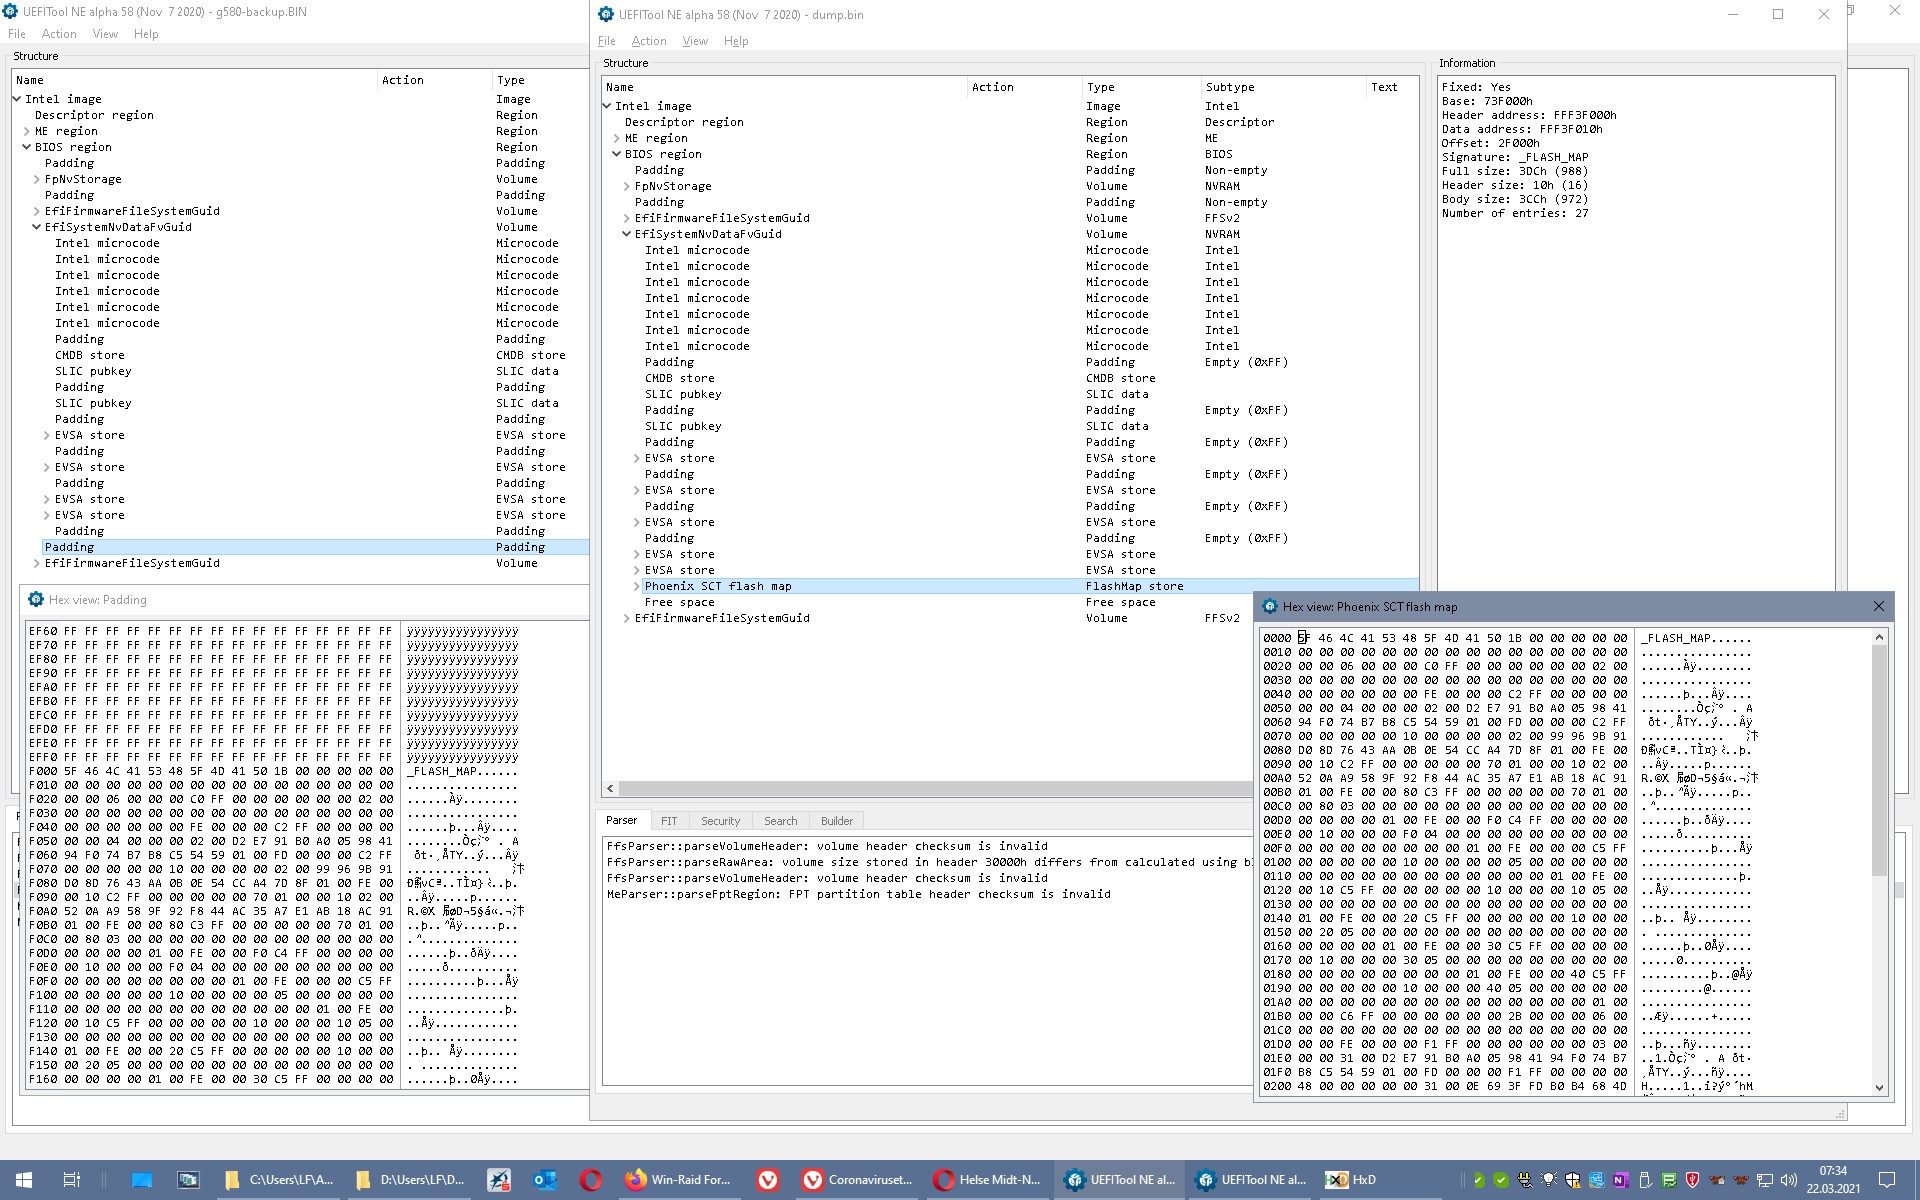
Picture shows old dump and cap file, volume beginning with 6C6… in cap represents bios region. See second padding in bios region- empty in cap, non- empty in dump that’s one of the regions where board specific information is stored.
So for restoring your own info one would have to look into your own backup of the bricked bios, then transfering the machine specific parts to a new stock bios. This means one would have to reprogram the bios possibly with a flasher, fpt might not work because of write protection. There’s in addition the chance that simply emptying NVRAM could’ve solved the problem.
Or you find somewhere a/the Lenovo tool for writing these info by software. But normally these tools are restricted to service personel and hard to find.
@lfb6 Thanks for the quick reply, so it is possible to transfer my original infos from the the crashed BIOS to the new BIOS update (62CN97WW.cap) and flash it, right ? Well, to be honest, I can’t do it myself, this is beyond my knowledge, I know how to solder, disassemble, flash, replace components, but editing is a little bit hard for me to do it, can anyone help me with that ? thanks in advance.
You mean the Dump I used to flash the BIOS (the one I’ve downloaded from the internet ?). Well, I have uploaded my Original Dump (the bricked one) in the first post already, I’ll upload it again.
I understand that there exists a backup of your own ‘bricked’ bios?
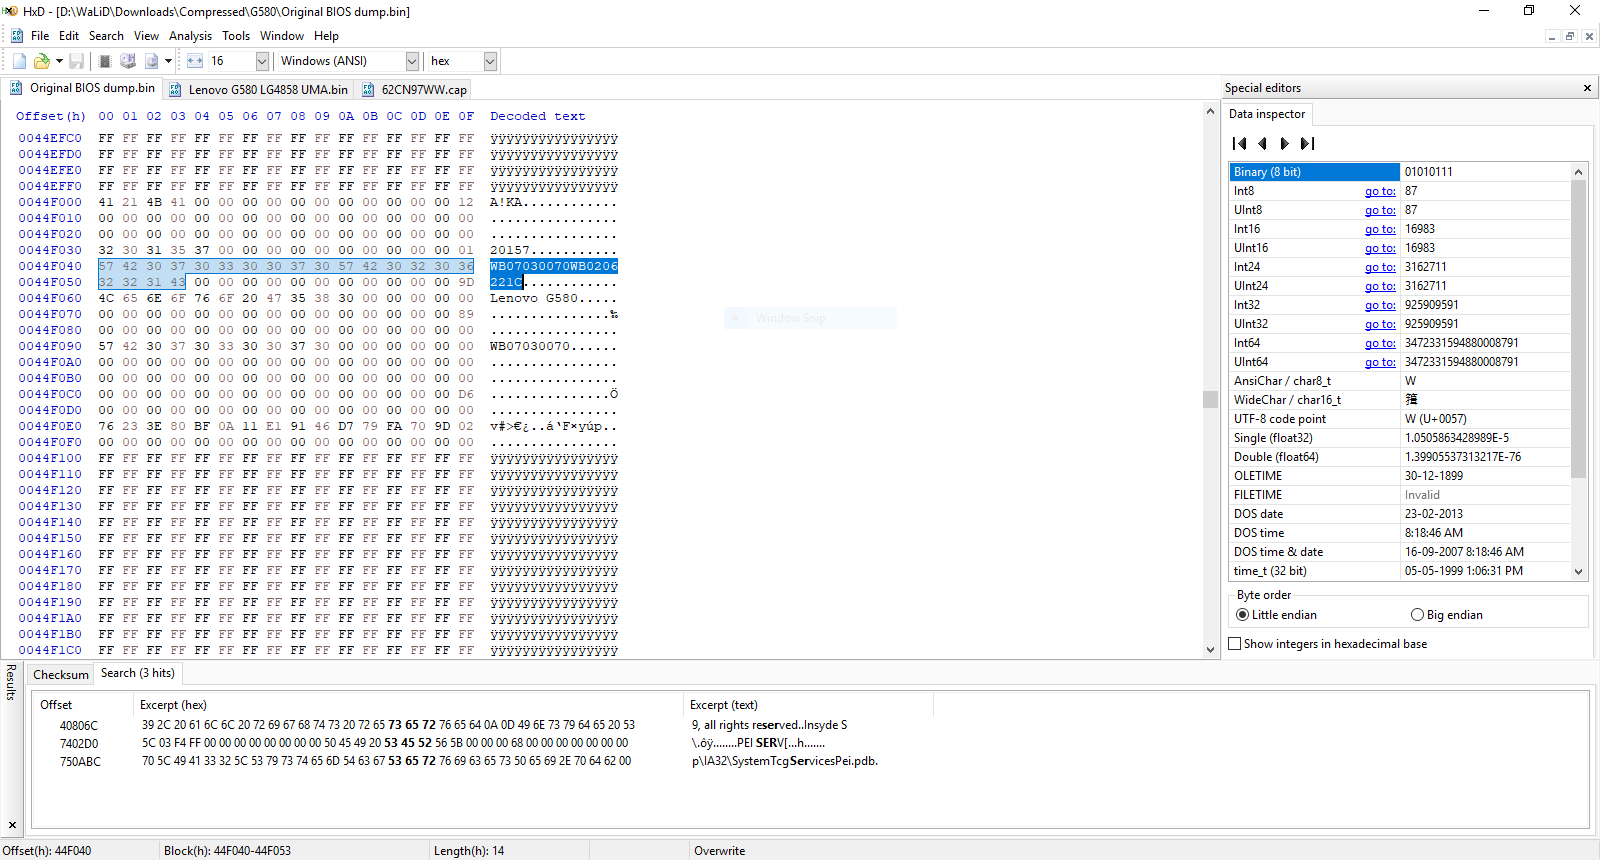
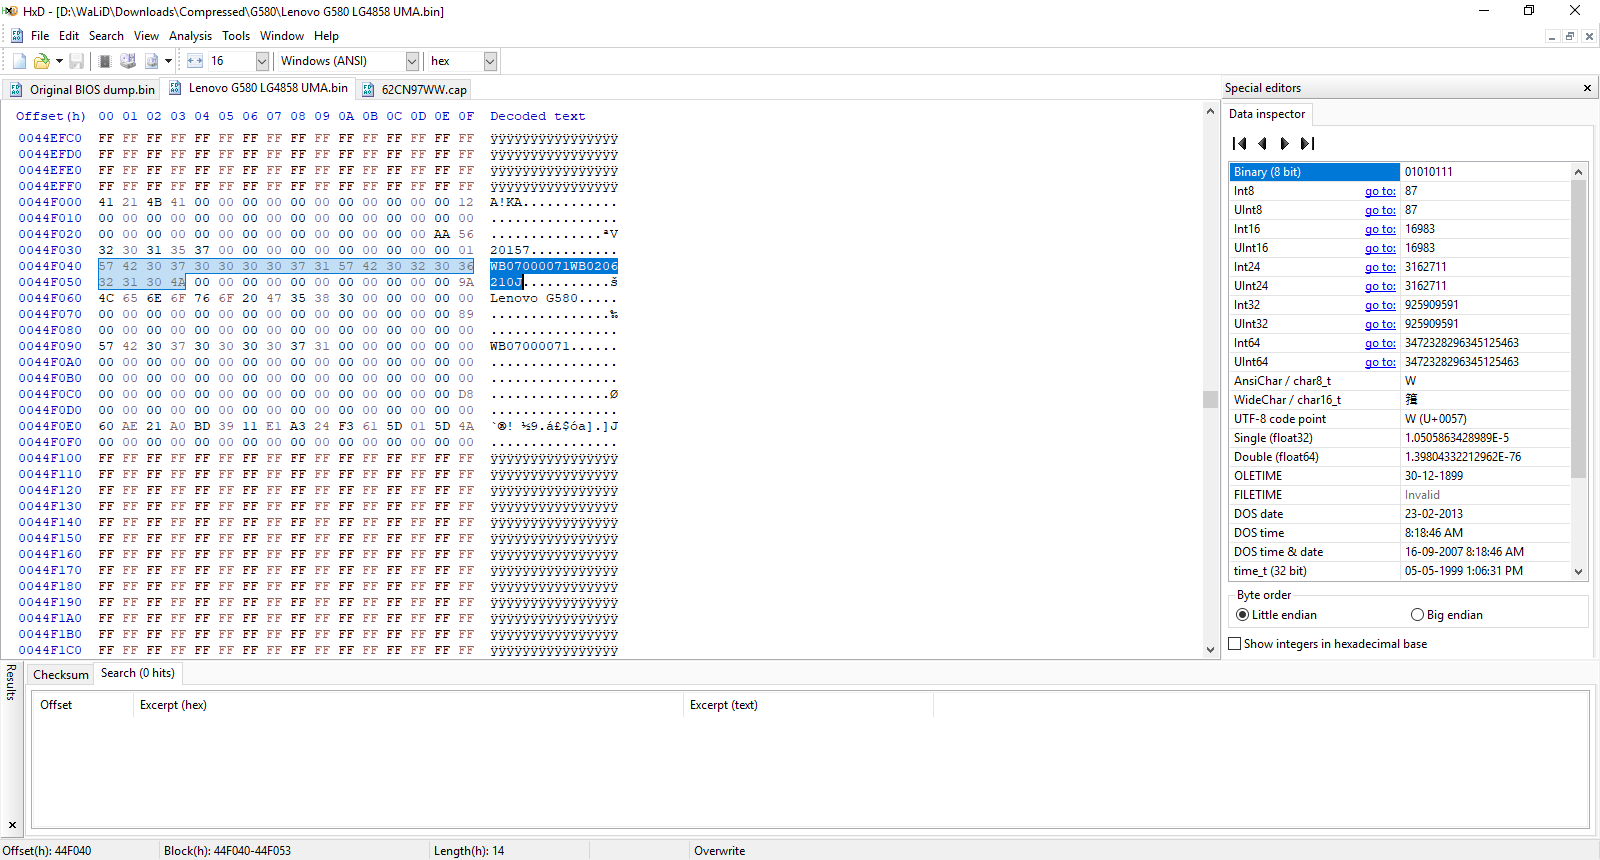
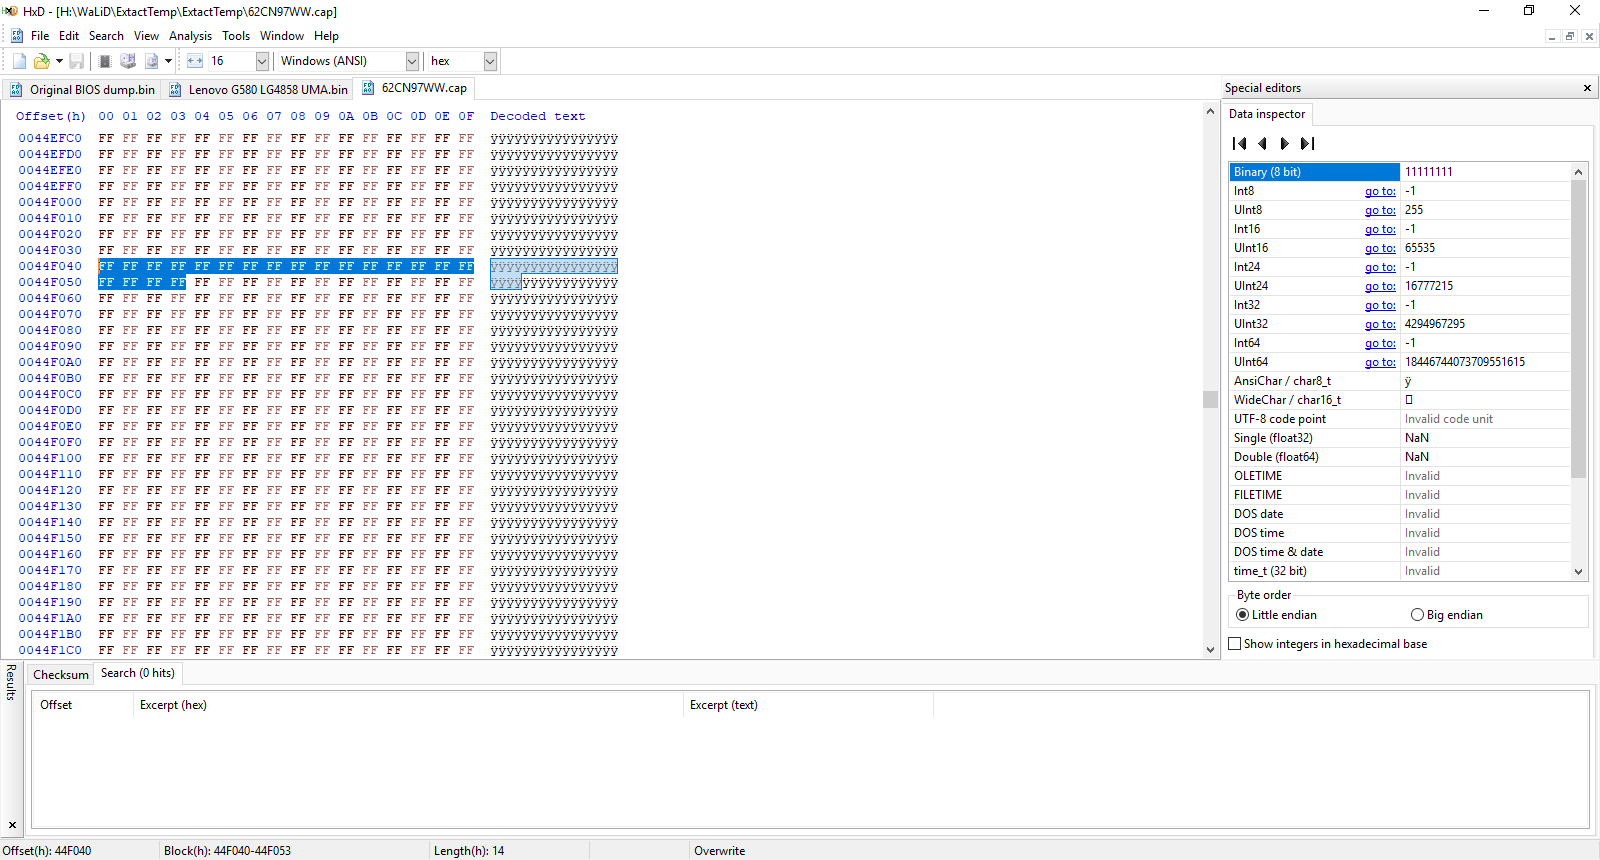
I have uploaded my Original Dump (the bricked one) in the first post already. Used a Hex Editor and look what I found, which is funny, the S/N and M/O printed on the stickers are different than the one’s written in the Original BIOS Dump (the bricked one), despite the fact that this is my laptop and I bought it first hand no man in the middle, that’s really strange ? Couldn’t find UUID. The first is My Original BIOS DUMP. The second is the BIOS Dump I used to repair my BIOS. And the last one is The official BIOS Update from Lenovo website.
Yeah it should be, the man from the workshop gave it to me in a pen drive as my BIOS DUMP because I told him to make a backup in case anything goes wrong, well he made the backup, and then flashed the Dump I downloaded from the internet, the whole operation didn’t take 15 minutes at most, maybe his system date is wrong that’s why the dump got the date 04.03.2014.
Edit: I think you’re right, he didn’t gave me my Original BIOS DUMP, I checked my files on the pen drive, it is another dump that I downloaded from the internet, so sorry, that’s why the infos are different from my stickers, gonna have to ask him for my Original DUMP, sorry again.
Well that’s true for the serial number, what about the UUID ? I can’t find it, and also what about the checksums ? if I make a mistake that would be a problem, especially that I don’t have a programmer at hand, that’s why I need someone who can transfer my original SN / UUID to the Official BIOS Update if possible, or any other suggestion would be great.
I don’t know man, I’m a newb when it comes to this stuff. All I know is I recently did a similar thing to revive a bricked Flex 5-14ARE05. In that scenario the UUID seemed to be generated off of the info from the small section of code with the serial number, etc. Would be an easy thing to try if you had a programmer.
Lost_N_BIOS was logged in last time 2 months ago, unfortunately. I hope he’s well.
You can’t put these data in an update file these regions don’t get updated, otherwise every update would delete this information since an update image comes ‘blank’. So you need to update these areas either by hardware programmer or by fpt (Intel ME tools)
Problem in your old bios is probably here- flash map is missing because of corrupt NVRAM/ EVSA store (looks a little different because of bios versions)
Biosreg.rar contains an image dated february 21st?
Anyway: 1.) We have to find out if bios region can be written by fpt 2.) We have to decide which parts of your corrupt dump should be transfered,
1. will be done by dumping a bios region and trying to write it back with fpt.
2. can be done - by updating your bios now to 62CN97WW (same version is more easy to compare) and trying to repair your original dump - by updating your bios now to 62CN97WW (same version is more easy to compare) and transfering what seems machine specific from bricked dump to new dump - by simply adding the small block from 44F000 to any version and hoping that it’ll be good enough
Please empty the directory with fpt for all earlier dumped/ stored biors regions
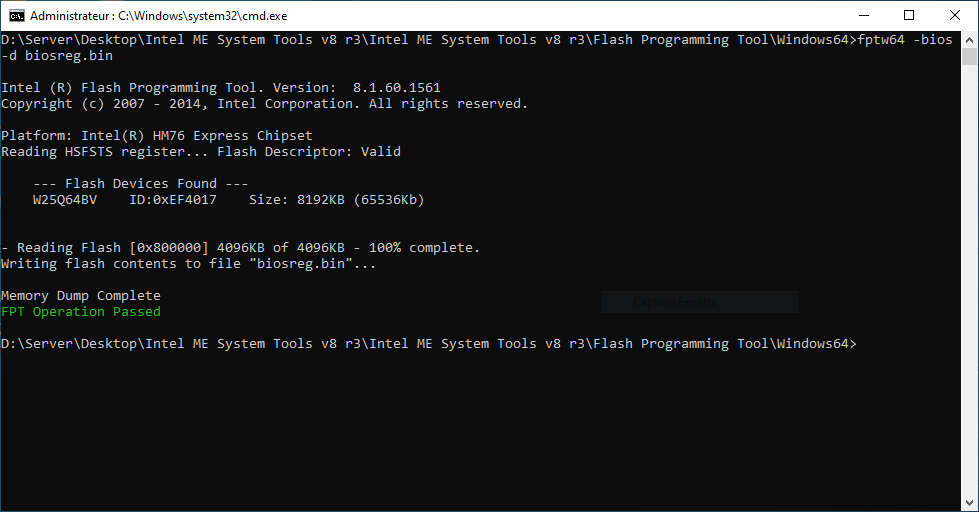
Then run fpt(w(64)) -bios -d biosreg.bin (in windows at an adminstrator command prompt)
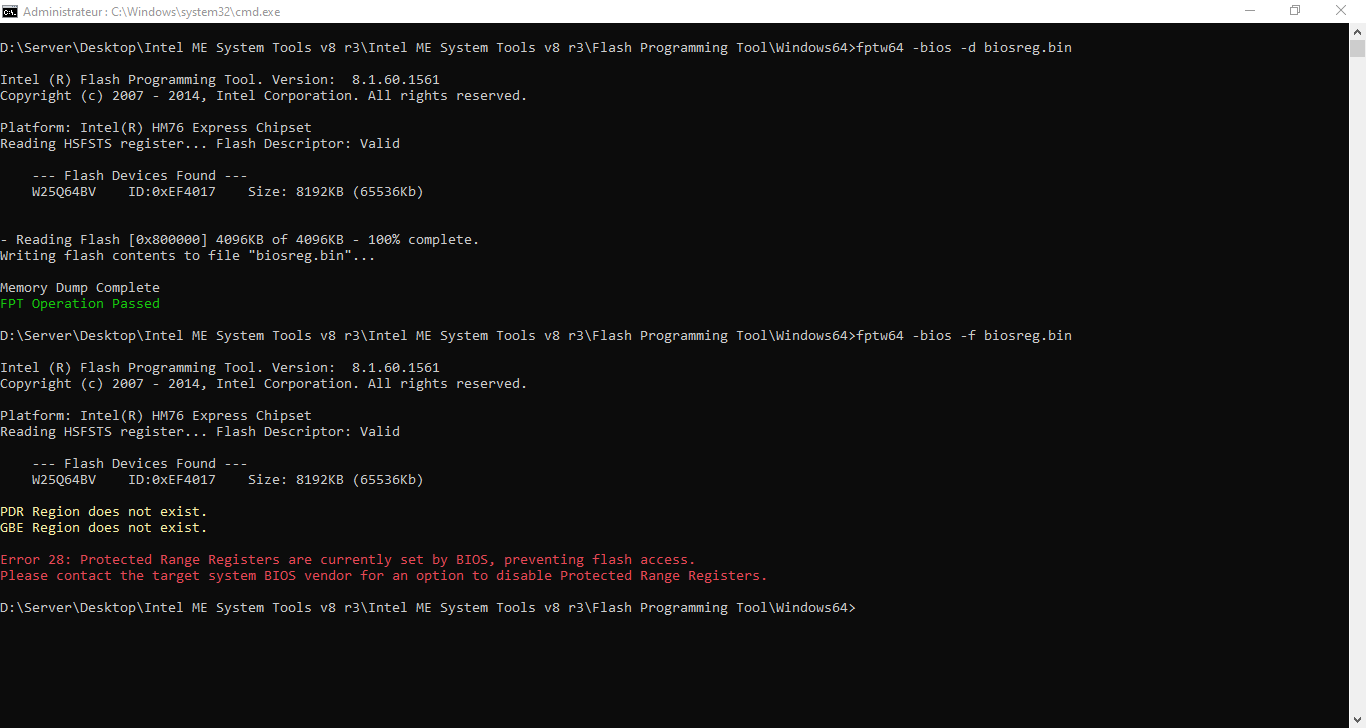
directly followed by fpt(w(64)) -bios -f biosreg.bin (in same adminstrator command prompt window, make sure that biosreg.bin is the file you dumped directly before)
Thanks for your response, I will be updating the bios to the latest version, sorry I didn’t have much time to do it, (I was planning to do that since the beginning), which makes things easier.