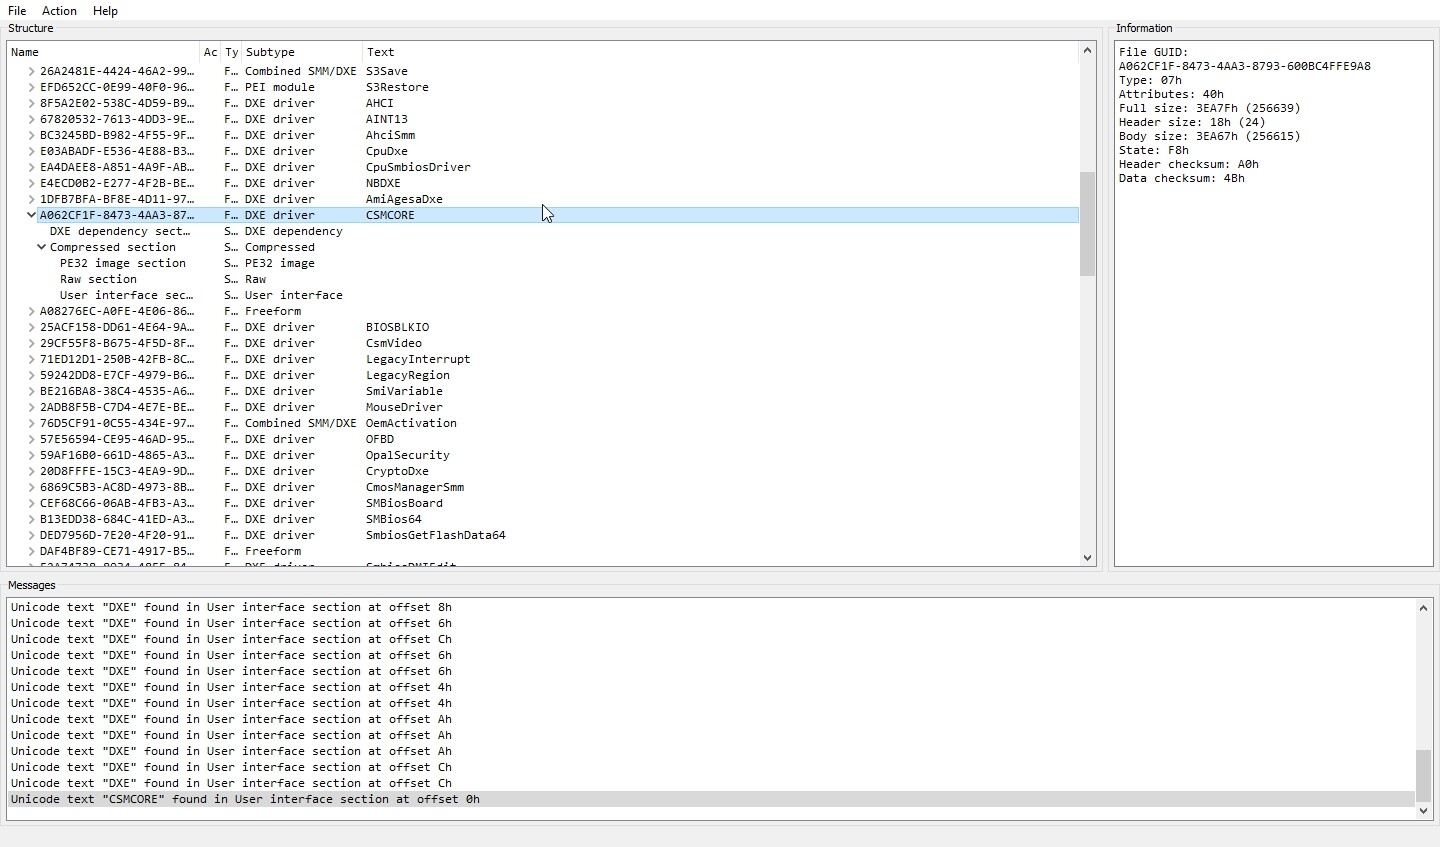
Intel RAID orom is in the "RAW" section of CMSCore - A062CF1F-8473-4AA3-8793-600BC4FFE9A8 when looking at the file using UEFITool
With extracted body, the orom starts at 00010018 with 55 aa - and ends at 0002dc17 with a block of 320bytes of FF >> Total of 121,856 bytes / 119KB
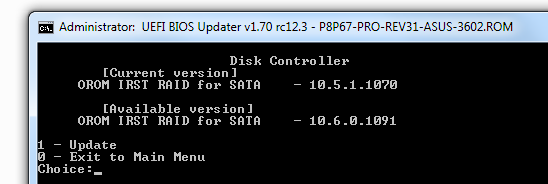
That can be updated via hex extract and update then reinsert, or by putting updated bin file name SataOrom.bin into the Files\intel\RST folder. Test example using UBU shown below
SATA90? Have no clue what that is, but it’s likely not needed or used here, never heard of it myself, nor have I ever heard of anyone updating/discussing that? You made me look, I searched entire site and your post is the single result here for SATA90
This stuff you mention >>> # SataOrom.bin DevID 2822/282a # RaidDriver.efi
Example of how to put file in there is all I think, however, the random orom I grabbed for the sample image above is 2822/282a, I assume yours probably is as well. Check in hex, at the top, under version info, right after PCIR and before “Intel Corporation” you will see 2a 28 22 28 I checked 12.9 version (Intel-RSTe_RAID-ROM_v12.9.0.2006_TRIM-mod-acc-CPL0) and it’s same as mentioned above too, these work in UBU for your boards BIOS as mentioned/shown above
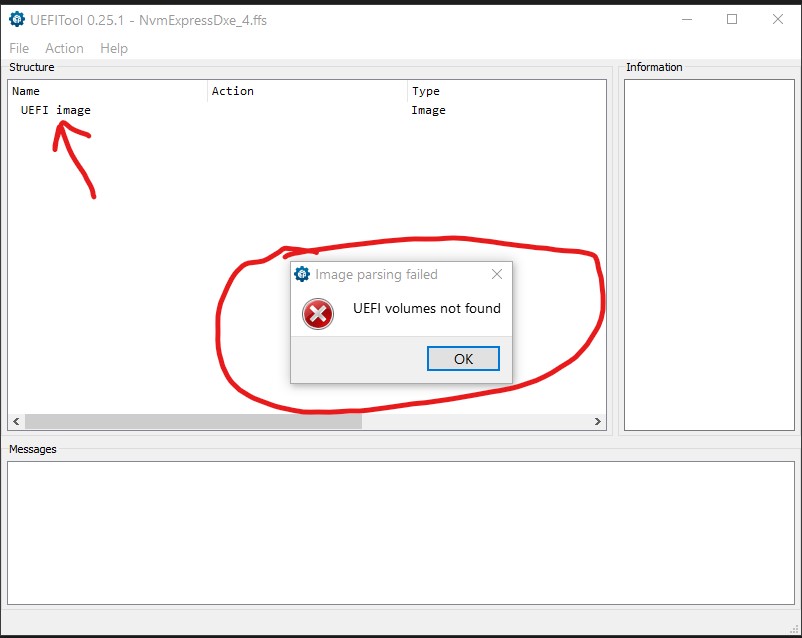
@uzairali001 - You have to open BIOS in UEFITool, not NvmExpressDxe_4, then find location within the BIOS per the guide to insert NvmExpressDxe_4 using right click functions Please read the steps of the guide again, then do them slow one by one.
I have a new HP Pavilion Gaming Desktop - HP Motherboard 843B using AMI V2.20.1271 / BIOS REVISION: 84B VF.20. I am aware OEM manufactures take the BIOS/UEFI and strip it down.
Anyways, I’ve been searching for a BIOS utility and stumbled on this UEFIT tool. What I wanted to do is replace the boot logo (in my case the HP logo shows on startup).
I even called HP support and they don’t have any utility. Ditto for AMI.
Question:
1. Does this tool have the function to change the splash logo? And compatible with my AMI version provided above. 2. Looking for instructions if available.
@SpaceCrime - yes, possibly, but flashing modified BIOS may not be easy for you (and it may not be possible due to security/RSA, Sure Start since you mentioned HP) Do you have flash programmer? If not, order CH341A flash programmer and SOIC8 test clip cable, these are on ebay for around $2.50 each and I suggest you have both in hand before you attempt to do anything. Give me the exact system model name, or a page you download BIOS from and I will check it for you. The info you have above is no use without model name.
DMI BIOS vendor AMI version F.20 date 11/01/2018 ROM size 16384 KB
DMI System Information manufacturer HP product HP Pavilion Gaming Desktop 690-0039 UUID {EDB8116D-BE0A-11E8-B37A-D89C67B099E6} SKU 3LB28AA#ABL family 103C_53311M HP Pavilion
DMI Baseboard vendor HP model 843B revision 00 serial PGSXP0EWJBB4ZP
@SpaceCrime - Thanks. Yes, logo can be changed, but without programmer it’s risky, and still may fail to work even if BIOS edit is OK, due to RSA/Signature Security Without knowing for sure what would work you should keep image to 259x259 max & jpg, since that is largest used (6x1 logo and 2x other is in there 108x108 - 259-259px)
Inside you will find Flash Programming Tools folder, and inside that a Windows or Win32 folder. Select that Win32 folder, hold shift and press right click, choose open command prompt here. Then run command below FPTw.exe -bios -d biosreg.bin
Send me that file, and your image, I can make test BIOS for you if you want to try, but I highly suggest you wait until you have programmer and SOIC8 test clip cable in hand.
You will need to first boot to grub and use setup_var to disable BIOS lock (variable you need to use is 0xB45), so you’ll type the following at grub prompt Serup_var 0xB45 0x0
^^ BIOS Lock must be disabled before you can attempt to write back any BIOS region using FPT ^^ The above must be done if you want to try before a programmer arrives, otherwise with programmer none of that will be needed
@Lost_N_BIOS - Many thanks and appreciate your effort into finding out for me on this. I didn’t expect it to be that complicated. At least I know it can be done. I will re-think if I really want to go through…just worried I may brick my PC. I’ve done this logo change on my previous ASUS PC which wasn’t that bad. I’ll see. Thanks again.
@SpaceCrime - You’re welcome. Yes, Asus BIOS this much easier, less worry than locked OEM type BIOS. Order CH341A flash programmer and SOIC8 test clip cable, then you wont have any worries about any BIOS ever again.
Tell me why modules need to be inserted after the lowest module, and not in the center for example? If I extract modules from a specific location, can I or should I insert them into the same location in my bios? for example:
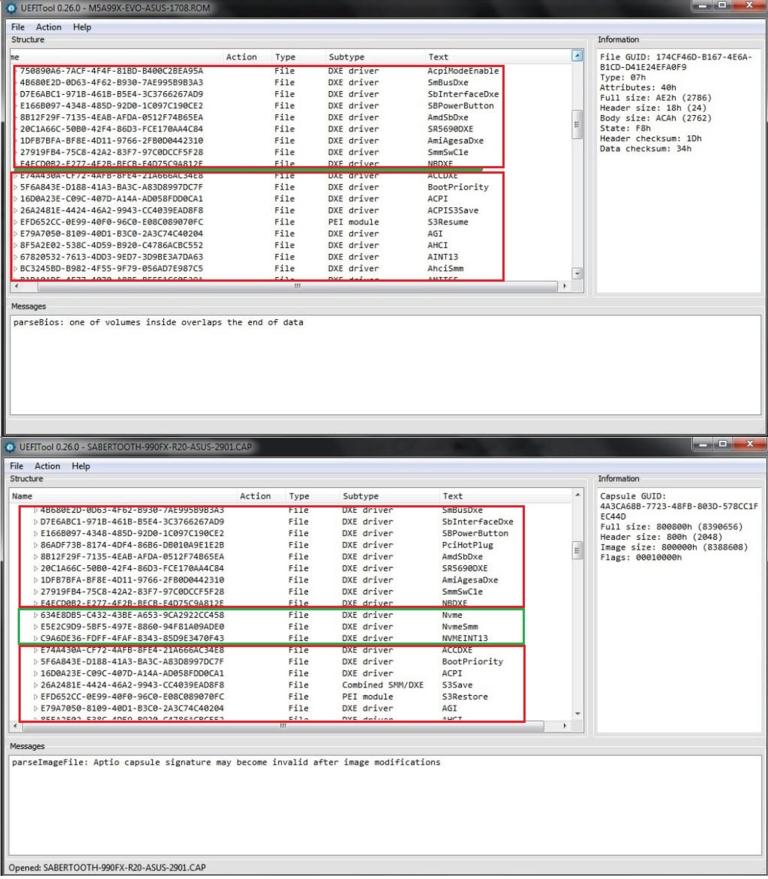
Because the required space for the insertion is only available at the end of the related Volume (beyond the undermost listed module). If you want to insert a specific DXE Driver module into a specific location of the DXE Volume, you have to remove as first step all modules of the DXE Volume, which are listed below the desired location, to insert the desired module and as final step to re-insert all previously removed modules - one after the other - beyond the undermost listed module of the related Volume.
No. The UEFITool does, what you want (no matter, whether the modded BIOS or the related module will work thereafter). The AMI MMTools v4.5 and v5.0.0.7 are safer and more comfortable regarding this point. After having entered the correct number(s) of the “Volume”, where the DXE Drivers incl. the module named CSMCORE are located, and browsed to the *.ffs module you want to insert, you can click onto the “Insert” button and the desired module will automaticly be inserted into the correct location (= undermost of the DXE Volume).
Somebody can help me to mod foxconn p67a-s bios or support ivybridge? I’m using UBU and succes save bios,but when i flash to the board became brick when i put ivybridge processor.
@hasandoel2 - does the mod BIOS you made work with Sandy Bridge? What is your ME FW, check BIOS main page or download HWINFO64 and on the large window on left side, expand motherboard and find ME area, inside that get the ME Firmware version. Sometimes nothing you can do if ME FW is v7 And you/we cannot update v7 to V8, this has to be done by manufacturer due to many other BIOS modules also need updated during that switch over for Ivy.
@Fernando Finally I have some more time to spare for following your guide: “[Guide] How to extract/insert/replace EFI BIOS modules by using the UEFITool” With the help of a direct connection between the BIOS Chip of my MSI A55M-P33 motherboard and the CH341A programmer I could now dump the BIOS file. Now I could follow your guide until B (insertion of a native EFI module). At point 3 “Expand the DXE Volume and scroll down to the undermost module, which is listed as “DXE driver” I cannot find the undermost module! A screenshot attached!


 And you/we cannot update v7 to V8, this has to be done by manufacturer due to many other BIOS modules also need updated during that switch over for Ivy.