V.5070 work fine, but now i used Autounattend installation of win11 with uefi fs layout. MBR layout crashed.
Question: How i can get list of names bootable volumes/devices? I want configure/enable timeout of default DefaultVolume. Timeout is setup in config.plist to 5 seconds, but it isn’t active. I read, that there is needed to change options DefaultVolume to real name of some volume.
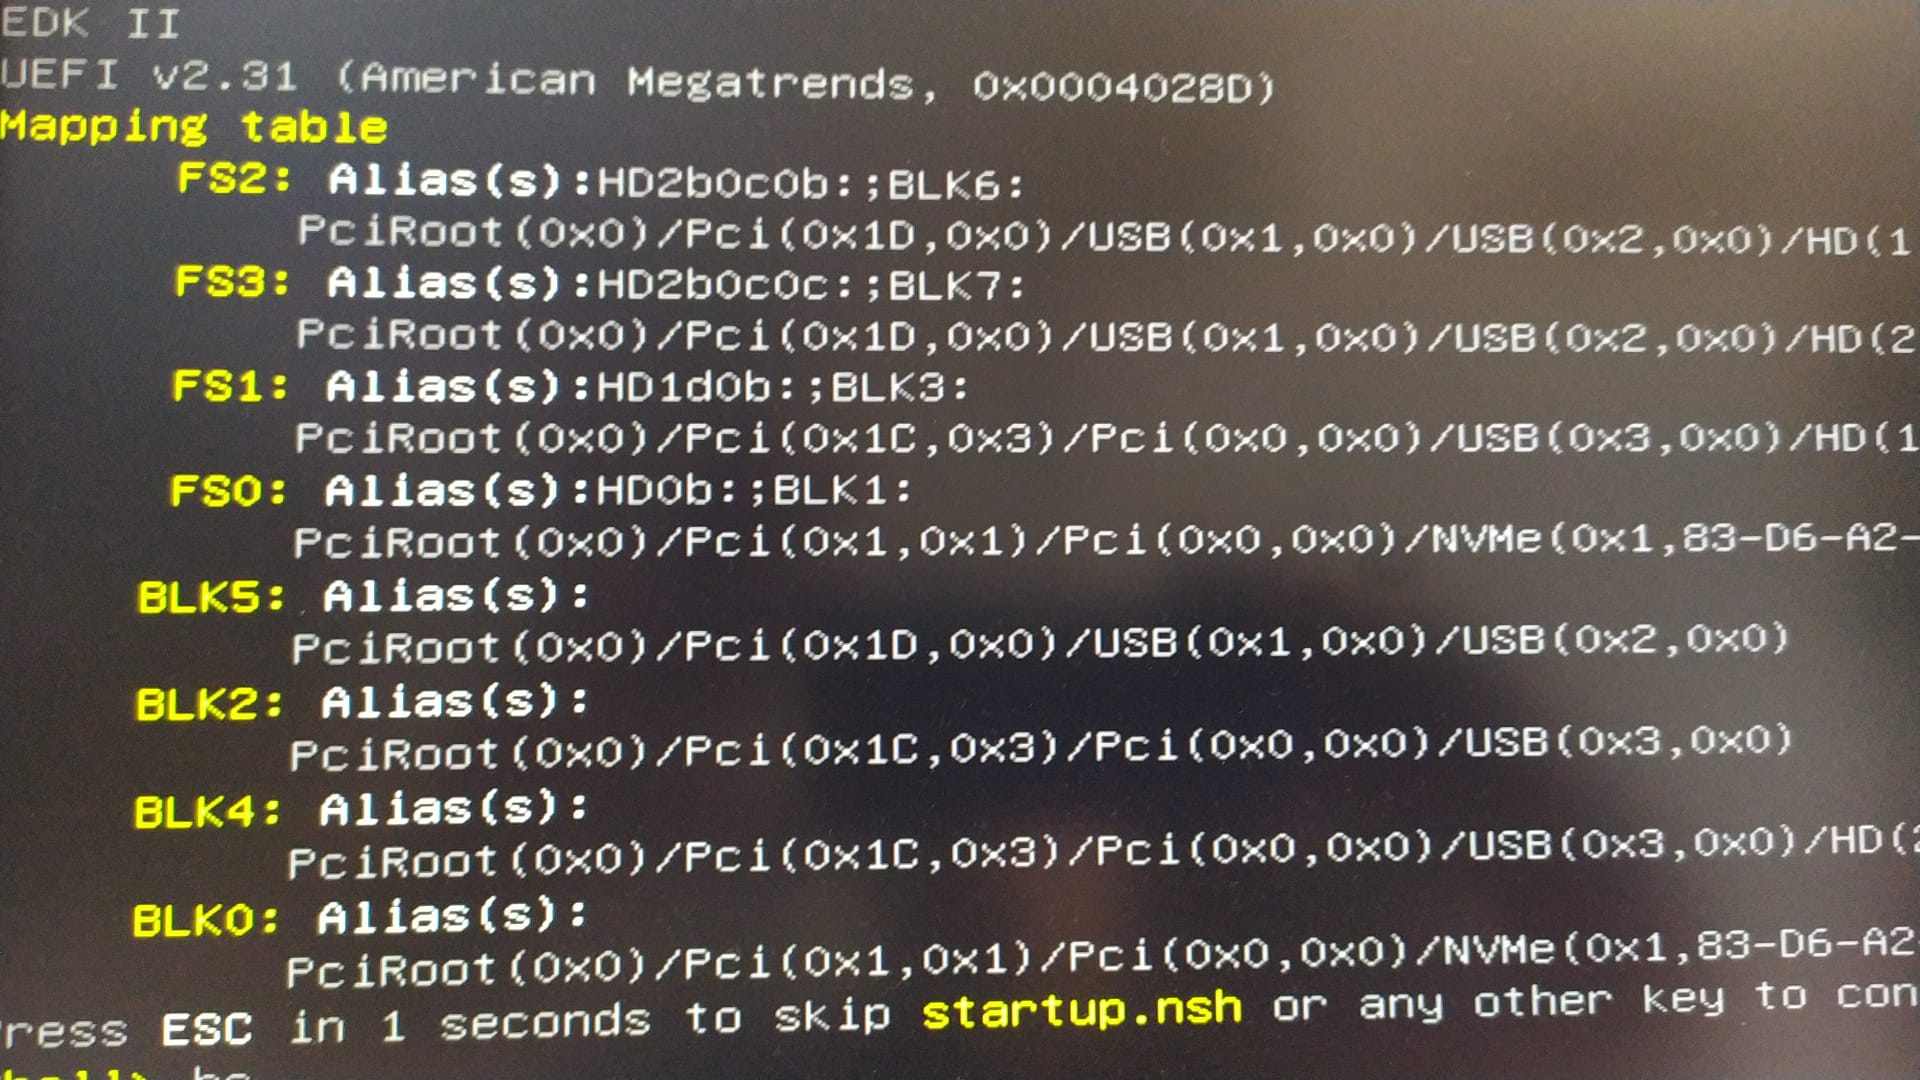
From the main Clover menu, you can access the EFI Shell by navigating with the arrows until you get ‘EFI Shell’ and then select it by pressing ‘ENTER’.
The Shell first lists a mapping table.
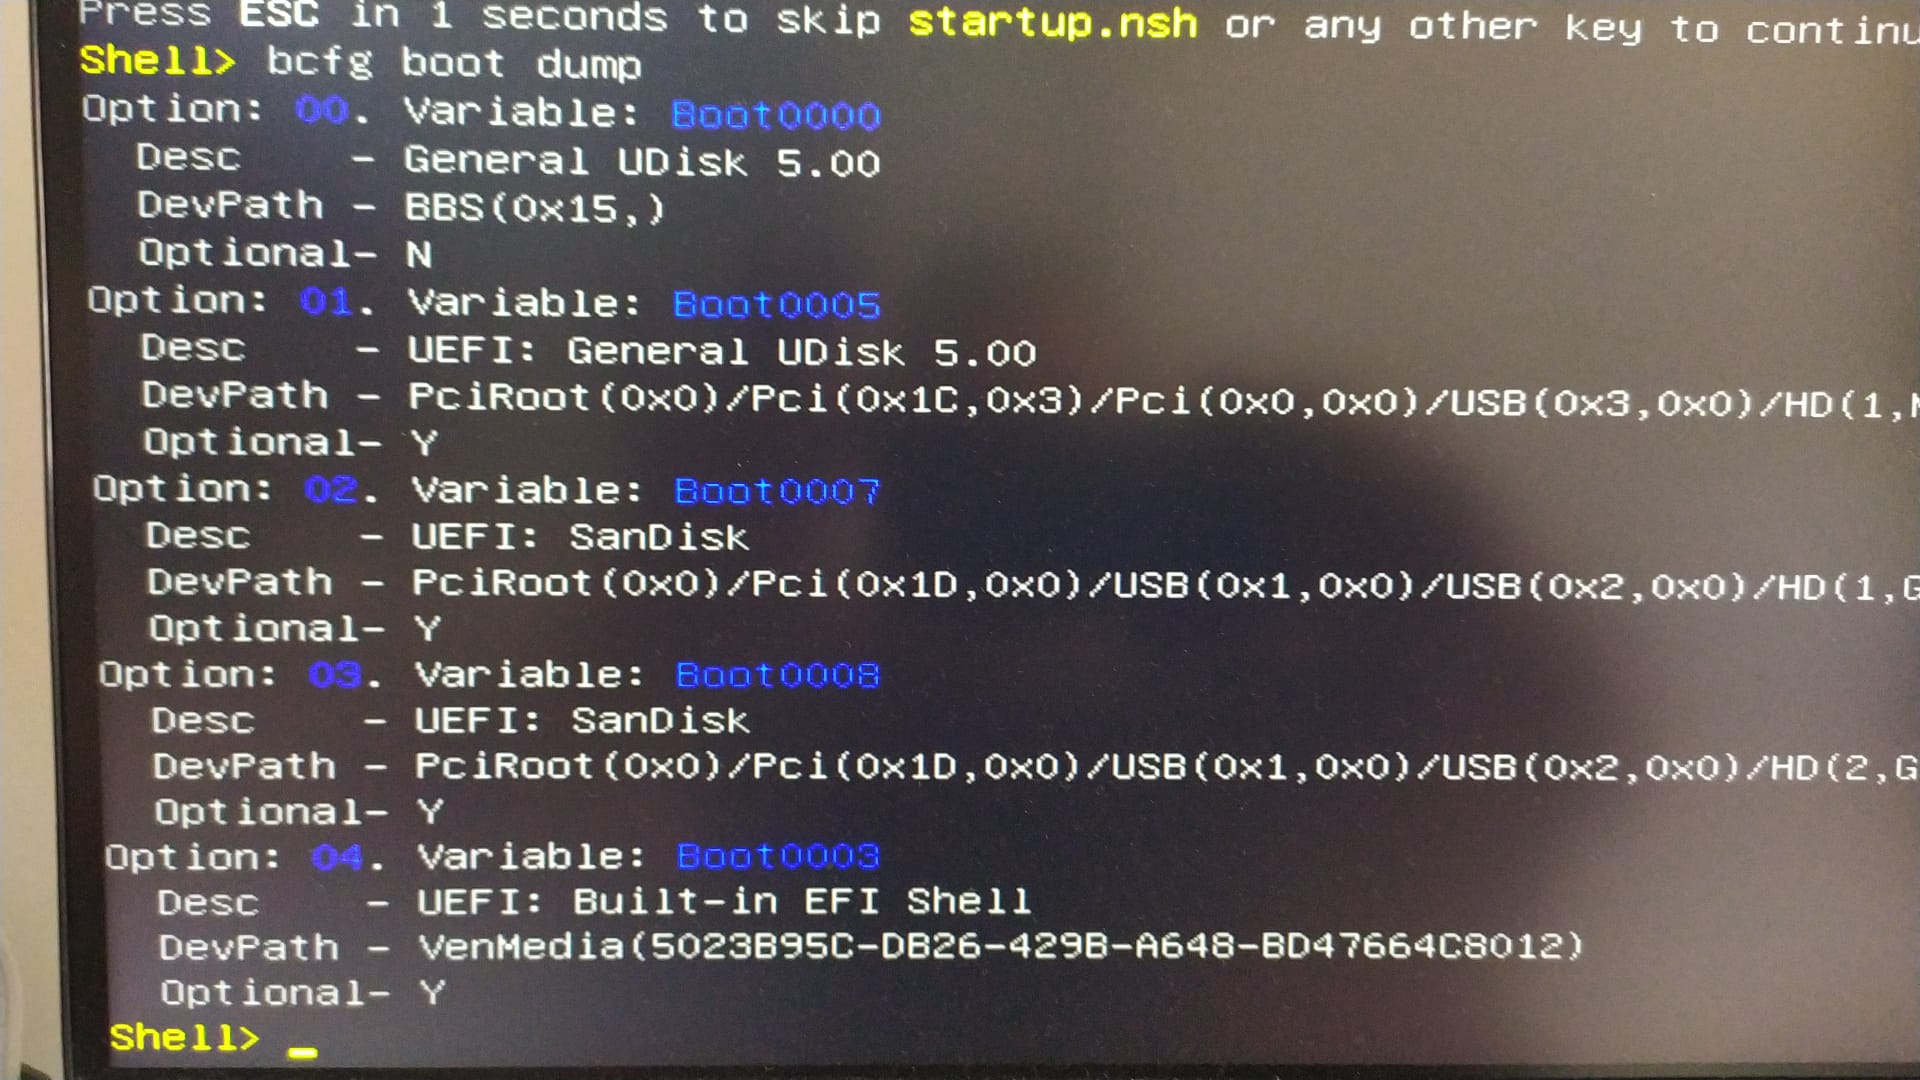
Then, you can get a list of the boot entries by typing the command:
I just re-installed Windows 11 on my 2009 legacy system, to boot with Clover on a non-bootable NVMe SSD.
Since my PC is obviously not TPM compatible (2009 main board !), I bypassed the TPM checks by modifying the registry at the beginning of the Windows 11 installation process with a method widely described through the Net. (if anyone needs details on how to do, just shout !)
No issue at all with updates, Windows updates the system from time to time.
Hello Everyone,
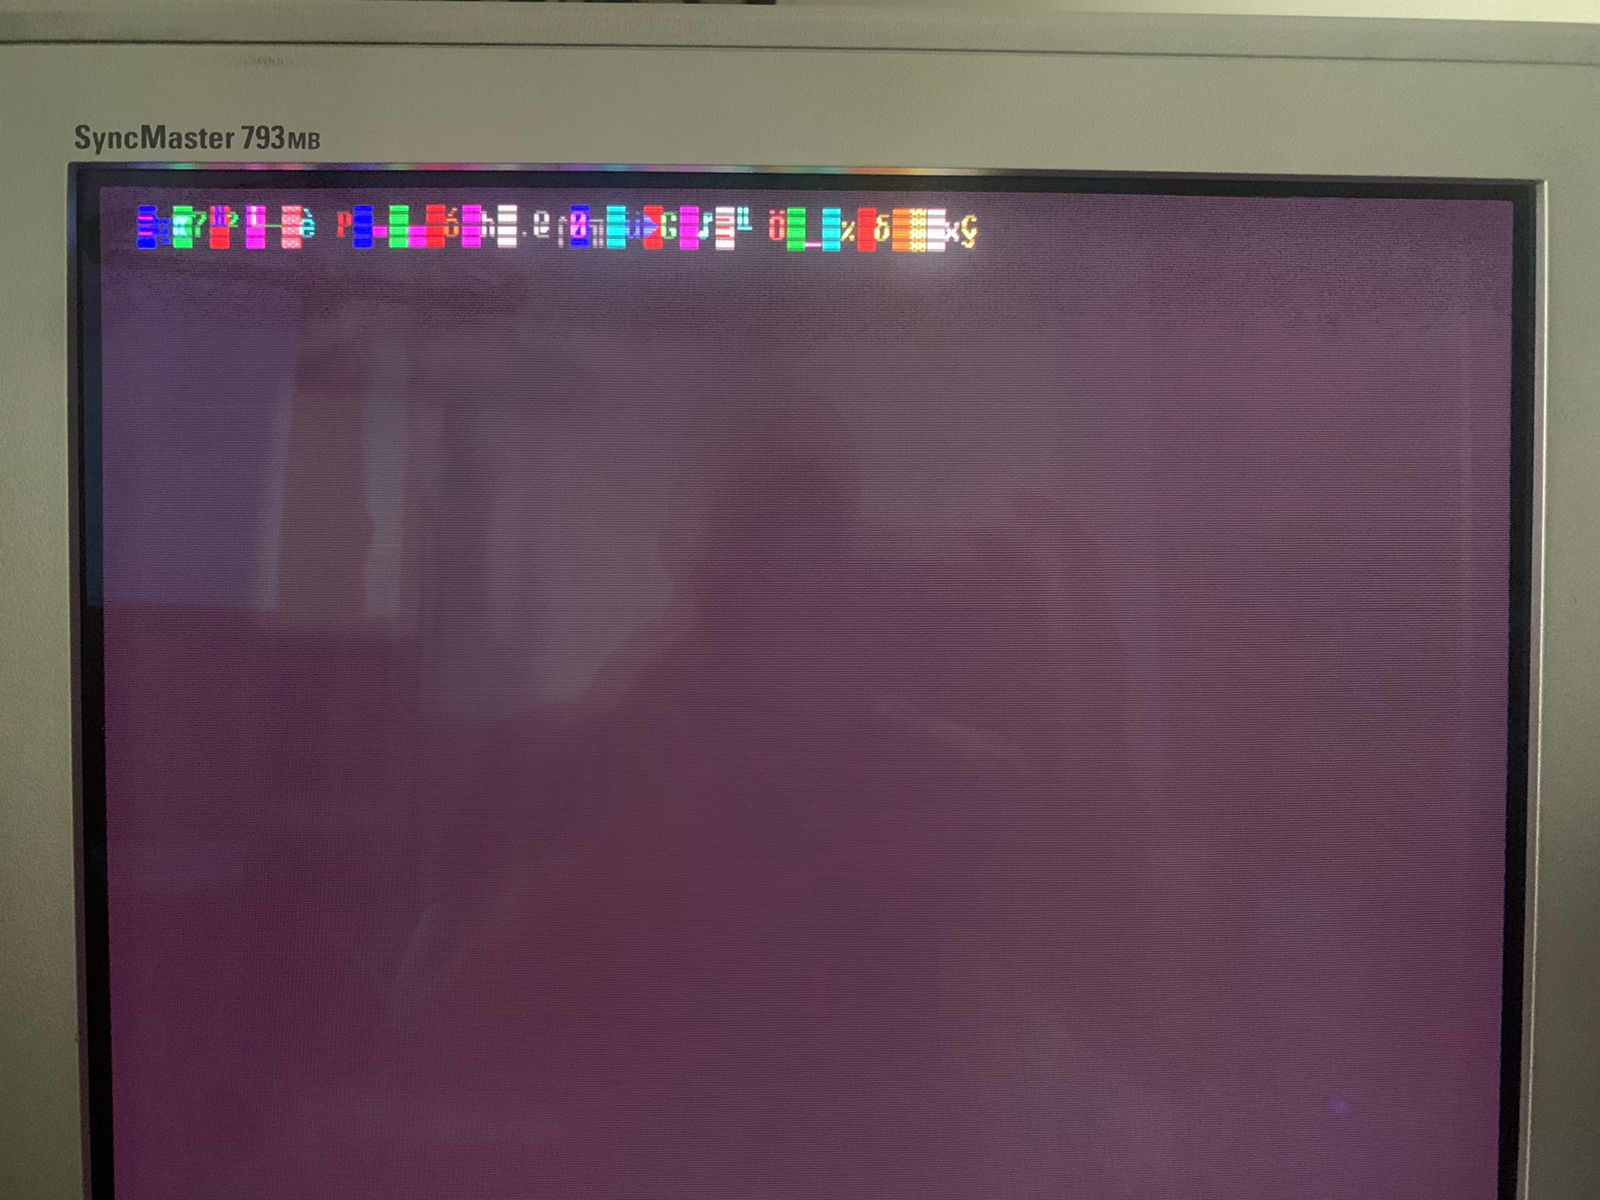
I have been reading many post on this Topic in an attempt to get an NVME SSD installed and bootable on several old BIOS only PC’s. I have created usb’s using both Duet EDK2015 and EDK 2020 / Refind. I keep getting the same problem no matter which old PC I try on. Bstartart! shows on the screen for several seconds and then black screen, followed by “out of Range - 74kHz / 60 Hz.” In an attempt to solve this resolution problem, I entered the command “resolution 800 600” in refind.config, just to set the resolution low enough that the monitor could at least display something. I tried several other higher resolutions ie 1024 768 but no luck. The systems are very old, ranging from 2009 to 2012 with legacy BIOS only (no UEFI). I have read that other users have experienced the same problem, but I can’t find a post where a solution was given.
I would greatly appreciate any suggestions, as I am stuck and can’t proceed since I have a blank screen. Thanks in advance.
Hello, I need a bit of help…
I tried everything, I used the version of clover and BDUtility, I have formatted the NVMe drive to gpt and the Flash drive to Fat32…
Then I installed windows with another flash drive made with Rufus and formatted to the settings mobius said, and clover still doesn’t detect my nvme drive as a boot drive.
PC specs:
i5 2500k
GA-Z77X-D3H
16GB of RAM
INTEL SSD 512 GB
After some more thinking, I lost all interest in clover and flashed another bios with pcie support, now it’s working flawlessly just gotta install windows and run a few tests.
I have been trying to start my nvme via clover for days now without success.
MSi Z68A-GD65 (G3)
i7 2600k
32Gb ram ddr 1333
intel rapid start tecnology disabled
intel smart connect technology disabled
AHCI intel sata enabled
External Sata 6GB/S disabled
SATA Controller not set to “RAID” Secure boot option dont found in the bios
all hdd/ssd have been excluded, leaving only the nvme and the 2 usb sticks
what I did
*I prepared two w10pro installation usb’s, one via rufus and one via the microsoft tool. GPT
*I prepared two usb sticks with clover, one with the latest valid build, and one using morbius’ guide
I prepared the nvme drive formatted in gpt mode with an ntfs partition
please note: the m2 drive is not seen in any way if connected to the pcie port via adapter, while if connected via usb3 from windows it works perfectly. It is a WD SN750.
at this point i connected the drive to the pcie, plugged in the dongles and did some tests to see if i too am miracled by the start-up of this drive.
Negative.
clover NEW with both W10 installation keys, trying all the options shown by CLOVER clover OLD with both W10 installation keys, attempting all options shown by CLOVER
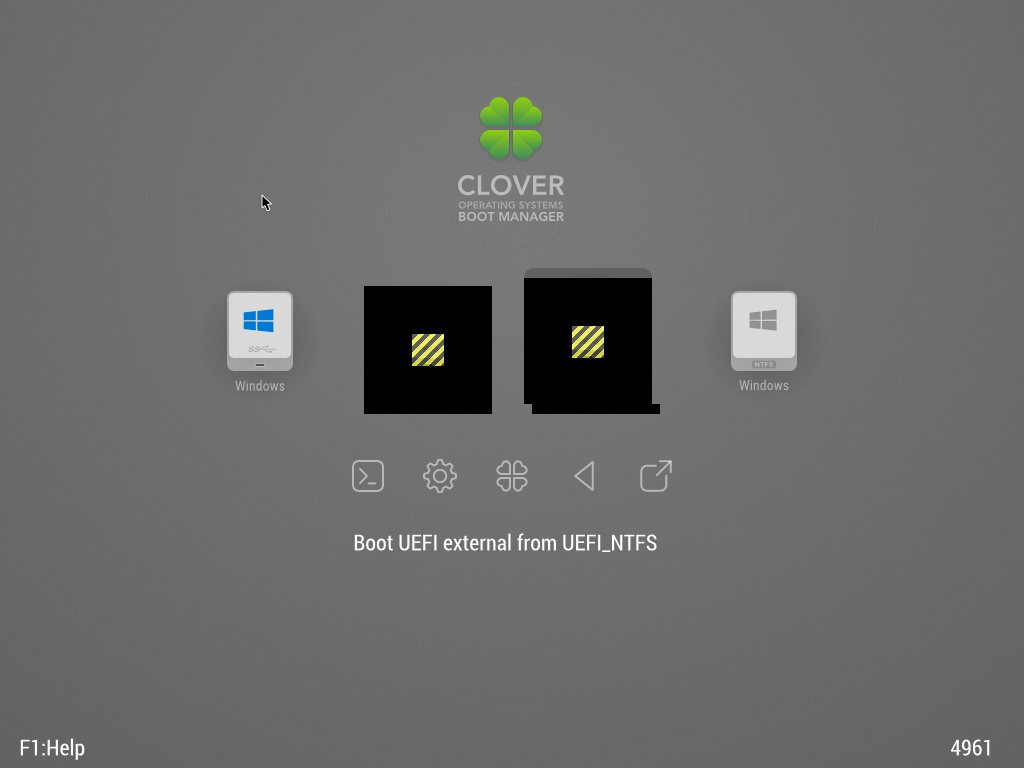
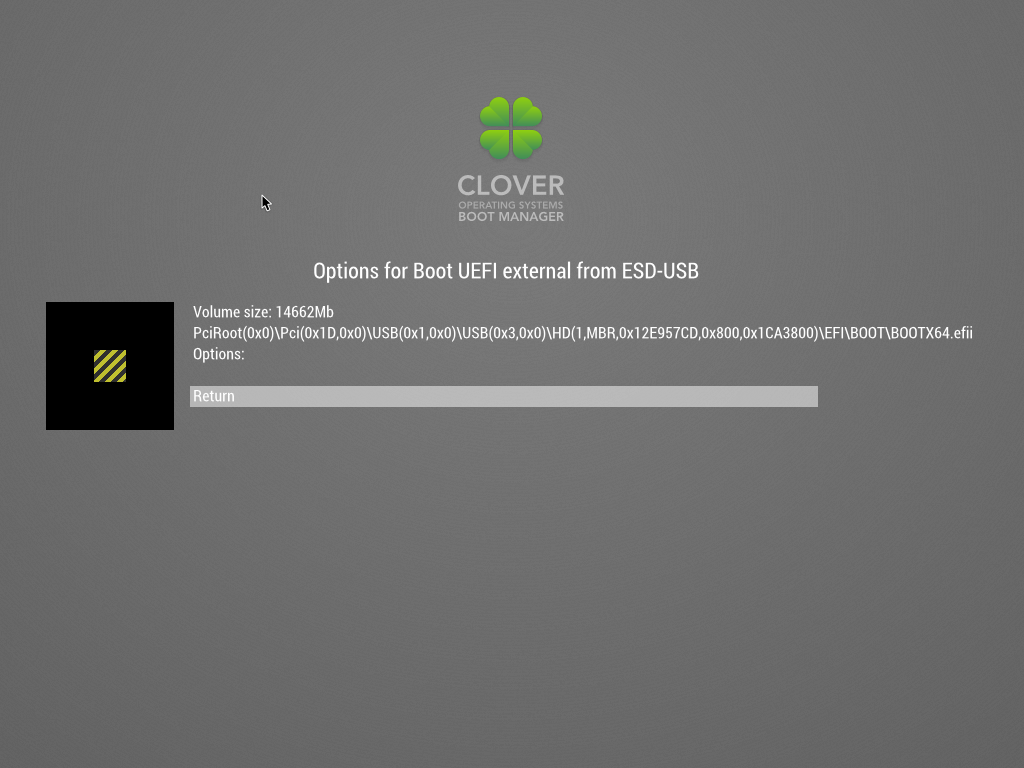
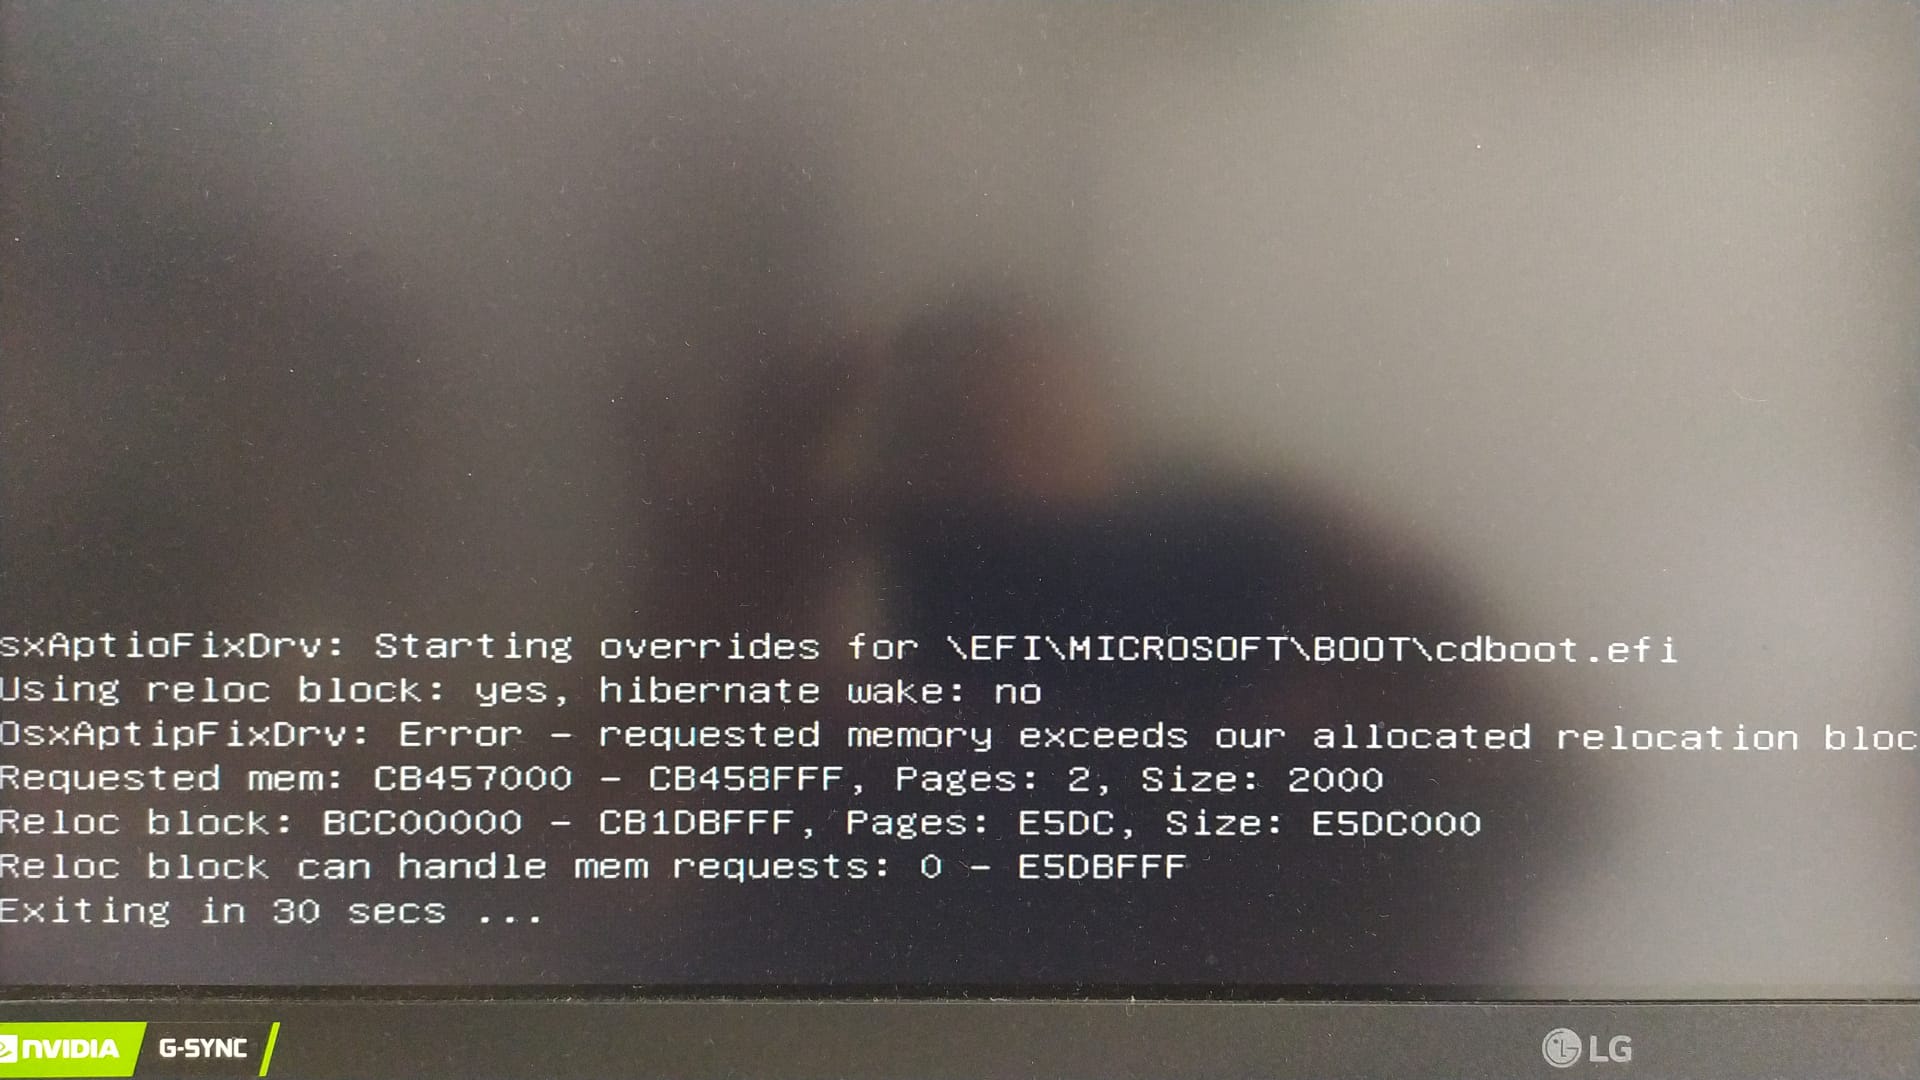
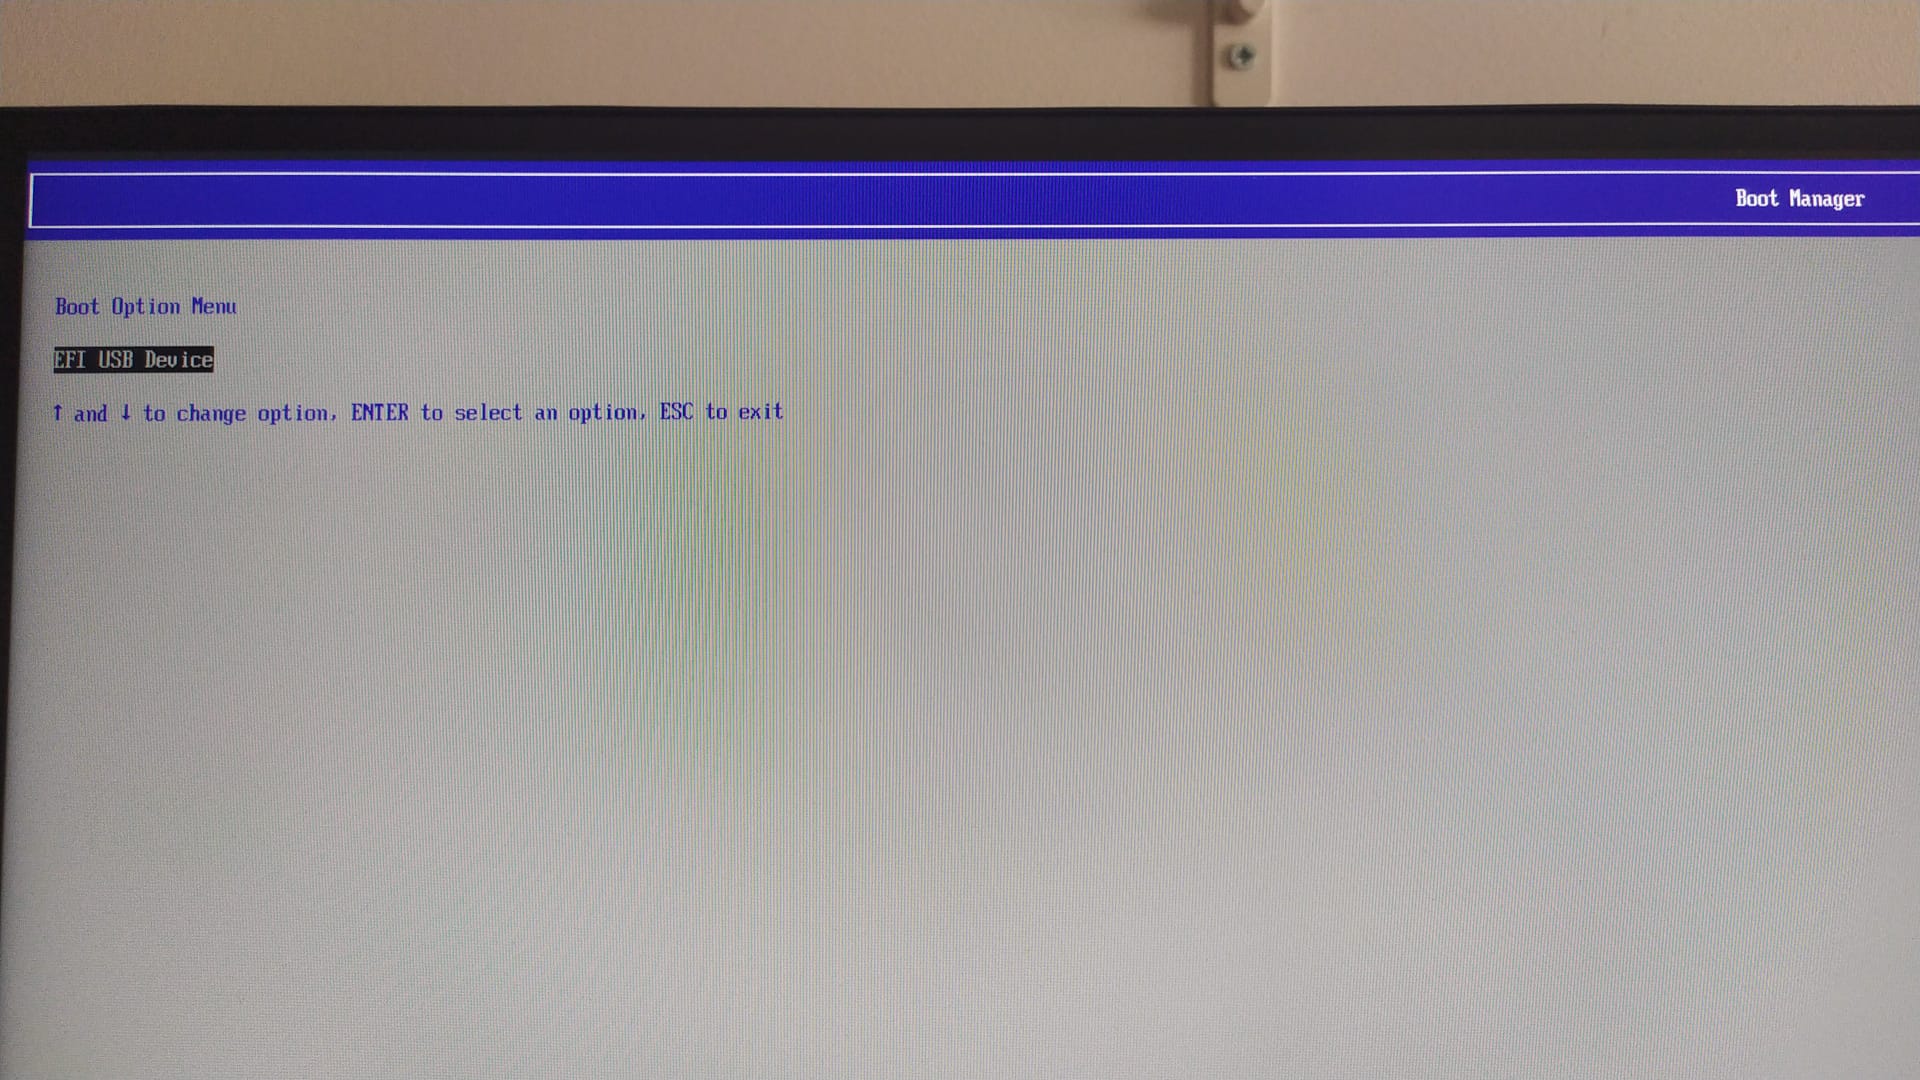
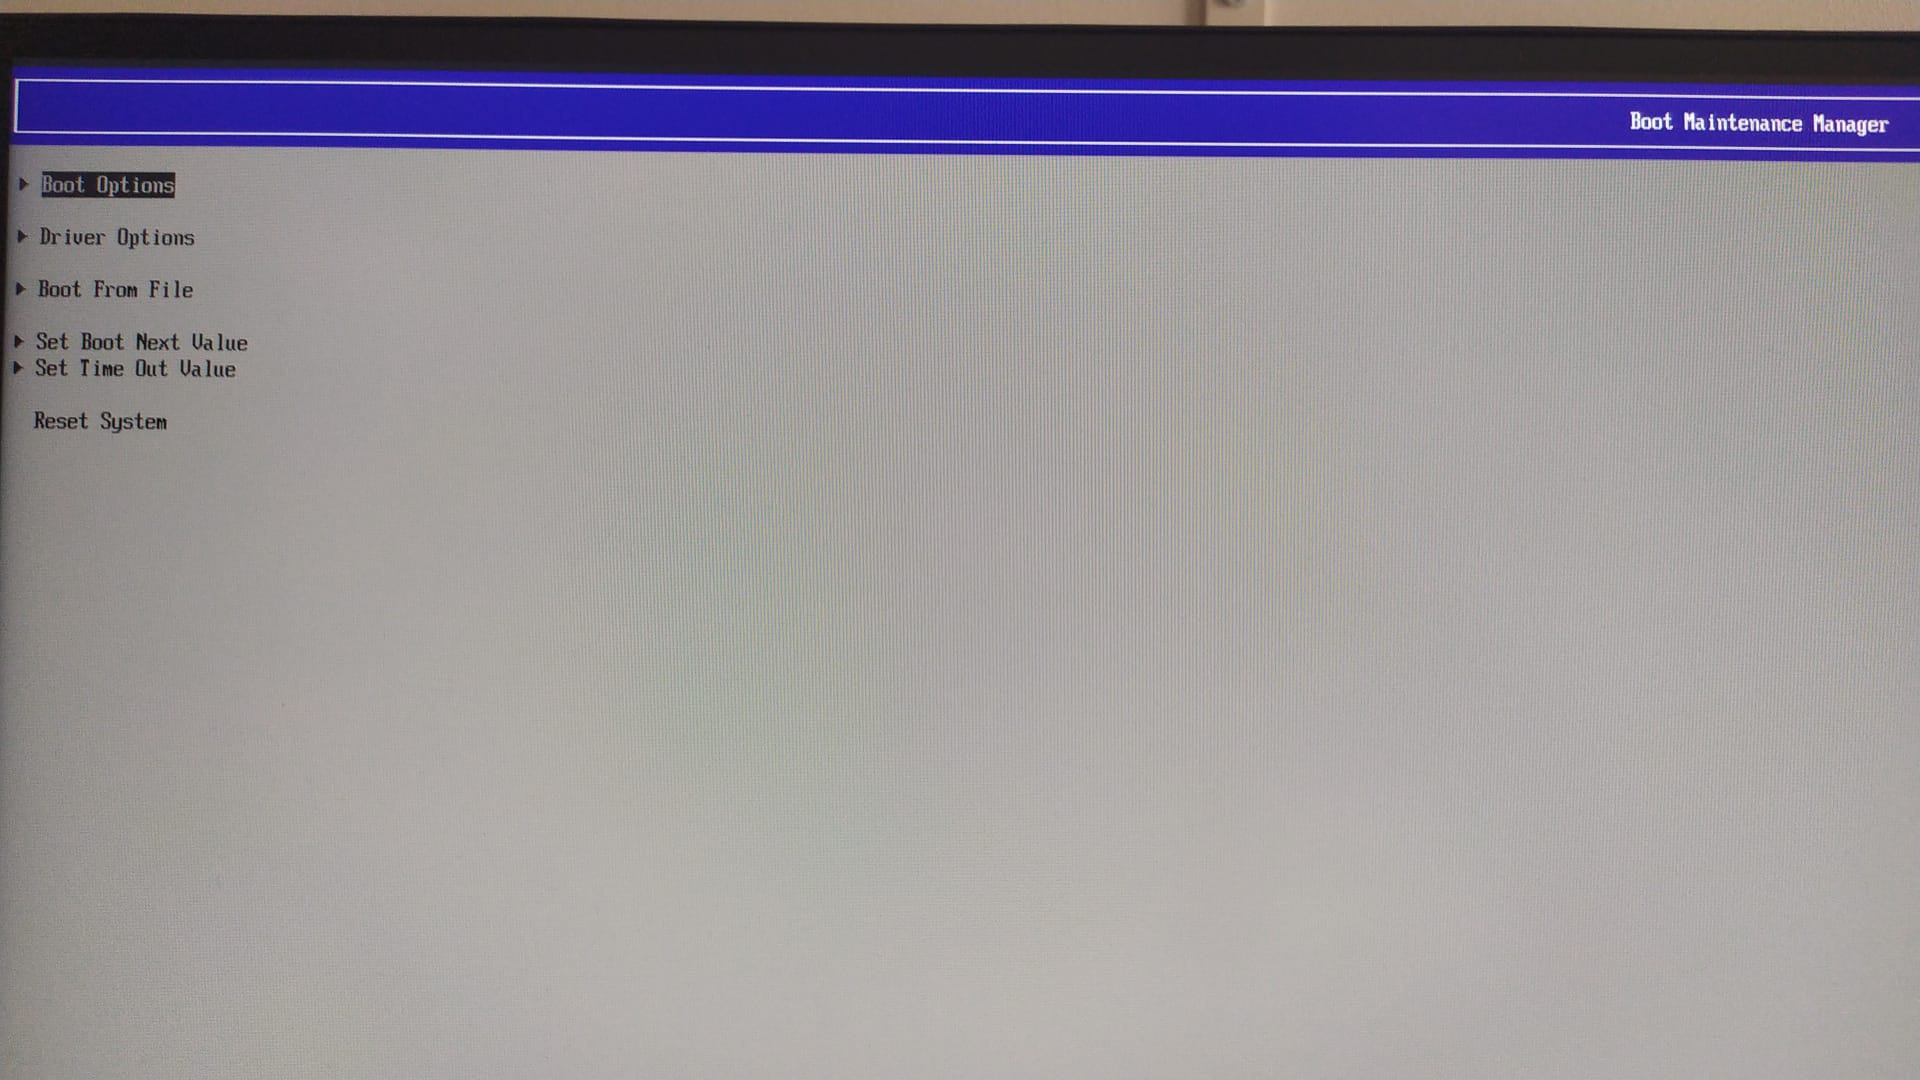
if I let go without choosing clover as boot it brings me to these screens
I have read dozens of posts but nowhere have I found that I have to interact with this part.
I honestly don’t know what else to do. i can only add that my bios works in legacy mode i think, because if i disable that entry, it doesn’t even find the usb sticks to boot.
does anyone have any ideas what to do? it is now a matter of principle.
After failing miserably with system one, I switched to system two. I followed this procedure.
After logging in, and a few attempts, I managed to launch the clean Windows installation.
The problem was that on reboot, it did not want to go back into the windows installation.
So I took the clover boot key, and with that I was able to launch the continued installation.
I’m going to tell you about my problem, I can’t start clover on my Dell Optiplex 320, Pentium 4 3.0 ghz socket 775, 2 gb ram ddr2, NVME Samsung 256 gb, M.2, model PM99, 2230 PCIE.
I tried several versions of Clover and the same thing happens with all of them.
I changed to several resolutions in the config.plist file and there was no solution.
The pendrive created with clover works perfectly on other PCs.
sata ssd (evo 860 1tb samsung), mbr, partition one (whole drive), ntfs.
win11 booting via bootMgr (bcd).
I would like to test it like this:
i do not want to install it on usb or any external drive.
i want to put it on some location on c: (like c:\cloverV2\efi)
i want to add it as bootMgr option via bcdedit (a link to clover boot[sect or loader] should be added) (to have two options: 1. “windows 11” (present on drive, working without clover), 2. “clover”.
I want to do this just for testing purposes. win11 mbr bootmgr is already booting fine. i want to test if clover can be run like this, so if there is in future some uefi boot option, that it can be booted.
by looking at clover bootSectors, bootLoaders there is not one for ntfs (only fat, exFat). so there is a possibility that clover can not access its files on volume ntfs.
Attempting to boot from an nvme on an asus m51bc computer. I haven’t been able to successfully mod the bios.
I have tried the BDU tool to create a Clover bootable usb. I have also tried to download an existing clover usb image and apply it to the usb drive with Rufus.
Either way my clover is stuck at scanning entries.
I have tried searching the forum and found two others who had posted about this in the past but no solution was found.
EDIT: Updating how I solved issue - never got Clover working but I used the instructions from this thread [Guide] NVMe-boot for systems with legacy BIOS and UEFI board (DUET-REFIND) to install DUET and REFIND to bootable usb. Easily booting to the nvme drive this way. Bought a low-profile usb key and have it out of the way in the back of the pc for booting.
Hello.
After upgrading Windows 11 from 23H2 to 24H2, I can no longer boot Windows from Clover.
When I select Boot Microsoft EFI Boot from EFI from the Clover menu, Windows does not start and the same Clover menu is displayed again.
Clover is installed on an SSD connected to SATA. However, Windows can be booted from Clover connected via USB.
What could be the cause?
pc: lenovo 47461NJ Made in 2012
cpu: intel Core™ i5-2320 P67 Express
Windows was upgraded with rufus4.6
Since your ASUS M51BC mainboard has an AMI UEFI BIOS, it will be possible to boot directly off the NVMe SSD after having inserted the related NVMe BIOS module into the BIOS by following >this< Guide.
Why haven’t you posted a “BIOS Modding Request” into the related Forum Category?
@AIBow
The fact, that you were able to solve your problem by connecting the Clover EFI Bootloader via USB port (instead of a SATA port), indicates, that there has been something changed regarding the Windows Disk Management.
What sort of SSD (manufacturer and model) did you use for the Clover connection and which are the SATA settings within the mainboard BIOS?