It’s odd… I’ve disabled it using AMIBCP previously and it worked… But with your bios it’s enabled by default. Anyway, I’ll figure it out later
Save & Exit still lagging for 3-5 seconds, but it’s ok i think
Be sure to see my edits above, I sent you new fixed BIOS, in case you missed that. Or did you mean you flashed it and it still stalling on save and exit? If yes, then make changes I mentioned at AMIBCP and see if that sorts it out.
You can also test, setting both Save & Exit’s back to “default” Access, that AMIBCP edit may not be needed (to any of the menus) Sometimes after edits I made, AMIBCP edit to access level is not needed at all, all can be left at default, so this may be causing the issue
It’s not “OK” We fix it! Can’t have iffy BIOS out there 
BIOS Lock, it may be due to I disabled at setup & AMIBCP, if AMIBCP only edit disabled it for you before then no need for setup edit and this may be conflicting with AMIBCP edit, so causing it to re-enable for some reason
** Edit @asusguybios - Here, please test each one, does either fix the Save & Exit issue? Be ready, neither may have Save & Exit visible
Both have BIOS lock re-enabled to default value in setup (enabled), so only disabled at AMITSE/Setupdata (AMIBCP disabled only)
http://s000.tinyupload.com/index.php?fil…438016010850301
@Lost_N_BIOS do you have a bitcoin wallet? I do want to donate you
Will check the latest mode later. Now i’m trying to avoid overheating…
@asusguybios - Thanks! Sorry, I don’t have any way you can donate to me, but you can donate to the site at bottom of the page if you want.
Overheating? Are you overclocking too much now? You did clean out your fans and redo the thermal paste on the CPU heatsink before you started doing that, correct? 
As quickly as you were trying everything last night, I assumed I’d come back and you’d have already tested all BIOS I sent again, or tried a 100 other things to fix the exit issue by now.
Don’t worry, it’s not a normal thing for this to happen, I unlock 100’s of BIOS a week and have never seen this happen, so don’t worry we’ll figure it out. Normally I like to do mod slower, checking a few things one at a time, since we didn’t do that here it could be the reason for this.
So, result of BIOS in #38?
How about #42 BIOS x2?
If none of those get it, then we can switch it back and see if that fixes things. The only real difference in new exit and old is the ability to save your own profile as a default option
It could be the way we switched boot too, or how I added all the original main three into the last block list in AMITSE, usually I zero that out instead of switching in old for new x3, but since we did this one in a hurry without single tests I did that switch instead.
So, if BIOS from 38+42 do not help, I will remove those and put 00 00 instead, blocking nothing with that last list, that’s how I normally would do this.
I will make this edit for you once you let me know how those three BIOS act, so I can confirm if those changes matter or not, or my original Save/Exit edit was OK (except for the issue I fixed with 38, which should always be as it is in that BIOS)
If BIOS from 42 doesn’t fix anything, then I will use 38 as base and fix the issue I mention about the last block section in AMITSE, making those 00 00 for the originally blocked main x3 menus (This how I usually do this edit, not sure why I went with swapping in something to block)
* Edit - skip BIOS test in #42, I know outcome there will be no Save & Exit for either
Here is above mentioned fix, how I normally would do this, so I assume this one will be 100% and should be how I did it originally!  - http://s000.tinyupload.com/index.php?fil…735290448888711
I need to restore it to try your mods:sweat_smile:![]()
I’ll send you all information what I have, I really hope we’ll flash it
I have tested #32 (UX550VEModF) and #38 (UX550VEModF2) - both lag. I haven’t tested anything else because I broke it))
@asusguybios - Sorry, yes, I didn’t see your PM about the vCore offset change bricking the board until I’d already replied here.
I wonder why -200mv bricked it, I guess maybe just random glitch could have done that too, not the actual change you made, sometimes people enter BIOS, change nothing, save and it bricks, so you never know.
BIOS in #44 would be the properly fixed one, you’ll get to try it to confirm, but not until later 
What actually happens when you start it? Do you see LEDs flash and hear fan, just nothing on screen? Or, nothing at all happens?
Try this, get small cheap USB (128MB-2GB), format to FAT32, put copy of stock BIOS.CAP File on root of USB (ie not in folder), renamed to UX550VE.307, additional copy named UX550VE.bin
Press and hold the Control+Home key, power up while still holding those, and keep held for 20-30 seconds then release. Try that on all USB Slots, it may only work on one slot, if it works.
If you can find empty tiny split-pad labeled JRST2001 near the memory slots, this is for clearing CMOS (Short this pad with something flat and metal for 10-15 seconds, not while not powered on).
Do not short JRST2001 to JRST2002, each of these have a +/- side, they’re just very close together so it looks like one solid dot possibly, while really it’s two half circles for each
The may be around, or under memory, so you may need to remove at least one memory stick to see them. JRST2001 = clear CMOS / JRST2002 = clear ME/RTC (Sadly, neither may clear what you need = NVRAM )
Do this a few ways, one with power cable, main battery and CMOS battery removed, short it - then put back in CMOS battery, leave out main battery, leave power connected, and short it again.
Then once more with CMOS in, main battery in, power cable removed. Then power on system and see if it boots. If not, see above and try to recover that way, if no luck wait for programmer.
Sometimes that needs to be done while powering on system, but since this is not your day job I advise you wait for programmer if the above method to clear it using those method to short do not work.
It’s tricky to do on a laptop from bottom, while turning on from top and also being sure to not shock yourself (insulate the metal item) and not scratch the PCB or short something else due to system moving around while you try to power it on and hold short.
I advise you wait on programmer, if shorting attempts do not work as initially described before I mentioned powering on, or keep trying USB recovery.
Hello! Bought what you said. Waiting for your instructions)
Hey! You’re ready, that was fast! I sent you info on doing this in PM, did you see it?
If not, find it now and read it over a few times before you do anything. And do not write anything to BIOS or use Auto function in software until I tell you we’re ready.
Send me backup once you’ve got it made. Since you know some about BIOS, you can check your dumps to be sure they at least look OK (look like BIOS in UEFITool, AMIBCP opens properly, is not all FF or 00 in hex, ect)
Once you have a good dump, send to me, I will edit and send you back fixed BIOS. And please also tell me your BIOS ID too so I know what version software you should use in case it needs to be specific one for proper write, or if you need to choose other than exact ID etc.
And please do not get in a hurry and erase the chip before I confirm your dump is 100% OK. I am leaving soon too, so hope you can hold on for a while
What happens when I press power on button:
Fans are working
CPU is heating (not so much, like normaly)
Front LED is working like on powered on laptop
Power button LED is working
Odd:
Caps Lock LED is working and can’t be disabled by pressing it (it was the same when I firstly broke bios, but I was able to boot using flash drive, also there was “_” symbol on the screen)
Display is not working at all, no flashes, no symbols, nothing
External display is not working too
External keyboard is not powered up by usb and num lock also do nothing (because it does not have the power I think)
What I tried:
Remove CMOS battery for a 4 hours+/1 hour/10 minute/1 minute
Remove main battery for a 4 hours+/1 hour/10 minutes/1 minute
(Sometimes both, sometimes separately)
Holding power button for 3 minutes+
Holding power button with CMOS battery removed
Holding power button with batteries removed
Clear CMOS only possible by method I gave above, sorry I only found this info earlier today. And from what I read, it wont help with saved BIOS settings (NVRAM), so it’s not really a proper full clear of CMOS anyway, poor implementation
You have programmer now, so no need to worry about this method or that method etc, we’ll fix with programmer and all will be solved.
Don’t I need to try those methods of clearing cmos?
Where can I find BIOS.CAP file? The bios downloaded from asus site is not cap, but rom (if you open it with USBTool, you see)
I will try the method with the bios file in 5 min
UPDATE:
Tried USB flash drive method - it did not work
Can’t find those pads (I googled the images and there is nothing like those), also this laptop has a soldered ram
No, you don’t need to mess around with anything, you have a programmer in your hand. As far as the CMOS pads, I looked at exact images of this board, it had two memory slots not soldered ram, so you maybe looking at wrong thing
BIOS.CAP was a general term I used in place of stock encapsulated BIOS, sorry for any confusion, the stock BIOS is an encapsulated BIOS (CAP = security capsule, on top of .rom), only it has .307 extension for the version instead of .CAP
This is NOT Rom file, and sorry I have no idea what USBtool is, but trust me I know what I’m talking about here
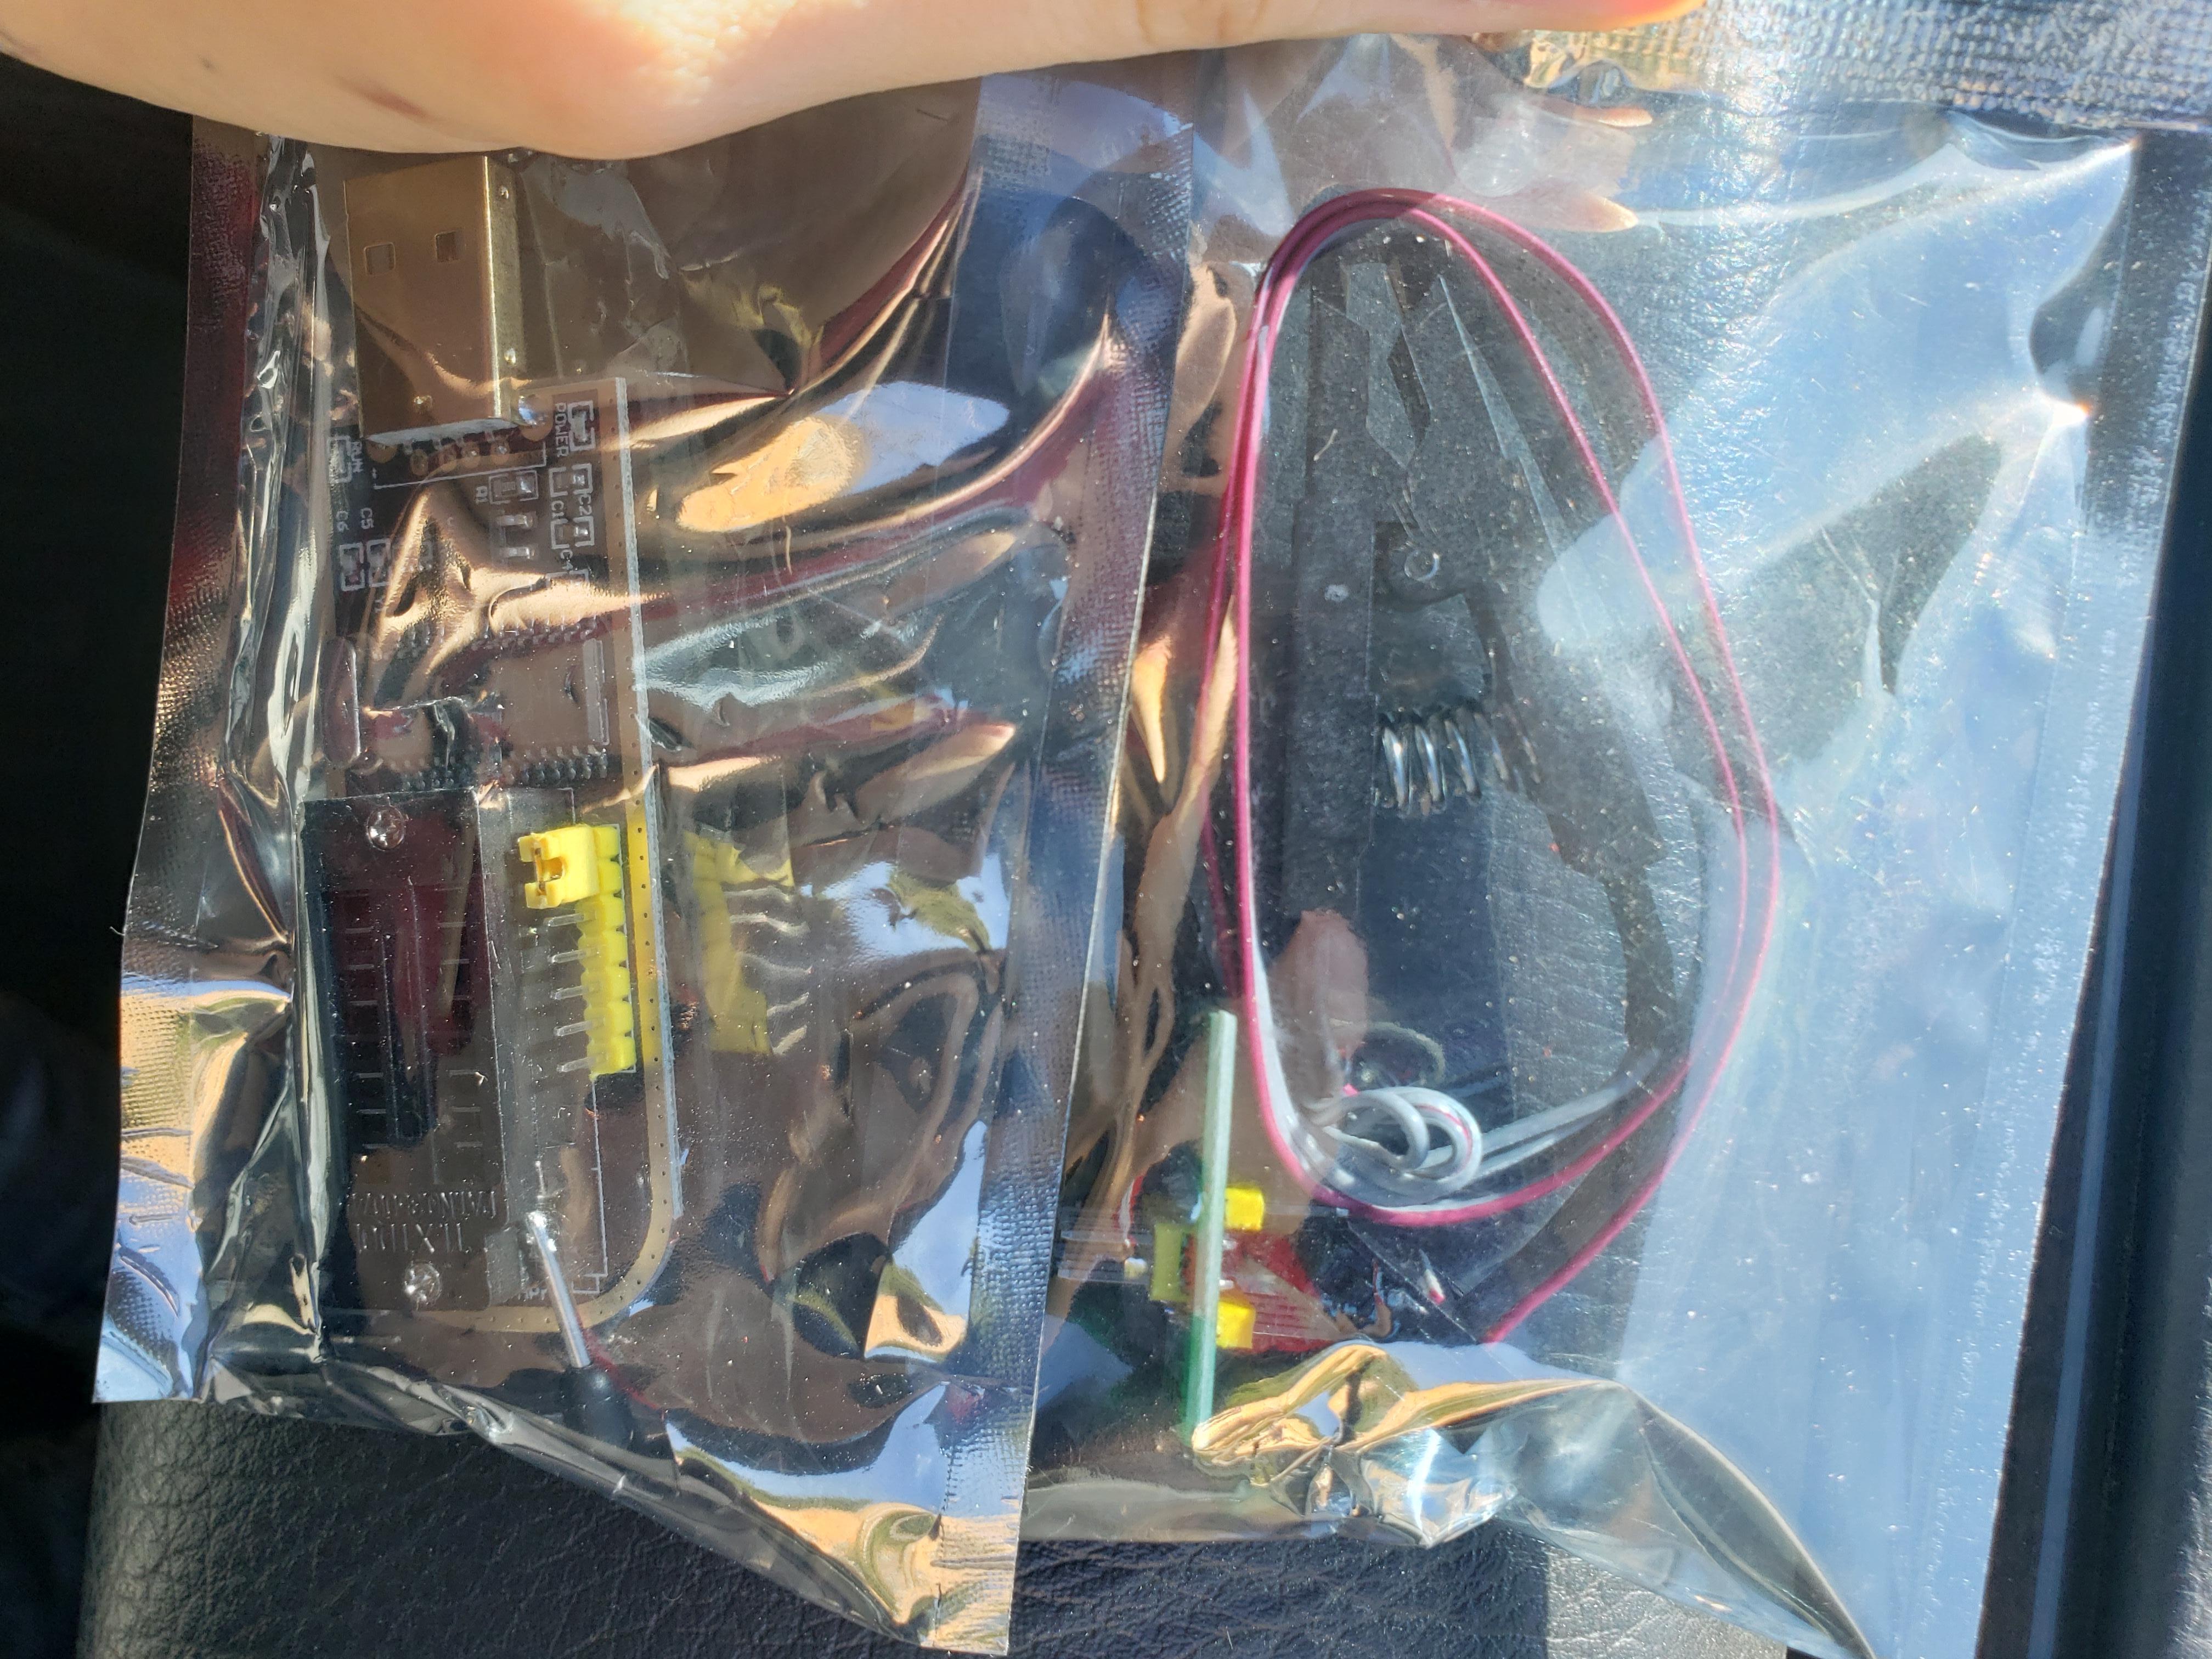
Anyway, none of that matters. Get a backup made with your programmer and send it over already
So it was excatly like in the guide you sent me:
The device id was detected successfully (it does not have unique id field, but its ok i think)
I unchecked “erase” and "blank check"
Verify button gave me success message, so I saved the backup
It looks like normal (not all 00, and not all FF), so I’m uploading it for you
Waiting for you check & next steps
I’ve checked it with AMIBCP and it looks nicely
I did the second backup (READ & VERIFY & SAVE again) and compared sha256 hash of these files and they are the same -> I do think that I did proper read
Now just waiting for you
UX550VE-BACKUP.zip (5.71 MB)
@asusguybios - sounds good! What version of software did you use? Be sure to use same when you write back (For now)
OK, we have an issue, BIOS is incorrect size by 1KB. That can easily be corrected, but it’s not the way to do this, or your write will fail when you go to put back BIOS since it will try to write incorrect size.
Whatever version of software you used, try a different one instead.
I used 1.34 version
1.29 does not have this chip
1.30 does not have this chip also
Try 1.30 then if that fails too, then try ASProgrammer 1.40 - https://github.com/nofeletru/UsbAsp-flash/releases/
Be careful not to erase or use auto etc!
For 1.30, you can use any one of these ID’s instead >>
MX25L6436E
MX25L6445E
MX25L6465E << Try this one.
MX25L6473E
Or wait! @asusguybios - do 1.34 dump again, but before you do this open the “Operate” menu and go to second tab “25\26 chips” and at bottom, check "Main Memory Only"
This is probably the issue, I think OTP is enabled by default so it’s dumping that, which you can just uncheck to write later, but it’s best we confirm unchecking it now dumps proper BIOS so then we know it should write back proper BIOS too.
1.34 -> Operate option -< 25/26 chips -> there is no checkbox "main memory only", it has "main memory"(was selected), "secured otp", "main memory + secured otp"
The free version (1.31) gave me 1k smaller dump, attached it @Lost_N_BIOS
UX550VE-BACKUP_130free.zip (5.71 MB)
That is what I mean, make sure Main Memory is the selected one. If this was already the selected one, then try 1.30 as mentioned above, or ASProgrammer.
@Lost_N_BIOS my bad, it’s not 1.30, but 1.31 (free)
I sent you 1.30 also and that is one I meant to use, (not 1.31Free), whichever works is fine, doesn’t matter etc. I see your edited file, please wait I’ll get you BIOS back to program in shortly