Hi,
in the end, I was able to successfully run i3-9100F on mentioned motherboard and would like to share steps taken by me for future reference / other users.
As I wrote in my previous post, my ME (Intel Management Engine) version was 11.6.0.1126, so no ME downgrade was necessary (this will help a lot).
* If the ME is newer than 11.7.0.1xxx, downgrade is necessary. To do so, there are (AFAIK) only 2 possible options - flash via hardware programmer (eg. CH341A … the problem is, that SOIC8 clip probably won’t fit the BIOS chip as JSPI1 header is right next the BIOS and header pins are getting in the way of the clip … I’ve tried at least 50 times but was able only to bend JSPI1 pins) or through FTP, but FD (Flash Descriptor) needs to be unlocked first (good luck with that as sound chip is shielded) - [Guide] Unlock Intel Flash Descriptor Read/Write Access Permissions for SPI Servicing
* Not sure if the GRUB option will be working for ME downgrade as well … didn’t tried it, but it’s probably worth to check if you really need to downgrade ME.
As ME was fortunately no issue for me, I’ve focused on preserving board specific data (SN, UUID, MAC). To answer my previous question - CoffeTime tool is able to grab MAC address from running system, but I didn’t found option to grab SN and UUID. There’s an option to restore such data from BIOS backup, so I went in that way.
As the FD was still locked, I wasn’t able to perform complete dump of BIOS incl. ME and other regions (I’ve used FPTW64.exe from W10 64bit) with following command (command line runned as local administrator) : ftpw64.exe -d BIOS_Backup.bin
On the other hand I was interested in BIOS region only (due to board specific data), so this command did the trick : ftpw64.exe -bios -d BIOS_Backup.bin; my backup was 13 824kb big.
Don’t bother to try modify this backup via CofeeTime or Coffee_Lake_Mod_Tool, those tools are expecting to get the “full package” (BIOS incl. ME region, etc.). Anyway, I’ve used FD44Editor to open up my BIOS backup and was able to extract board specific data.
At this moment I needed to insert my board specific data to modified BIOS file and flash it back to board. I’ve used BIOS prepared by @Lost_N_BIOS in this thread, but as both BIOS files in this topic are “full package”, I needed to extract BIOS region only. To do so, I’ve used UEFITool, opened up the H270PG.CAP file (option2.bin file will work as well), found “BIOS region”, right click it, selected “Exctract as is” and saved to the disk.
Now it’s time to open up this exctracted BIOS by FD44Editor and fill up all board specific data obtained from original BIOS backup (you should see, that ME version and GbE version are stated as “not present”. Once done, save it.
Alright, so now we have prepared BIOS (without ME) with board specific date, so all we need to do is to flash it back to the board.
To do so, you need remove BIOS lock first - follow this guide : [GUIDE] Grub Fix Intel FPT Error 280 or 368 - BIOS Lock Asus/Other Mod BIOS Flash
Long story short - in the end, I’ve done this : Downloaded EFI-Setup-FPT-Universal-IFR-Extractor.zip (attached in first post in the guide), unpacked, went to \efi Setup\boot folder, copied bootx64.efi to flash drive and renamed to Shell.efi (it has to be in root of USB drive). Rebooted the computer, went to BIOS and launched EFI shell from USB drive. I’ve typed in “setup_var 0x8A6 0x00” (without quotes) and then “reboot” (again without quotes)…the command (VarOffset to be exact) can be different on newer BIOS builds (as mentioned in the guide), but this was working just fine for me (BIOS version 0308). So if you won’t be able to flash BIOS region back (in next step) due to active lock, you need figure out the correct VarOffset (0x8A6) by yourself.
As the BIOS lock was now removed (based on my experience it last only for one reboot), I went back to Windows 10 and finally flashed the BIOS to the board with following command : ftpw64.exe -bios -f BIOS_Backup.bin (it took approx. 1 minute). Once this was done, I’ve powered off the computer and changed the CPU.
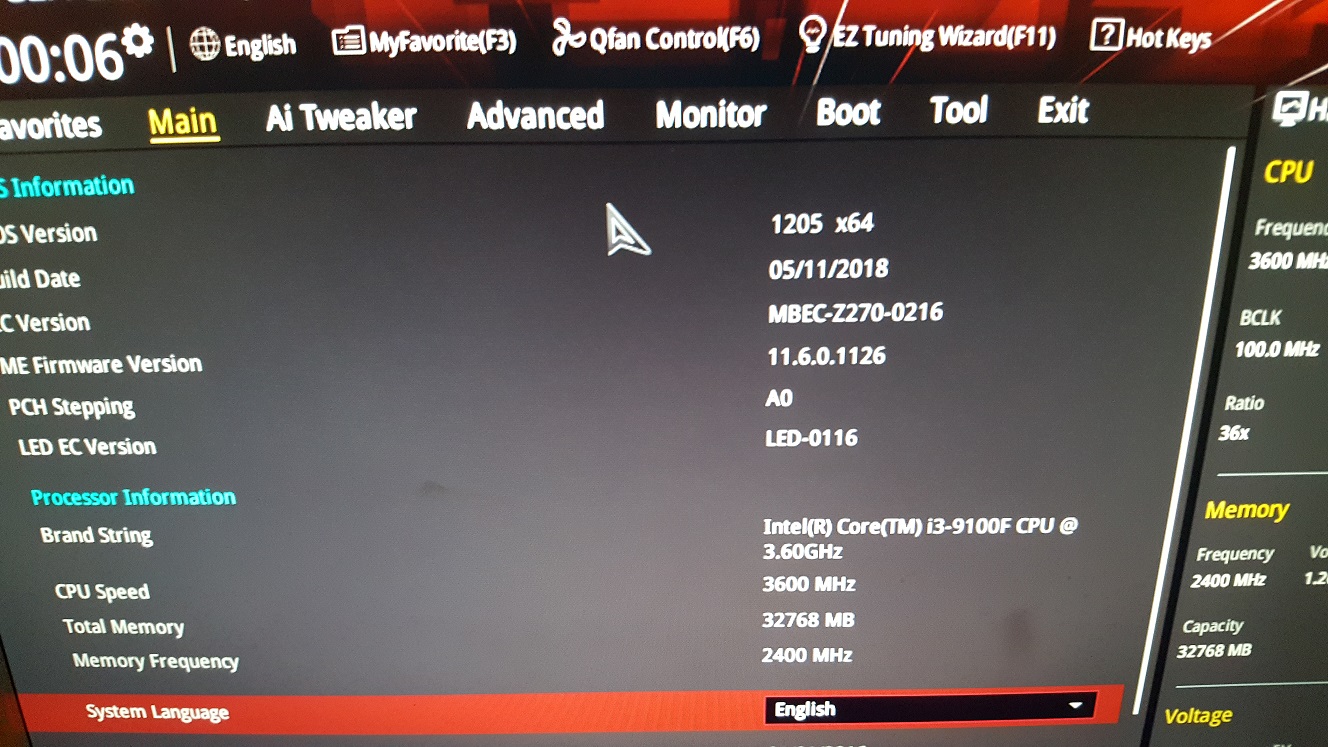
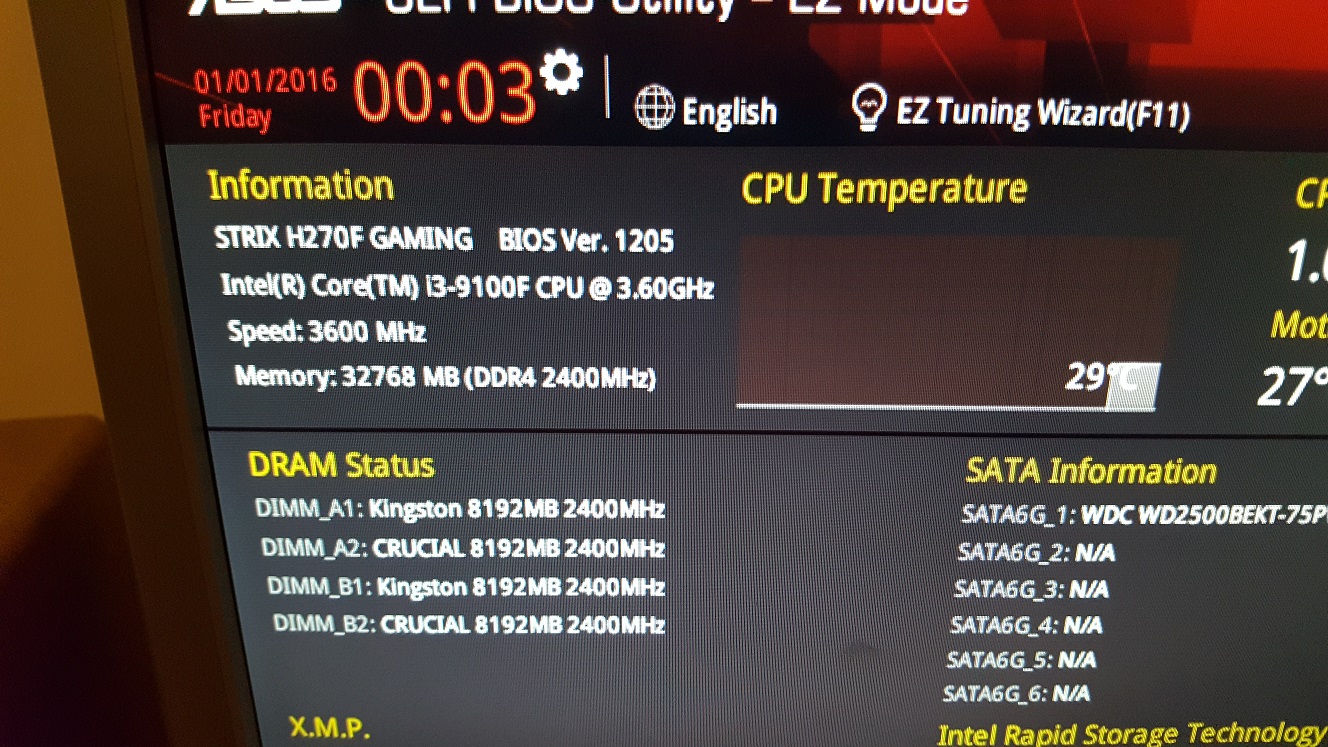
I have i3-9100F B0 stepping (SRF7W), so absolutely no CPU modification was needed - just put the CPU to the socket and power up the computer. First boot will take a while, so don’t panic if your screen will be blank for longer time than usual … approx. after 15-20 seconds, the system started with message, that BIOS update is in progress and by 2 automatic reboots later it was done.
Proof of concept (BIOS screens) attached.
Basically all necessary information can be found in this forum, but it can be quite time consuming to get all the pieces together, that’s why I’ve described all my steps in one post.
Btw - it’s possible to import modified BIOS region back to “full package” BIOS (bin or cap file) file provided by @Lost_N_BIOS via UEFITool and such file can be adjusted by CofeeTime or Coffee_Lake_Mod_Tool again - I did it just to triplecheck, that I didn’t corrupted BIOS region during my editing.
Once again, thanks a lot @Lost_N_BIOS for the modified BIOS files, it helped me a lot (I’ve tried to modify CPU microcodes via MMTool as I was using Celeron G3900 - microcode 506E3, but I was getting ERROR 4001: FV size is too small the required FV image size exceeds the set FV image size; no matter how many microcodes I’ve updated / deleted…so I’ve used your files instead and just believed, it will work on the first try  )
)