@Lost_N_BIOS - I’m afraid to do that 
That should not happen, but I can understand why that would cause concern!
I think mine has a winbond I was taking the picture at the wrong chip lol
edit: I believe it says
Winbond
25X05CLNIG
1724
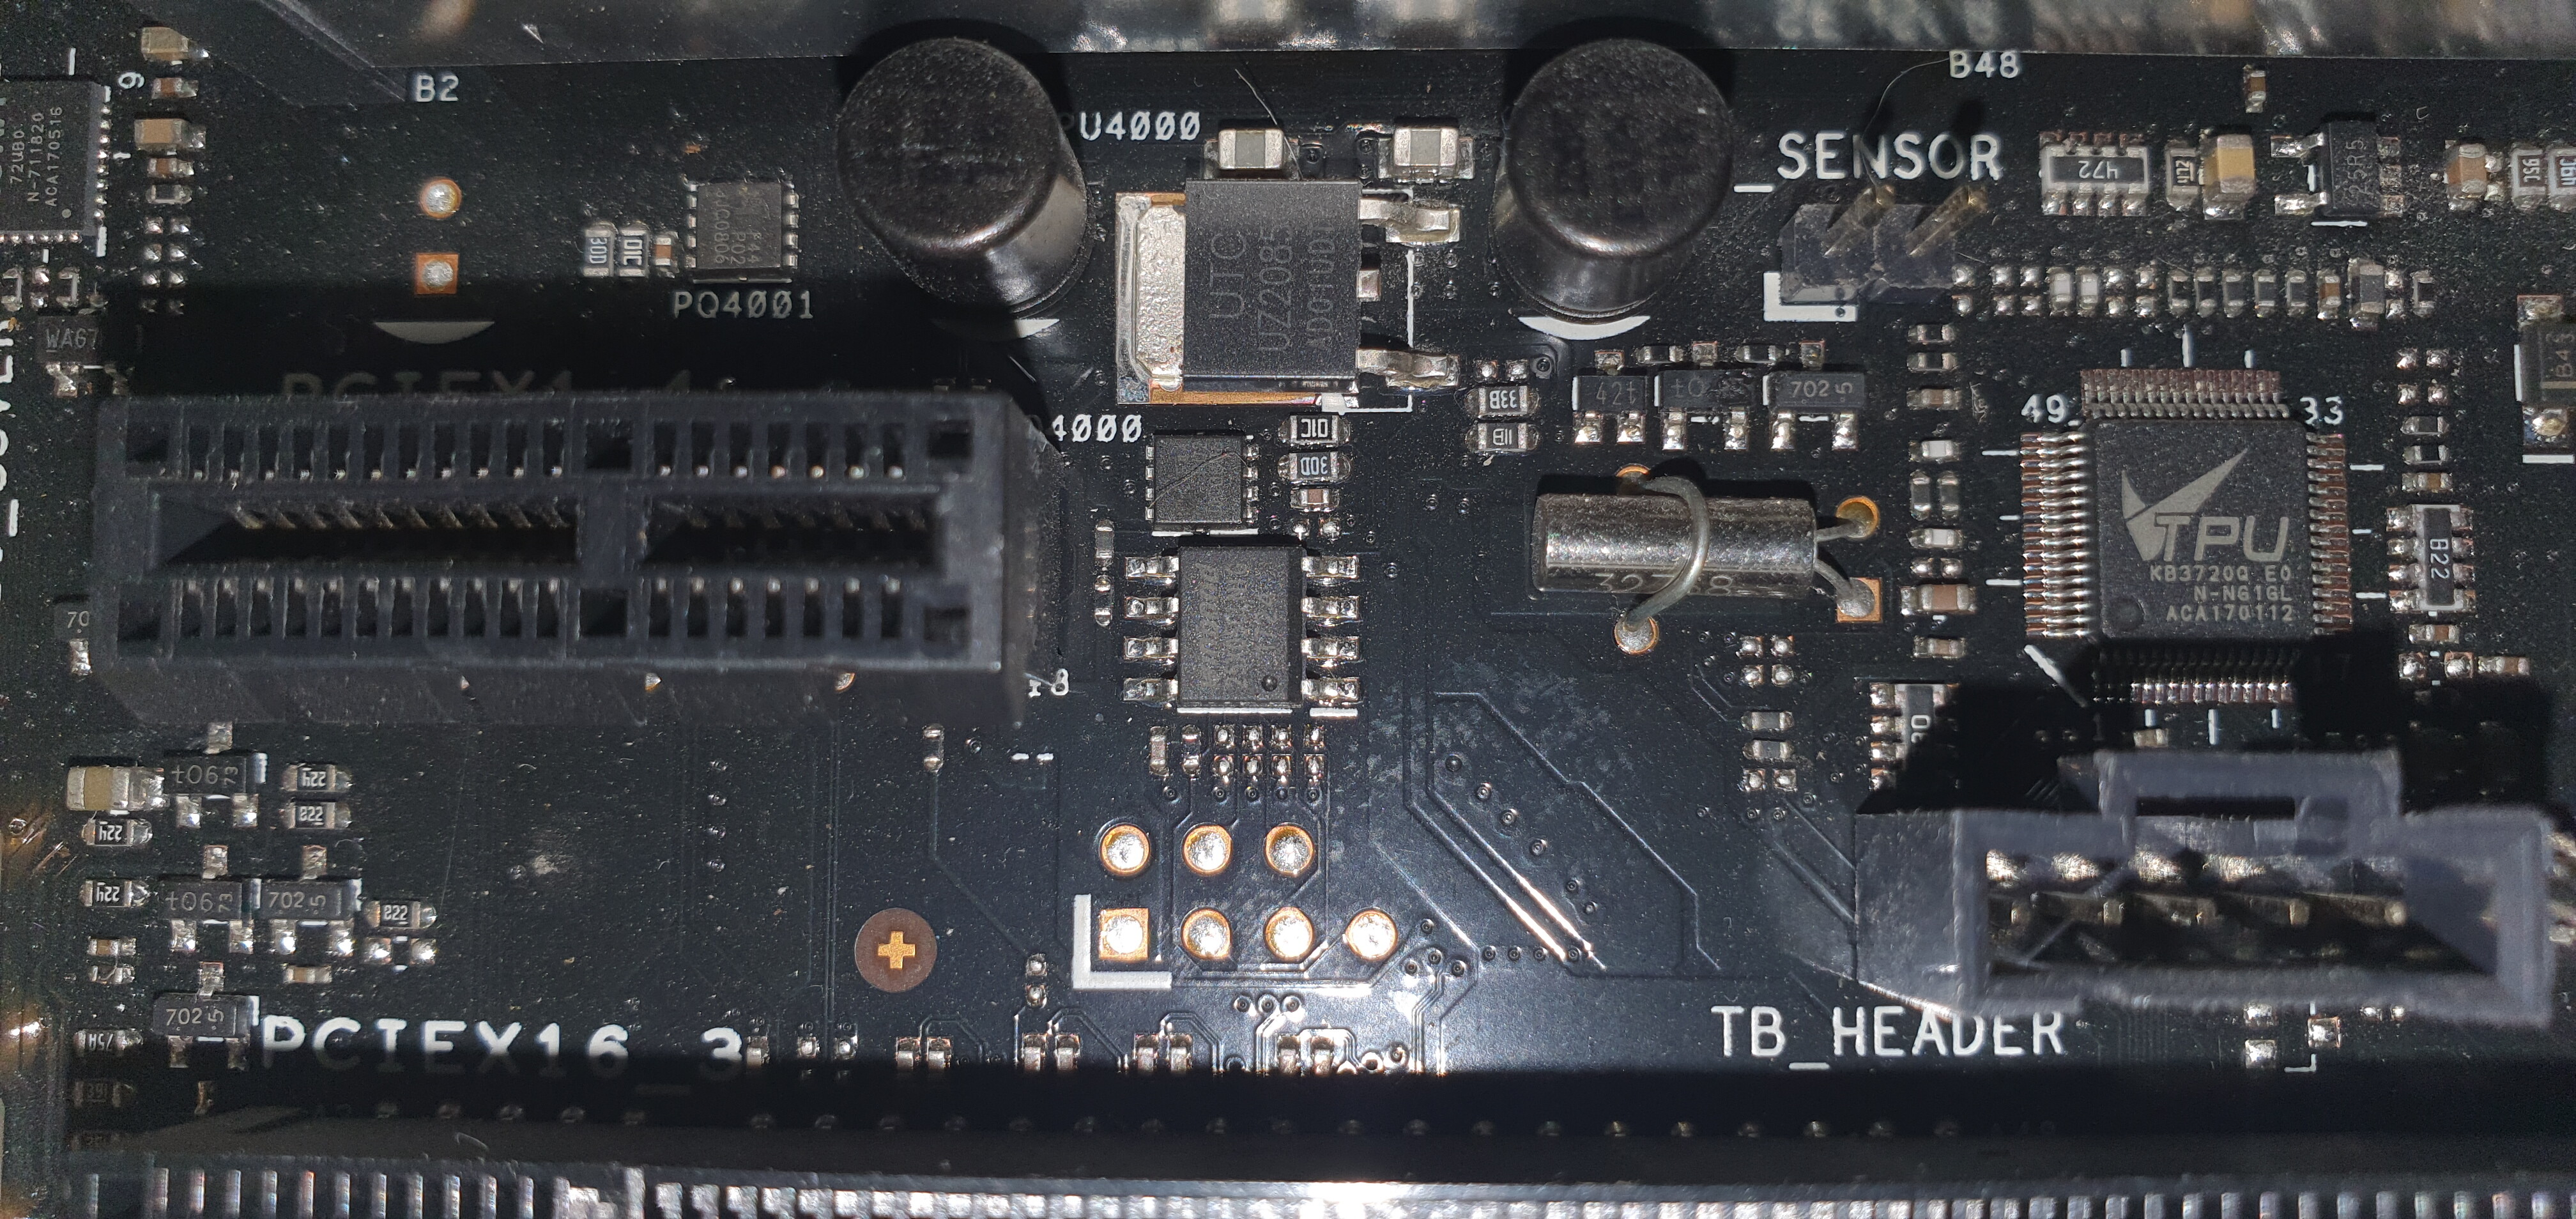
@kazp3r - no, you had correct chip first time 
I know you had correct chip first time from it’s location, I looked at several reviews with naked board to confirm before I replied last night.
Guys, I‘m trying to do the mod on this Asus Z270-A Prime, but can’t for the life of mine figure out where the BIOS chip is located. Any help? I tried flashing those two in the picture but it did not quite work out. Oh and let’s say I flashed the wrong chip, is there any way to find the original code to flash on the bios online?
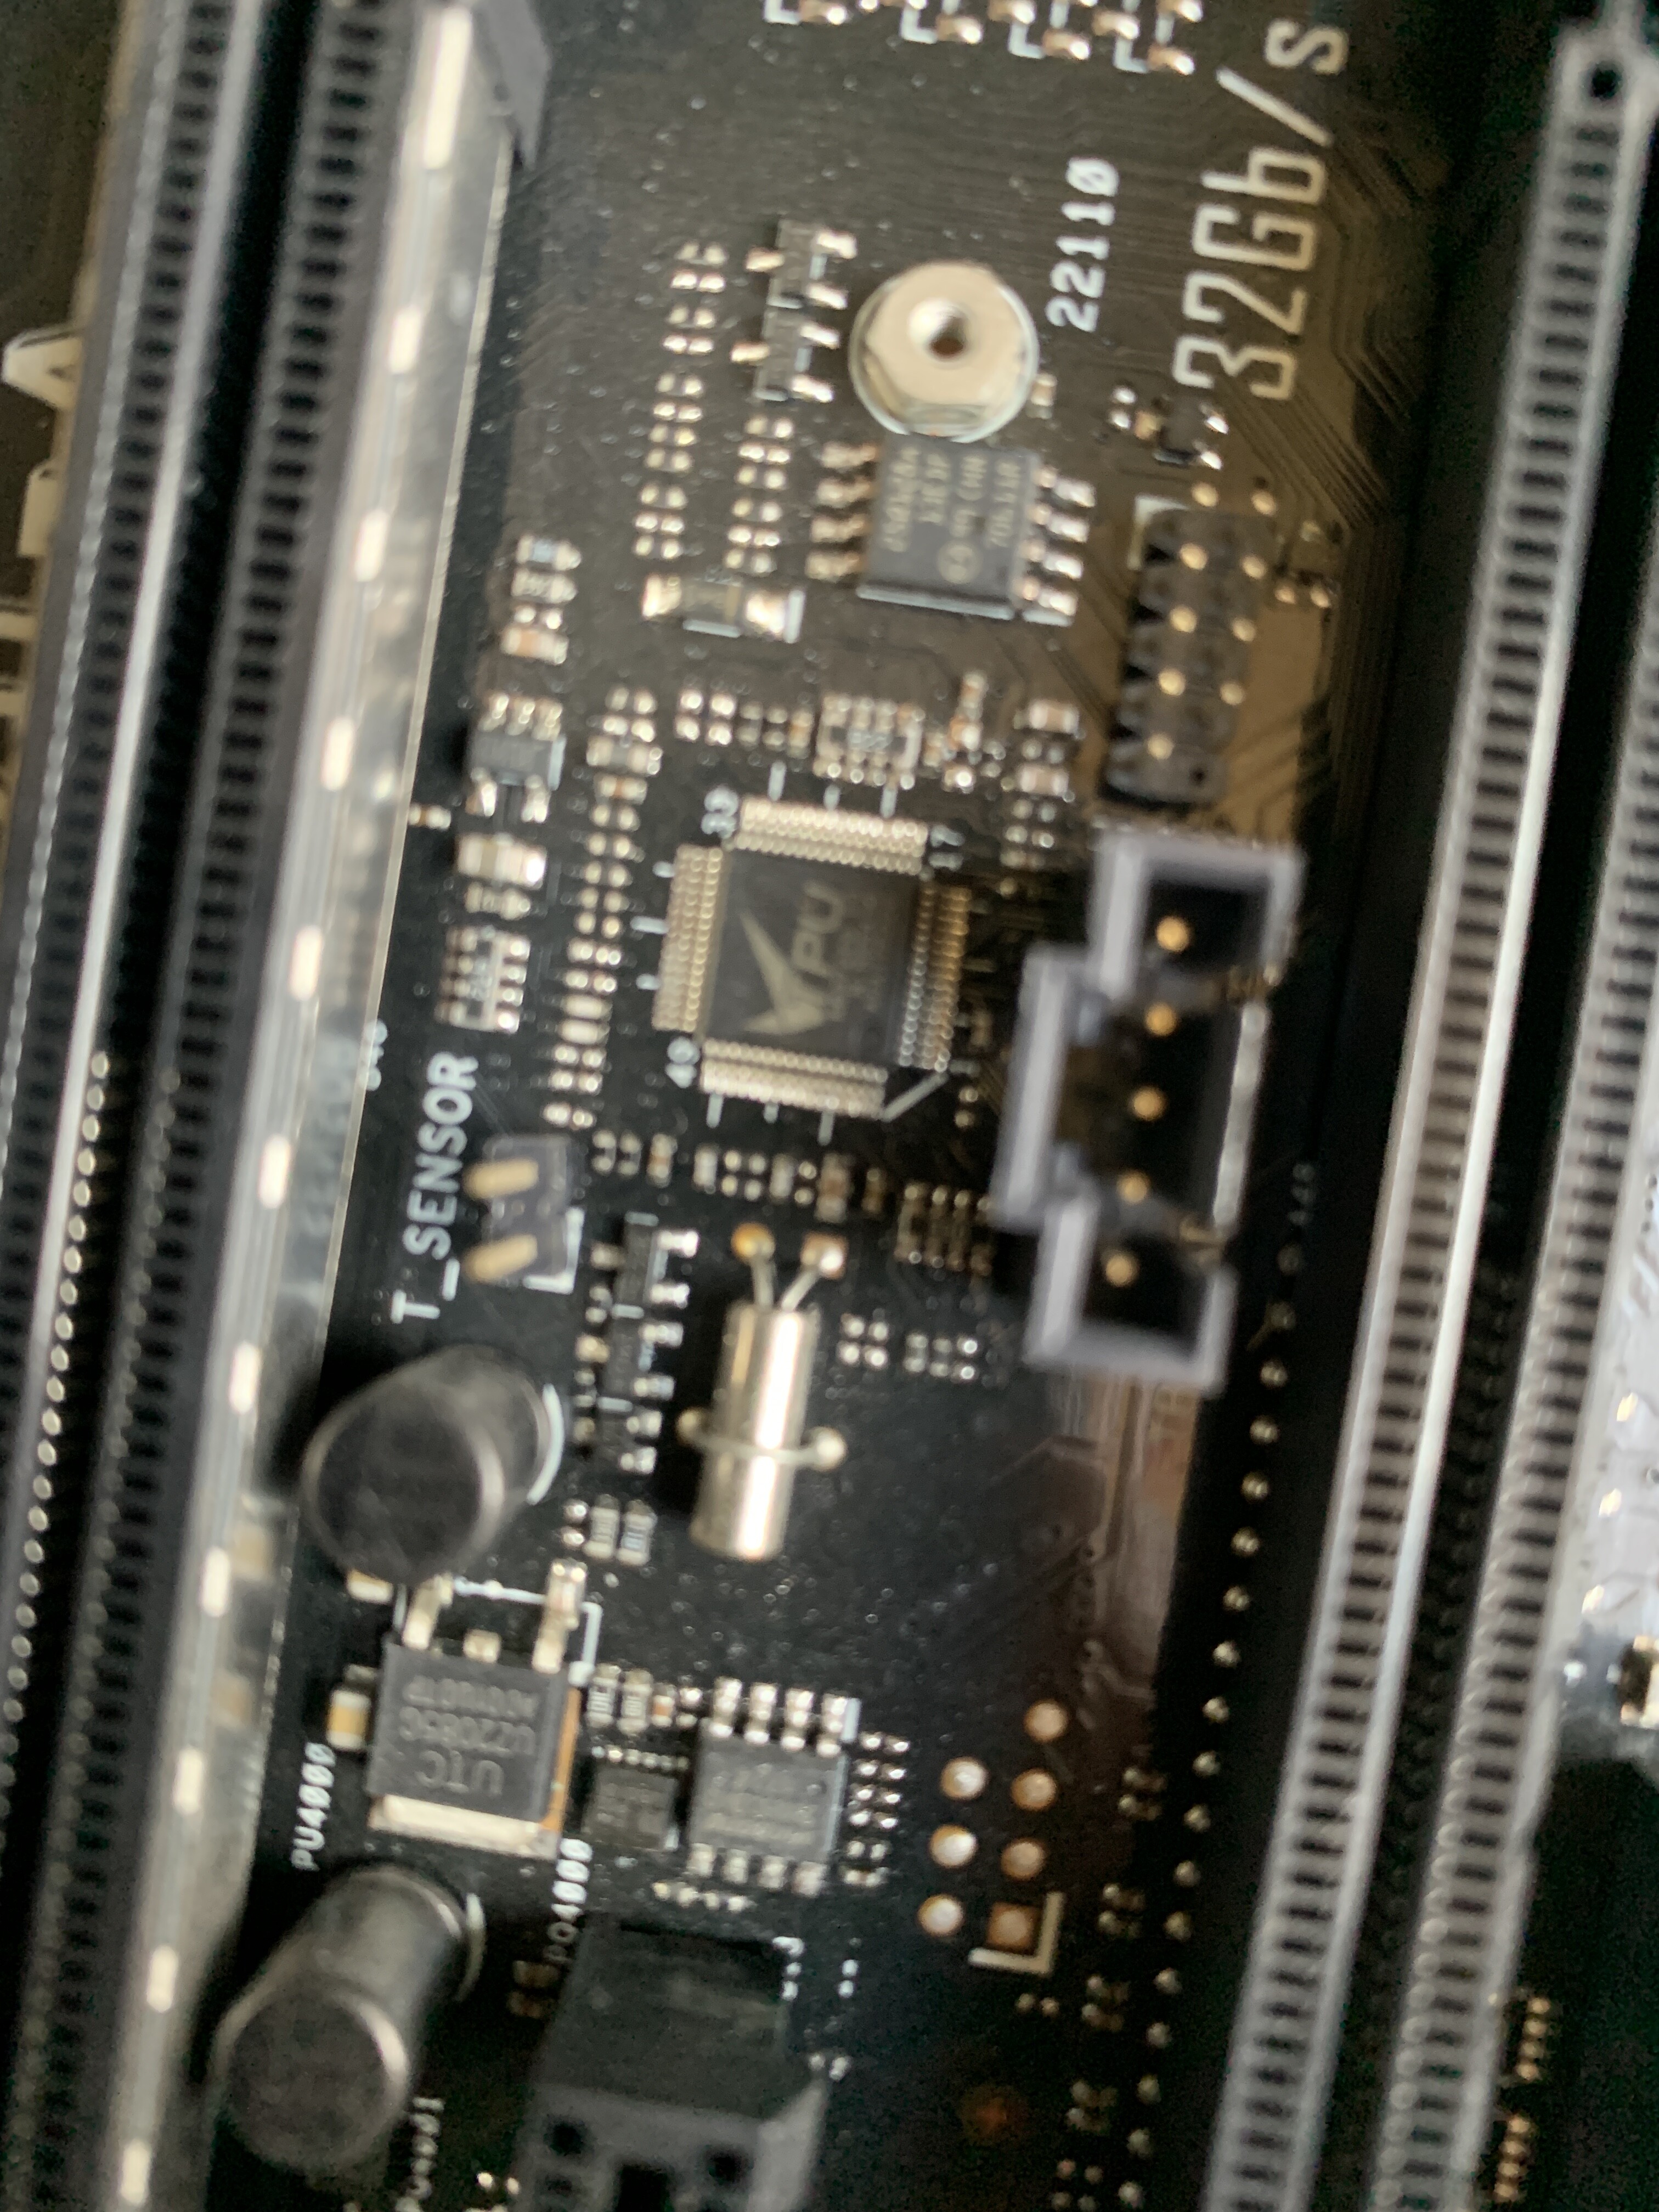
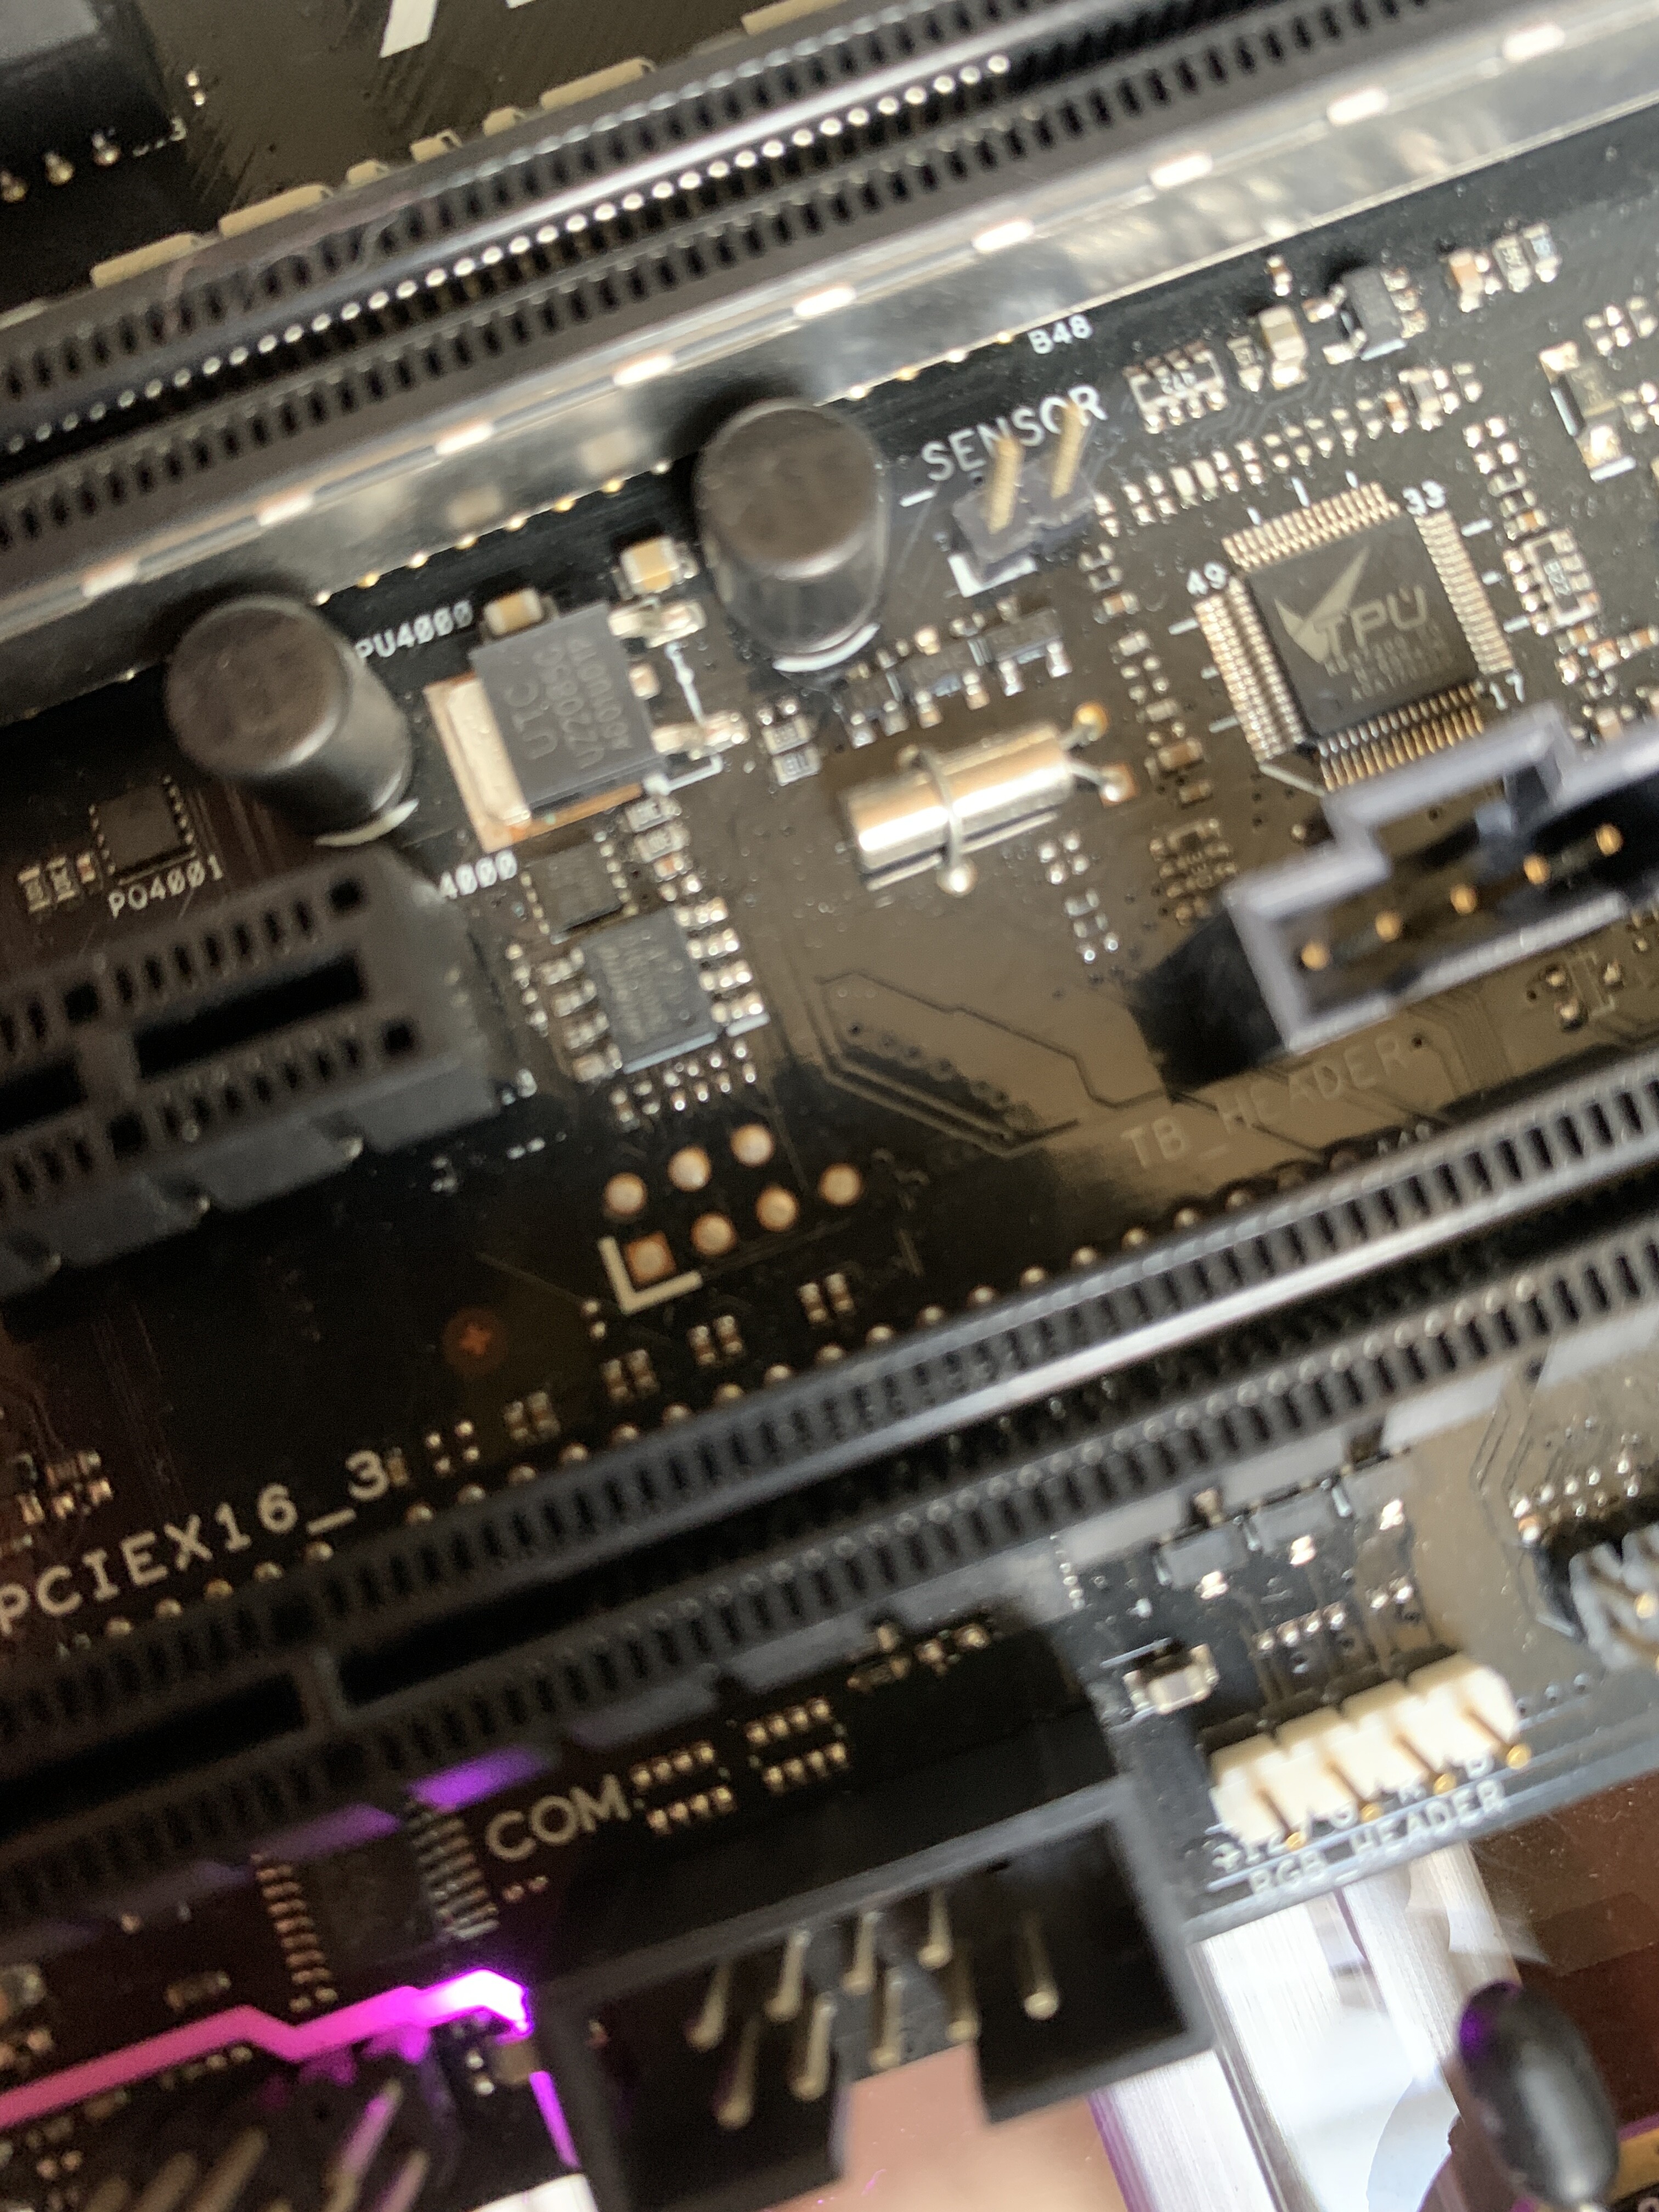
My bet would be on the chips close to the lower M.2 slot (a bit right of the area you photographed) and in between both PEGs, right of the battery. But I cannot find good enough fotos to read description on the packages. The chips you photographed are most likely not responsible for UEFI and we can only guess what the contained instead. Restoring the original code will require help from Asus or readout from an undamaged Z270-A (I don’t have one). You are damn lucky if it only “quite” not works. Removing the microcode of an unknown part can easily brick the whole system or might even cause physical damage, if the code was related to voltage regulation and the associated controller does not mind interpreting code written for someone else.
Never ever flash a chip without getting a verified read out of its contents first. And when modding UEFIs, start with an readout anyway, so you do not have to manually enter MACs, etc. into a generic UEFI file.
I read winbond so I figured that has to be the bios chip. Anyway, I’m not 100% stupid so I took two backups before proceeding. Can you give it a look and tell me if they are corrupted or what? 'cause even after flashing them back they don’t work.
This should be the Winbond chip:
https://www.sendspace.com/file/as8aot
This should be the other chip:
https://www.sendspace.com/file/hkjkjv
@PCGH_Torsten
I cannont tell you, what those files are and without knowing what they look like, I cannot say whetehr they are corrupted. But they are definitly not UEFIs. File size alone is pretty obvious marker - Z270 should have 16 MiB BIOS, these are 128/256 KiB files. But whatever the code is meant for, writing it back should reenable the corresponding part, if the data has not been corrupted during read out. Even if FPI did only access part of the chips, a rewrite should work, as other parts should not have been altered.
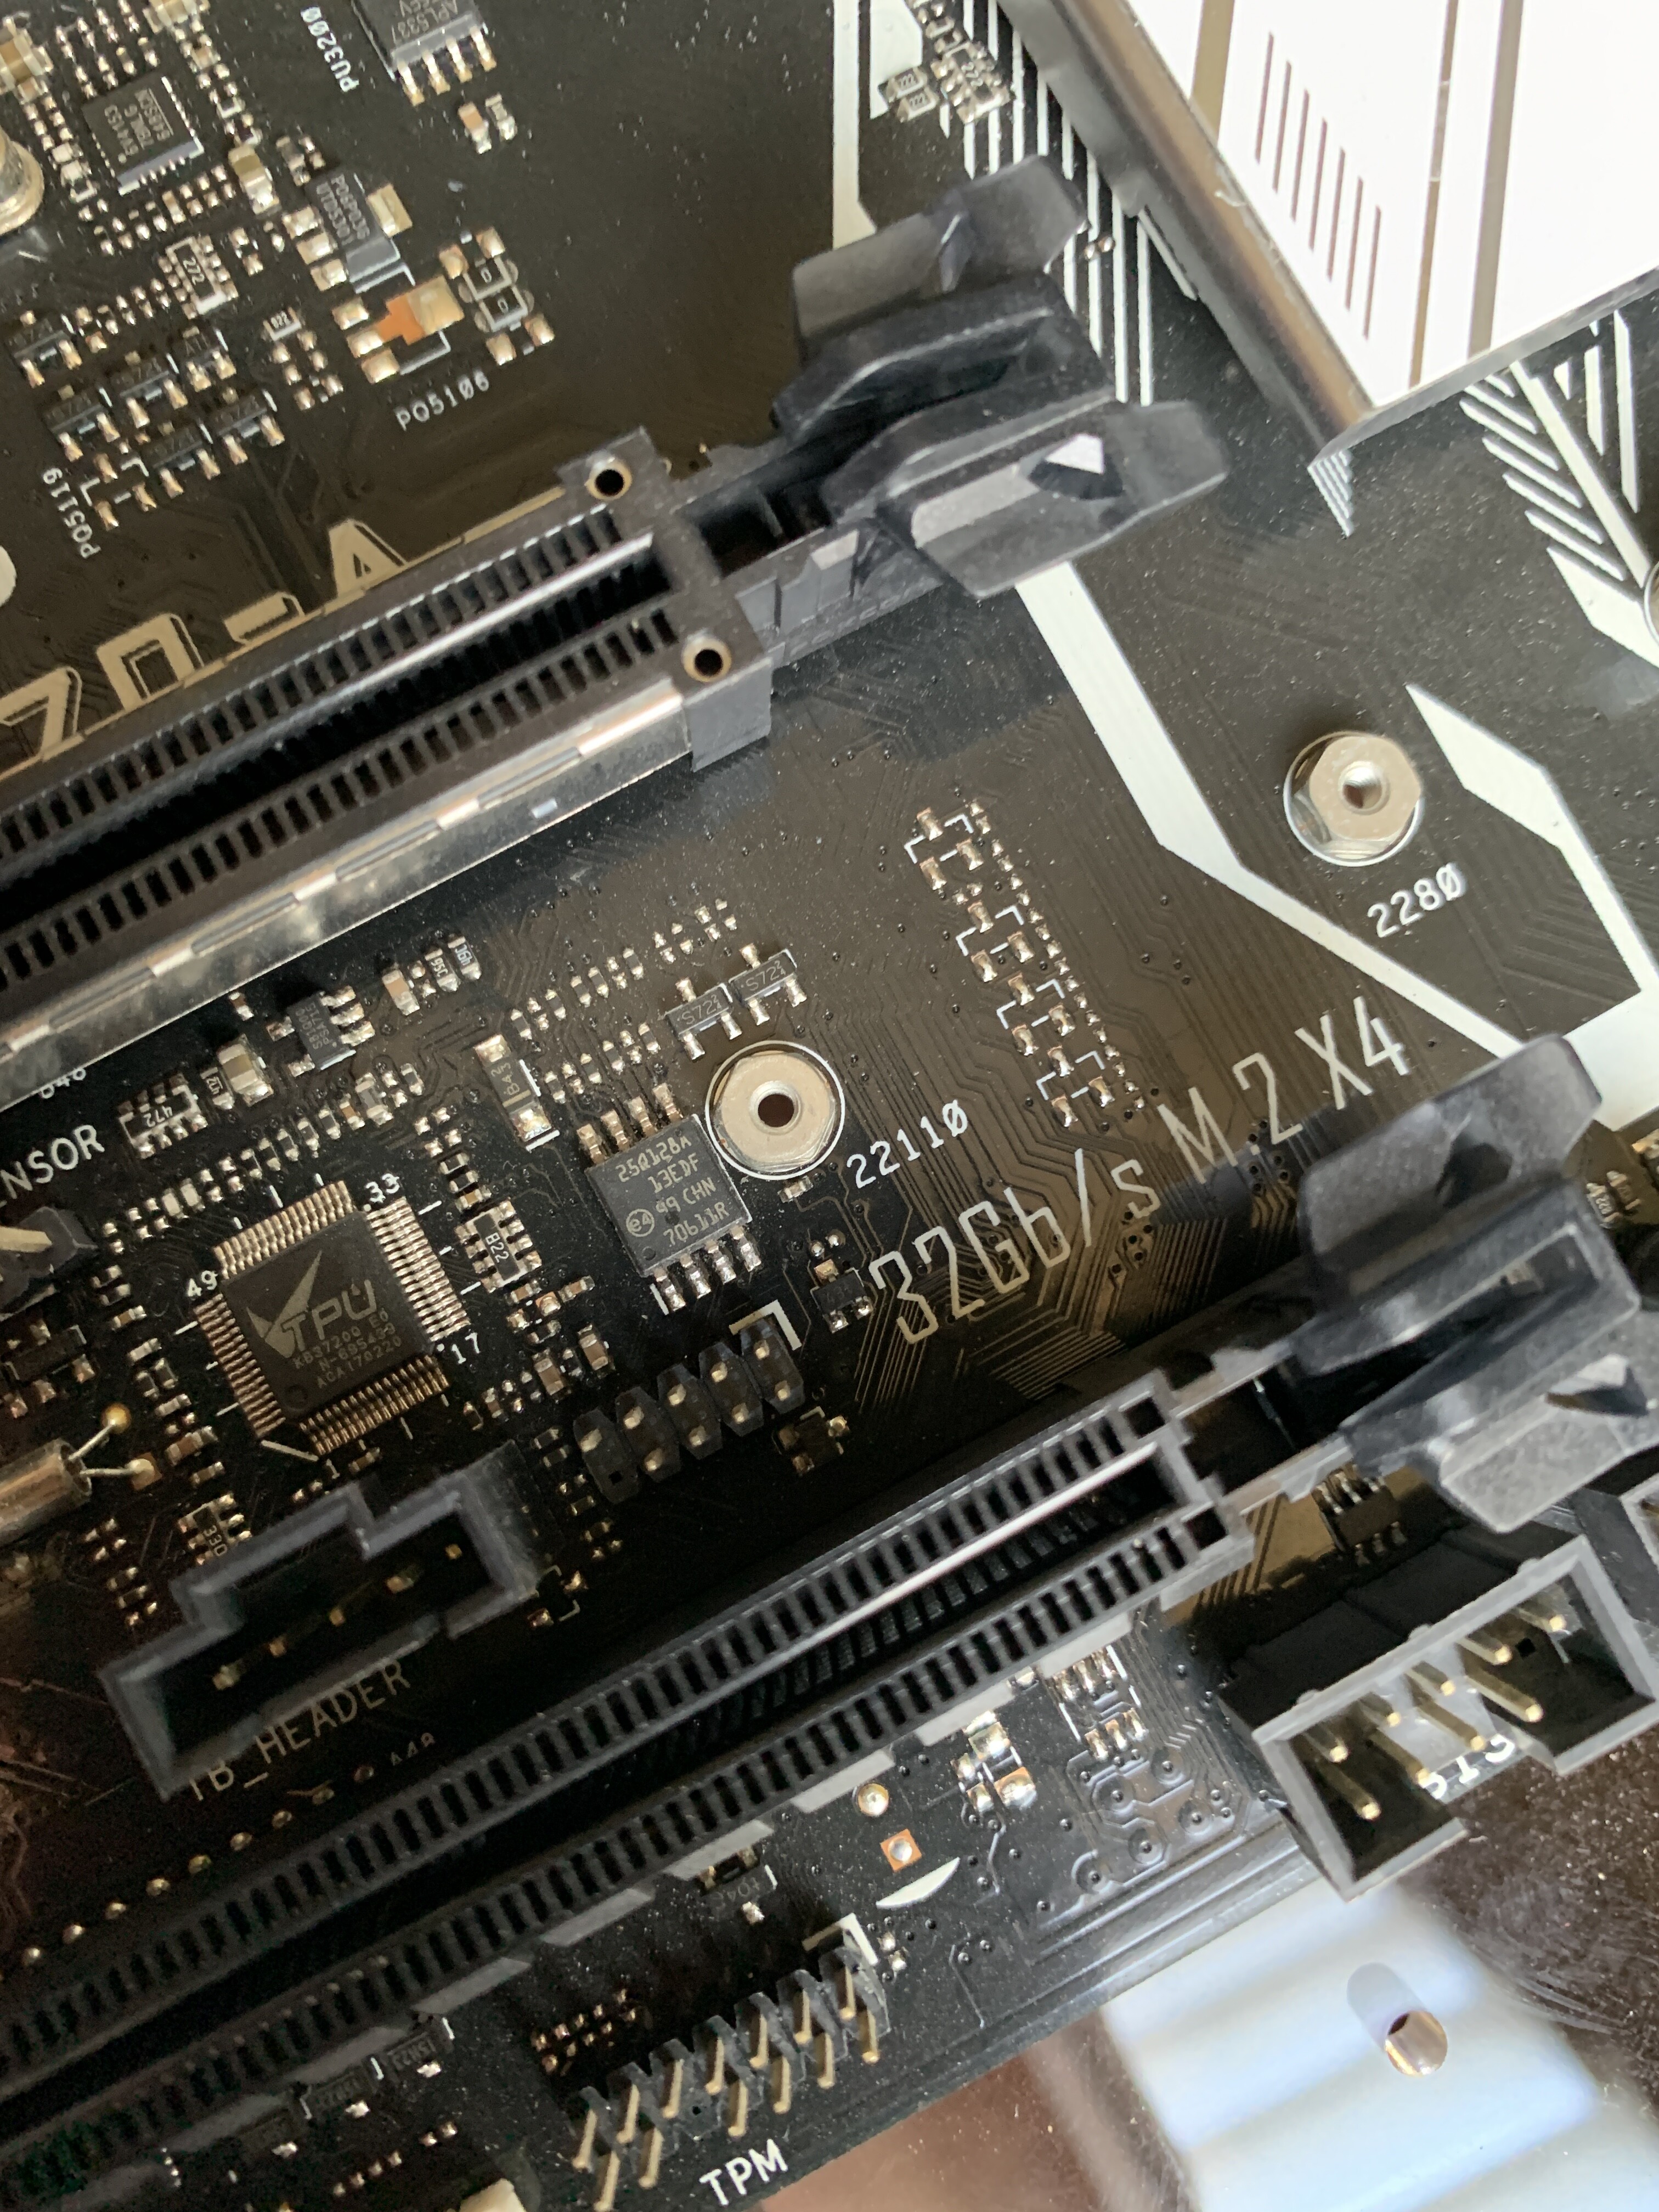
@ItxLeo - On that board, the BIOS chip should be Micron 25Q128A. That chip works with 1.7–2.0V single supply voltage. If you used the ch341 programmer to read the chip, you may have damaged it.
@ItxLeo - Agreed ^^ It’s the one to the right of the VPU chip in first attached image (And last), with E4 logo, this is micron 1.8v chip as mentioned above 
I can’t read the winbond chip, what is the ID printed on it? What software and version did you use to make this dump? The dump may be OK, I can’t tell for sure, but you may need to use correct software to write back to it.
It does not look corrupted “in general” but without seeing a known properly dumped (known working software/version used) chip contents we’ll never know
This looks like linear voltage driver chip possibly, I see VRM, vcore, dram voltages all mentioned. Contents are repeated 4x (0-FFFFh “64KB” x4), so possibly should only be there once, and how you dumped it made the dupes due to this size (256KB) being selected when dumped
For the Micron N25Q128A / 25Q128A, you need 1.8V adapter, without that and or using correct compatible software and choosing correct ID, size of dump may be incorrect and or contents will of course be corrupted - And without that, writes will fail.
Your dump of that is start of the BIOS, but only 128KB of it (due to wrong size selected at dump, and or incorrect and incompatible software, and or invalid dump attempt due to no 1.8V adapter etc)
For this chip use CH341A v1.31(1.4) (CH341AFree) and choose correct size, or ASProgrammer and choose correct ID, both included below
http://s000.tinyupload.com/index.php?fil…213094641136166
Hi
So I was not able to get a better picture however I was able to read the model of the chip and its a Micron 25Q128A, I already bought the 1.8v adapter (it arrived today) and I downloaded the CH341A tools I will reply once I can get the dump file of my BIOS, do I need to follow any special instructions.
@kazp3r - For that chip, see my comments above at post #1090
Hello @Lost_N_BIOS
I wasnt sure which one you needed I uploaded all of them.
I will leave the details of my hardware so save some time.
My mother board is an Asus Z270 -A Prime
Current CPU
Intel Core i5 - 6500 K
Upgrading to
Intel Core i5
i5-9400F
SRF6M 2.0GHZ
X001F893
P0 Stepping
Let me know if something else is needed
Thanks
Edit: I uploaded the wrong file, I have uploaded to google drive
Asus Bios Backup
@kazp3r - Please confirm, what is your current CPU? 6500K doesn’t look to be a thing, do you have 6500, or 6600K?
If you do have 6500K and it’s ES or something, please show me image of HWINFO64 like this, so I can see what microcode is currently being used
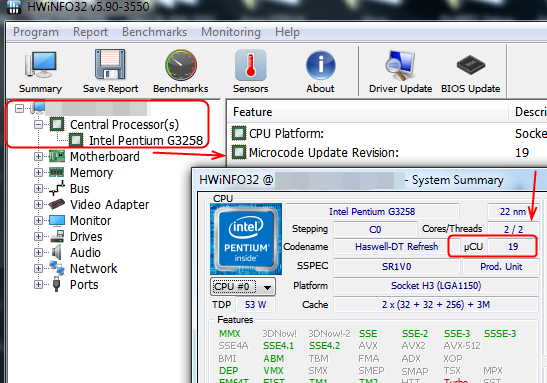
Woah, why did you dump BIOS like that??? 
What software/version did you dump it with?
*Edit - Is this mod BIOS? This BIOS looks off, too many microcodes, invalid/duplicate FIT table inserted in wrong area, missing non-UEFI/Pad file also, missing pad file above microcodes also… So, yes, you have you edited and flashed in!
If yes, please reflash stock BIOS using EZ Flash, then dump again
hi guys
i have MSI h110M-PRO-VD with 9100F B0 and ME version 11.8 … should i downgrade my ME version before flashing my bios with the bios file from CoffeeTime?? how i can do it in the easiest way?
thanks
Hello @Lost_n_bios
I made the dump using CH341A v1.31(1.4) (CH341AFree)
so I flashed the stock BIOS using the ASUS EZ tool and this is the dump I got afterwards
and you are right the processor is the i5 6500 there is no K
clean back up.zip (209 KB)
@kazp3r - Thanks! * edit - Never mind 
Please choose correct size (16MB) before you dump, or use ASProgrammer instead if it’s less confusing for you
@ArashMiniStar - Yes, ME FW downgrade required, You need flash programmer, unless your FD is unlocked (Some MSI it is, some not, you will have to check)
Dump FD and send to me, download ME System Tools V11 from here - Intel Management Engine: Drivers, Firmware & System Tools
Once downloaded, inside you will find Flash Programming Tool folder, and then inside that a Windows or Win/Win32 folder (NOT x64).
Highlight that Win/Win32 folder, then hold shift and press right click. Choose “open command window here” (Not power shell! >> * See Registry file below *).
If “open command window here” does not appear, look for the “Simple Registry Edit” below
Dump FD using >> " FPTw.exe -desc -d fd.bin " << Send me this fd.bin file
Here is a SIMPLE REGISTRY EDIT that adds “Open command window here as Administrator” to the right click menu, instead of Power Shell
Double-click downloaded file to install. Reboot after install may be required
> CLICK HERE TO DOWNLOAD CMD PROMPT REGISTRY ENTRY <
Hello @Lost_N_BIOS
I was able to get the right dump now XD,
I used the same Programmer, for some reason ASProgrammer is not working
I will upload the file in a minute
Edit: The file has been uploaded
Thanks I am excited to flash the new BIOS, I hope this works.
clean back up 16m.zip (5.52 MB)
@kazp3r - What do you mean ASProgrammer is not working? What happens when you try to use it? We may have to use it, so hopefully it will work for you if we end up having to use!
First you have to set CH341A as Hardware in Hardware menu, then pick correct IC >> IC >> SPI, then you may need to also hit the “Unlock” button, not the drop out menu, just click the unlock icon (padlock)
Then click read, then verify, then save. To program back, you’d click “Open File” icon, then Erase, then Blank Check (drop out menu, icon under language) then write, then verify
Anyway, using the CH341A software you are using now, when you write back, be sure to choose correct size first 
As for the dump you just added, it’s corrupted, maybe clip moved, or you tried some other software, or you forgot 1.8V adapter?
Anyway, do again 
Hello @Lost_N_BIOS
I was not selecting the hardware, that is why it was not working, so I made the backup using the ASProgrammer
Here is my uploaded file
Asus Backup ASProgrammer
Edit: with the 1.8 v adapter none of the programmers are recognizing it, I saw this on the Random - Odd chip - Programmer info " “Micron MT25QL128AB” (2.7–3.6V) or a “Micron N25Q128A” which exists in a 1.8V (1.7–2.0V) version and 3V (2.7–3.6V). On the chip is to see “25Q128A” and a “e4”-logo which is used by Micron.
I am thinking I might have the Version 2.7 or above
